Key Takeaways:
- Make fluffy pumpkin pancakes with just 3 basic ingredients in 15 minutes
- Perfect fall breakfast that’s both kid-friendly and impressive for guests
- Each serving packs 12g of protein with simple swaps for dietary needs
- Freezes beautifully for quick weekday breakfasts when time is tight
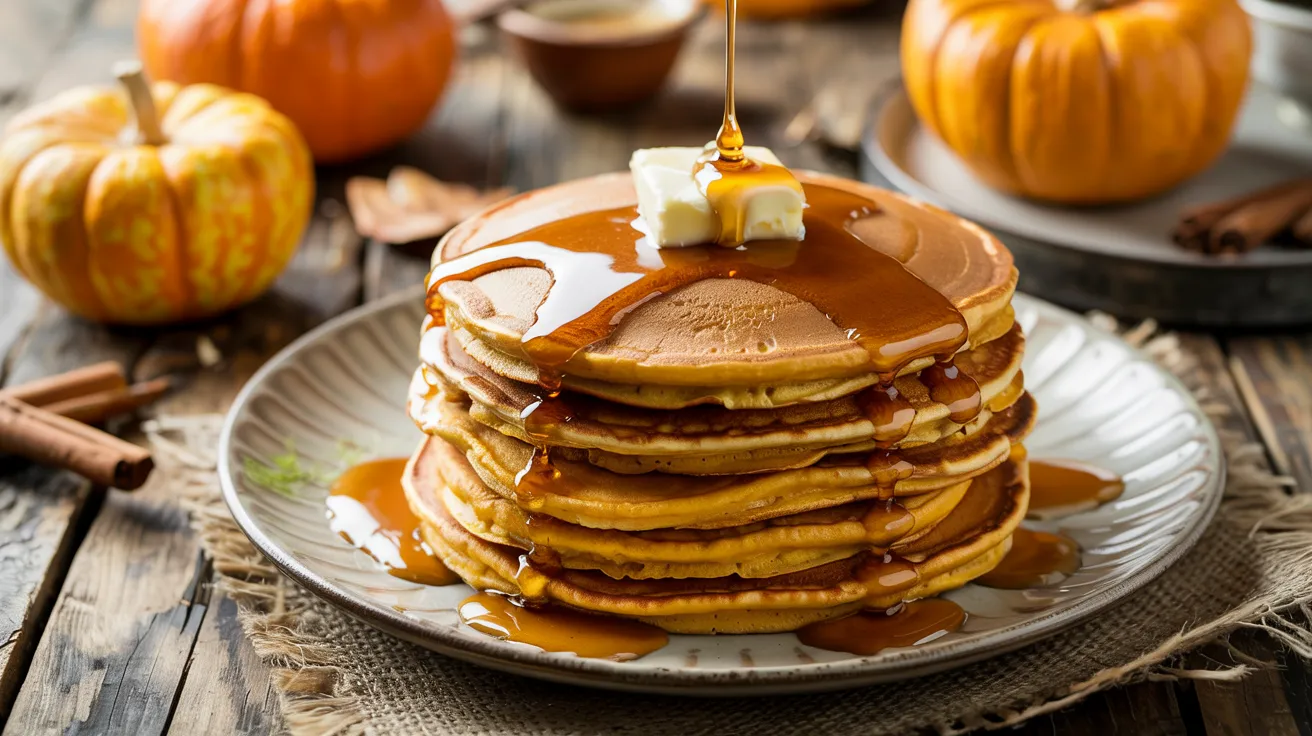
The Simplest Pumpkin Pancakes You’ll Ever Make
Ever stared at your pantry wondering how to make something special with almost nothing on hand? These 3-ingredient pumpkin pancakes solve that problem instantly.
Most pancake recipes call for a long list of ingredients. Not these. With just a can of pumpkin, pancake mix, and eggs, you’ll have a stack of warm, spiced pancakes ready in minutes.
The 3-ingredient pumpkin pancakes recipe transforms basic ingredients into a breakfast that tastes like you spent hours in the kitchen. Perfect for busy mornings or when you want to try something different than regular pancakes.
Nutrition Comparison
| Nutrient | Regular Pancakes | 3-Ingredient Pumpkin Pancakes | Benefit |
|---|---|---|---|
| Calories | 250 per serving | 220 per serving | Fewer calories |
| Protein | 7g | 12g | More protein |
| Fiber | 1g | 4g | Better digestion |
| Vitamin A | 2% DV | 80% DV | Eye health |
| Iron | 4% DV | 10% DV | Energy boost |
What You’ll Need
Ingredients (Serves 4)
| Ingredient | Amount | Notes |
|---|---|---|
| Pancake mix | 2 cups | Any brand works |
| Canned pumpkin puree | 1 cup (8 oz) | Not pumpkin pie filling |
| Eggs | 2 large | Room temperature works best |
| Water | 1/4 to 1/3 cup | Add as needed for consistency |
| Optional: Pumpkin pie spice | 1 teaspoon | For extra flavor |
Kitchen Tools
| Tool | Purpose |
|---|---|
| Large mixing bowl | For combining ingredients |
| Whisk or fork | For mixing batter |
| Measuring cups | For accurate measurements |
| Non-stick skillet or griddle | For cooking pancakes |
| Spatula | For flipping pancakes |
| Ladle or 1/4 cup measure | For portioning batter |
Possible Substitutions
- Pancake mix: Use gluten-free pancake mix for a gluten-free version
- Eggs: Replace with 1/2 cup unsweetened applesauce for egg-free option
- Water: Milk or plant-based milk for richer pancakes
- Add-ins: Chocolate chips, chopped nuts, or banana slices
Step-by-Step Instructions for Beginners
Prep Time: 5 minutes
Cook Time: 10 minutes
Total Time: 15 minutes
Preparation Phase
- Set up your workspace
- Clear your counter space so you have room to work
- Place all ingredients on the counter so they’re easily accessible
- Read through the entire recipe once before starting
- Preheat your oven to 200°F (this will keep cooked pancakes warm)
- Measure and prepare ingredients
- Take out your measuring cups: you’ll need a 1-cup and 1/4-cup measure
- Measure exactly 2 cups of pancake mix by filling the cup completely and leveling off the top with the back of a knife
- Place measured pancake mix in a large bowl and set aside
- Open your can of pumpkin puree (make sure it’s pure pumpkin, not pumpkin pie filling)
- Prepare eggs properly
- If your eggs are cold from the refrigerator, place them in a bowl of warm (not hot) water for 5 minutes
- Room temperature eggs mix better and create fluffier pancakes
- After 5 minutes, remove eggs from water and dry them with a paper towel
- Prepare your cooking surface
- Place your non-stick skillet or griddle on the stove
- Turn heat to medium (on most stoves, this is around the 4-5 setting)
- Allow the pan to heat up for 3-5 minutes
- Test if it’s ready by sprinkling a few drops of water on the surface – they should dance and sizzle
Mixing the Batter
- Combine wet ingredients first
- Crack each egg carefully on a flat surface (not the edge of the bowl)
- Open the egg over your mixing bowl, being careful not to drop any shell pieces
- If shell pieces fall in, use a larger piece of shell to scoop them out
- Add exactly 1 cup of pumpkin puree to the bowl with the eggs
- Whisk the eggs and pumpkin together for 30-60 seconds until completely blended with no streaks of egg visible
- Add dry ingredients properly
- Pour the 2 cups of pancake mix into the wet ingredients
- Using a rubber spatula or wooden spoon (not the whisk), gently fold the mixture together
- Start at the bottom of the bowl and bring the mixture up and over, rotating the bowl as you go
- IMPORTANT FOR BEGINNERS: Mix only until the dry ingredients are just moistened
- Stop mixing when you still see a few small lumps – this is perfect!
- Over-mixing will make your pancakes tough and rubbery
- Check and adjust batter consistency
- Your batter should be thick but still able to pour from a spoon or ladle
- If it’s too thick and doesn’t fall off the spoon easily, add 1 tablespoon of water at a time
- After each tablespoon, gently stir (don’t beat) the batter to incorporate
- Continue adding water 1 tablespoon at a time until the batter falls slowly from a spoon (like thick honey)
- The right consistency: when you lift your spoon, the batter should form a ribbon that disappears back into the mixture after 1-2 seconds
Cooking Phase
- Prepare to cook your first pancake
- Place a paper towel on a plate near the stove for testing your first pancake
- Have a clean plate ready in your preheated oven for keeping pancakes warm
- Make sure your spatula is handy and your heat is set to medium
- Test if the pan is hot enough: sprinkle a few drops of water on the surface – they should sizzle and dance, then disappear
- Grease your cooking surface correctly
- For a non-stick pan: spray a light coating of cooking spray OR
- For a regular pan: add 1/2 teaspoon butter and swirl to coat
- Make sure the entire cooking surface has a thin layer of grease
- Wipe away any excess with a paper towel
- Cook your first test pancake
- Use a 1/4 cup measure or ladle to scoop batter
- Hold the ladle close to the pan (not high above it)
- Pour batter slowly in one spot – it will spread naturally
- Don’t try to spread the batter with your ladle as this makes uneven pancakes
- Set a timer for 2 minutes (or watch the clock)
- Learn to recognize when to flip
- Watch the pancake carefully as it cooks
- You’ll see small bubbles forming on the surface – this is normal
- Ready-to-flip signs:
- The edges look dry and slightly set
- Bubbles form in the center and start to burst
- The bottom is golden brown (you can peek by lifting an edge with your spatula)
- This usually takes 2-3 minutes on medium heat
- Master the perfect flip technique
- Slide a thin spatula completely under the pancake
- Make sure the entire pancake is supported by the spatula
- Lift it just high enough to clear the pan
- In one confident, swift motion, turn your wrist to flip the pancake
- If you hesitate or move too slowly, the pancake might fold or break
- Don’t worry if your first flip isn’t perfect – it takes practice!
- Cook the second side properly
- After flipping, cook for another 1-2 minutes
- The second side needs less time than the first side
- Check for doneness: press lightly in the center with your spatula – it should spring back
- The second side should be golden brown but not as dark as the first side
- Cook remaining pancakes systematically
- Transfer your first pancake to the warm oven
- Re-grease your pan lightly between each pancake
- Maintain your medium heat, adjusting if needed:
- If pancakes are too dark, turn heat down slightly
- If pancakes take too long to cook, turn heat up slightly
- Pour and cook each pancake using the same method
- Keep all finished pancakes in the warm oven until ready to serve
Finishing Touches
- Stack and serve properly
- Remove the plate of warm pancakes from the oven using oven mitts
- Place 3-4 pancakes per plate (about 1 serving)
- Serve immediately while hot
- Add toppings the right way
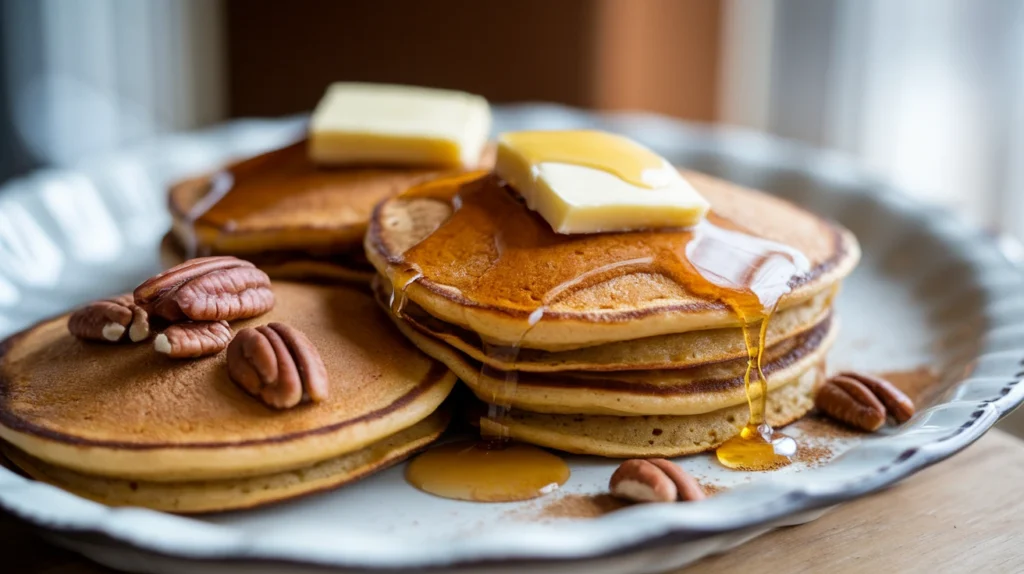
- Traditional toppings: butter and maple syrup
- For butter: place a small pat (about 1 teaspoon) on top of the hot pancakes so it melts
- For syrup: warm it for 15 seconds in the microwave before pouring (cold syrup cools pancakes)
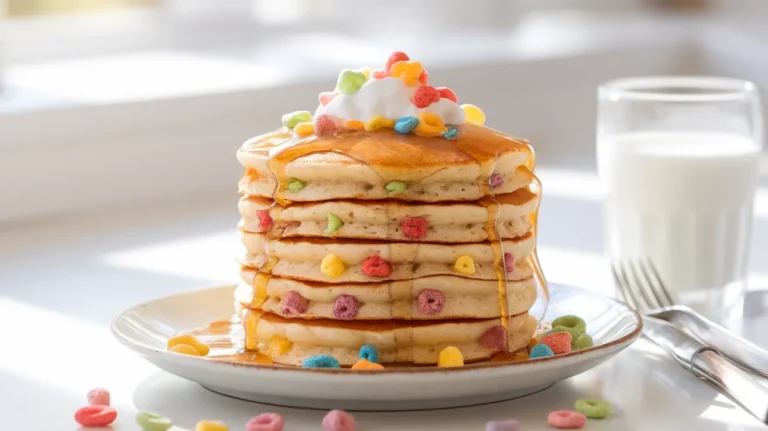
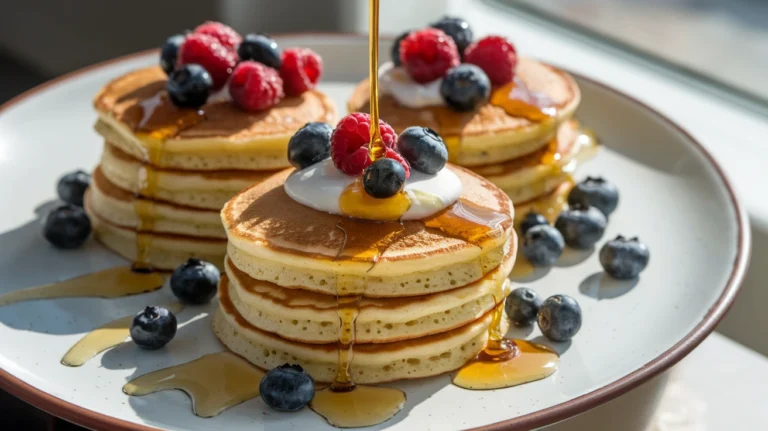
- Other topping ideas:
- Whipped cream and cinnamon
- Chopped nuts and honey
- Fresh berries or sliced banana
- Greek yogurt and granola
Troubleshooting Tips
| Problem | Cause | Solution |
|---|---|---|
| Pancakes too thick | Too much pancake mix or not enough liquid | Add water 1 tablespoon at a time |
| Pancakes too thin | Too much liquid | Add 1-2 tablespoons more pancake mix |
| Pancakes not cooking in center | Heat too high | Lower heat, cook longer |
| Burnt pancakes | Pan too hot | Reduce heat, clean pan, start fresh |
| Batter too lumpy | Not mixed enough | Whisk gently a few more times |
| Pancakes stick to pan | Pan not greased enough or too hot | Clean pan, re-grease, adjust heat |
| Pancakes break when flipping | Flipped too early or batter too thin | Cook longer before flipping, adjust batter |
| Uneven cooking | Pan has hot spots | Rotate pan on burner, use better quality pan |
Variations & Substitutions
Want to shake things up? Try these tasty twists on your 3-ingredient pumpkin pancakes:
- Spiced Pumpkin Pancakes: Add 1 teaspoon pumpkin pie spice and 1/2 teaspoon vanilla
- Chocolate Chip Pumpkin Pancakes: Fold in 1/2 cup chocolate chips to batter
- Protein-Packed: Use protein pancake mix instead of regular
- Whole Grain Option: Choose whole grain pancake mix for extra fiber
- Banana Pumpkin: Add 1 mashed ripe banana to the batter
For those who want to explore more pancake varieties, check out our sourdough pancakes recipe for another unique breakfast option.
Storage & Reheating
These pancakes keep well, making them perfect for meal prep:
- Refrigerator:
- Allow pancakes to cool completely before storing
- Place in an airtight container with parchment paper between layers
- Store for up to 3 days in the refrigerator
- Freezer:
- Cool pancakes completely
- Place in a single layer on a baking sheet
- Freeze for 1-2 hours until solid
- Transfer to a freezer bag or container
- Label with date (good for up to 3 months)
- Remove as much air as possible to prevent freezer burn
- Reheating Methods:
- Microwave: Place 1-3 pancakes on a microwave-safe plate, cover with a damp paper towel, heat for 20-30 seconds per pancake
- Toaster: Pop frozen pancakes directly in toaster on low setting (watch carefully to prevent burning)
- Oven: Preheat to 350°F, place pancakes in a single layer on a baking sheet, cover with foil, heat for 5-10 minutes
- Skillet: Warm a lightly greased skillet over medium-low heat, add pancakes, cover, and heat for 1-2 minutes per side
Safety Notes & Tips
- Food Safety Basics:
- Always wash hands thoroughly before cooking
- Cook pancakes until internal temperature reaches 165°F
- Keep batter refrigerated if not using immediately
- Discard any batter left at room temperature for more than 2 hours
- Kitchen Safety for Beginners:
- Never leave a hot stove unattended
- Use oven mitts when handling hot pans
- Keep pan handles turned inward to prevent accidental bumping
- Be cautious of steam when flipping pancakes
- Success Tips for Beginners:
- The first pancake is almost always a test! Use it to check your heat level and batter consistency
- Resist the urge to press down on pancakes with the spatula – this makes them dense
- Let pancakes tell you when they’re ready to flip (bubbles forming and popping)
- Cook on medium heat – too hot burns the outside while leaving the inside raw
Remember that perfect pancakes come with practice. Don’t worry if your first few aren’t picture-perfect – they’ll still taste amazing! With time, you’ll develop a feel for the right batter consistency and cooking temperature.