Key Takeaways
- Easy to Make: Perfect for bakers of all skill levels
- Dietary Friendly: Completely gluten-free without compromising taste
- Versatile Treat: Great for holidays, gifts, or everyday enjoyment
- Simple Ingredients: Uses common gluten-free flour alternatives
Solving the Gluten-Free Baking Challenge
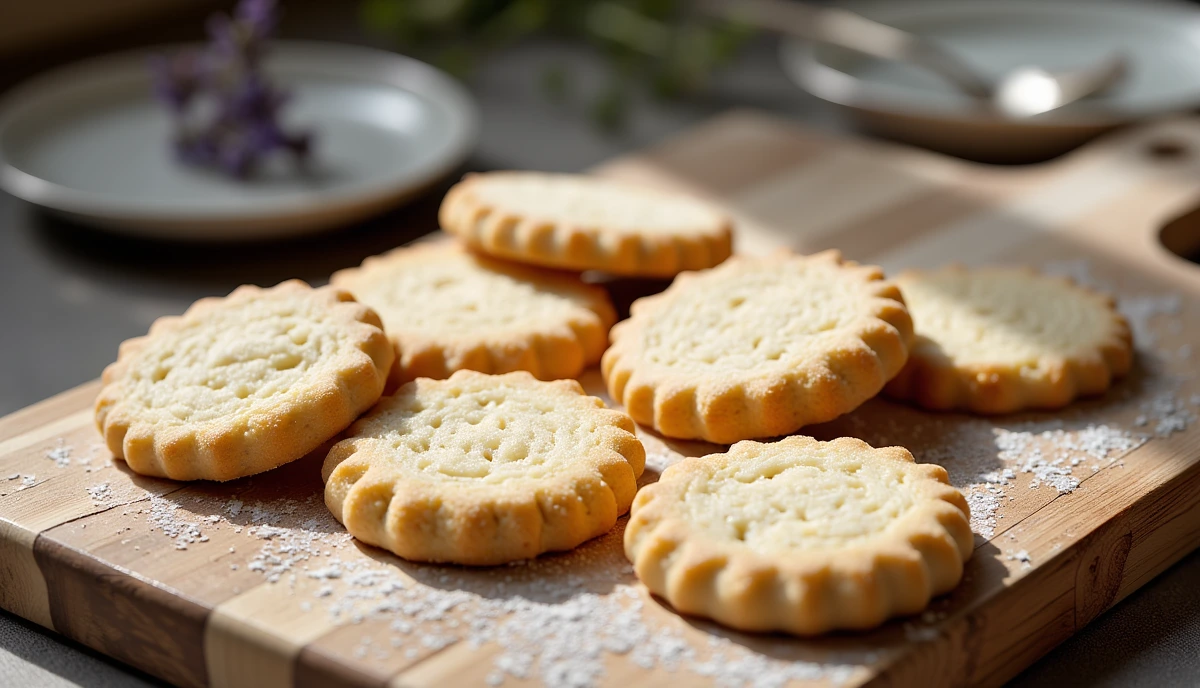
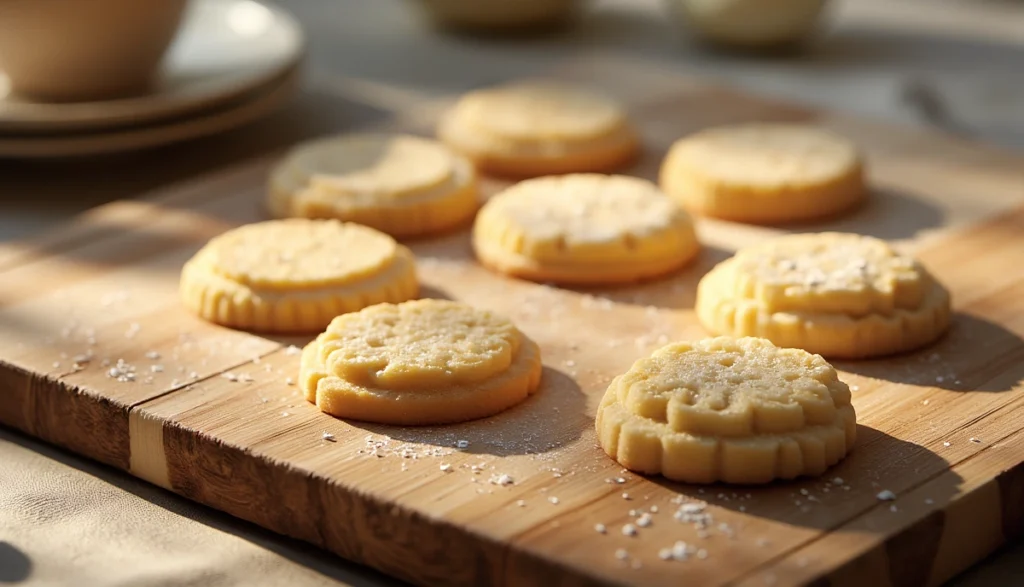
Love butter cookies but struggling with gluten restrictions? I’ve got the perfect butter cookie recipe gluten free that will make your taste buds dance! Whether you’re managing celiac disease, gluten sensitivity, or simply exploring alternative baking, these cookies prove that gluten-free treats can be just as delicious as traditional recipes.
Ingredients You’ll Need
Dry Ingredients
| Ingredient | Amount | Notes |
|---|---|---|
| Gluten-free flour blend | 2 cups | Look for multi-purpose flour mixes |
| Confectioner’s sugar | 1/2 cup | Adds delicate sweetness |
| Salt | 1/4 tsp | Enhances flavor |
Wet Ingredients
| Ingredient | Amount | Tips |
|---|---|---|
| Unsalted butter | 1 cup | Softened to room temperature |
| Vanilla extract | 1 tsp | Pure vanilla recommended |
| Egg yolks | 2 | Adds richness |
Kitchen Equipment Checklist
- Digital food scale
- Mixing bowls
- Electric mixer
- Baking sheets
- Parchment paper
- Cookie cutters (optional)
- Cooling rack
Special Considerations for Gluten-Free Baking
Flour matters! When making gluten-free butter cookies, choose specialized flour blends that mimic all-purpose flour. My top recommendations include:
- Almond flour
- Rice flour
- Oat flour (certified gluten-free)
- Pre-mixed gluten-free flour blends
Avoiding Common Mistakes
- Never use regular wheat flour
- Always check ingredient labels
- Use dedicated gluten-free baking tools
- Measure ingredients precisely
Detailed Baking Instructions: A Beginner’s Guide
Preparation Stage (30 Minutes Before Baking)
- Ingredient Preparation
- Remove unsalted butter from refrigerator
- Let butter soften at room temperature for 30-45 minutes
- Ensure butter is soft but not melted
- Measure all ingredients precisely using a digital food scale
- Kitchen Setup
- Clear a clean, spacious counter workspace
- Gather all kitchen equipment:
- Large mixing bowl
- Electric mixer or stand mixer
- Measuring cups and spoons
- Sifter or fine-mesh strainer
- Baking sheets
- Parchment paper
- Cooling rack
- Rubber spatula
- Optional: Cookie cutters
Mixing the Dry Ingredients (5-7 Minutes)
- Flour Preparation
- Sift gluten-free flour blend into a medium bowl
- Sifting breaks up any clumps
- Ensures even distribution of ingredients
- Add 1/2 cup confectioner’s sugar
- Sprinkle 1/4 teaspoon salt
- Whisk ingredients together for 1-2 minutes
- Creates a uniform dry mixture
- Helps distribute salt evenly
Creaming Butter and Wet Ingredients (8-10 Minutes)
- Butter Creaming Technique
- Place softened butter in a large mixing bowl
- Use electric mixer on medium speed
- Beat butter for 2-3 minutes until:
- Becomes light and fluffy
- Turns pale yellow
- No visible butter chunks remain
- Scrape down sides of bowl with rubber spatula
- Add 1 teaspoon pure vanilla extract
- Beat for additional 30 seconds
- Incorporating Egg Yolks
- Separate 2 egg yolks from whites
- Add yolks to butter mixture one at a time
- Mix on low speed after each addition
- Blend until completely incorporated
- Mixture should look smooth and consistent
Combining Dry and Wet Ingredients (5-7 Minutes)
- Gentle Mixing Technique
- Reduce mixer speed to low
- Gradually add dry ingredient mixture
- Mix until just combined
- Stop mixing as soon as no flour streaks remain
- Overmixing can make cookies tough
- Dough should be slightly sticky but cohesive
- Dough Chilling
- Transfer dough to plastic wrap
- Form into a flat disk
- Wrap tightly
- Refrigerate for 30-45 minutes
- Chilling helps prevent spreading
- Allows flour to hydrate
- Makes dough easier to handle
Shaping and Baking (20-25 Minutes)
- Dough Preparation
- Remove dough from refrigerator
- Let sit at room temperature for 5-10 minutes
- Dust work surface with gluten-free flour blend
- Roll dough to 1/4 inch thickness
- Use gentle, even pressure
- Rotate dough to prevent sticking
- Cookie Shaping
- Use cookie cutters or hand-shape cookies
- Place cookies 1 inch apart on lined baking sheet
- Use parchment paper for easy cleanup
- Optional: Sprinkle with coarse sugar before baking
- Precise Baking
- Preheat oven to 350°F (175°C)
- Place rack in center of oven
- Bake for 10-12 minutes
- Look for light golden edges
- Cookies should look set but not browned
Cooling and Storage (15-20 Minutes)
- Cooling Process
- Remove baking sheet from oven
- Let cookies rest on sheet for 2-3 minutes
- Transfer to wire cooling rack
- Allow to cool completely (about 15 minutes)
- Cookies will firm up as they cool
- Storage Tips
- Store in airtight container
- Layer with parchment paper
- Room temperature: 3-4 days
- Refrigerator: Up to 1 week
- Freezer: Up to 3 months
Pro Tip: Always let cookies cool completely before storing to prevent moisture buildup and maintain that perfect buttery texture!
Pro Tips for Perfect Cookies
- Cold dough works best for clean cuts
- Use ungreased baking sheet
- Allow cookies to cool completely
- Store in airtight container
Variations to Explore
- Chocolate-dipped butter cookies
- Add coarse sugar coating
- Incorporate lemon zest for brightness
- Try different gluten-free sprinkles
Final Thoughts
Baking gluten-free doesn’t mean sacrificing flavor. These amazing butter cookies prove that with the right techniques and ingredients, you can create buttery goodness everyone will love.
Happy baking!