Key Takeaways:
- Creamier and smoother than Western tartar sauce – no chunky pickles
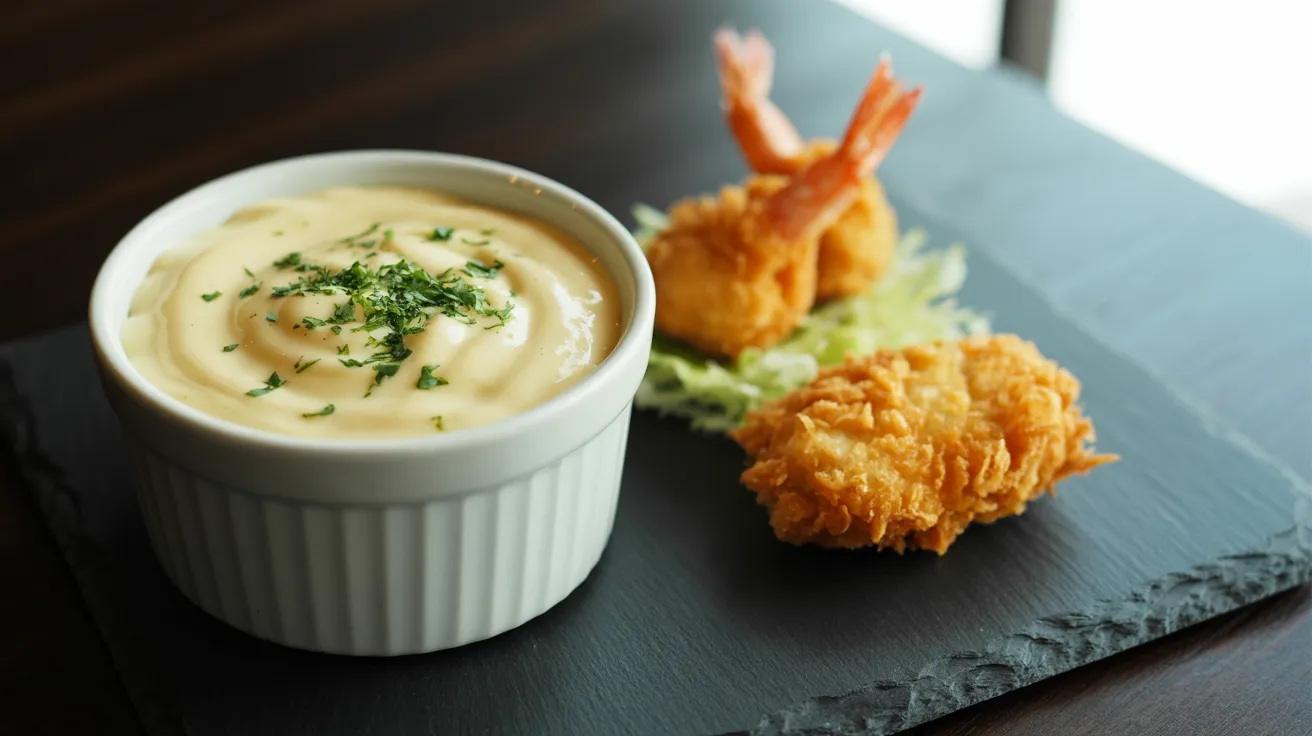
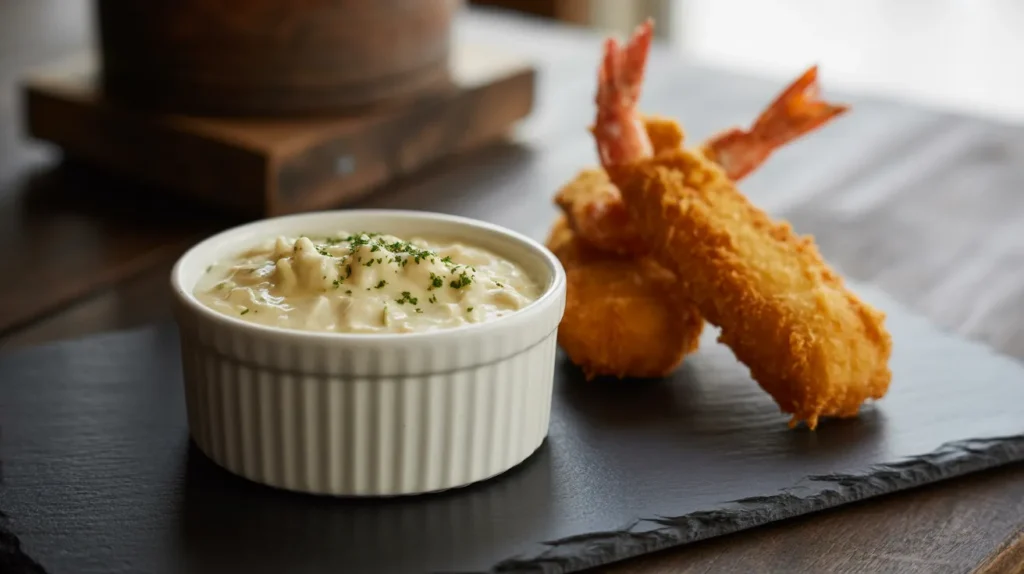
- Essential for Japanese fried dishes – pairs perfectly with ebi fry and karaage
- Made with Japanese mayo – creates unique sweet-savory balance
- Small prep – ready in just 15 minutes with minimal ingredients
Ready to transform your fried seafood dishes? Japanese tartar sauce for shrimp and fish creates that authentic restaurant experience at home. Traditional Western tartar sauce feels heavy and overwhelms delicate seafood flavors. This Japanese version solves that problem with its silky texture and balanced taste profile.
I discovered this recipe after countless disappointing attempts to recreate my favorite Tokyo restaurant’s signature sauce. The secret lies in using Japanese mayonnaise and finely chopping every ingredient. Your shrimp tempura and fried fish will never taste the same once you master this essential condiment. If you enjoy exploring Asian condiments, you might also like to try Indian hot sauce for a completely different flavor profile.
Nutrition Comparison: Japanese Tartar Sauce vs Western Tartar Sauce
| Nutrient (per 2 tbsp) | Japanese Tartar | Western Tartar |
|---|---|---|
| Calories | 80 | 110 |
| Total Fat | 7g | 10g |
| Sodium | 140mg | 220mg |
| Sugar | 1g | 3g |
| Protein | 1g | 0.5g |
Equipment & Ingredients List
Full Ingredients Table (Serves 4)
| Ingredient | Amount | Notes |
|---|---|---|
| Japanese mayonnaise | 1 cup | Kewpie brand preferred |
| Hard-boiled eggs | 2 large | Finely chopped |
| Yellow onion | 2 tablespoons | Minced extra fine |
| Fresh parsley | 1 tablespoon | Chopped |
| Rice vinegar | 1 teaspoon | Unseasoned |
| Sugar | 1/2 teaspoon | Granulated |
| Salt | 1/4 teaspoon | To taste |
| White pepper | Pinch | Optional |
Kitchen Tools Table
| Tool | Purpose |
|---|---|
| Sharp knife | Mincing ingredients |
| Cutting board | Food prep surface |
| Small mixing bowl | Combining ingredients |
| Rubber spatula | Folding ingredients |
| Fine mesh strainer | Egg preparation |
| Timer or clock | Tracking egg cooking time |
| Ice bath (bowl with ice water) | Cooling eggs quickly |
| Measuring spoons | Accurate measurements |
| Measuring cups | Accurate measurements |
Optional Substitutions
• Kewpie mayo alternative: Mix regular mayo with 1 tablespoon rice vinegar and 1/4 teaspoon sugar • Yellow onion substitute: Use shallots for milder flavor • Rice vinegar swap: Apple cider vinegar works in a pinch • Fresh parsley replacement: Dried parsley (use 1 teaspoon)
Detailed Steps: Making Japanese Tartar Sauce for Shrimp and Fish
Preparation Phase (5 minutes)
Step 1: Prepare Your Hard-Boiled Eggs
- Take 2 large eggs from refrigerator.
- Place eggs in a small saucepan.
- Add cold water until eggs are covered by 1 inch of water.
- Place saucepan on stove and turn heat to high.
- Do not cover the pot during heating.
- Wait for water to reach a full rolling boil (large bubbles continuously breaking the surface).
- Once boiling, immediately turn off heat.
- Cover the saucepan with a lid.
- Set timer for exactly 9 minutes.
- While waiting, prepare ice bath by filling a medium bowl halfway with cold water and adding ice cubes.
- When timer rings, use a slotted spoon to carefully transfer eggs to ice bath.
- Let eggs cool in ice bath for 5 minutes minimum.
Step 2: Set Up Your Workstation
- While eggs are cooling, place cutting board on counter.
- Position small mixing bowl next to cutting board.
- Set fine mesh strainer over mixing bowl.
- Gather all remaining ingredients from refrigerator and pantry.
- Measure all ingredients using proper measuring spoons and cups.
- Arrange ingredients in order of use.
- Have rubber spatula and knife ready.
- Place a damp kitchen towel under cutting board to prevent slipping.
- Get paper towels ready for patting dry the onion.
Assembly Steps (8 minutes)
Step 3: Process the Eggs
- Remove eggs from ice bath after at least 5 minutes of cooling.
- Gently tap egg all around on hard surface to crack shell.
- Start peeling from the wider end where air pocket is located.
- Peel under cold running water to help remove shell cleanly.
- Rinse peeled eggs to remove any shell fragments.
- Pat eggs dry with paper towel.
- Cut eggs in half lengthwise using knife.
- Carefully separate yolks from whites using spoon.
- Place yolks in fine mesh strainer positioned over mixing bowl.
- Use back of spoon to press yolks through strainer into bowl.
- Continue pressing until all yolk has passed through strainer.
- Place egg whites on cutting board.
- Chop egg whites into very small pieces (aim for rice grain size).
- Set chopped whites aside temporarily.
Step 4: Mince the Onion
- Cut yellow onion in half from root to tip.
- Peel outer skin off half onion.
- Place flat side down on cutting board for stability.
- Slice onion horizontally (parallel to cutting board) into very thin slices.
- Next, slice vertically (from top to bottom) into thin strips.
- Finally, chop across strips to create tiny pieces.
- Continue chopping until pieces are smaller than sesame seeds.
- Measure exactly 2 tablespoons of minced onion.
- Place minced onion on paper towels.
- Press gently with additional paper towels to remove moisture.
- Set aside.
Step 5: Prepare Herbs
- Rinse fresh parsley under cold water.
- Pat dry thoroughly with paper towels.
- Remove stems from parsley leaves.
- Gather leaves into tight pile on cutting board.
- Using rocking motion with knife, chop parsley finely.
- Continue chopping until pieces are very small.
- Measure 1 tablespoon of chopped parsley.
- Set aside.
Step 6: Combine Base Ingredients
- Add 1 cup Japanese mayonnaise to bowl with strained egg yolks.
- Hold rubber spatula at angle against bowl side.
- Fold gently using figure-eight motion.
- Continue folding until completely smooth with no streaks.
- Check for uniform pale yellow color throughout mixture.
- Ensure all egg yolk is incorporated from sides of bowl.
Step 7: Add Remaining Ingredients
- Add chopped egg whites to mayo mixture.
- Add minced onion.
- Add chopped parsley.
- Sprinkle 1 teaspoon rice vinegar evenly over mixture.
- Add 1/2 teaspoon sugar evenly across surface.
- Add 1/4 teaspoon salt.
- Add pinch of white pepper if using.
- Using rubber spatula, fold all ingredients together with gentle scooping motion.
- Fold just until ingredients are evenly distributed.
- Avoid overmixing which can make texture runny.
Finishing Steps (2 minutes)
Step 8: Taste and Adjust Seasoning
- Take clean small spoon.
- Sample small amount of Japanese tartar sauce for shrimp and fish.
- Assess flavor balance – should be creamy with subtle sweetness.
- If needed, add pinch more salt for savory balance.
- If needed, add 1/4 teaspoon more sugar for sweetness.
- If too thick, add 1/2 teaspoon rice vinegar.
- Mix gently after each adjustment.
- Re-taste after mixing.
- Continue adjusting until perfect for your preference.
Step 9: Rest Before Serving
- Transfer finished sauce to serving bowl if using immediately.
- For storage, transfer to airtight container.
- If storing, press plastic wrap directly onto surface of sauce.
- This prevents skin from forming and discoloration.
- Secure lid on container.
- Place in refrigerator.
- Allow to rest at least 15 minutes before serving.
- For best flavor development, rest 1-2 hours.
Troubleshooting Common Issues with Japanese Tartar Sauce
Sauce Too Thick? • Add 1 teaspoon of rice vinegar at a time. • Fold gently after each addition. • Continue until reaching desired consistency. • Different brands of Japanese mayonnaise have varying thickness.
Onion Taste Too Strong? • For future batches, soak minced onion in cold water for 5 minutes. • Drain thoroughly in fine mesh strainer. • Pat completely dry with paper towels before adding to recipe. • For current batch, add 1/2 teaspoon more sugar to balance sharpness.
Grainy Texture? • Ensure egg yolks pass completely through strainer. • Mix mayonnaise and yolk more thoroughly before adding other ingredients. • For current batch, try pressing mixture through strainer again.
Lacks Flavor Depth? • Let sauce rest longer in refrigerator – up to 24 hours. • Flavors develop significantly over time. • Add 1/4 teaspoon more rice vinegar for tang. • Try adding 1/4 teaspoon soy sauce for umami boost.
Variations & Substitutions for Japanese Tartar Sauce
Classic Variations
• Capers Addition: Add 1 teaspoon minced capers for extra tang • Pickle Style: Include 1 tablespoon finely minced Japanese pickles • Herb Upgrade: Mix in 1 teaspoon fresh dill or chives • Citrus Boost: Add 1/4 teaspoon lemon or yuzu zest
Dietary Modifications
• Vegan Version: Use vegan Japanese mayo and skip eggs, add 1/2 teaspoon mustard • Lower Calorie: Replace half the mayo with Greek yogurt • Sodium Conscious: Omit added salt, use low-sodium mayo • Gluten-Free Check: Verify your mayo brand is gluten-free (most are)
Regional Twists
• Wasabi Kick: Add 1/4 teaspoon wasabi paste for heat • Citrus Brightness: Include 1/2 teaspoon lemon zest and 1/4 teaspoon juice • Spicy Option: Mix in gochujang sauce (1/4 teaspoon) for Korean fusion or Indian hot sauce (1/4 teaspoon) for a bolder kick • Sweet Variant: Add 1/4 teaspoon honey for additional sweetness
Storage & Reheating Tips for Japanese Tartar Sauce
Refrigerator Storage • Store in airtight container for up to 3 days. • Press plastic wrap directly onto sauce surface before sealing container. • This prevents oxidation and discoloration. • Keep in coldest part of refrigerator (usually back shelf). • Label container with date made.
Freezing Guidelines • Not recommended – mayonnaise separates when frozen. • Make fresh batches as needed. • If desperate, freeze in ice cube trays for single portions but texture will change.
Serving Temperature • Best served chilled but not ice cold. • Remove from refrigerator 5 minutes before serving for optimal texture. • Never serve at room temperature for food safety reasons. • Return to refrigerator promptly after use.
Safety Notes & Tips for Japanese Tartar Sauce
Food Safety
• Use pasteurized eggs if serving to elderly, pregnant individuals, or immunocompromised people • Keep sauce refrigerated at all times when not serving • Discard after 3 days or if appearance/smell changes • Never leave at room temperature over 2 hours • Use clean utensils each time you dip into sauce container
Pro Tips for Perfect Japanese Tartar Sauce
• Double the recipe for parties – it disappears quickly! • Make day ahead for best flavor development • Use the freshest eggs possible for best texture • Perfect with tempura vegetables and seafood • Serve in small individual ramekins for elegant presentation
Common Mistakes to Avoid
• Over-chopping ingredients creates mushy texture • Using Western mayo changes flavor profile completely • Adding warm ingredients makes sauce separate • Skipping the resting period rushes flavor development • Using dried herbs exclusively reduces freshness
Pairing Suggestions for Japanese Tartar Sauce
This Japanese tartar sauce for shrimp and fish elevates countless dishes beyond basic seafood. Try it with:
• Chicken karaage (Japanese fried chicken) • Vegetable tempura (especially sweet potato and zucchini) • Fried oysters (kaki fry) • Panko-crusted pork cutlets (tonkatsu) • Salmon croquettes • Fish sandwiches • Crab cakes • Steamed vegetables as a dipping sauce
For complete seafood preparation, consider pairing with hoisin sauce for glazed shrimp dishes that balance sweet and tangy flavors perfectly.
Final Tips for Success with Japanese Tartar Sauce
Creating authentic Japanese tartar sauce for shrimp and fish requires attention to detail and quality ingredients. The Japanese mayonnaise makes all the difference – its creamier texture and subtle sweetness create the foundation for this versatile condiment.
Remember these key points: • Prep all ingredients before starting • Chop everything uniformly fine • Allow proper resting time • Adjust seasoning to your preference • Keep refrigerated for food safety
Your homemade version surpasses store-bought options every time. Master this recipe once, and you’ll never return to bottled sauces. The clean, balanced flavors complement delicate seafood without overwhelming the star ingredients.
Prep Time: 5 minutes
Assembly Time: 10 minutes
Total Time: 15 minutes (plus chilling)
Servings: 4 (about 1.5 cups total)
Difficulty: Beginner
Frequently Asked Questions About Japanese Tartar Sauce
Q: Can I make Japanese tartar sauce ahead of time?
A: Yes! In fact, it tastes better when made 12-24 hours ahead, allowing flavors to meld.
Q: How is Japanese tartar sauce different from Western versions?
A: Japanese tartar sauce is smoother, creamier, uses Japanese mayo (which is tangier and sweeter), and typically doesn’t include pickles or capers.
Q: Do I have to use Japanese mayonnaise?
A: For authentic flavor, yes. Kewpie brand is best, but you can approximate by adding rice vinegar and sugar to regular mayo.
Q: How long does homemade Japanese tartar sauce last?
A: When properly stored in an airtight container in the refrigerator, it stays fresh for up to 3 days.
Q: Can I use this sauce for non-Japanese dishes?
A: Absolutely! While perfect for Japanese cuisine, this tartar sauce works wonderfully with any fried seafood, sandwiches, and even as a salad dressing base.