These best protein pancakes transform your morning routine into a muscle-building feast that tastes like weekend indulgence. Packed with 25 grams of protein per serving, these fluffy, golden pancakes prove that healthy eating never has to compromise on flavor. Perfect for fitness enthusiasts and families alike, this foolproof recipe delivers bakery-quality best protein pancakes that even beginners can master.
SERVES: 4 | PREP: 15 MIN | COOK: 20 MIN | TOTAL: 35 MIN
Ingredients for the Best Protein Pancakes
Dry Ingredients
| Ingredient | Amount | Why We Use It |
|---|---|---|
| Protein powder (vanilla whey) | 2 scoops (60g) | The star ingredient – provides structure and 20g protein |
| All-purpose flour | 1 cup | Creates classic pancake texture and helps bind everything |
| Baking powder | 2 teaspoons | Makes pancakes fluffy by creating air bubbles |
| Salt | 1/2 teaspoon | Enhances all flavors and balances sweetness |
| Cinnamon | 1/2 teaspoon | Adds warmth and complements protein powder flavor |
Wet Ingredients
| Ingredient | Amount | Why We Use It |
|---|---|---|
| Large eggs | 2 whole | Adds protein, richness, and helps pancakes hold together |
| Greek yogurt (plain) | 1/2 cup | Extra protein plus incredible moisture |
| Milk (any type) | 3/4 cup | Creates the right batter consistency |
| Vanilla extract | 1 teaspoon | Enhances flavor and masks any protein powder aftertaste |
| Honey | 2 tablespoons | Natural sweetness that blends better than sugar |
For Cooking
| Ingredient | Amount | Purpose |
|---|---|---|
| Coconut oil or butter | 2 tablespoons | Prevents sticking and adds golden color |
Detailed Step-by-Step Instructions for Best Protein Pancakes
Phase 1: Equipment Setup and Heat Preparation (5 minutes)
Step 1: Preheat Your Cooking Surface Place a large non-stick skillet or griddle over medium-low heat (around 300°F if you have a thermometer). This is crucial – high heat will burn the outside before the protein-rich center cooks through. Let it heat for 3-4 minutes while you prep ingredients.
Beginner Tip: Test the temperature by flicking a few drops of water onto the surface. They should sizzle gently and evaporate in about 10 seconds.
Step 2: Organize Your Workspace Set out two large mixing bowls, measuring cups, a whisk, and a wooden spoon. Having everything ready prevents rushing, which leads to overmixing – the enemy of fluffy pancakes.
Phase 2: Preparing the Dry Mix (3 minutes)
Step 3: Measure Protein Powder Correctly Use the scoop that came with your protein powder, leveling off with a knife. Never pack it down – this creates dense, heavy pancakes. If you don’t have the original scoop, 1 scoop equals about 30 grams or 1/4 cup.
Beginner Warning: Different protein powder brands have different densities. Start with slightly less if unsure.
Step 4: Sift Dry Ingredients In your first large bowl, whisk together protein powder, flour, baking powder, salt, and cinnamon for 30 seconds. This step breaks up any protein powder clumps that would create lumpy, uneven best protein pancakes.
Pro Technique: If you see stubborn clumps, press them against the bowl side with your whisk and break them apart.
Phase 3: Creating the Perfect Wet Mix (4 minutes)
Step 5: Room Temperature Check Your eggs and yogurt should feel cool but not cold to the touch. Cold ingredients don’t blend smoothly and create lumpy batter. If they’re too cold, place eggs in warm water for 2 minutes.
Step 6: Whisk Eggs to Perfection In your second bowl, crack both eggs and whisk vigorously for 45 seconds until they’re light, frothy, and pale yellow. This adds air to your best protein pancakes and creates lift.
Visual Cue: Properly whisked eggs will double in volume and hold soft peaks for 2-3 seconds.
Step 7: Incorporate Greek Yogurt Add yogurt to the whisked eggs and whisk until completely smooth with no white streaks visible. This takes about 30 seconds of steady whisking. The mixture should look creamy and uniform.
Step 8: Add Remaining Wet Ingredients Pour in milk, vanilla extract, and honey. Whisk for another 30 seconds until the honey is fully dissolved and the mixture is silky smooth.
Beginner Tip: If honey seems stuck to the measuring spoon, dip the spoon in warm water first – honey slides right off.
Phase 4: The Critical Combining Stage (3 minutes)
Step 9: Create the Flour Well Using your wooden spoon, push the dry ingredients to the sides of the bowl, creating a deep well in the center. This technique prevents flour from flying everywhere when you add the wet ingredients.
Step 10: The Gentle Pour Pour ALL the wet ingredients into the flour well at once. Don’t pour slowly or in parts – this leads to overmixing as you try to incorporate everything.
Step 11: The Folding Technique Using a wooden spoon or rubber spatula, start from the bottom of the bowl and fold the mixture over itself. Rotate the bowl a quarter turn and repeat. Continue this folding motion – never stir in circles.
Critical Point: Stop the moment you don’t see dry flour. The batter should look lumpy and slightly uneven. Smooth batter means you’ve overmixed.
Step 12: Rest Period Let the batter sit untouched for 3 minutes. During this time, the flour hydrates and the baking powder activates, creating fluffier best protein pancakes. Use this time to prep your cooking area.
Phase 5: Mastering the Cooking Process (15 minutes)
Step 13: Oil Temperature Test Add 1/2 tablespoon coconut oil to your heated pan. It should melt immediately and sizzle very gently. If it smokes or splatters aggressively, your pan is too hot – remove from heat for 30 seconds.
Step 14: Portion Control Using a 1/4 cup measuring cup, scoop batter and pour it onto the griddle from about 2 inches high. This creates perfectly round pancakes. Don’t spread the batter – let it naturally form its shape.
Spacing Tip: Leave 2 inches between pancakes so you have room to flip without them touching.
Step 15: The Waiting Game (First Side) Cook for 4-5 minutes without moving or pressing the pancakes. Watch for these visual cues:
- Bubbles form on the surface and some start popping
- Edges look set and slightly dry
- The bottom is golden brown when you peek with your spatula
Beginner Mistake: Flipping too early causes pancakes to break apart. Be patient!
Step 16: The Perfect Flip Slide your spatula completely under the pancake, supporting as much surface area as possible. Flip quickly but gently in one smooth motion. The second side should already show light golden color.
Step 17: Second Side Cooking Cook for 2-3 minutes on the second side. This side cooks faster because the pan is hotter and the pancake is already partially cooked through.
Doneness Test: Gently press the center – it should spring back, not leave an indentation.
Step 18: Keep Warm System Transfer finished pancakes to a baking sheet in a 200°F oven. This keeps them warm and slightly crispy while you finish cooking all batches of your best protein pancakes.
Step 19: Batch Cooking Strategy Add a little more oil between batches if pancakes start sticking. Clean any burnt bits from the pan with a paper towel to prevent bitter flavors.
Step 20: Final Quality Check Your completed best protein pancakes should be golden brown, fluffy in the center, and spring back when lightly pressed. They should smell nutty and sweet, not eggy or chalky.
Chef’s Notes for Perfect Best Protein Pancakes
• Protein Powder Selection: Vanilla whey protein works best, but vanilla casein or plant-based vanilla proteins also work. Avoid unflavored – it creates bland, chalky-tasting best protein pancakes.
• Consistency Mastery: Perfect batter should coat a spoon but still pour in a steady stream. If too thick, add milk 1 tablespoon at a time. If too thin, add flour 1 tablespoon at a time.
• Temperature Troubleshooting: If pancakes brown too quickly but stay raw inside, lower heat and cover the pan with a lid for the first 2 minutes of cooking.
• Make-Ahead Secret: Mix dry ingredients in bulk and store in airtight containers. When ready to cook, just add wet ingredients for instant best protein pancakes.
Nutrition Per Serving
- Calories: 285
- Protein: 25g
- Carbohydrates: 28g
- Fat: 9g
- Fiber: 2g
- Sugar: 12g
Creative Variations of Best Protein Pancakes
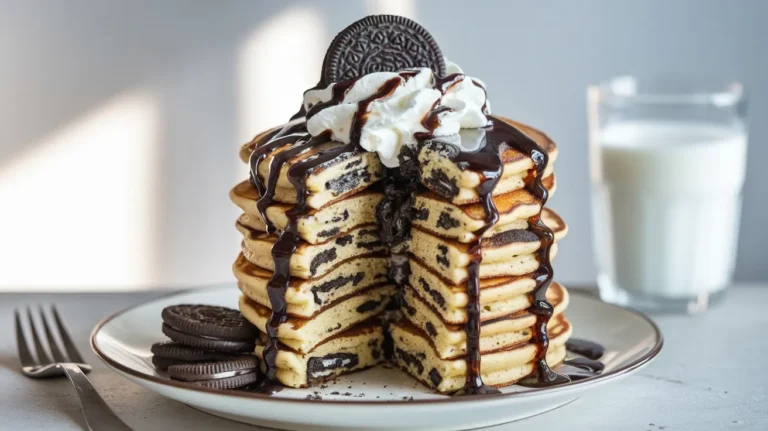
Double Chocolate Protein Stack
Replace vanilla protein with chocolate whey and fold in 1/3 cup mini dark chocolate chips. These indulgent pancakes rival any dessert while maintaining high protein content.
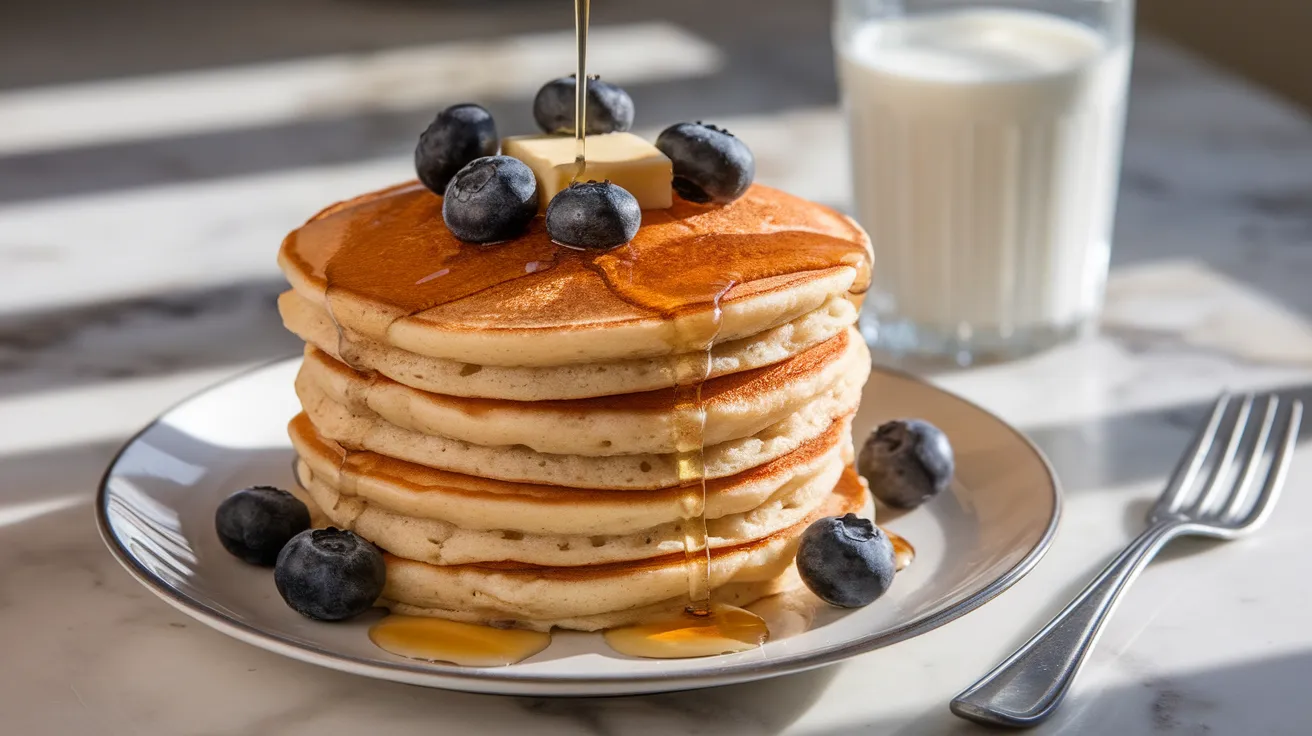
Berry Antioxidant Protein Pancakes
Add 1/2 cup mixed fresh berries and 1 tablespoon lemon zest to the batter. The fruit’s natural tartness perfectly balances the protein powder. Pair with our peaches cream pancakes for a colorful brunch spread.
Peanut Butter Power Stack
Replace honey with 2 tablespoons natural peanut butter in the wet ingredients. Mix another tablespoon with maple syrup for an irresistible drizzle that adds even more protein.
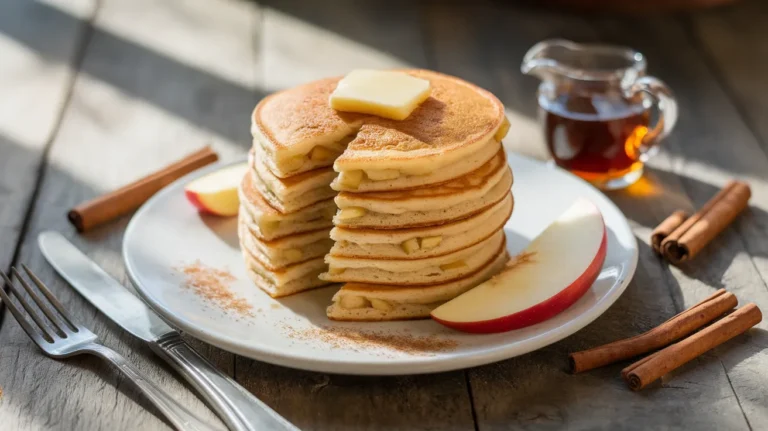
Cinnamon Roll Protein Delight
Double the cinnamon and add 1/4 teaspoon nutmeg to the batter. Swirl in 2 tablespoons melted butter mixed with brown sugar before cooking. These taste like dessert but fuel your muscles. Try alongside our carbquik pancakes for variety.
Storage & Reheating Your Best Protein Pancakes
Refrigerator Storage: Place cooled pancakes in an airtight container with parchment paper between layers. They’ll stay fresh for up to 5 days without losing their fluffy texture.
Freezer Method: Flash-freeze pancakes on a baking sheet for 2 hours, then transfer to freezer bags. These best protein pancakes maintain quality for up to 3 months.
Reheating Options:
- Toaster: Best for crispy edges – toast directly from frozen for 2-3 minutes
- Microwave: Cover with damp paper towel, heat 30 seconds per pancake for soft texture
- Oven: Reheat at 350°F for 5 minutes for bakery-fresh taste
Troubleshooting Guide for Best Protein Pancakes
Problem: Dense, Heavy Pancakes
Root Cause: Too much protein powder or overmixed batter Solution: Measure protein powder by scoops, not packed cups. Mix just until flour disappears – lumpy batter is perfect batter.
Problem: Pancakes Burn Before Cooking Through
Root Cause: Heat too high for protein-rich batter Solution: Use medium-low heat consistently. Cover pan with lid for first 2 minutes to steam-cook the center.
Problem: Pancakes Break Apart When Flipping
Root Cause: Flipped too early or inadequate support Solution: Wait for bubbles to pop on surface and edges to set. Use a wide, thin spatula and slide completely underneath before flipping.
Problem: Bitter or Chalky Aftertaste
Root Cause: Poor quality protein powder or too much protein Solution: Invest in reputable whey protein brands. Reduce to 1.5 scoops and add 2 tablespoons flour to compensate.
Problem: Uneven Cooking or Raw Centers
Root Cause: Inconsistent heat or pancakes too thick Solution: Use consistent medium-low heat. Pour batter from higher up to create thinner, more even pancakes.
Essential Equipment for Best Protein Pancakes
• Large Non-Stick Griddle or Heavy-Bottom Skillet – Even heat prevents hot spots that burn pancakes • Two Large Mixing Bowls – Keeps wet and dry ingredients separate until combining • Fine-Mesh Whisk – Breaks up protein powder clumps effectively without overmixing • 1/4 Cup Measuring Cup – Creates uniform pancake sizes every time • Wide, Thin Spatula – Essential for supporting entire pancake during flipping • Kitchen Scale (Optional) – Most accurate way to measure protein powder for consistent results
Complete Shopping List
Dairy & Refrigerated Section
- Large eggs (need 2)
- Plain Greek yogurt (32oz container)
- Milk of choice (any fat percentage works)
- Coconut oil or butter for cooking
Pantry & Baking Aisle
- All-purpose flour (5lb bag)
- Baking powder (check expiration date)
- Salt (table or sea salt)
- Ground cinnamon
- Pure vanilla extract (not imitation)
- Honey (raw or regular)
Health & Supplement Section
- High-quality vanilla whey protein powder (2-5lb container recommended)
Success Secrets for the Best Protein Pancakes
1. Invest in Quality Protein: Premium whey protein dissolves smoother and tastes better. Cheap protein powders often create gritty, unpleasant-tasting best protein pancakes that discourage healthy eating.
2. Temperature Consistency: Use an infrared thermometer to maintain 300°F cooking surface. Consistent temperature creates evenly golden, perfectly cooked pancakes every single time.
3. The Bubble Rule: Perfect pancakes show active bubbling with some bubbles popping and staying open. This visual cue indicates the bottom is set and ready for flipping.
4. Resting Matters: Never skip the 3-minute batter rest. This allows flour to hydrate fully and creates measurably fluffier best protein pancakes than rushed batches.
5. Batch Prep Strategy: Make triple batches on meal prep days. Freeze extras individually wrapped for grab-and-go breakfasts that support your fitness goals all week long.
These best protein pancakes prove that nutritious breakfasts can taste absolutely incredible. Each stack delivers serious muscle-building nutrition while satisfying those weekend brunch cravings. Master this recipe once, and you’ll have a go-to breakfast that fuels your day and supports your goals perfectly.