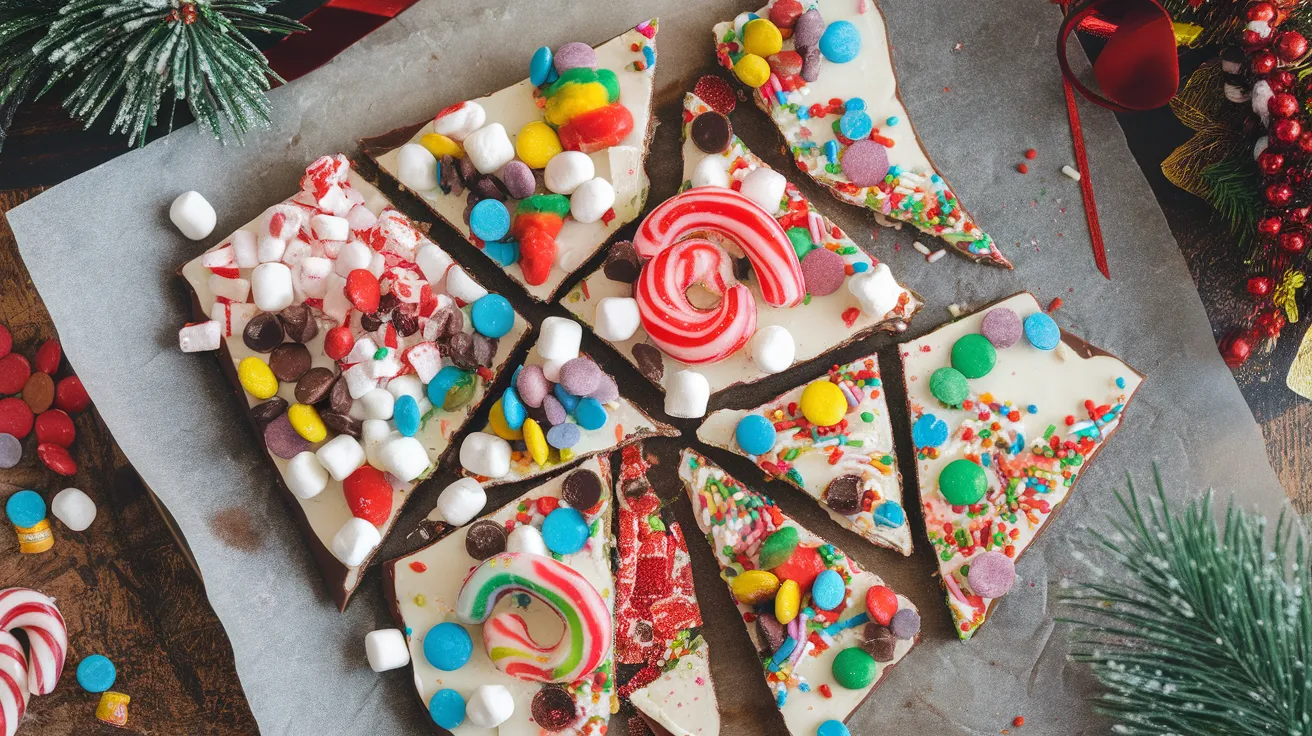
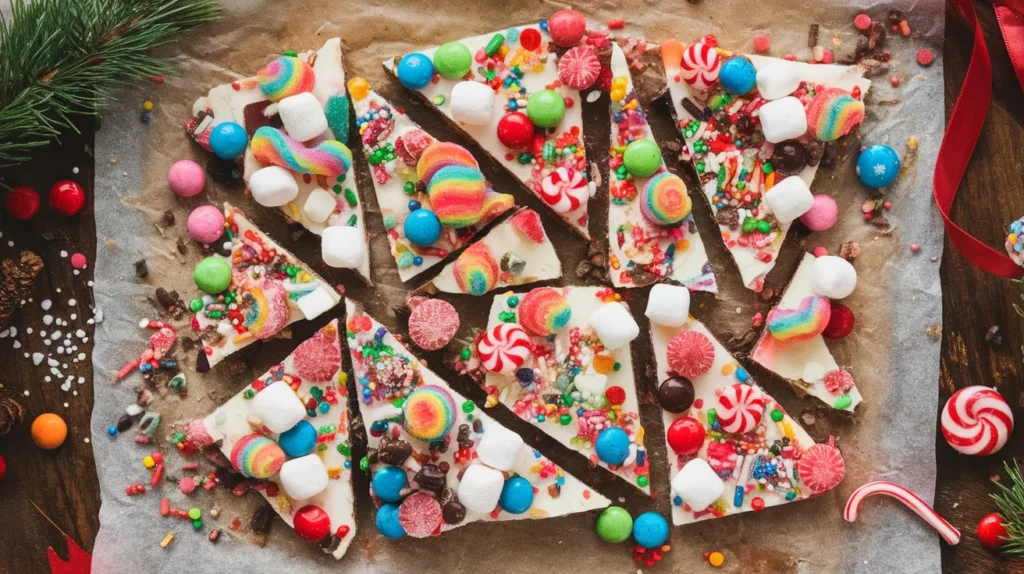
This delightfully chaotic Buddy the Elf Bark captures all the sugary wonder of everyone’s favorite Christmas movie elf in one incredibly sweet treat. Packed with colorful candies, sprinkles, and that signature Buddy enthusiasm, this Buddy the Elf Bark transforms ordinary white chocolate into a festive masterpiece that’s perfect for holiday parties, gift-giving, or satisfying your inner child’s sugar cravings.
SERVES: 4 | PREP: 15 MIN | COOK: 5 MIN | TOTAL: 20 MIN (plus 30 min chilling)
Ingredients
Base Layer
| Ingredient | Amount |
|---|---|
| High-quality white chocolate chips | 12 oz |
| Coconut oil | 1 tablespoon |
Buddy’s Candy Wonderland
| Ingredient | Amount |
|---|---|
| Mini marshmallows | 1 cup |
| Colorful gumdrops | ½ cup |
| Mini chocolate chips | ⅓ cup |
| Crushed candy canes | ¼ cup |
| Rainbow sprinkles | 3 tablespoons |
| Mini M&Ms | ⅓ cup |
| Pop Rocks candy | 2 packets |
Step-by-Step Instructions
Phase 1: Chocolate Foundation (5 minutes)
1. Line a 9×13 inch baking sheet with parchment paper, leaving overhang for easy removal. This prevents sticking and makes cutting much cleaner later.
2. Place white chocolate chips and coconut oil in a microwave-safe bowl. The coconut oil helps create that glossy, smooth finish that makes professional-looking bark.
3. Microwave in 30-second intervals, stirring between each burst. This prevents burning – white chocolate scorches easily and becomes grainy if overheated.
4. Continue heating until completely smooth and glossy, about 1-2 minutes total. The mixture should drip smoothly off your spoon when ready.
5. Immediately pour melted chocolate onto prepared parchment paper. Work quickly as white chocolate sets faster than milk chocolate.
Phase 2: Creating the Magic (3 minutes)
6. Use a silicone spatula to spread chocolate into an even rectangle, about ¼-inch thick. Don’t worry about perfect edges – rustic looks more homemade and charming.
7. Working quickly while chocolate is still warm, scatter mini marshmallows evenly across surface. Press gently so they stick but don’t sink completely.
8. Add gumdrops in rainbow patterns, pressing each one slightly into the soft chocolate. Cut larger gumdrops in half for better distribution and easier eating.
9. Sprinkle mini chocolate chips across the surface, creating contrast against the white chocolate base. These add texture and extra chocolate flavor.
10. Distribute crushed candy canes for that refreshing peppermint pop. Crush them coarsely – too fine and they disappear, too large and they’re hard to bite.
Phase 3: The Buddy Touch (2 minutes)
11. Add rainbow sprinkles generously – Buddy would approve of maximum color! Tap the pan gently to help them settle into the chocolate.
12. Scatter mini M&Ms for pops of bright color and crunch. Press very lightly to ensure they stay put during setting.
13. Safety tip: Open Pop Rocks packets carefully and sprinkle immediately before chilling. The crackling effect works best when added just before the chocolate fully sets.
14. Give the pan one final gentle tap to settle all toppings evenly. This prevents air bubbles and ensures everything adheres properly.
Phase 4: Setting and Finishing (30 minutes)
15. Refrigerate for 30 minutes until completely firm. Don’t rush this step – properly set bark breaks cleanly and holds its shape.
16. Remove from refrigerator and lift out using parchment overhang. Place on cutting board for easy handling.
17. Use a sharp knife to cut into irregular pieces – imperfect shapes look more artisanal and fun, just like Buddy would make.
18. Pro tip: Warm your knife blade under hot water and dry between cuts for cleaner edges through the chocolate and candy pieces.
Chef’s Notes
Temperature Control: Keep your kitchen cool while working. Warm environments cause white chocolate to bloom (develop white spots) and toppings to slide off. This Buddy the Elf Bark recipe works best in temperatures below 75°F.
Candy Selection: Choose candies with different textures for maximum impact. The combination of chewy gumdrops, crunchy candy canes, and popping Pop Rocks creates the chaotic joy that defines this Buddy the Elf Bark.
Make-Ahead Magic: Prepare this Buddy the Elf Bark up to one week ahead. Store in airtight containers between parchment paper layers to prevent sticking and maintain crispness.
Gift-Giving Glory: Package pieces in clear cellophane bags tied with colorful ribbons for perfect holiday gifts that capture Buddy’s infectious Christmas spirit.
Nutrition Information (Per Serving)
- Calories: 385
- Protein: 4g
- Carbohydrates: 52g
- Fat: 18g
- Sugar: 48g
- Fiber: 1g
Creative Variations
Tropical Buddy Bark: Replace traditional candies with dried pineapple, coconut flakes, and macadamia nuts for a Hawaiian-inspired twist on this beloved recipe.
Peppermint Paradise: Double the crushed candy canes and add peppermint extract to the chocolate for an extra minty version. Check out our peppermint bark Williams Sonoma copycat for more inspiration.
Chocolate Lover’s Dream: Use milk chocolate base instead of white, and add crushed Oreos, brownie pieces, and chocolate-covered espresso beans for intense chocolate flavor.
Matcha Twist: Create a sophisticated version using white chocolate infused with matcha powder and topped with crystallized ginger and sesame seeds. Our matcha bark offers similar elegant flavor combinations.
Storage & Reheating
Refrigerator Storage: Keep Buddy the Elf Bark in airtight containers for up to two weeks. Layer between parchment paper to prevent pieces from sticking together.
Freezer Storage: Freeze for up to three months in freezer-safe containers. Thaw in refrigerator before serving to prevent condensation from making toppings soggy.
Room Temperature: In cool weather (below 70°F), bark can sit out for up to 4 hours without melting. Perfect for holiday parties and cookie exchanges.
Humidity Warning: Avoid storage in humid conditions as chocolate can develop bloom and candies may become sticky or dissolve.
Troubleshooting Guide
Problem: White chocolate seized and became grainy. Solution: This happens from overheating or water contact. Start over with fresh chocolate, heating more gently in shorter intervals.
Problem: Toppings keep sliding off the bark. Solution: Work faster while chocolate is still tacky, or gently warm the surface with a hair dryer for 10 seconds to re-soften.
Problem: Bark won’t set properly even after chilling. Solution: Your chocolate may have been too warm when poured. Chill for additional 15 minutes, or place in freezer for 10 minutes.
Problem: Pop Rocks lost their pop. Solution: Moisture killed the carbonation. Add fresh Pop Rocks just before serving, or store bark in extremely dry conditions.
Problem: Pieces break unevenly or crumble. Solution: Let bark come to room temperature for 5 minutes before cutting. Use a sawing motion with a sharp knife rather than pressing down hard.
Equipment Essentials
- 9×13 inch rimmed baking sheet – Provides proper depth and even spreading
- Parchment paper – Essential for easy removal and clean cuts
- Microwave-safe mixing bowl – For melting chocolate safely
- Silicone spatula – Won’t scratch bowls and spreads chocolate smoothly
- Sharp chef’s knife – For clean cuts through set chocolate and candies
- Measuring cups and spoons – Accurate measurements ensure proper consistency
Shopping List
Baking Aisle
- White chocolate chips (12 oz bag)
- Rainbow sprinkles
- Coconut oil
Candy Section
- Mini marshmallows
- Colorful gumdrops
- Mini chocolate chips
- Candy canes (for crushing)
- Mini M&Ms
- Pop Rocks candy (2 packets)
Paper Products
- Parchment paper
- Storage containers or gift bags
Success Secrets
1. Quality Chocolate Matters: Invest in good white chocolate chips or bars. Cheaper versions often contain less cocoa butter and won’t set properly or taste as rich.
2. Timing is Everything: Have all your Buddy the Elf Bark toppings measured and ready before melting chocolate. You’ll have about 3-4 minutes of working time before it starts to set.
3. Temperature Test: The chocolate is ready to pour when it reaches 90-95°F on a candy thermometer. This ensures proper setting without being too hot for delicate candies.
4. Press Gently: Light pressure helps toppings adhere without sinking completely into the chocolate base. Think of patting rather than pushing.
5. Clean Cuts: For professional-looking pieces, wipe your knife clean between each cut and make smooth, confident motions through the bark.
This Buddy the Elf Bark brings pure Christmas magic to your kitchen with its colorful chaos and sweet surprises in every bite. Perfect for sharing the holiday spirit or treating yourself to a little Buddy-approved indulgence!