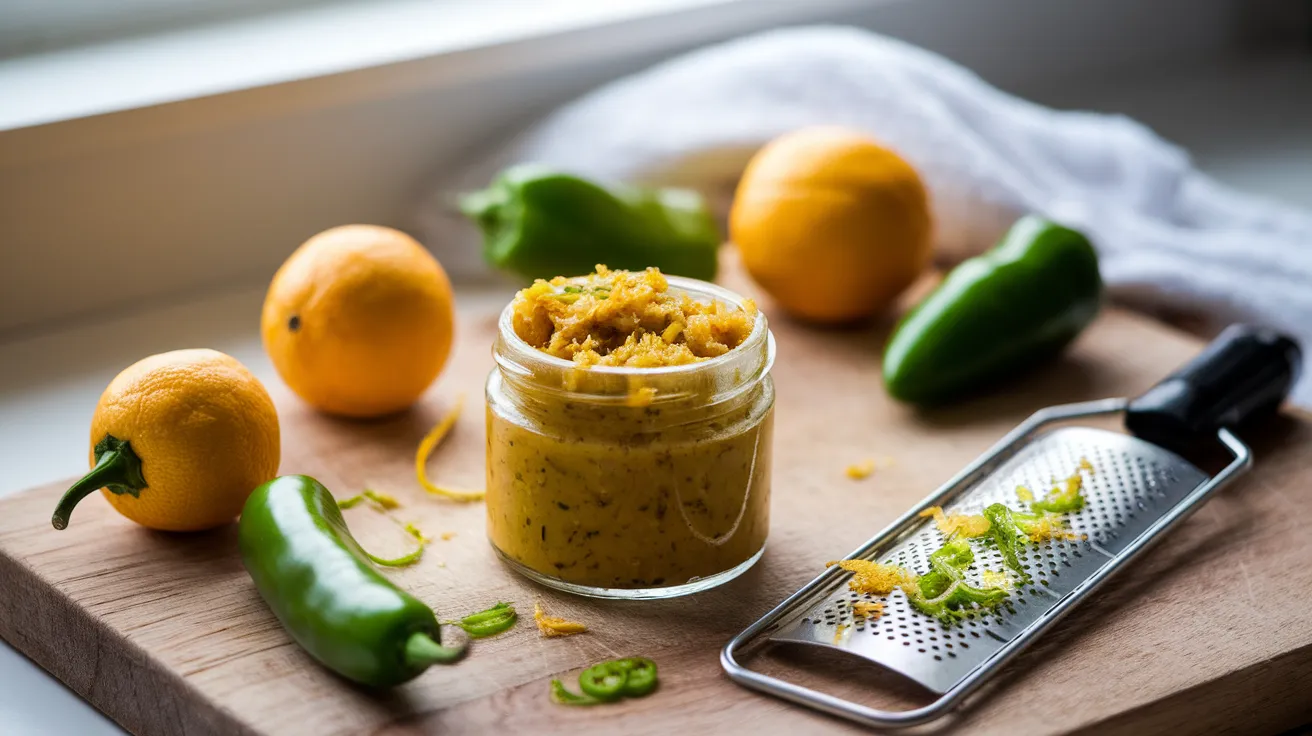
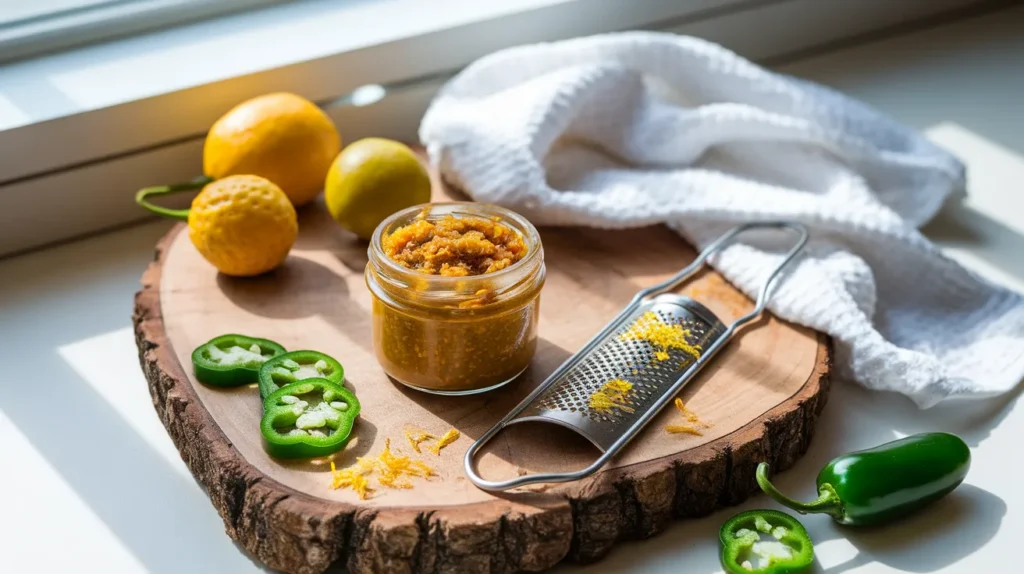
This homemade yuzu kosho recipe transforms fresh yuzu citrus and green chilies into an incredibly aromatic paste that adds bright, complex heat to everything from grilled meats to noodle soups. Making yuzu kosho at home lets you control the spice level while creating this coveted Japanese condiment that’s surprisingly simple to prepare.
SERVES: 4 (makes about 1/2 cup) | PREP: 45 MIN | COOK: 0 MIN | TOTAL: 45 MIN
Ingredients
Main Components
| Ingredient | Amount | Notes |
|---|---|---|
| Fresh yuzu fruit | 6-8 medium | Or substitute with Meyer lemons + lime zest |
| Fresh green chilies | 8-10 pieces | Jalapeños or serranos work well |
| Sea salt | 2 tablespoons | Fine grain preferred |
| Rice vinegar | 1 teaspoon | For preservation |
Optional Enhancement
| Ingredient | Amount | Purpose |
|---|---|---|
| Sugar | 1/4 teaspoon | Balances acidity |
Step-by-Step Instructions
Phase 1: Preparing the Yuzu (15 minutes)
Step 1: Wash your yuzu thoroughly under cold running water, scrubbing the skin gently with a soft brush. The skin is the star of this recipe, so we need it completely clean. Pat each fruit completely dry with paper towels.
Step 2: Using a microplane grater or fine zester, carefully zest only the bright yellow outer layer of each yuzu. Avoid the white pith underneath, which tastes bitter and will ruin your yuzu kosho’s delicate flavor balance. You should have about 3-4 tablespoons of fine zest.
Step 3: Cut the zested yuzu in half and juice them into a small bowl, straining out any seeds. You’ll need about 1/4 cup of fresh yuzu juice. The combination of zest and juice creates the complex citrus profile that makes yuzu kosho so special.
Phase 2: Preparing the Chilies (10 minutes)
Step 4: Wearing gloves (trust me on this), remove the stems from your green chilies. For medium heat, keep about half the seeds. For milder yuzu kosho, remove all seeds and most of the white ribs inside.
Step 5: Roughly chop the chilies into small pieces. Don’t worry about perfect uniformity – we’re going to process them further. The key is removing any large chunks that might not break down properly.
Step 6: Place chopped chilies in a food processor and pulse 8-10 times until they’re finely minced but not completely smooth. You want some texture remaining for the final paste.
Phase 3: Creating the Paste (15 minutes)
Step 7: Add the yuzu zest to the food processor with the minced chilies. Pulse another 5-6 times to combine. The oils from the zest will start releasing that incredible aromatic punch.
Step 8: Pour in the yuzu juice gradually while pulsing. The mixture should start forming a chunky paste. Don’t over-process – yuzu kosho should have some texture, not be completely smooth.
Step 9: Add the sea salt and pulse just 2-3 more times. The salt acts as both seasoning and preservative, so distribution is important. Taste carefully (remember, it’s spicy!) and adjust salt if needed.
Phase 4: Final Assembly (5 minutes)
Step 10: Transfer the mixture to a clean bowl and stir in the rice vinegar. This helps with preservation and adds a subtle tang that complements the yuzu’s natural acidity.
Step 11: If your yuzu kosho tastes too tart, add the optional 1/4 teaspoon sugar and mix well. This small amount won’t make it sweet but will round out the sharp edges.
Step 12: Pack your finished yuzu kosho into a clean glass jar, leaving about 1/4 inch headspace. Press down gently to remove air bubbles, which can cause spoilage.
Chef’s Notes
Fermentation Magic: Let your yuzu kosho sit at room temperature for 24 hours before refrigerating. This brief period allows the flavors to marry and develop complexity, just like traditional versions do during longer fermentation.
Yuzu Substitution Strategy: Can’t find fresh yuzu? Combine Meyer lemon zest with a splash of lime juice and a tiny pinch of grapefruit zest. While not identical, this creates a similar bright, complex citrus profile that works beautifully in yuzu kosho.
Heat Level Control: Start conservative with chilies – you can always make another batch spicier, but you can’t tone down an overly hot yuzu kosho. Jalapeños give mild heat, serranos bring medium fire, and Thai chilies create serious heat.
Texture Perfection: The ideal yuzu kosho has a coarse, grainy texture similar to coarse mustard. If yours comes out too smooth, pulse in an extra tablespoon of zest for more texture and intensified citrus flavor.
Nutrition Information (Per 2 teaspoons)
- Calories: 8
- Protein: 0.2g
- Carbohydrates: 1.8g
- Fat: 0.1g
- Sodium: 580mg
- Vitamin C: 12mg
Creative Variations
Red Yuzu Kosho: Substitute red fresno or red jalapeño peppers for green ones. The flavor becomes slightly sweeter and more complex, perfect for beef and lamb dishes.
Smoky Version: Add 1/4 teaspoon smoked paprika during the final mixing stage. This variation pairs exceptionally well with grilled vegetables and complements spicy condiments like shichimi togarashi for layered heat.
Extra-Citrusy Style: Double the yuzu zest and add the finely grated zest of one lime. This creates an intensely aromatic version that’s incredible with seafood and light salads.
Restaurant-Style Heat: Blend in 1 teaspoon of your favorite rayu sauce for added complexity and deeper spice notes that professional kitchens love.
Storage & Reheating
Refrigerator Storage: Your homemade yuzu kosho stays fresh for up to 3 months when stored in a clean, airtight glass jar in the refrigerator. Always use clean utensils when scooping to prevent contamination.
Freezer Method: Portion yuzu kosho into ice cube trays, freeze solid, then transfer cubes to freezer bags. Frozen portions keep for 6 months and thaw quickly when needed.
Flavor Development: The taste actually improves over the first two weeks of storage as the salt draws out more citrus oils and the flavors meld together beautifully.
Troubleshooting Guide
Problem: Too Salty Add more yuzu juice, one teaspoon at a time, until the saltiness balances. You can also mix in a tiny pinch of sugar to counteract excessive salt.
Problem: Not Spicy Enough Blend in finely minced fresh chili or a small amount of white pepper. Adding hot sauce will change the flavor profile, so stick with fresh heat sources.
Problem: Too Wet/Runny Mix in additional yuzu zest or let the mixture sit uncovered in the refrigerator for a few hours to allow excess moisture to evaporate naturally.
Problem: Bitter Taste You likely included too much white pith when zesting. Start a new batch, being extra careful to zest only the colored outer layer of the citrus skin.
Problem: Brown Color Development This indicates oxidation from exposure to air. Transfer to a smaller container to minimize air contact, or press plastic wrap directly onto the surface before sealing.
Equipment Essentials
- Food processor (mini works fine)
- Microplane grater or fine zester
- Sharp paring knife
- Cutting board
- Disposable gloves
- Clean glass jars with tight lids
- Small fine-mesh strainer
Shopping List
Produce Section
- Fresh yuzu (or Meyer lemons + limes)
- Fresh green chilies (jalapeños or serranos)
Pantry Aisle
- Sea salt (fine grain)
- Rice vinegar
- Sugar (optional)
Equipment Needed
- Clean glass storage jars
Success Secrets
- Always wear gloves when handling chilies – yuzu kosho’s oils can irritate skin for hours after preparation.
- Taste as you go but use a clean spoon each time to avoid contaminating your batch with bacteria from your mouth.
- Let flavors develop by allowing your finished yuzu kosho to rest 24 hours before first use – the transformation is remarkable.
- Keep it chunky rather than smooth – authentic yuzu kosho has visible bits of zest and chili that create textural interest.
- Make small batches initially until you perfect your preferred heat level and consistency – this recipe doubles easily once you nail your ideal version.