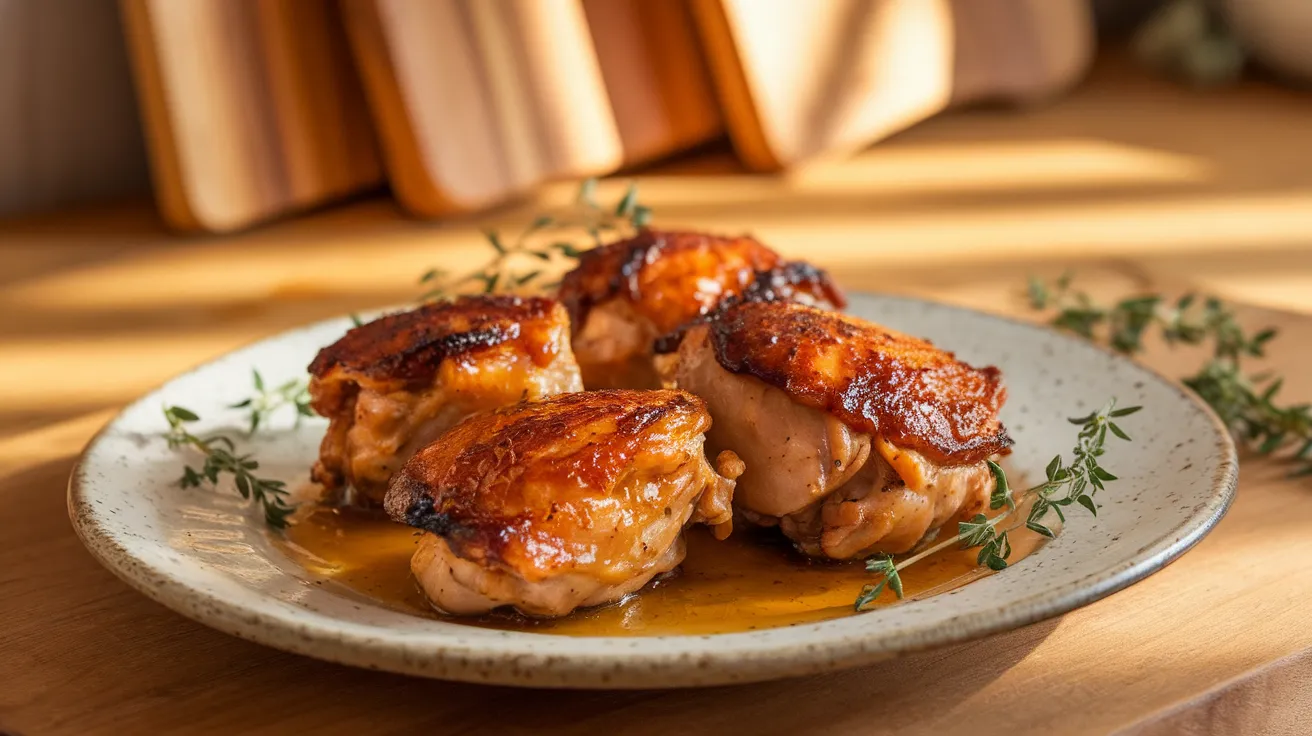
These golden honey mustard chicken thighs combine the perfect balance of sweet honey and tangy Dijon mustard, creating a restaurant-quality meal that’s surprisingly simple to make at home. With crispy skin and juicy meat, this honey mustard chicken thighs recipe delivers bold flavors that will have your family asking for seconds every time.
SERVES: 4 | PREP: 15 MIN | COOK: 35 MIN | TOTAL: 50 MIN
Ingredients
Main Components
| Ingredient | Amount | Notes |
|---|---|---|
| Bone-in, skin-on chicken thighs | 8 pieces (2-2.5 lbs) | Pat completely dry |
| Olive oil | 2 tablespoons | For searing |
| Salt | 2 teaspoons | Kosher or sea salt |
| Black pepper | 1 teaspoon | Freshly ground |
| Garlic powder | 1 teaspoon | Not garlic salt |
| Paprika | 1/2 teaspoon | Sweet or smoked |
Honey Mustard Glaze
| Ingredient | Amount | Purpose |
|---|---|---|
| Honey | 1/3 cup | Natural sweetness |
| Dijon mustard | 3 tablespoons | Tangy base |
| Whole grain mustard | 2 tablespoons | Texture and flavor |
| Apple cider vinegar | 2 tablespoons | Balances sweetness |
| Fresh thyme | 1 tablespoon | Aromatic herb |
| Garlic | 3 cloves, minced | Savory depth |
Step-by-Step Instructions
Phase 1: Preparation (10 minutes)
Step 1: Remove chicken thighs from refrigerator 20 minutes before cooking. Why: Room temperature chicken cooks more evenly and prevents the outside from overcooking while the inside catches up.
Step 2: Pat each thigh completely dry with paper towels, including under the skin flaps. Safety tip: Use separate paper towels for each piece to prevent cross-contamination.
Step 3: Season both sides generously with salt, pepper, garlic powder, and paprika. Pro tip: Press seasonings into the skin for better adherence and flavor penetration.
Step 4: Preheat your oven to 400°F (200°C) and position rack in the center. Timing note: This allows 10 minutes for proper preheating while you prepare the glaze.
Phase 2: Glaze Creation (5 minutes)
Step 5: In a medium bowl, whisk together honey, Dijon mustard, and whole grain mustard until completely smooth. Visual cue: The mixture should be uniform golden color with visible mustard seeds.
Step 6: Add apple cider vinegar and minced garlic, whisking until well incorporated. Taste test: The glaze should balance sweet and tangy flavors equally.
Step 7: Stir in fresh thyme leaves, crushing them slightly between your fingers to release oils. Alternative: Use 1 teaspoon dried thyme if fresh isn’t available.
Phase 3: Searing Process (8 minutes)
Step 8: Heat olive oil in a large oven-safe skillet over medium-high heat until shimmering. Temperature check: A drop of water should sizzle immediately.
Step 9: Place chicken thighs skin-side down in the hot skillet, leaving space between each piece. Important: Don’t overcrowd or move them for the first 4 minutes.
Step 10: Sear for 4-5 minutes until skin is golden brown and crispy. Visual cue: The skin should easily release from the pan when properly seared.
Step 11: Flip thighs using tongs and sear the other side for 3-4 minutes. Safety note: Use splatter screen if needed to prevent oil burns.
Phase 4: Glazing and Roasting (25 minutes)
Step 12: Brush half of the honey mustard glaze over the chicken thighs, coating both sides generously. Technique: Use a pastry brush or spoon for even coverage.
Step 13: Transfer skillet to preheated oven immediately. Timing: Don’t let glazed chicken sit on stovetop or glaze may burn.
Step 14: Roast for 15 minutes, then remove and brush with remaining glaze. Temperature check: Internal temperature should reach 165°F (74°C) at the thickest part.
Step 15: Continue roasting for 8-10 more minutes until glaze is caramelized and bubbly. Visual cue: Glaze should be deeply golden and slightly sticky.
Step 16: Remove from oven and let rest for 5 minutes before serving. Why: Resting allows juices to redistribute for maximum tenderness.
Chef’s Notes
Glaze Consistency: If your honey mustard glaze seems too thick, add 1 tablespoon warm water. For thinner glaze, simmer on stovetop for 2-3 minutes to reduce. The perfect glaze coats the back of a spoon but still drips easily.
Skin Crispiness: The secret to crispy honey mustard chicken thighs is starting with completely dry skin and high initial heat. Never skip the searing step, as this creates the foundation for that coveted crispy texture that contrasts beautifully with the tender meat.
Temperature Precision: Use a meat thermometer to ensure your honey mustard chicken thighs reach exactly 165°F internal temperature. This guarantees food safety while preventing overcooking that leads to dry meat.
Make-Ahead Magic: Prepare the honey mustard glaze up to 3 days in advance and store refrigerated. This actually improves the flavor as the ingredients meld together, making your cooking process even smoother.
Nutrition Information (Per Serving)
- Calories: 385
- Protein: 32g
- Carbohydrates: 18g
- Fat: 22g
- Fiber: 1g
- Sodium: 580mg
Creative Variations
Asian-Inspired Twist: Replace apple cider vinegar with rice vinegar and add 1 tablespoon soy sauce plus 1 teaspoon sesame oil. Garnish with sliced green onions and sesame seeds for an exciting flavor profile that pairs wonderfully with steamed rice.
Mediterranean Style: Substitute fresh rosemary for thyme and add 2 tablespoons lemon juice to the glaze. This variation works beautifully alongside roasted vegetables, similar to our balsamic glazed chicken thighs recipe.
Spicy Heat Version: Add 1-2 teaspoons sriracha or hot sauce to the honey mustard glaze for those who enjoy a kick. Balance the heat with an extra tablespoon of honey to maintain the sweet-tangy harmony.
Sheet Pan Method: For easier cleanup, try this technique with our sheet pan roasted chicken thighs with vegetables approach, adding root vegetables around the glazed chicken for a complete one-pan meal.
Storage & Reheating
Refrigerator Storage: Store leftover honey mustard chicken thighs in an airtight container for up to 4 days. The glaze actually helps preserve moisture, keeping the meat tender even when cold.
Freezer Storage: Wrap individual thighs in aluminum foil, then place in freezer bags for up to 3 months. Label with cooking date for best quality control.
Reheating Instructions: For best results, reheat in a 350°F oven for 12-15 minutes until warmed through. Avoid microwave reheating, which can make the skin soggy and texture rubbery.
Glaze Refreshing: If reheated chicken looks dry, brush with additional honey mustard glaze before serving to restore that glossy, appetizing appearance.

Troubleshooting Guide
Problem: Glaze burns before chicken is cooked through. Solution: Cover loosely with foil and reduce oven temperature to 375°F. The glaze contains honey, which can caramelize quickly at high temperatures.
Problem: Chicken skin isn’t crispy despite proper searing. Solution: Increase oven temperature to 425°F for the last 5 minutes, watching carefully to prevent burning. Moisture is the enemy of crispy skin.
Problem: Glaze slides off the chicken during cooking. Solution: Ensure chicken is completely dry before glazing, and let the first glaze layer set for 2-3 minutes before applying the second coat.
Problem: Internal temperature varies between thighs. Solution: Arrange similar-sized thighs together and check the largest piece first. Smaller thighs may finish 5-7 minutes earlier.
Problem: Glaze tastes too sweet or too tangy. Solution: Balance flavors by adding more mustard for tang or honey for sweetness. Always taste and adjust before final application.
Equipment Essentials
- Large oven-safe skillet (cast iron preferred)
- Instant-read meat thermometer
- Pastry brush or silicone brush
- Medium mixing bowl
- Wire whisk
- Tongs with good grip
- Paper towels for drying
- Measuring cups and spoons
Shopping List
Meat Counter
- Bone-in, skin-on chicken thighs (8 pieces)
Pantry Staples
- Olive oil
- Honey
- Dijon mustard
- Whole grain mustard
- Apple cider vinegar
- Kosher salt
- Black pepper
- Garlic powder
- Sweet paprika
Fresh Produce
- Fresh garlic (3 cloves)
- Fresh thyme (1 small package)
Success Secrets
1. Start with room temperature chicken for even cooking. Cold chicken straight from the fridge will cook unevenly, resulting in overcooked edges and undercooked centers.
2. Never skip the skin-side searing step. This initial high-heat contact creates the crispy foundation that makes honey mustard chicken thighs restaurant-quality.
3. Apply glaze in two stages rather than all at once. The first application sets during initial roasting, while the second creates that beautiful caramelized finish.
4. Let the chicken rest for 5 minutes after cooking. This crucial step allows juices to redistribute, ensuring every bite is moist and flavorful.
5. Use a meat thermometer for perfect results every time. Visual cues can be misleading, but 165°F internal temperature guarantees both safety and optimal texture for your honey mustard chicken thighs.