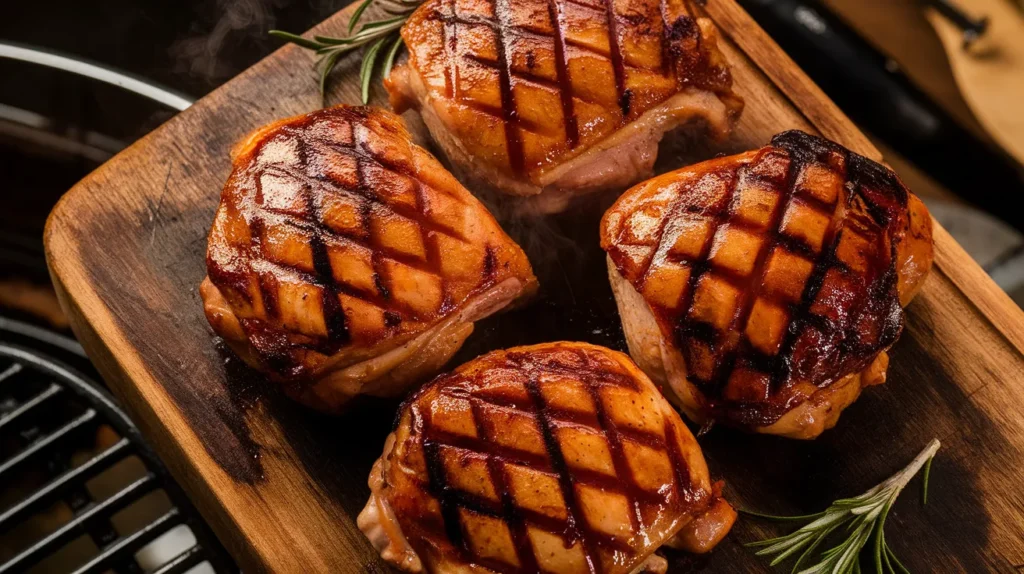
These BBQ grilled chicken thighs deliver restaurant-quality flavor with a perfectly caramelized crust and tender, juicy meat inside. Our foolproof method ensures even beginners can master these BBQ grilled chicken thighs that are packed with smoky, tangy flavors and stay moist every single time.
SERVES: 4 | PREP: 15 MIN | COOK: 25 MIN | TOTAL: 40 MIN
Ingredients
Main Components
| Ingredient | Amount |
|---|---|
| Bone-in, skin-on chicken thighs | 8 pieces (about 3 lbs) |
| Your favorite BBQ sauce | 1 cup, divided |
| Olive oil | 2 tablespoons |
Dry Rub Seasoning
| Spice | Amount |
|---|---|
| Brown sugar | 2 tablespoons |
| Paprika | 2 tablespoons |
| Garlic powder | 1 tablespoon |
| Onion powder | 1 tablespoon |
| Chili powder | 1 teaspoon |
| Salt | 2 teaspoons |
| Black pepper | 1 teaspoon |
| Cayenne pepper | 1/4 teaspoon |
Step-by-Step Instructions
Phase 1: Preparation (10 minutes)
Step 1: Remove chicken thighs from refrigerator 30 minutes before cooking to bring to room temperature. This ensures even cooking throughout the meat. Pat each thigh completely dry with paper towels – moisture is the enemy of crispy skin.
Step 2: In a small bowl, combine brown sugar, paprika, garlic powder, onion powder, chili powder, salt, black pepper, and cayenne. Mix thoroughly until no clumps remain. This creates our signature BBQ grilled chicken thighs seasoning blend.
Step 3: Drizzle olive oil over chicken thighs and rub evenly across all surfaces. The oil helps the seasoning stick and promotes better browning. Don’t skip this step – it’s crucial for flavor adhesion.
Step 4: Generously coat each thigh with the dry rub mixture, pressing gently to ensure it adheres. Get under the skin where possible for maximum flavor penetration. Let seasoned thighs rest while you prepare the grill.
Phase 2: Grill Setup (5 minutes)
Step 5: Preheat your grill to medium-high heat (375-400°F). For gas grills, heat with lid closed for 10-15 minutes. For charcoal, arrange coals to one side for indirect heat zones.
Step 6: Clean grill grates thoroughly with a wire brush, then oil them lightly using a paper towel dipped in vegetable oil. This prevents sticking and creates beautiful grill marks on your BBQ grilled chicken thighs.
Step 7: Set up two-zone cooking by keeping one side at medium-high heat and the other at medium-low. This allows you to move thighs if they’re browning too quickly.
Phase 3: Initial Grilling (15 minutes)
Step 8: Place chicken thighs skin-side down on the hot side of the grill. You should hear an immediate sizzle – this means your grill is properly heated. Don’t move them for 6-7 minutes to develop a golden crust.
Step 9: Check for easy release before flipping. If the chicken resists lifting, it needs more time. Properly seared BBQ grilled chicken thighs will release cleanly when ready. Look for golden-brown grill marks.
Step 10: Flip thighs carefully using tongs (never a fork, which pierces the skin). Cook bone-side down for another 6-8 minutes. The internal temperature should be climbing toward 165°F at the thickest part.
Step 11: If flare-ups occur, move thighs to the cooler side temporarily. Fat dripping is normal, but flames can burn your seasoning. Keep a spray bottle of water nearby for safety.
Phase 4: Sauce Application and Finishing (10 minutes)
Step 12: Once internal temperature reaches 155°F (it will continue cooking to 165°F), brush half the BBQ sauce onto the bone side. The sauce will caramelize beautifully in the final minutes.
Step 13: Flip thighs one final time and brush skin side with remaining sauce. Cook for 3-4 more minutes until sauce is glossy and slightly charred. Internal temperature must reach 165°F for food safety.
Step 14: Check doneness by inserting an instant-read thermometer into the thickest part without touching bone. Juices should run clear, and meat should feel firm but not hard.
Step 15: Remove BBQ grilled chicken thighs from grill and tent loosely with foil. Rest for 5 minutes – this allows juices to redistribute throughout the meat for maximum tenderness.
Chef’s Notes
Perfect Temperature Control: The key to exceptional BBQ grilled chicken thighs lies in temperature management. Start high for crispy skin, then reduce heat to cook through evenly without burning the exterior.
Sauce Timing Matters: Always apply BBQ sauce in the final 10 minutes of cooking. Sugar-based sauces burn quickly, so early application ruins the flavor profile you’ve worked to build.
Skin-On Benefits: Never remove the skin – it protects the meat from drying out while creating that coveted crispy texture. The fat renders slowly, naturally basting the meat.
Rest for Success: Those final 5 minutes of resting aren’t optional. This brief pause allows muscle fibers to relax and reabsorb juices, making every bite of your BBQ grilled chicken thighs incredibly moist.
Nutrition Box (Per Serving)
- Calories: 385
- Protein: 32g
- Carbohydrates: 12g
- Fat: 24g
- Fiber: 1g
- Sodium: 890mg
Delicious Variations
Honey Mustard BBQ: Replace half the BBQ sauce with honey mustard for a tangy twist that pairs beautifully with the smoky rub flavors.
Spicy Chipotle Style: Add 2 tablespoons chipotle peppers in adobo to your BBQ sauce for heat and smokiness. For more spicy variations, try our chili lime grilled chicken thighs recipe.
Indoor Alternative: When weather doesn’t cooperate, these flavors work beautifully in the oven. Check out our oven baked BBQ chicken thighs for the same great taste.
Asian-Fusion BBQ: Mix soy sauce, rice vinegar, and sriracha into your BBQ sauce for an East-meets-West flavor explosion.
Storage & Reheating
Refrigerator Storage: Store cooked BBQ grilled chicken thighs in airtight containers for up to 4 days. Layer parchment paper between pieces to prevent sticking.
Freezer Storage: Wrap individual thighs in plastic wrap, then aluminum foil for up to 3 months. Label with date and cooking instructions for easy future use.
Best Reheating Method: Preheat oven to 350°F and heat thighs for 15-20 minutes until warmed through. Cover with foil to prevent drying out.
Microwave Reheating: Use 50% power in 30-second intervals, checking frequently. Add a damp paper towel over the chicken to maintain moisture.
Troubleshooting Guide
Problem: Skin is rubbery or not crispy Solution: Start with completely dry chicken and higher initial heat. Don’t flip too early – patience creates perfect crispy skin on BBQ grilled chicken thighs.
Problem: Chicken is dry and overcooked Solution: Use a meat thermometer religiously. Remove at exactly 165°F internal temperature and always let rest. Bone-in thighs are more forgiving than breasts.
Problem: Uneven cooking with some pieces done before others Solution: Choose thighs of similar size, or separate larger pieces to the hotter side of your grill for consistent results.
Problem: BBQ sauce is burning and bitter Solution: Apply sauce only in the final 10 minutes of cooking. Keep thighs on medium heat once sauced to prevent sugar from burning.
Problem: Flare-ups are charring the outside Solution: Trim excess fat before cooking and have a cooler zone ready. Move thighs temporarily until flames subside, then return to finish cooking.
Equipment Essentials
- Gas or charcoal grill with temperature control
- Instant-read thermometer for perfect doneness
- Long-handled tongs for safe flipping
- Basting brush for sauce application
- Small mixing bowls for rub and sauce
- Paper towels for patting chicken dry
- Aluminum foil for resting
Shopping List
Meat Department
- 8 bone-in, skin-on chicken thighs (about 3 lbs)
Condiment Aisle
- BBQ sauce (1 bottle)
- Olive oil
- Brown sugar
- Paprika
- Garlic powder
- Onion powder
- Chili powder
- Cayenne pepper
Spice Section
- Salt
- Black pepper
Success Secrets
1. Temperature is Everything: Use a reliable meat thermometer and don’t guess. BBQ grilled chicken thighs reach perfection at exactly 165°F internal temperature.
2. Dry Before You Season: Moisture prevents proper seasoning adhesion and crispy skin development. Pat completely dry with paper towels.
3. Two-Zone Setup: Always create hot and cool zones on your grill. This gives you control when pieces cook at different rates.
4. Patience with Flipping: Resist the urge to constantly turn your chicken. Let each side develop proper color before moving.
5. Rest for Juiciness: Those final 5 minutes of resting under foil make the difference between good and exceptional BBQ grilled chicken thighs.