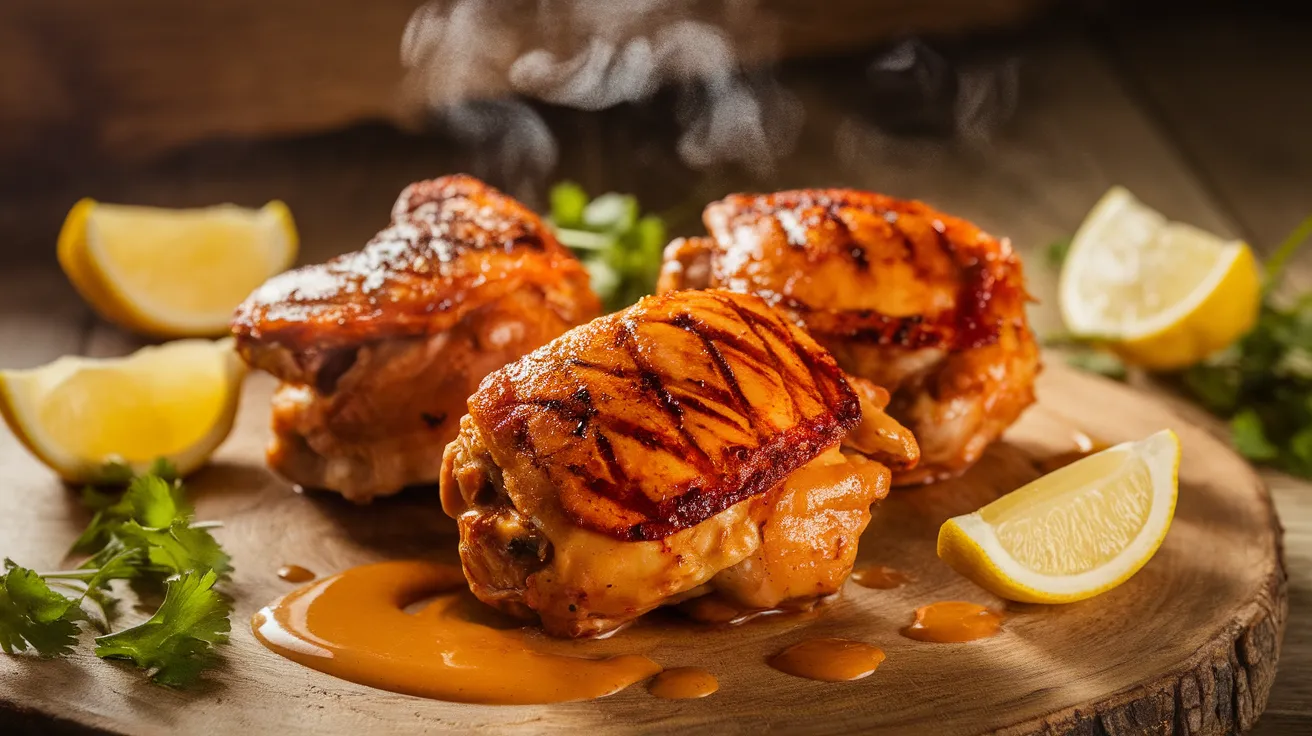
These peri peri chicken thighs deliver restaurant-quality flavor with a spicy Portuguese-inspired marinade that transforms ordinary chicken into something extraordinary. Perfect for weeknight dinners or weekend entertaining, this peri peri chicken thighs recipe combines smoky paprika, fiery chilies, and bright citrus for a meal that’s both bold and balanced.
SERVES: 4 | PREP: 20 MIN | COOK: 35 MIN | TOTAL: 55 MIN
Ingredients You’ll Need
For the Peri Peri Marinade
| Ingredient | Amount |
|---|---|
| Red bell peppers | 2 large, roasted |
| Red fresno chilies | 3-4 (adjust for heat) |
| Garlic cloves | 6 large |
| Fresh lemon juice | 1/4 cup |
| Red wine vinegar | 2 tablespoons |
| Smoked paprika | 2 tablespoons |
| Sweet paprika | 1 tablespoon |
| Dried oregano | 1 teaspoon |
| Bay leaves | 2 leaves |
| Coarse salt | 1 1/2 teaspoons |
| Extra virgin olive oil | 1/2 cup |
For the Chicken
| Ingredient | Amount |
|---|---|
| Bone-in chicken thighs | 8 pieces (2-2.5 lbs) |
| Salt | 1 teaspoon |
| Black pepper | 1/2 teaspoon |
Step-by-Step Cooking Instructions
Phase 1: Preparing the Peri Peri Sauce (15 minutes)
Step 1: Roast your red bell peppers directly over an open flame or under the broiler for 8-10 minutes, turning frequently until the skin is completely charred and blackened. This charring adds essential smoky depth to your peri peri chicken thighs marinade.
Step 2: Immediately transfer the hot peppers to a sealed plastic bag or covered bowl. Let them steam for 10 minutes – this makes peeling incredibly easy and ensures you don’t burn your fingers.
Step 3: Remove stems and seeds from the fresno chilies. Pro tip: Keep some seeds if you want extra heat, but remember – you can always add more spice later, but you can’t take it away!
Step 4: Peel the steamed bell peppers by simply sliding the charred skin off with your hands. Don’t worry if some black bits remain – they add authentic flavor.
Step 5: Add roasted peppers, chilies, garlic, lemon juice, vinegar, both paprikas, oregano, bay leaves, and salt to your food processor or blender.
Step 6: Blend while slowly drizzling in the olive oil until you achieve a smooth, vibrant red sauce. The consistency should coat a spoon but still pour easily. Taste and adjust salt or acid as needed.
Phase 2: Marinating the Chicken (5 minutes active, 2+ hours passive)
Step 7: Pat chicken thighs completely dry with paper towels – moisture is the enemy of good browning. Season both sides with salt and pepper.
Step 8: Reserve 1/4 cup of peri peri sauce for basting later. Place chicken in a large zip-lock bag or shallow dish and pour remaining marinade over the thighs.
Step 9: Massage the marinade into every crevice of the chicken, ensuring even coating. Marinate for at least 2 hours, but overnight is even better for maximum flavor penetration.
Phase 3: Cooking the Perfect Peri Peri Chicken Thighs (35 minutes)
Step 10: Remove chicken from refrigerator 30 minutes before cooking to bring to room temperature. This ensures even cooking throughout.
Step 11: Preheat your oven to 425°F (220°C) and position rack in the middle. Line a rimmed baking sheet with parchment paper for easy cleanup.
Step 12: Remove chicken from marinade and arrange skin-side up on the prepared baking sheet. Leave space between pieces for proper air circulation.
Step 13: Roast for 25 minutes, then brush with reserved peri peri sauce. Continue cooking for 8-10 more minutes until skin is golden and crispy.
Step 14: Check doneness with an instant-read thermometer – internal temperature should reach 165°F (74°C) in the thickest part of the thigh.
Step 15: Let chicken rest for 5 minutes before serving. This allows juices to redistribute for maximum tenderness.
Chef’s Professional Notes
Spice Level Control: Start with 2 chilies for mild heat, use 4 for medium, or add a habanero for serious fire. The beauty of homemade peri peri chicken thighs is customizing the heat to your preference.
Make-Ahead Magic: The marinade actually improves overnight, breaking down proteins for incredibly tender results. Marinate up to 24 hours for restaurant-quality flavor.
Skin Secrets: For extra-crispy skin, pat the marinated chicken dry before cooking and place on a wire rack over the baking sheet for better air circulation.
Flavor Boost: Double the marinade recipe and freeze half for next time. The sauce keeps beautifully for up to 3 months frozen.
Nutrition Information (Per Serving)
- Calories: 385
- Protein: 28g
- Carbohydrates: 8g
- Fat: 27g
- Fiber: 2g
- Sodium: 580mg
Delicious Variations to Try
Caribbean Fusion: Add 1 tablespoon of brown sugar and lime juice instead of lemon for a tropical twist that pairs beautifully with our jerk chicken thighs recipe.
Mediterranean Style: Substitute fresh herbs like rosemary and thyme for oregano, similar to the flavor profile in our popular garlic herb grilled chicken thighs.
Smoky BBQ Version: Add 1 teaspoon of liquid smoke to the marinade and finish on the grill for authentic barbecue flavor.
Creamy Peri Peri: Stir 2 tablespoons of the sauce into Greek yogurt for a cooling accompaniment that balances the heat perfectly.
Storage & Reheating Guidelines
Refrigerator Storage: Cooked peri peri chicken thighs keep for up to 4 days in an airtight container. Store sauce separately to maintain optimal texture.
Freezing Instructions: Wrap individual portions in foil and freeze for up to 3 months. Thaw overnight in refrigerator before reheating.
Reheating Method: Warm in a 350°F oven for 15-20 minutes to restore crispy skin. Avoid microwaving, which makes skin soggy.
Sauce Storage: Fresh peri peri sauce lasts 1 week refrigerated or 3 months frozen in ice cube trays for convenient portioning.

Troubleshooting Common Issues
Problem: Chicken is dry Solution: Use a meat thermometer and don’t overcook. Bone-in thighs are forgiving, but anything over 165°F internal temperature will dry them out.
Problem: Skin isn’t crispy Solution: Pat chicken completely dry before cooking and avoid overcrowding the pan. Moisture and lack of airflow are crispy skin’s enemies.
Problem: Sauce is too spicy Solution: Add roasted red peppers, a splash of cream, or honey to mellow the heat. You can also serve with cooling yogurt sauce.
Problem: Uneven cooking Solution: Arrange thighs with thicker ends toward the outside of the pan where heat is more intense, and ensure even spacing.
Problem: Sauce separates Solution: Blend longer while slowly adding oil. If it still separates, add 1 tablespoon of water and blend again.
Essential Equipment List
- Food processor or high-speed blender
- Rimmed baking sheet
- Instant-read thermometer
- Tongs for turning
- Large zip-lock bags or shallow dish for marinating
- Parchment paper
- Small bowl for reserved sauce
- Kitchen scale (recommended for accuracy)
Organized Shopping List
Produce Section
- Red bell peppers (2 large)
- Red fresno chilies (4-5 peppers)
- Fresh garlic (1 head)
- Fresh lemons (2 lemons for juice)
Meat Department
- Bone-in chicken thighs (2.5 lbs, about 8 pieces)
Pantry Items
- Extra virgin olive oil
- Red wine vinegar
- Smoked paprika
- Sweet paprika
- Dried oregano
- Bay leaves
- Coarse salt
- Black pepper
5 Success Secrets from the Test Kitchen
1. Temperature Matters: Always use an instant-read thermometer. Guessing leads to overcooked, dry chicken every single time.
2. Patience with Peppers: Properly charring the bell peppers creates the authentic smoky base that makes peri peri chicken thighs special. Don’t rush this step.
3. Marinade Timing: Two hours minimum, overnight is optimal. The acids and enzymes need time to work their tenderizing magic.
4. Room Temperature Rule: Let marinated chicken sit at room temperature for 30 minutes before cooking for perfectly even results.
5. Rest and Reward: Always let cooked chicken rest 5 minutes before cutting. This simple step keeps all those delicious juices where they belong – in the meat!