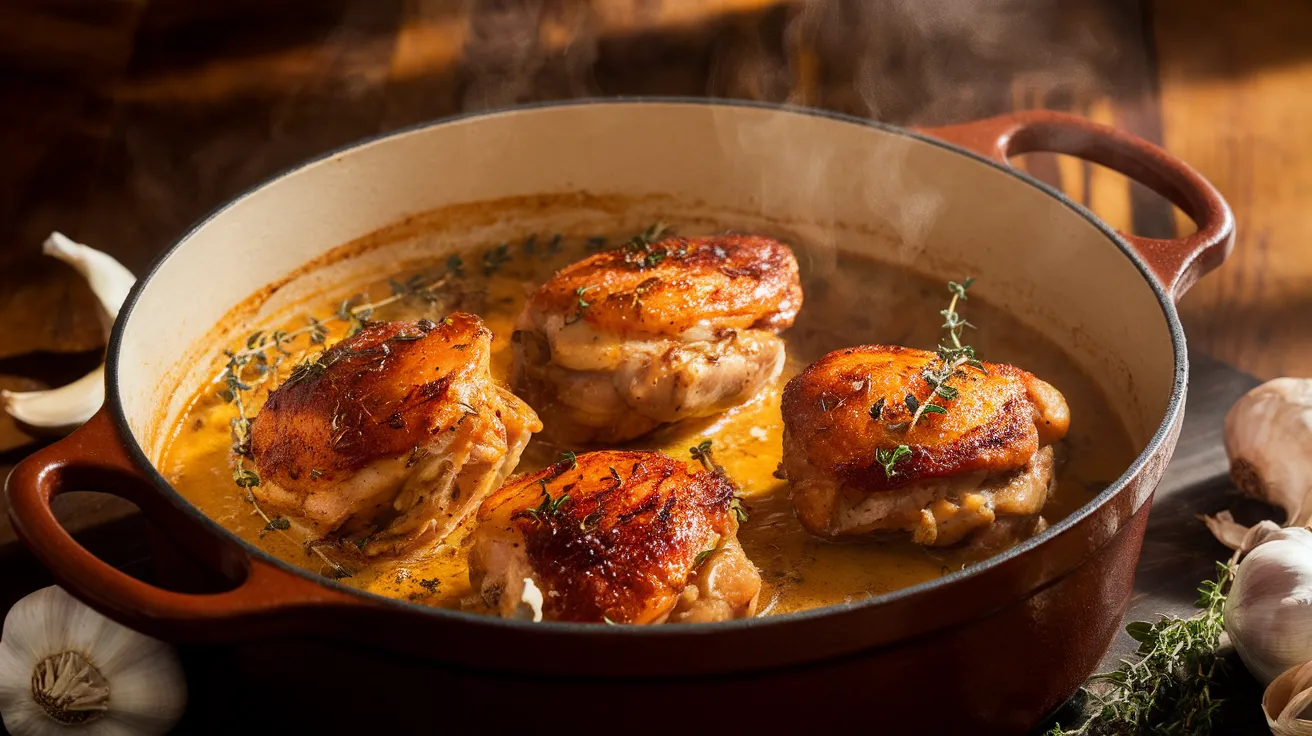
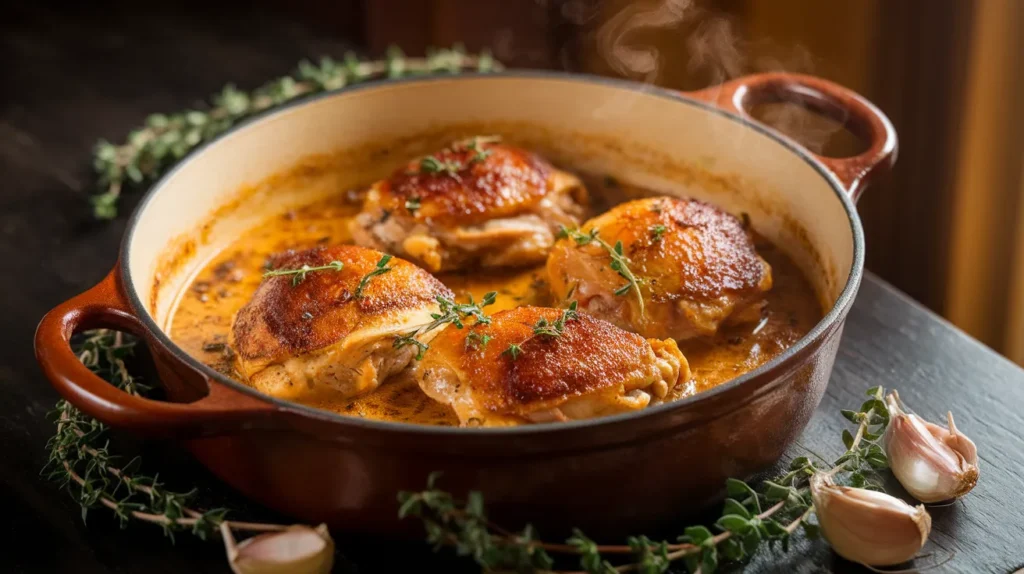
Rich, tender garlic butter braised chicken thighs that fall off the bone with minimal effort. This one-pan wonder delivers restaurant-quality results in your home kitchen, perfect for busy weeknights when you want something special. The garlic butter braised chicken thighs develop incredible depth of flavor through slow braising.
SERVES: 4 | PREP: 15 MIN | COOK: 45 MIN | TOTAL: 60 MIN
Ingredients
Chicken & Seasonings
| Ingredient | Amount |
|---|---|
| Bone-in, skin-on chicken thighs | 8 pieces (about 3 lbs) |
| Salt | 2 teaspoons |
| Black pepper | 1 teaspoon |
| Paprika | 1 teaspoon |
| Garlic powder | 1/2 teaspoon |
Braising Base
| Ingredient | Amount |
|---|---|
| Butter | 4 tablespoons |
| Fresh garlic cloves, minced | 8 cloves |
| Yellow onion, sliced | 1 large |
| Chicken broth | 1 1/2 cups |
| Dry white wine | 1/2 cup |
| Fresh thyme sprigs | 4 sprigs |
| Bay leaves | 2 leaves |
Finishing Touches
| Ingredient | Amount |
|---|---|
| Heavy cream | 1/4 cup |
| Fresh parsley, chopped | 2 tablespoons |
| Lemon juice | 1 tablespoon |
Step-by-Step Instructions
Phase 1: Preparation (10 minutes)
1. Season the chicken thoroughly. Pat each chicken thigh completely dry with paper towels – this removes surface moisture that prevents proper browning. In a small bowl, combine salt, pepper, paprika, and garlic powder. Rub this mixture all over both sides of each thigh, getting under the skin where possible. Let sit at room temperature for 15 minutes while you prep other ingredients.
2. Prepare your aromatics. Mince 8 garlic cloves finely – they should be small enough to distribute evenly but large enough to not burn instantly. Slice one large onion into thin half-moons about 1/4-inch thick. These will create the flavor foundation for your braising liquid.
3. Set up your workspace. Have all ingredients measured and within reach. Preheat your oven to 350°F (175°C). Choose a heavy-bottomed Dutch oven or braising pan that can accommodate all thighs in a single layer without overcrowding.
Phase 2: Searing (15 minutes)
4. Heat the pan properly. Place your Dutch oven over medium-high heat and add 2 tablespoons of butter. Wait until the butter stops foaming and turns golden – this indicates the water has evaporated and you’re ready for serious browning.
5. Sear skin-side down first. Place chicken thighs skin-side down, leaving space between each piece. Don’t move them for 4-5 minutes – you’ll hear aggressive sizzling initially, which will calm down as the skin releases. The skin is ready to flip when it releases easily and shows deep golden-brown color.
6. Complete the searing process. Flip thighs and sear the other side for 3-4 minutes until lightly browned. The goal isn’t full cooking here – just surface browning for flavor development. Transfer seared thighs to a plate and set aside.
Phase 3: Building the Braising Base (8 minutes)
7. Create the garlic butter base. In the same pan with the chicken drippings, reduce heat to medium and add remaining 2 tablespoons butter. Once melted, add minced garlic and cook for 30-45 seconds until fragrant but not browned – burnt garlic tastes bitter.
8. Soften the onions. Add sliced onions to the garlic butter and cook for 3-4 minutes, stirring occasionally. They should soften and become translucent but not fully caramelized. The onions will continue cooking during braising.
9. Deglaze with wine. Pour in white wine and scrape up any browned bits from the bottom of the pan using a wooden spoon. Let wine simmer for 2 minutes to cook off the alcohol – you’ll smell the sharp alcohol scent disappear.
Phase 4: Braising Setup (5 minutes)
10. Add the braising liquid. Pour in chicken broth, then add thyme sprigs and bay leaves. The liquid should come about halfway up the chicken thighs when you return them to the pan. If needed, add more broth or water.
11. Nestle the chicken back in. Return seared thighs to the pan skin-side up – keeping skin above the liquid helps it stay crispy. The thighs should fit snugly but not be completely submerged.
12. Bring to a gentle simmer. Increase heat to medium-high until you see gentle bubbling around the edges. Once simmering, immediately move to the preheated oven – this prevents overcooking on the stovetop.
Phase 5: Oven Braising (45 minutes)
13. Braise covered initially. Cover the Dutch oven with its lid and place in the 350°F oven for 30 minutes. This creates steam that helps break down tough connective tissue in the thighs.
14. Uncover for final browning. Remove the lid and continue cooking for 15 more minutes. This allows the skin to crisp up while the meat finishes cooking. The internal temperature should reach 165°F (74°C) when tested with a meat thermometer.
Phase 6: Finishing Touches (5 minutes)
15. Test for doneness. The meat should be fork-tender and easily pull away from the bone. If it still feels tough, continue braising covered for another 10-15 minutes. Properly braised chicken will practically fall off the bone.
16. Create the pan sauce. Remove thighs to a serving platter and tent with foil. Place the Dutch oven on the stovetop over medium heat. Stir in heavy cream and let simmer for 2-3 minutes until slightly thickened.
17. Final seasoning and service. Remove thyme sprigs and bay leaves from the sauce. Stir in lemon juice and fresh parsley, then taste and adjust seasoning with salt and pepper. Pour sauce over chicken and serve immediately.
Chef’s Notes
Temperature Control: Keep your braising temperature low and steady. If the liquid bubbles vigorously, the proteins will tighten and become tough instead of tender.
Skin Crispiness: For extra crispy skin, place finished garlic butter braised chicken thighs under the broiler for 2-3 minutes before serving.
Wine Substitution: If avoiding alcohol, replace white wine with additional chicken broth plus 1 tablespoon white wine vinegar for acidity.
Make-Ahead Advantage: This dish tastes even better the next day as flavors meld. Reheat gently in a 325°F oven until warmed through.
Nutrition Information (Per Serving)
- Calories: 485
- Protein: 42g
- Carbohydrates: 8g
- Fat: 28g
- Saturated Fat: 12g
- Sodium: 890mg
Delicious Variations
Mediterranean Style: Add sun-dried tomatoes, Kalamata olives, and oregano during braising. This creates a flavor profile similar to our Mediterranean grilled chicken thighs but with deeper, richer taste from the braising method.
Asian-Inspired Twist: Replace wine with rice wine, add soy sauce, ginger, and star anise. For those who love bold Asian flavors, try our Filipino chicken adobo recipe for another fantastic braised chicken option.
Herb-Crusted Version: Mix chopped fresh rosemary, sage, and parsley with breadcrumbs, then sprinkle over thighs during the final 15 minutes of cooking.
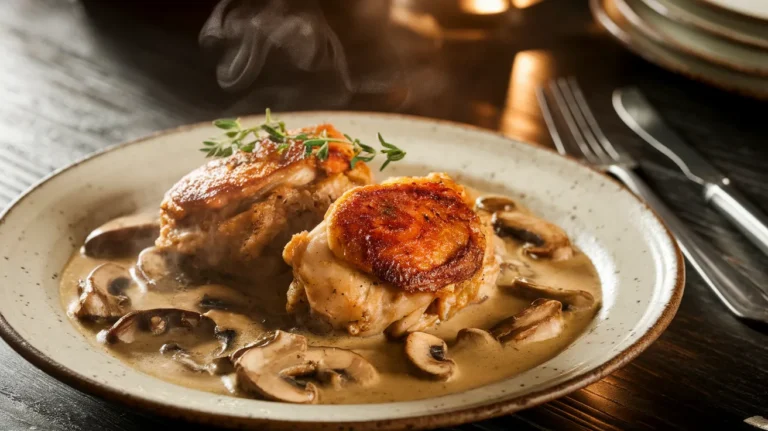
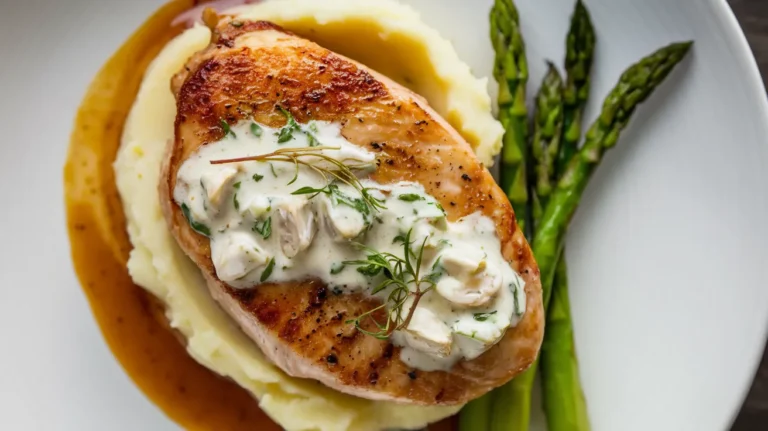
Creamy Mushroom Style: Add 8oz sliced mushrooms with the onions and increase heavy cream to 1/2 cup for an ultra-rich sauce that’s perfect over mashed potatoes.
Storage & Reheating
Refrigerator Storage: Cool completely and store in airtight containers for up to 4 days. The garlic butter braised chicken thighs will develop even richer flavor overnight.
Freezer Storage: Freeze in freezer-safe containers for up to 3 months. Thaw overnight in refrigerator before reheating.
Reheating Instructions: Place in a covered dish with a splash of chicken broth and reheat in a 325°F oven for 20-25 minutes until warmed through. Avoid microwaving, which can make the skin rubbery.
Troubleshooting Common Issues
Problem: Tough, chewy chicken Solution: Your braising temperature was too high. Keep oven at 350°F maximum and ensure gentle simmering, not rolling boils. Extend cooking time by 15-30 minutes if needed.
Problem: Skin isn’t crispy Solution: Pat thighs completely dry before seasoning, sear skin-side down first until golden, and remove the lid for the final 15 minutes of braising.
Problem: Sauce is too thin Solution: Remove chicken and simmer the sauce on the stovetop for 5-10 minutes to reduce, or whisk in 1 tablespoon of cold butter for richness and body.
Problem: Garlic tastes burnt Solution: Cook garlic only until fragrant (30-45 seconds) over medium heat. If it turns brown, start over – burnt garlic will ruin the entire dish.
Problem: Not enough flavor Solution: Season generously with salt at every step, ensure proper searing for browning, and don’t skip the wine for acidity and depth.
Equipment Essentials
- Heavy-bottomed Dutch oven or braising pan (5-6 quart capacity)
- Instant-read meat thermometer
- Paper towels for drying chicken
- Wooden spoon for scraping up browned bits
- Sharp chef’s knife for mincing garlic
- Cutting board with groove for juices
- Small mixing bowls for seasoning blend
Shopping List
Meat Department
- 8 bone-in, skin-on chicken thighs (about 3 lbs)
Dairy Section
- Butter (1 stick)
- Heavy cream (small carton)
Produce Section
- Fresh garlic (1 head)
- Yellow onion (1 large)
- Fresh thyme (1 package)
- Fresh parsley (1 bunch)
- Lemon (1 piece)
Pantry Items
- Chicken broth (32oz carton)
- Dry white wine (1 bottle – use remainder for cooking other dishes)
- Bay leaves
- Salt, black pepper, paprika, garlic powder
Success Secrets
1. Dry equals crispy – Pat chicken completely dry and let seasoning sit for 15 minutes. Surface moisture is the enemy of browning.
2. Don’t rush the sear – Wait for the skin to release naturally from the pan. Forcing it will tear the skin and reduce crispiness.
3. Low and slow wins – Braising transforms tough thighs into tender perfection through gentle, moist heat. High temperatures create tough, stringy meat.
4. Taste as you go – Season the chicken, taste the sauce before adding cream, and adjust final seasoning after all components are combined.
5. Rest before serving – Let the garlic butter braised chicken thighs rest for 5 minutes after cooking. This allows juices to redistribute for maximum tenderness and flavor in every bite.