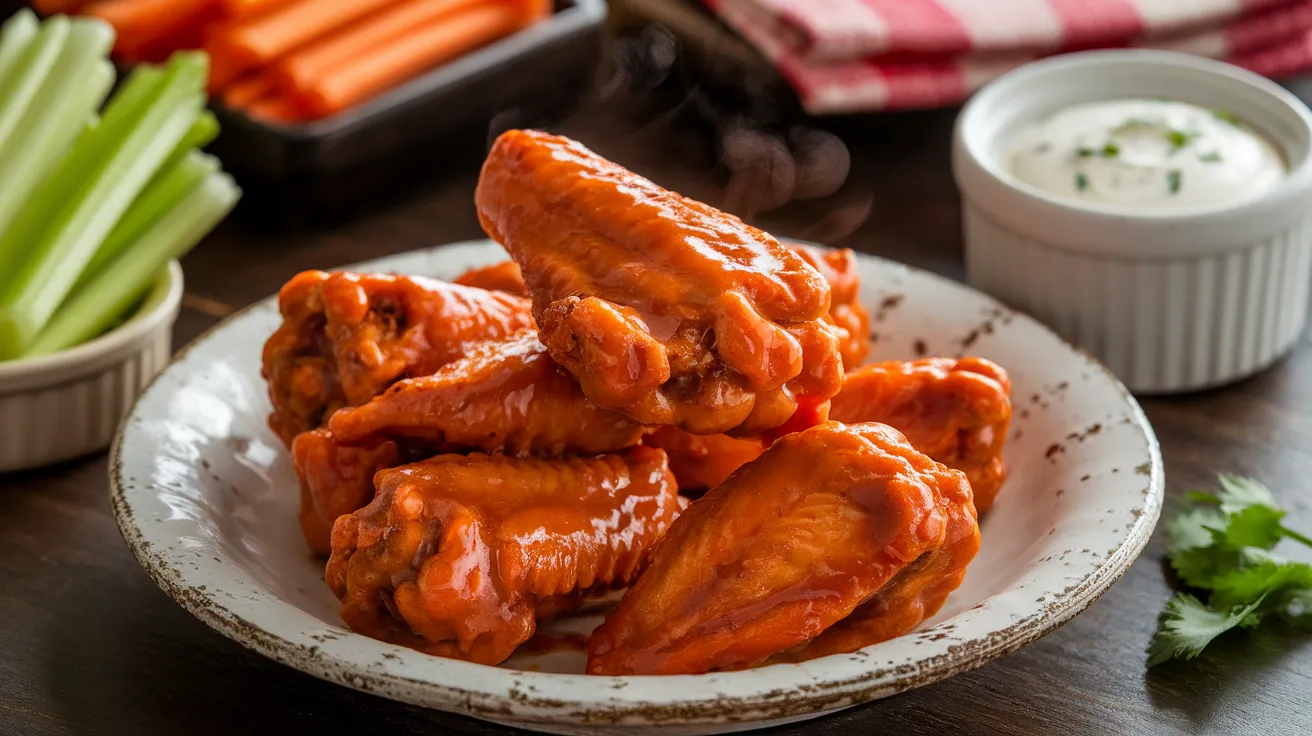
Crispy, tangy buffalo chicken wings with that perfect restaurant-quality crunch you’ve been craving. These buffalo chicken wings deliver the ideal balance of heat and butter, with a technique that guarantees crispy skin every time—no deep fryer needed.
SERVES: 4 | PREP: 15 MIN | COOK: 45 MIN | TOTAL: 60 MIN
Why This Buffalo Chicken Wings Recipe Works
You know that disappointment when homemade wings turn out soggy? Not happening here.
The secret is a simple baking powder trick that transforms the skin into crackling perfection. We’re using a two-temperature method that renders the fat slowly, then cranks up the heat for that signature crunch.
These buffalo chicken wings taste exactly like your favorite sports bar version—minus the overpriced bill.
Ingredients for Buffalo Chicken Wings
For the Wings
| Ingredient | Amount |
|---|---|
| Chicken wings (drumettes and flats separated) | 3 pounds |
| Baking powder (aluminum-free) | 2 tablespoons |
| Kosher salt | 1 teaspoon |
| Black pepper | ½ teaspoon |
| Garlic powder | ½ teaspoon |
For the Buffalo Sauce
| Ingredient | Amount |
|---|---|
| Unsalted butter | ½ cup (1 stick) |
| Hot sauce (Frank’s RedHot preferred) | ¾ cup |
| White vinegar | 1 tablespoon |
| Worcestershire sauce | 1 teaspoon |
| Garlic powder | ¼ teaspoon |
| Cayenne pepper (optional, for extra heat) | ¼ teaspoon |
For Serving
- Ranch or blue cheese dressing
- Celery sticks
- Carrot sticks
How to Make Buffalo Chicken Wings: Step-by-Step
Phase 1: Wing Preparation (10 minutes)
Step 1: Remove the chicken wings from the refrigerator and pat them completely dry with paper towels. This is crucial—any moisture will create steam instead of crisp skin. Press firmly and use multiple paper towels if needed. The drier the wings, the crispier they’ll get.
Step 2: If your wings aren’t already separated, use a sharp knife to cut them at the joints into drumettes and flats. Discard the wing tips or save them for making stock later. This separation helps them cook evenly.
Step 3: Place the dried wings in a large mixing bowl. Make sure the bowl is big enough to toss the wings without spilling—you need room to coat them evenly.
Step 4: In a small bowl, combine the baking powder, salt, black pepper, and garlic powder. Mix thoroughly with a fork. The baking powder is your secret weapon—it raises the pH of the skin, allowing it to brown and crisp faster.
Step 5: Sprinkle the baking powder mixture over the wings. Use your hands to toss and massage the seasoning into every wing piece. Make sure each wing has a light, even coating. Don’t worry if it looks chalky—that disappears during cooking.
Phase 2: First Bake (25 minutes)
Step 6: Preheat your oven to 250°F. Position your oven rack in the upper-middle position for optimal heat circulation.
Step 7: Line a large rimmed baking sheet with aluminum foil for easy cleanup. Place a wire cooling rack on top of the baking sheet. The rack is essential—it allows hot air to circulate underneath, preventing soggy bottoms.
Step 8: Arrange the wings on the wire rack in a single layer, making sure they’re not touching or overlapping. Space them about ½ inch apart. Crowded wings steam instead of crisp.
Step 9: Place the baking sheet in the preheated oven. Bake for 25 minutes at this low temperature. This slow rendering melts the fat under the skin without browning it yet. You’ll notice the wings look pale and the skin will start pulling away from the meat slightly.
Phase 3: High-Heat Crisping (20 minutes)
Step 10: After 25 minutes, increase the oven temperature to 425°F. Don’t remove the wings—just crank up the heat. This temperature jump is what creates that signature crackle.
Step 11: Continue baking for 20 more minutes, flipping the wings halfway through (at the 10-minute mark). Use tongs to flip each wing carefully. They should be turning golden brown and you’ll start hearing a sizzling sound. The skin should look bubbly and tight.
Step 12: Check for doneness. The wings are ready when they’re deeply golden brown and the skin is visibly crispy. If you tap them with tongs, they should feel firm and crispy, not soft. Internal temperature should reach 165°F, but the visual cue is more important here.
Phase 4: Buffalo Sauce Preparation (5 minutes)
Step 13: While the wings finish baking, make your buffalo sauce. In a medium saucepan, melt the butter over medium-low heat. Watch it closely—you want it melted, not browned.
Step 14: Once the butter is fully melted, remove the pan from heat. Add the hot sauce, vinegar, Worcestershire sauce, garlic powder, and cayenne pepper if using. Whisk vigorously until completely combined and smooth. The sauce should look glossy and emulsified.
Step 15: Taste the sauce and adjust. Want it hotter? Add more cayenne. Want it tangier? Add a splash more vinegar. The sauce should be bold because the crispy wings can handle intense flavor.
Phase 5: Coating and Serving (5 minutes)
Step 16: Remove the crispy wings from the oven and let them rest on the rack for 2 minutes. This brief rest lets excess oil drip off and the skin firms up even more.
Step 17: Transfer the hot wings to a large clean bowl. Pour about ¾ of the buffalo sauce over the wings. Using tongs or two large spoons, toss the wings gently but thoroughly to coat every piece. The hot wings will help the sauce cling perfectly.
Step 18: Transfer the sauced buffalo chicken wings to a serving platter immediately. Drizzle any remaining sauce over the top. Serve right away with celery sticks, carrot sticks, and your choice of ranch or blue cheese dressing on the side.
Chef’s Notes for Perfect Buffalo Chicken Wings
Baking Powder is Non-Negotiable: Make absolutely sure you’re using baking powder, not baking soda. Also confirm it’s aluminum-free to avoid any metallic taste. This ingredient is what separates soggy wings from crispy perfection.
Temperature Matters: Don’t skip the two-temperature method. The low initial bake renders the fat while the high finish crisps the skin. If you just bake at high heat the whole time, the outside burns before the inside cooks properly.
Sauce Thickness Control: If your buffalo sauce seems too thin, return it to low heat and whisk in an extra tablespoon of cold butter. This creates a thicker, clingier coating. Too thick? Thin it with a teaspoon of hot sauce.
Resting Time Protects Crispiness: Those 2 minutes of resting after baking aren’t optional. They let the skin set and prevent it from turning soggy when you add the sauce. Patience pays off with these buffalo chicken wings.
Nutrition Information (Per Serving)
Calories: 520 | Protein: 38g | Carbohydrates: 2g | Fat: 40g | Saturated Fat: 16g | Cholesterol: 185mg | Sodium: 1850mg | Fiber: 0g | Sugar: 0g
Buffalo Chicken Wings Variations to Try
Asian-Style Sweet & Spicy Wings: Skip the buffalo sauce and toss your crispy wings in a mixture of ⅓ cup honey, ¼ cup soy sauce, 2 tablespoons sriracha, and 1 tablespoon rice vinegar. Garnish with sesame seeds and sliced green onions. This flavor profile works beautifully with the same crispy technique used in our air fryer chicken meatballs.
Honey BBQ Wings: Replace the buffalo sauce with ¾ cup of your favorite BBQ sauce mixed with 3 tablespoons honey and 1 tablespoon apple cider vinegar. This sweeter version is perfect for those who can’t handle the heat.
Garlic Parmesan Wings: Instead of buffalo sauce, toss the crispy wings in 6 tablespoons melted butter mixed with 4 cloves minced garlic and ½ cup grated Parmesan cheese. Add fresh parsley for color. This milder option is crowd-pleasing perfection.
Nashville Hot Wings: Take inspiration from Southern buttermilk fried chicken and add 2 tablespoons cayenne pepper and 1 tablespoon brown sugar to your buffalo sauce. Brush the extra-spicy mixture on the wings, then serve on white bread with pickle slices for authentic Nashville style.
Storage & Reheating Your Buffalo Chicken Wings
Refrigerator Storage: Let the wings cool completely before storing. Place them in an airtight container with paper towels on the bottom to absorb moisture. They’ll keep for 3-4 days in the fridge. Store the extra buffalo sauce separately in a sealed container.
Freezing Instructions: You can freeze unsauced cooked wings for up to 3 months. Arrange them in a single layer on a baking sheet and freeze until solid, then transfer to a freezer bag. This prevents them from sticking together.
Reheating for Crispiness: Never microwave leftover wings—you’ll destroy that crispy skin. Instead, preheat your oven to 375°F, place wings on a wire rack over a baking sheet, and bake for 12-15 minutes until heated through and crispy again. Toss with fresh buffalo sauce after reheating.
Make-Ahead Strategy: You can complete steps 1-12 (baking the wings crispy) up to 2 hours ahead. Leave them at room temperature on the rack. Make the sauce fresh, then reheat the wings at 400°F for 5 minutes before tossing with sauce and serving.

Troubleshooting Common Buffalo Chicken Wings Problems
Problem: Wings are soggy, not crispy The most common cause is moisture. You must pat the wings completely dry before seasoning. Also check that you’re using baking powder not baking soda, and confirm your oven temperature is accurate with an oven thermometer. Lastly, make sure wings aren’t touching on the rack—they need air circulation.
Problem: Skin is tough and rubbery This happens when you skip the low-temperature rendering phase. Don’t rush the process by only using high heat. The 250°F initial bake is essential for melting the fat layer under the skin. Also, your wings might be too cold when they hit the oven—let them sit at room temperature for 10 minutes first.
Problem: Buffalo sauce slides right off Your wings might still be too wet when you’re saucing them. Make sure you let them rest for 2 minutes after baking so excess oil drips off. Also, your sauce might be too thin—whisk in extra cold butter to thicken it. Finally, toss wings in a bowl rather than drizzling sauce over them on a platter.
Problem: Wings are burning on the outside but raw inside Your oven is running too hot, or you skipped the low-temp phase. Always use an oven thermometer to verify temperature accuracy. These buffalo chicken wings need the two-stage cooking method—low heat first to cook through, then high heat to crisp.
Problem: Sauce tastes too vinegary or too bland Buffalo sauce is all about balance. If it’s too tangy, add another tablespoon of butter and a pinch of brown sugar. Too bland? Add more hot sauce and a dash of salt. Taste as you go and adjust—the sauce should be punchy enough to stand up to the rich, crispy wings.
Equipment Essentials for Buffalo Chicken Wings
- Large rimmed baking sheet (at least 13×18 inches)
- Wire cooling rack that fits inside your baking sheet
- Large mixing bowls (one for dry coating, one for saucing)
- Medium saucepan for making buffalo sauce
- Whisk for emulsifying the sauce
- Kitchen tongs for flipping and tossing
- Paper towels (lots of them for drying)
- Instant-read thermometer (optional but helpful)
- Aluminum foil for easy cleanup
Shopping List for Buffalo Chicken Wings
Meat Counter
- 3 pounds chicken wings (drumettes and flats)
Dairy Section
- Unsalted butter (1 stick)
- Ranch or blue cheese dressing
Condiments & Sauces Aisle
- Frank’s RedHot sauce (or preferred hot sauce)
- White vinegar
- Worcestershire sauce
Baking Aisle
- Aluminum-free baking powder
Spices & Seasonings
- Kosher salt
- Black pepper
- Garlic powder
- Cayenne pepper (optional)
Produce Section
- Celery stalks
- Carrots
Success Secrets for Restaurant-Quality Wings
1. The Overnight Trick: For the absolute crispiest wings possible, after coating with the baking powder mixture, place them uncovered on the rack in your refrigerator overnight. This dries out the skin even more, creating an incredibly crispy texture. Just bring them to room temperature for 20 minutes before baking.
2. Double-Rack Method: If you’re making wings for a crowd, use two baking sheets with racks. Rotate their positions halfway through the high-heat phase (top rack to bottom, bottom to top). This ensures even crisping when you’re cooking larger batches of buffalo chicken wings.
3. Sauce Temperature Matters: Add your wings to the buffalo sauce while both are still hot. Hot wings plus hot sauce creates better adhesion. If the sauce cools down, gently rewarm it before tossing the wings—this makes the coating stick perfectly.
4. The Broiler Finish: Want an extra-crispy exterior? After the 425°F bake, switch to broil for the final 2-3 minutes. Watch them like a hawk—they can go from perfect to burnt in seconds. This creates an almost fried texture without any oil.
5. Sauce Ratio Control: Not everyone wants the same level of sauciness. Set aside some unsauced crispy wings for people who prefer them less messy, and offer the extra buffalo sauce on the side. This way, everyone gets their perfect wing experience.