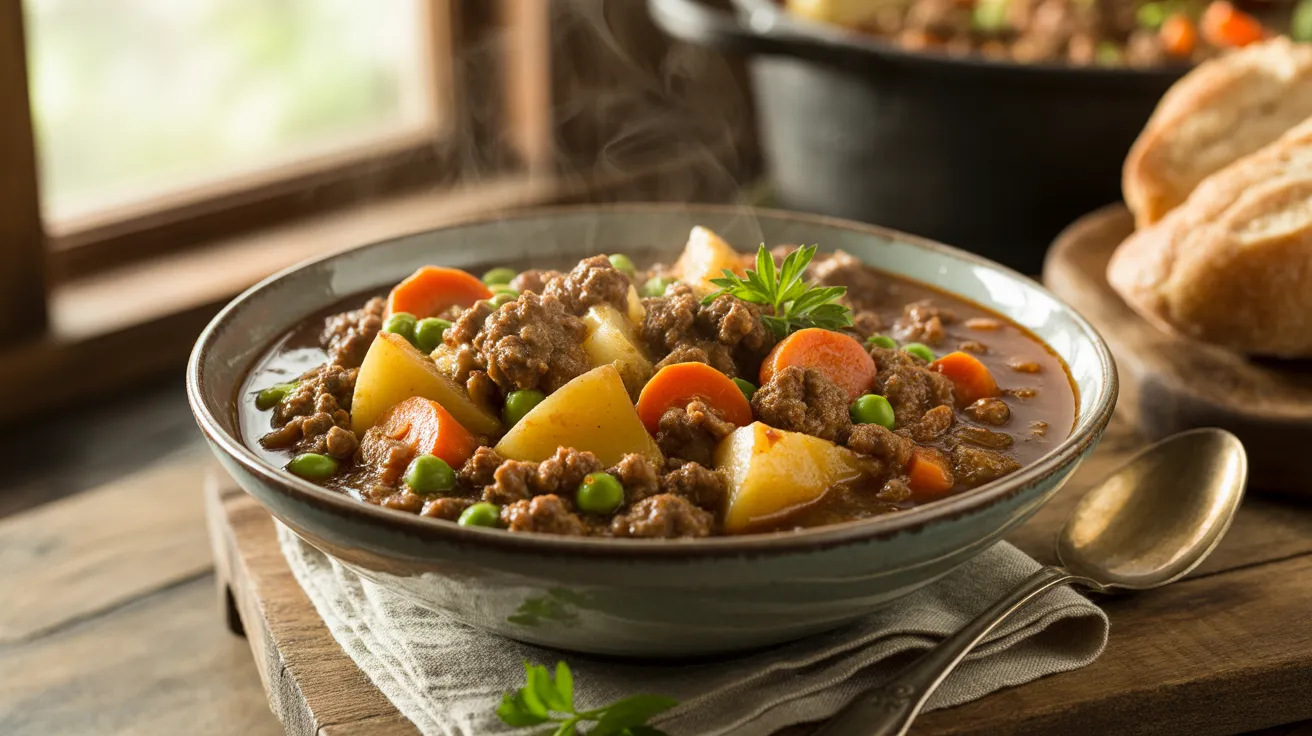
This ground beef stew is the comfort food your family needs on a chilly evening. With tender vegetables, rich broth, and perfectly seasoned beef, this ground beef stew comes together in one pot for easy cleanup and maximum flavor.
SERVES: 4 | PREP: 15 MIN | COOK: 45 MIN | TOTAL: 60 MIN
Why This Ground Beef Stew Works
I’ve made this stew dozens of times, and it never disappoints. Ground beef cooks faster than stew meat, which means you get that slow-cooked taste in under an hour. The secret? Browning the meat properly and layering your seasonings at the right moments.
This recipe hits the sweet spot between quick weeknight dinner and Sunday supper satisfaction.
Ingredients
For the Beef Base
| Ingredient | Amount |
|---|---|
| Ground beef (80/20 lean) | 1½ pounds |
| Olive oil | 2 tablespoons |
| Yellow onion, diced | 1 large |
| Garlic cloves, minced | 4 |
| Tomato paste | 3 tablespoons |
For the Vegetables
| Ingredient | Amount |
|---|---|
| Russet potatoes, cubed (1-inch) | 3 medium |
| Carrots, sliced ½-inch thick | 3 large |
| Celery stalks, chopped | 2 |
| Frozen peas | 1 cup |
For the Broth & Seasonings
| Ingredient | Amount |
|---|---|
| Beef broth | 4 cups |
| Crushed tomatoes | 1 can (14.5 oz) |
| Worcestershire sauce | 2 tablespoons |
| Bay leaves | 2 |
| Dried thyme | 1 teaspoon |
| Paprika | 1 teaspoon |
| Salt | 1½ teaspoons |
| Black pepper | ½ teaspoon |
| Fresh parsley, chopped | ¼ cup |
Step-by-Step Instructions
Phase 1: Building the Flavor Foundation (10 minutes)
Step 1: Prep Your Workspace Get all your ingredients measured and ready before you start cooking. This is called “mise en place,” and it makes everything run smoothly. Trust me, you don’t want to be chopping onions while your beef burns.
Step 2: Heat Your Pot Place a large Dutch oven or heavy-bottomed pot over medium-high heat. Let it heat for 2 minutes until a drop of water sizzles immediately. This ensures good browning.
Step 3: Brown the Ground Beef (First Half) Add 1 tablespoon of olive oil, then add half the ground beef. Break it into large chunks (not tiny crumbles yet). Let it sit undisturbed for 3 minutes. This creates a golden-brown crust that adds incredible depth to your stew. You’ll know it’s ready when the bottom releases easily from the pan.
Step 4: Break and Brown Completely Now use a wooden spoon to break the beef into ½-inch pieces. Continue cooking for 2 more minutes until no pink remains. The beef should be deep brown with some darker crispy bits. These are flavor gold.
Step 5: Remove and Repeat Transfer the browned beef to a bowl, leaving the fat in the pot. Add the remaining beef and repeat the browning process. Why cook in batches? Overcrowding drops the temperature and steams the meat instead of browning it.
Phase 2: Creating the Aromatic Base (5 minutes)
Step 6: Cook the Aromatics Reduce heat to medium. Add the remaining 1 tablespoon olive oil, then add your diced onion. Cook for 3 minutes, stirring occasionally, until the onion turns translucent and soft. You want them sweet, not burnt.
Step 7: Add Garlic and Tomato Paste Toss in the minced garlic and tomato paste. Stir constantly for 1 minute. The tomato paste will darken slightly and smell sweet and tangy. This step is called “blooming” the tomato paste, and it removes any metallic taste while concentrating the flavor.
Step 8: Deglaze the Pan Pour in 1 cup of the beef broth and scrape the bottom of the pot with your wooden spoon. All those brown bits stuck to the bottom? That’s called fond, and it’s pure flavor. Make sure you get every bit dissolved into the liquid.
Phase 3: Building the Stew (5 minutes)
Step 9: Return the Beef and Add Liquids Put all that beautiful browned beef back into the pot, including any juices from the bowl. Add the remaining 3 cups beef broth, crushed tomatoes, and Worcestershire sauce. Stir to combine everything.
Step 10: Season and Bring to Boil Add your bay leaves, thyme, paprika, salt, and pepper. Crank the heat to high and bring the mixture to a rolling boil. This should take about 3 minutes. You’ll see big bubbles breaking the surface.
Phase 4: The Slow Simmer (30 minutes)
Step 11: Add Potatoes and Carrots Once boiling, add your cubed potatoes, sliced carrots, and chopped celery. Give it a good stir. Reduce heat to medium-low so the stew maintains a gentle simmer. You want small bubbles breaking the surface, not a vigorous boil.
Step 12: Cover and Cook Put the lid on, leaving it slightly ajar (about 1 inch open). This allows steam to escape while keeping moisture in. Set a timer for 25 minutes. Check at the 15-minute mark and give it a stir to prevent sticking.
Step 13: Test for Doneness At 25 minutes, spear a potato cube with a fork. It should slide through easily with no resistance. The carrots should be tender but not mushy. If the vegetables aren’t quite done, give them 5 more minutes.
Step 14: Add Peas and Final Seasoning Stir in the frozen peas. They only need 2 minutes to heat through. Taste the broth and adjust salt if needed. Remove the bay leaves and discard them.
Phase 5: Finishing Touches (2 minutes)
Step 15: Rest and Garnish Turn off the heat and let the stew rest for 5 minutes. This allows the flavors to marry and the stew to thicken slightly. The starches from the potatoes will continue to thicken the broth as it sits.
Step 16: Serve Ladle the stew into bowls and sprinkle with fresh chopped parsley. Serve with crusty bread for soaking up that rich broth.
Chef’s Notes
The Meat Matters: Using 80/20 ground beef gives you the perfect fat content for flavor without greasiness. Leaner beef makes dry stew. If you use 93/7, add an extra tablespoon of olive oil.
Potato Perfection: Cut your potatoes the same size so they cook evenly. I aim for 1-inch cubes. Russets are my choice because they release starch that naturally thickens the ground beef stew.
Don’t Skip the Browning: Those crusty brown bits from properly browned ground beef create layers of savory flavor you can’t get any other way. It’s the difference between good stew and great stew.
Make It Deeper: For even richer flavor, add a splash of red wine (½ cup) when you deglaze the pan. Let it reduce by half before adding the broth.
Nutrition Information (Per Serving)
| Nutrient | Amount |
|---|---|
| Calories | 485 |
| Protein | 35g |
| Carbohydrates | 38g |
| Fat | 21g |
| Fiber | 6g |
| Sodium | 890mg |
Delicious Variations
Tex-Mex Ground Beef Stew: Add 1 can black beans, 1 cup corn, 1 diced jalapeño, and swap the thyme for cumin and chili powder. Top with shredded cheese and sour cream. This twist works great with other ground beef dinner ideas you might be planning for the week.
Mediterranean Style: Use olive oil generously, add 1 can chickpeas, ½ cup sliced Kalamata olives, 1 teaspoon oregano, and finish with crumbled feta cheese and fresh dill. Skip the potatoes and add 2 diced zucchini instead.
Mushroom Lovers: Add 8 ounces sliced cremini mushrooms with the onions. They add incredible umami depth. Stir in 2 tablespoons soy sauce with the broth for an extra savory punch.
Loaded Baked Potato Style: This variation reminds me of a comforting ground beef potato casserole. Top each bowl with shredded cheddar, crumbled bacon, sour cream, and chopped green onions.
Storage & Reheating
Refrigerator: Store cooled stew in an airtight container for up to 4 days. The flavors actually improve overnight as everything melds together.
Freezer: This stew freezes beautifully for up to 3 months. Let it cool completely, then transfer to freezer-safe containers, leaving 1 inch of headspace for expansion. Label with the date.
Reheating: Thaw overnight in the refrigerator if frozen. Reheat on the stovetop over medium-low heat for 10-15 minutes, stirring occasionally. Add a splash of broth if it’s too thick. Microwave individual portions on high for 2-3 minutes, stirring halfway through.
Make-Ahead Tip: Brown the beef and prep all vegetables the night before. Store separately in the fridge. When ready to cook, you’ll cut your active time in half.
Troubleshooting Common Problems
Problem: Stew is too thin and watery Your heat might be too high, creating steam instead of reduction. Remove the lid for the last 10 minutes of cooking. You can also mash 2-3 potato pieces against the side of the pot and stir them in. The starches will thicken the broth naturally. Another fix: Mix 2 tablespoons cornstarch with 2 tablespoons cold water and stir into the simmering stew.
Problem: Vegetables are mushy You cooked them too long or cut them too small. Next time, use larger 1-inch chunks and check for doneness at 20 minutes instead of waiting the full time. Different potato varieties cook at different rates. Russets hold up better than red potatoes.
Problem: Beef is tough or rubbery You likely didn’t brown it properly or cooked it too hot and fast. Ground beef needs that initial high-heat sear, then gentle simmering. Make sure you’re not boiling the stew vigorously. The low simmer breaks down the meat fibers and makes everything tender.
Problem: Stew tastes bland You need more salt. Seriously, that’s usually it. Add ¼ teaspoon at a time and taste between additions. Also make sure you didn’t skip the tomato paste browning step. That’s where major flavor develops. A splash of Worcestershire sauce or soy sauce at the end adds depth.
Problem: Bottom is burning or sticking Your heat is too high or you need to stir more frequently. Make sure you’re at a gentle simmer, not a rolling boil. Use a heavy pot like a Dutch oven that distributes heat evenly. Thin pots create hot spots that burn food.
Equipment Essentials
- Large Dutch oven or heavy-bottomed pot (5-6 quart capacity)
- Wooden spoon for stirring and scraping
- Sharp chef’s knife for chopping vegetables
- Cutting board (preferably two: one for meat, one for vegetables)
- Measuring cups and spoons
- Can opener for crushed tomatoes
- Ladle for serving
- Storage containers with tight-fitting lids
Don’t Have a Dutch Oven? A large, deep skillet with a lid works too. You might need to reduce the recipe slightly if your pan is smaller than 5 quarts.
Shopping List
Meat Counter
- Ground beef (80/20), 1½ pounds
Produce Section
- Yellow onion, 1 large
- Garlic bulb (need 4 cloves)
- Russet potatoes, 3 medium
- Carrots, 3 large
- Celery, 1 bunch (need 2 stalks)
- Fresh parsley, 1 bunch
Canned Goods & Pantry
- Beef broth, 32 oz (4 cups)
- Crushed tomatoes, 14.5 oz can
- Tomato paste, small can
- Worcestershire sauce
- Dried thyme
- Paprika
- Bay leaves
- Salt and black pepper
Frozen Foods
- Frozen peas, 1 cup (or 8-10 oz bag)
Oils & Condiments
- Olive oil
Success Secrets
1. Don’t Overcrowd the Pan Brown your beef in two batches, not all at once. This single tip makes the biggest difference in flavor. Crowded meat steams instead of browns.
2. Cut Vegetables Uniformly All your potato cubes and carrot slices should be roughly the same size. This ensures everything finishes cooking at the same time. No more crunchy carrots with mushy potatoes.
3. Layer Your Seasonings Add salt and pepper at different stages: some when browning the beef, more when adding the broth, and adjust at the end. This builds complex flavor instead of flat, one-note seasoning.
4. Let It Rest That 5-minute rest after cooking isn’t optional. The stew thickens, flavors blend, and everything tastes better. Use this time to make a salad or set the table.
5. Taste and Adjust Every batch of broth has different salt levels. Always taste before serving and adjust with salt, pepper, or a splash of Worcestershire sauce. Your taste buds are your best tool.
This ground beef stew is the kind of recipe you’ll make over and over. It’s forgiving, flexible, and always delivers comfort in a bowl. Once you master the basics, you can riff on it endlessly.