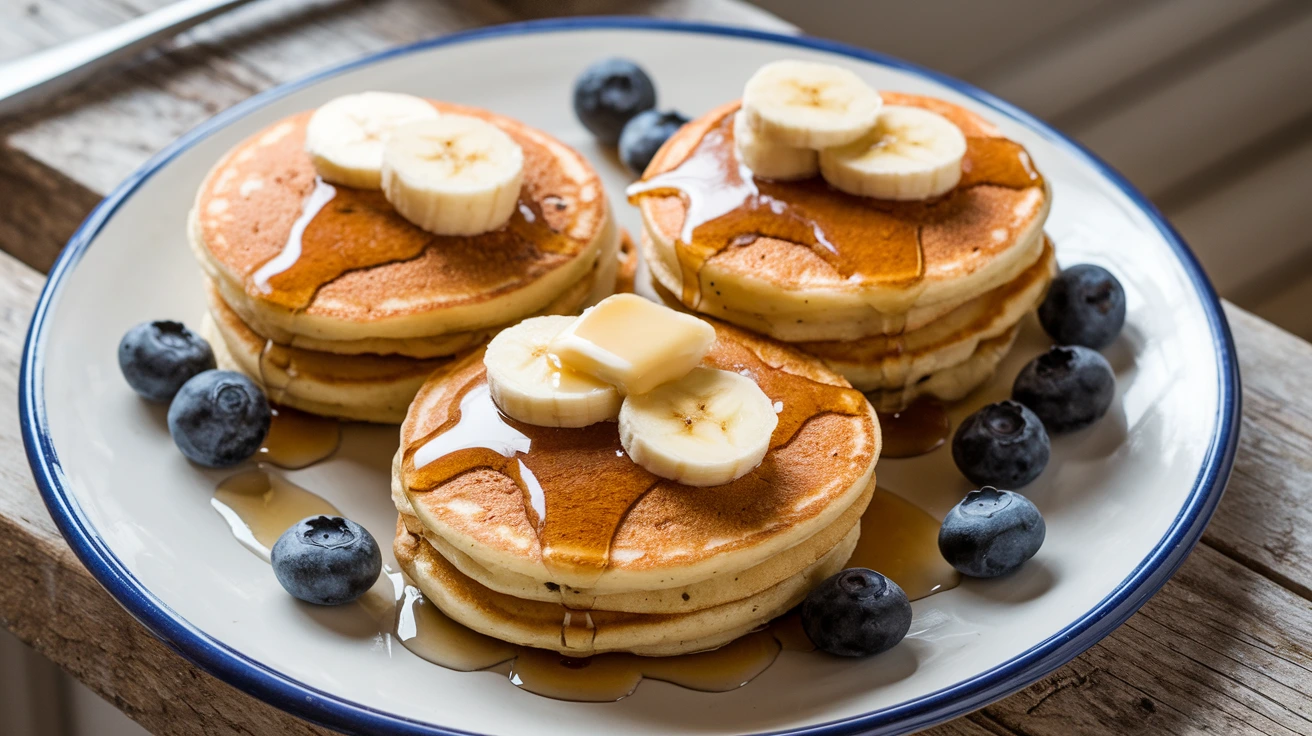
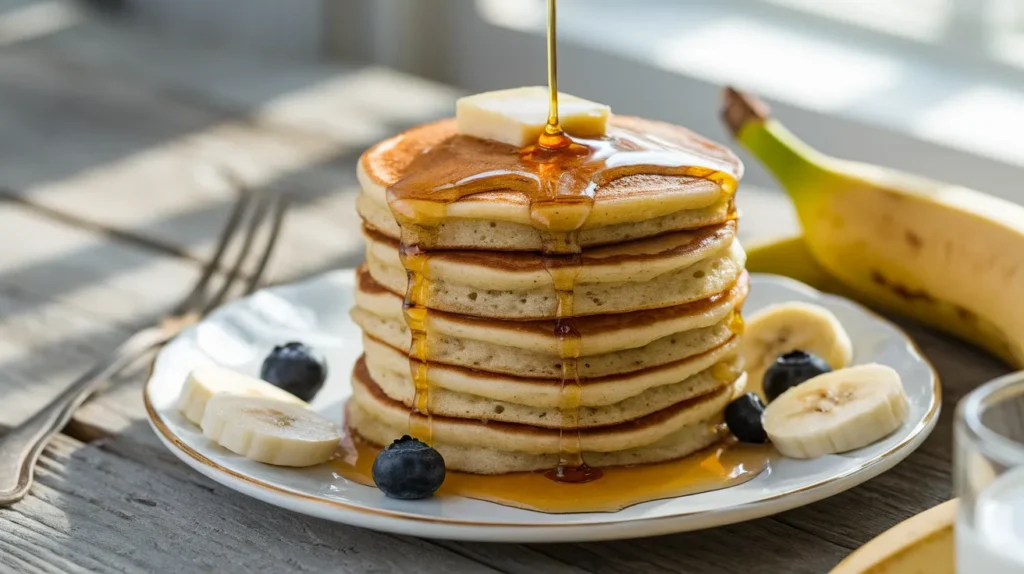
These incredibly fluffy banana pancakes transform your kitchen into a cozy breakfast haven with their golden-brown exterior and tender, cake-like interior. Made with ripe bananas and pantry staples, these banana pancakes deliver the perfect balance of natural sweetness and comforting warmth that makes weekend mornings truly special.
SERVES: 4 | PREP: 10 MIN | COOK: 15 MIN | TOTAL: 25 MIN
Ingredients
Dry Ingredients
| Ingredient | Amount |
|---|---|
| All-purpose flour | 2 cups |
| Granulated sugar | 2 tablespoons |
| Baking powder | 2 teaspoons |
| Salt | 1/2 teaspoon |
| Ground cinnamon | 1/4 teaspoon |
Wet Ingredients
| Ingredient | Amount |
|---|---|
| Ripe bananas, mashed | 2 large (about 1 cup) |
| Milk | 1 1/4 cups |
| Large eggs | 2 |
| Melted butter | 3 tablespoons |
| Vanilla extract | 1 teaspoon |
For Cooking
| Ingredient | Amount |
|---|---|
| Butter or oil for pan | As needed |
Step-by-Step Instructions
Phase 1: Preparation (5 minutes)
Step 1: Choose very ripe bananas with brown spots on the peel. These overripe bananas provide maximum sweetness and mash easily. Peel and place them in a large mixing bowl.
Step 2: Using a fork, mash the bananas completely until you achieve a smooth puree with just tiny lumps remaining. The mashing should take about 2 minutes of vigorous work.
Step 3: Crack both eggs into the banana mixture and whisk thoroughly for 30 seconds. The eggs should be completely incorporated with no streaks visible.
Step 4: Pour in the milk, melted butter, and vanilla extract. Whisk everything together until the mixture is smooth and uniform in color.
Phase 2: Mixing the Batter (3 minutes)
Step 5: In a separate bowl, combine all dry ingredients – flour, sugar, baking powder, salt, and cinnamon. Use a whisk to ensure even distribution and break up any lumps.
Step 6: Create a well in the center of the dry ingredients. This technique helps prevent overmixing when you add the wet ingredients.
Step 7: Pour the banana mixture into the flour well all at once. Using a wooden spoon or rubber spatula, gently fold the ingredients together with 10-12 gentle strokes.
Step 8: Stop mixing when you still see small streaks of flour. The batter should look lumpy and slightly thick. Overmixing creates tough, dense pancakes instead of fluffy ones.
Phase 3: Cooking the Pancakes (15 minutes)
Step 9: Heat a large non-stick skillet or griddle over medium heat (about 350°F if using an electric griddle). The correct temperature is crucial for even browning.
Step 10: Test the pan temperature by sprinkling a few drops of water on the surface. The water should sizzle and evaporate within 2-3 seconds.
Step 11: Add 1 teaspoon of butter to the hot pan and swirl to coat evenly. The butter should foam but not turn brown.
Step 12: Pour 1/4 cup of batter per pancake onto the heated surface. Don’t spread the batter – let it naturally form round shapes.
Step 13: Cook for 2-3 minutes until you see bubbles forming on the surface and the edges look set. The bottom should be golden brown when you peek underneath.
Step 14: Flip carefully using a wide spatula and cook for another 1-2 minutes. The second side cooks faster, so watch closely to prevent burning.
Step 15: Transfer finished pancakes to a warm oven (200°F) to keep them hot while you cook the remaining batches.
Step 16: Repeat the cooking process with the remaining batter, adding more butter to the pan as needed between batches.
Chef’s Notes
Banana Selection: The key to exceptional banana pancakes lies in using overripe bananas with plenty of brown spots. These bananas are naturally sweeter and create the most flavorful pancakes.
Temperature Control: Maintain medium heat throughout cooking. Too high heat burns the outside while leaving the inside undercooked, while too low heat creates pale, tough pancakes.
Batter Consistency: Your banana pancakes batter should be thick but pourable. If it seems too thick, add milk one tablespoon at a time until you reach the right consistency.
Fresh Factor: These pancakes taste best when served immediately after cooking. The contrast between the crispy exterior and fluffy interior is most pronounced when they’re hot off the griddle.
Nutrition Information (Per Serving)
Calories: 285 | Protein: 8g | Carbohydrates: 45g | Fat: 9g | Fiber: 3g | Sugar: 12g
Creative Variations
Chocolate Chip Banana Pancakes: Fold 1/2 cup mini chocolate chips into the batter just before cooking. The chips will melt slightly, creating pockets of chocolate goodness.
Walnut Banana Pancakes: Add 1/2 cup chopped toasted walnuts for extra crunch and protein. Toast the walnuts in a dry pan for 3-4 minutes before adding to enhance their flavor.
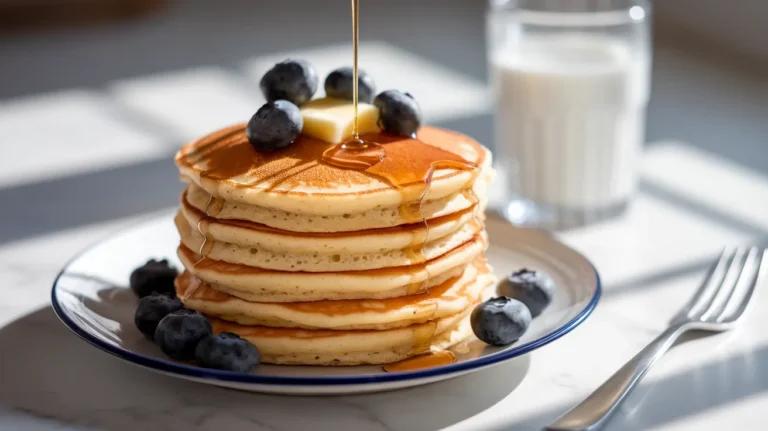
Blueberry Banana Pancakes: Gently fold in 3/4 cup fresh or frozen blueberries for a fruity twist. If you love experimenting with pancake variations, you might also enjoy these buttermilk pancakes for a classic alternative.
Protein-Packed Banana Pancakes: Replace 1/4 cup flour with protein powder and add an extra 2 tablespoons of milk. This creates a more filling breakfast option perfect for active mornings.
Storage & Reheating
Refrigerator Storage: Cool completely and store leftover banana pancakes in an airtight container for up to 3 days. Layer parchment paper between pancakes to prevent sticking.
Freezer Storage: Freeze cooled pancakes in freezer bags for up to 2 months. Flash-freeze them on a baking sheet first, then transfer to bags to prevent clumping.
Reheating Methods: Toast frozen pancakes directly in the toaster for 2-3 cycles, or microwave for 30-45 seconds. For best results, reheat in a 350°F oven for 5 minutes.
Make-Ahead Tip: Prepare the dry ingredients the night before and store in an airtight container. In the morning, just add the wet ingredients for quick banana pancakes.
Troubleshooting Common Issues
Problem: Dense, Heavy Pancakes Solution: You’ve likely overmixed the batter. Mix just until ingredients are barely combined – lumps are perfectly fine and actually desired.
Problem: Pancakes Spreading Too Thin Solution: Your batter is too thin. Add flour one tablespoon at a time until you achieve a thicker consistency that holds its shape.
Problem: Burning on Outside, Raw Inside Solution: Lower your heat to medium-low and cook more patiently. High heat creates this common problem with banana pancakes.
Problem: Pancakes Won’t Flip Cleanly Solution: Wait longer before flipping. The surface should have visible bubbles and the edges should look set before attempting to turn them.
Problem: Lack of Banana Flavor Solution: Use riper bananas next time, or add an extra half banana to the recipe. Under-ripe bananas don’t provide enough sweetness or flavor.
Equipment Essentials
- Large non-stick skillet or electric griddle (12-inch works best)
- Wide, thin spatula for easy flipping
- Large mixing bowls (2 medium bowls minimum)
- Measuring cups and spoons
- Wire whisk for combining ingredients
- Fork for mashing bananas
- 1/4 cup measuring cup for portioning batter
Shopping List
Dairy Section
- Milk (2 cups needed)
- Large eggs (1 dozen)
- Butter (1 stick)
Produce Section
- Ripe bananas (3-4 bananas to ensure you have enough)
Baking Aisle
- All-purpose flour
- Granulated sugar
- Baking powder
- Salt
- Ground cinnamon
- Vanilla extract
Success Secrets
1. Room temperature ingredients mix together more easily and create a smoother batter. Take eggs and milk out 30 minutes before cooking.
2. Let the batter rest for 2-3 minutes after mixing. This allows the flour to fully hydrate and creates more tender banana pancakes.
3. Use a consistent portion size with a 1/4 cup measure for uniform cooking times and professional-looking results.
4. Keep pancakes warm in a 200°F oven on a baking sheet while you finish the batch. This prevents them from getting cold and soggy.
5. Clean your pan between batches by wiping with a paper towel. This prevents burnt bits from sticking to fresh pancakes and affecting their appearance.
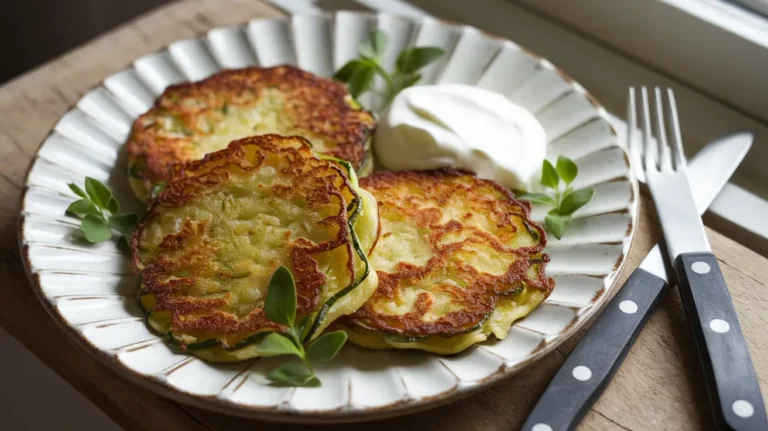
For those who enjoy creative pancake recipes, these zucchini and potato pancakes offer a delicious savory alternative that’s perfect for lunch or dinner.
These banana pancakes prove that the best breakfast recipes combine simple ingredients with proper technique. Master this recipe once, and you’ll have a go-to weekend breakfast that never disappoints.