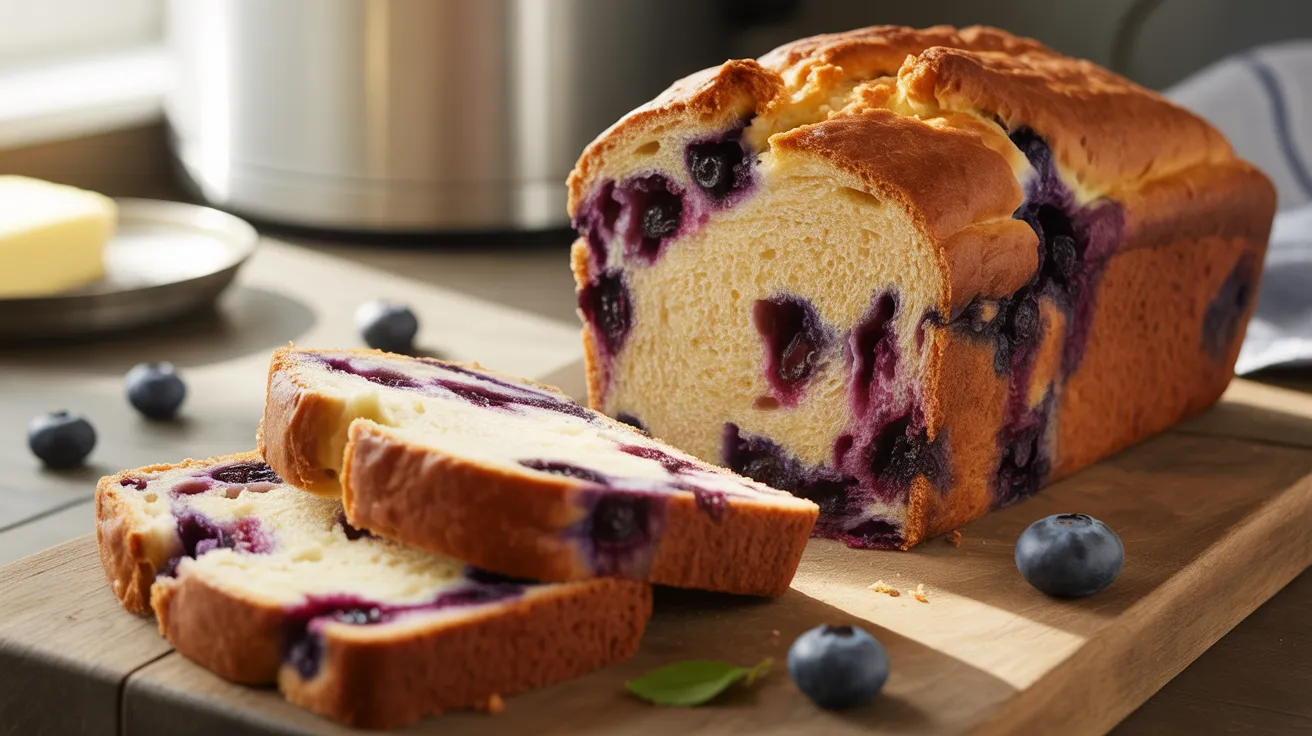
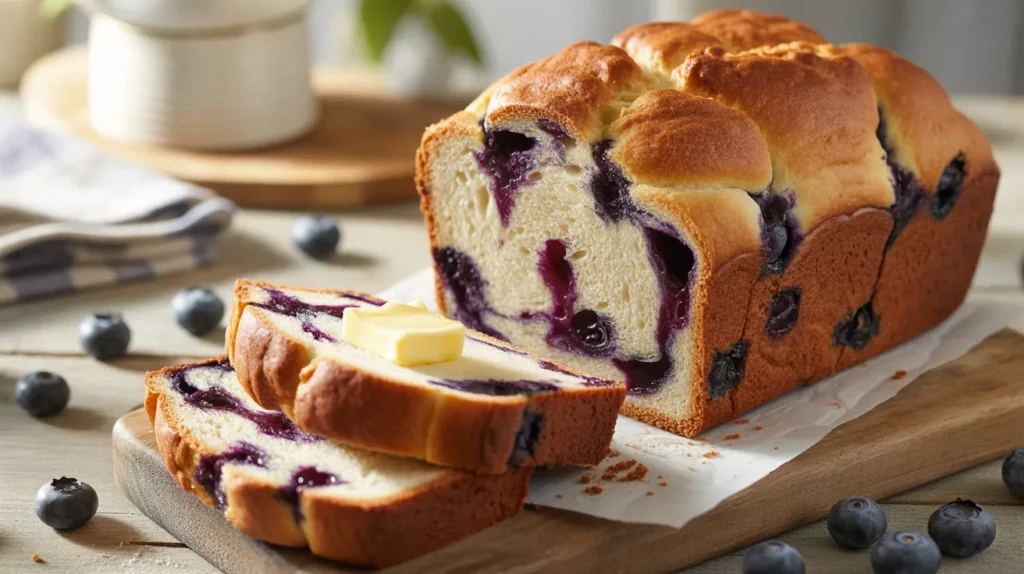
Making bread machine blueberry bread at home transforms your kitchen into a bakery with minimal effort. This bread machine blueberry bread combines sweet bursts of fresh blueberries with a tender, fluffy crumb that’s perfect for breakfast or snacking. The best part? Your bread machine does most of the work while you enjoy the amazing aroma filling your home.
SERVES: 4 | PREP: 15 MIN | COOK: 3 HR | TOTAL: 3 HR 15 MIN
Ingredients
Wet Ingredients
| Ingredient | Measurement |
|---|---|
| Warm milk (110°F) | 1 cup |
| Large eggs | 2 |
| Melted butter | 4 tablespoons |
| Vanilla extract | 1 teaspoon |
| Honey | 2 tablespoons |
Dry Ingredients
| Ingredient | Measurement |
|---|---|
| Bread flour | 3 cups |
| Granulated sugar | ⅓ cup |
| Salt | 1 teaspoon |
| Active dry yeast | 2¼ teaspoons |
Add-Ins
| Ingredient | Measurement |
|---|---|
| Fresh blueberries | 1½ cups |
| All-purpose flour (for coating) | 2 tablespoons |
Step-by-Step Instructions
Phase 1: Preparing Your Ingredients (5 minutes)
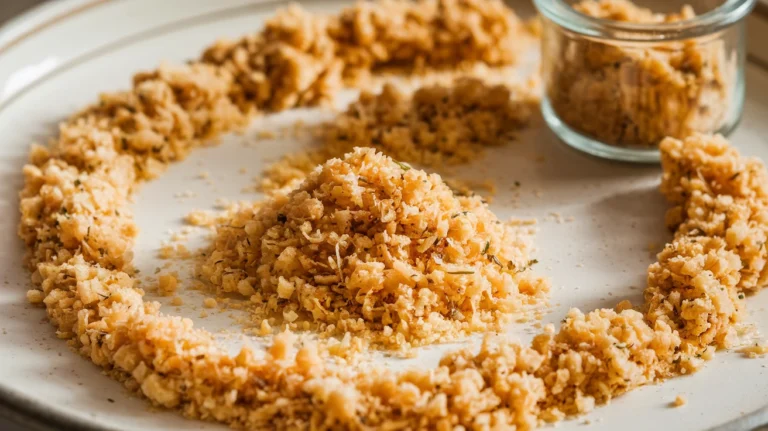
Step 1: Take your blueberries and gently toss them with 2 tablespoons of all-purpose flour in a small bowl. This coating prevents the berries from sinking to the bottom during baking and keeps them from bleeding too much color into your dough. Pat them dry with paper towels first if they’re wet.
Step 2: Warm your milk to exactly 110°F using a thermometer. This temperature is crucial because too hot kills the yeast (anything over 120°F), and too cold won’t activate it properly. If you don’t have a thermometer, it should feel like warm bathwater on your wrist.
Step 3: Melt your butter in the microwave for 20-30 seconds, then let it cool for 2 minutes. You want it liquid but not hot, or it’ll scramble your eggs when everything mixes together.
Phase 2: Loading the Bread Machine (5 minutes)
Step 4: Pour the warm milk into your bread machine pan first. Adding liquids first protects the pan’s coating and ensures better mixing. Make sure your pan is properly locked into the machine.
Step 5: Crack both eggs directly into the pan, then add the melted butter, vanilla extract, and honey. These wet ingredients create the tender texture that makes this bread machine blueberry bread so special.
Step 6: Add the bread flour directly on top of the liquid ingredients. Spread it evenly to cover all the liquid completely. This creates a barrier that keeps the yeast dry until mixing begins, which is important for proper rising.
Step 7: Create a small well in the center of the flour using your finger. Pour the active dry yeast into this well. Never let the yeast touch the liquid before mixing starts, or it might activate too early and affect your rise.
Step 8: Sprinkle the sugar and salt around the edges of the flour, away from the yeast. Salt can kill yeast on contact, so keeping them separated initially gives you better results.
Phase 3: Programming and First Rise (1 hour 30 minutes)
Step 9: Select the “Sweet Bread” cycle on your machine (sometimes called “Cake” or “Quick Bread” depending on your model). This cycle uses a gentler kneading action and lower baking temperature, perfect for delicate breads like this one. Set the crust color to medium.
Step 10: Press start and let the machine knead for about 5 minutes. Open the lid and check the dough consistency. It should form a smooth, slightly sticky ball that pulls away from the sides of the pan. If it’s too dry and crumbly, add 1 tablespoon of milk. If it’s too wet and doesn’t form a ball, add 1 tablespoon of flour.
Step 11: About 5 minutes before the kneading cycle ends (your machine will usually beep), quickly open the lid and gently sprinkle your flour-coated blueberries on top of the dough. Don’t dump them all in one spot—spread them around. The machine will fold them in during the final minutes of kneading.
Step 12: Close the lid immediately and let the machine finish its kneading cycle. The blueberries will distribute throughout the dough, though some clustering is normal and actually creates nice pockets of fruit.
Phase 4: Monitoring the Bake (1 hour 30 minutes)
Step 13: After the rise cycle completes, the machine automatically begins baking. Your kitchen will start smelling incredible around the 45-minute mark. Resist opening the lid during baking—this releases heat and can cause your bread to collapse in the center.
Step 14: About 10 minutes before the cycle ends, check your bread through the machine’s window if it has one. The top should be golden brown. If it’s getting too dark, you can carefully place a piece of aluminum foil over the top (work quickly to minimize heat loss).
Step 15: When the machine beeps that baking is complete, immediately remove the pan using oven mitts—it’s extremely hot. Turn the pan upside down and gently shake to release the loaf. If it sticks, use a silicone spatula to loosen the edges first.
Step 16: Transfer your bread machine blueberry bread to a wire cooling rack immediately. Don’t skip this step—leaving it in the pan creates condensation that makes the crust soggy. The paddle might be stuck in the bottom of the loaf; carefully pull it out with tongs once the bread cools for 5 minutes.
Phase 5: Cooling and Finishing (30 minutes)
Step 17: Let the bread cool for at least 30 minutes before slicing. I know it’s tempting to cut into it immediately, but hot bread turns gummy when you slice it. The cooling time lets the crumb structure set properly.
Step 18: Once cooled, slice using a serrated bread knife with a gentle sawing motion. Cut pieces about ¾-inch thick for the perfect breakfast portion. The blueberries should be evenly distributed with lovely purple streaks throughout.
Chef’s Notes
Flour Choice Matters: Using bread flour instead of all-purpose creates a better structure that holds the blueberries without becoming dense. The higher protein content (around 12-14%) develops more gluten, giving you that perfect chewy-yet-tender texture.
Fresh vs. Frozen: Fresh blueberries work best for this bread machine blueberry bread because frozen ones release too much moisture during baking. If you must use frozen, don’t thaw them—toss them in flour while still frozen and add them at the last possible moment.
Yeast Freshness Check: Before starting, proof your yeast by mixing a pinch with 1 teaspoon sugar in 2 tablespoons of warm water. It should foam up within 5 minutes. Old yeast won’t rise properly and ruins the whole loaf.
Paddle Removal Trick: If the paddle bakes into your loaf (happens sometimes), let the bread cool completely, then use needle-nose pliers to grasp the paddle’s center post from the bottom and gently twist while pulling. Much easier than trying to dig it out while hot.
Nutrition Information (Per Serving)
Calories: 385 | Protein: 11g | Carbohydrates: 64g | Fat: 10g | Fiber: 3g | Sugar: 18g | Sodium: 320mg
Nutritional values are calculated per serving (¼ of loaf) and are approximate.
Delicious Variations
Lemon Blueberry Bread: Add 2 tablespoons fresh lemon zest and 1 tablespoon lemon juice to the wet ingredients. The citrus brightness complements the blueberries beautifully, similar to how sour milk bread uses tangy dairy to enhance flavor.
Cinnamon Swirl Version: Before adding blueberries, mix 3 tablespoons sugar with 1 tablespoon cinnamon. When the machine beeps for add-ins, sprinkle half the cinnamon mixture, then blueberries, then the remaining cinnamon sugar for a sweet surprise.
Streusel-Topped Bread: During the last 30 minutes of baking, quickly open the lid and sprinkle a mixture of ¼ cup flour, ¼ cup brown sugar, and 2 tablespoons cold butter (crumbled) over the top. Creates a crunchy, bakery-style finish.
Enriched Brioche Style: For an extra-rich version similar to bread machine brioche, use 3 eggs instead of 2 and increase the butter to 6 tablespoons. Your bread will have a more golden color and buttery flavor.
Storage & Reheating
Room Temperature: Store your bread machine blueberry bread in an airtight container or wrapped tightly in plastic wrap for up to 3 days at room temperature. The blueberries keep it moist longer than plain bread.
Refrigeration: If your kitchen is warm or humid, refrigerate the bread wrapped in plastic wrap then placed in a ziplock bag. It’ll last 5-7 days this way, though the texture firms up slightly (toasting fixes this).
Freezing: Slice the completely cooled loaf, then wrap individual slices in plastic wrap and store in a freezer bag for up to 3 months. Pull out single slices as needed and toast from frozen—takes about 4-5 minutes on medium heat.
Reheating: Toast individual slices for 2-3 minutes until warm and slightly crispy on the edges. For whole slices, wrap in foil and warm in a 300°F oven for 10 minutes. A quick 15-second microwave zap works too, though it won’t crisp the crust.
Troubleshooting Common Problems
Problem 1: Bread Didn’t Rise Properly Your yeast might be expired (check the date), or your milk was too hot and killed the yeast. Always test milk temperature with a thermometer—110°F is perfect. Also ensure your bread machine is in a draft-free spot, as cold environments slow yeast activity.
Problem 2: Blueberries Sank to the Bottom This happens when the berries are too wet or you added them too early. Always coat them thoroughly in flour and add them only at the beep signal, about 5 minutes before kneading ends. Using frozen berries without thawing helps prevent sinking too.
Problem 3: Dense, Heavy Texture You likely used too much flour or not enough liquid. Measure flour correctly by spooning it into the measuring cup and leveling off—never pack it down. Humidity affects flour absorption, so if your dough looks dry during the first kneading check, add milk 1 tablespoon at a time.
Problem 4: Crust Too Dark or Burnt Switch your crust setting from “dark” to “medium” or “light.” If your machine runs hot, tent foil over the top during the last 20 minutes of baking. Some older bread machines have heating elements that run hotter over time.
Problem 5: Purple Streaks Throughout Bread This is actually normal and looks beautiful! Fresh blueberries naturally bleed some color. If you want to minimize it, use smaller wild blueberries, coat them very well in flour, and freeze them for 30 minutes before adding (don’t thaw after freezing).
Equipment Essentials
- Bread machine (1.5 to 2-pound capacity)
- Measuring cups (dry and liquid)
- Measuring spoons
- Kitchen thermometer (for checking milk temperature)
- Wire cooling rack
- Oven mitts
- Serrated bread knife
- Small mixing bowl (for coating blueberries)
- Silicone spatula (optional, for loosening bread)
Shopping List
Dairy Section
- Whole milk (8 oz)
- Large eggs (2)
- Unsalted butter (½ stick)
Baking Aisle
- Bread flour (24 oz bag)
- All-purpose flour (for coating berries)
- Granulated sugar
- Active dry yeast
- Vanilla extract
- Honey
Produce Section
- Fresh blueberries (12 oz container)
Pantry Staples
- Salt
Success Secrets
1. Temperature Control is Everything: Keep your kitchen between 70-75°F while the bread rises. Too cold and the dough won’t rise properly; too warm and it over-proofs and collapses. A consistent environment creates consistent results.
2. Don’t Overfill the Pan: This recipe is sized perfectly for a 1.5-2 pound bread machine. Overfilling causes the dough to spill over during rising and creates a mushroom-shaped loaf that won’t bake evenly.
3. Check Dough After First 5 Minutes: Every bread machine kneads slightly differently. Watching the dough form during the first few minutes and making minor flour or liquid adjustments ensures perfect texture every time.
4. Use the Delay Timer Strategically: Want fresh bread for breakfast? Load everything except the blueberries the night before and use the delay timer. Set an alarm to wake up 10 minutes before the beep to add berries—worth the brief interruption for warm morning bread.
5. Clean the Pan Immediately: After removing your bread, fill the pan with warm soapy water right away. This prevents stuck-on dough from hardening. Never submerge the pan if your machine’s manual says not to—just fill the inside and let it soak for easy cleaning.