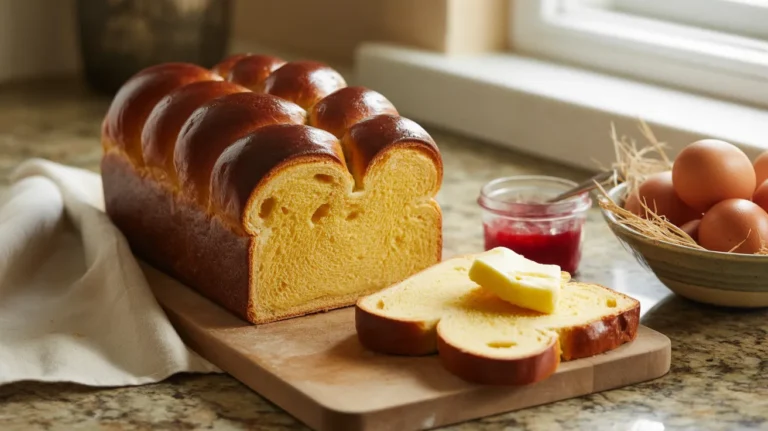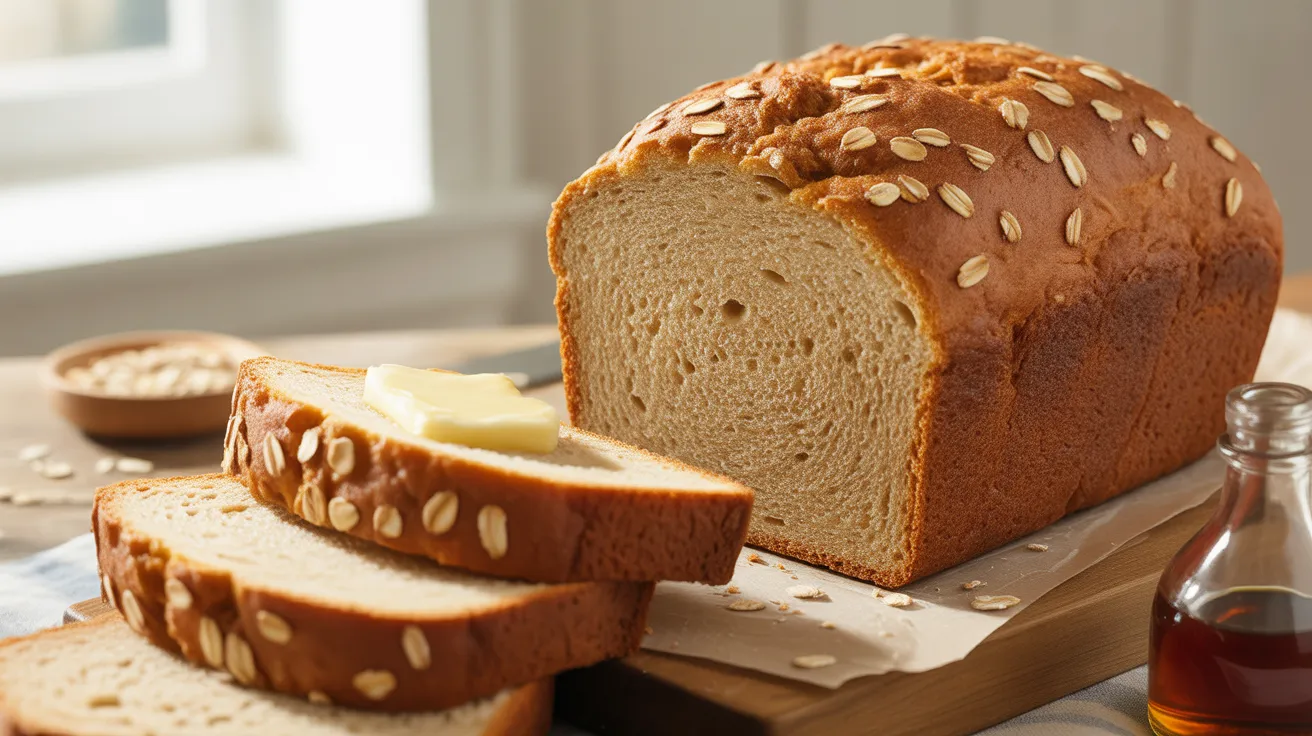
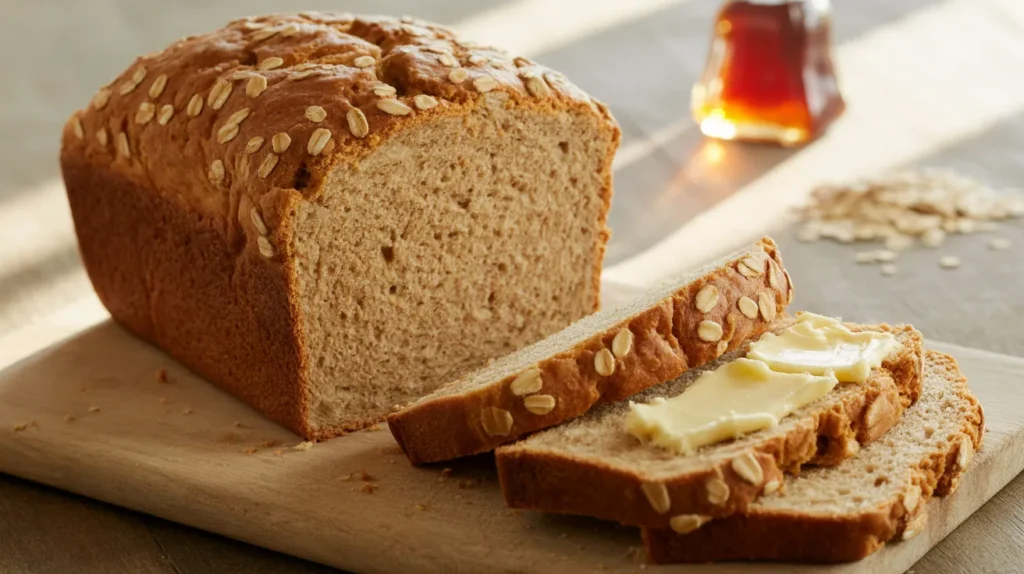
There’s something magical about waking up to the aroma of freshly baked bread machine maple oatmeal bread filling your kitchen. This tender, slightly sweet loaf combines hearty rolled oats with pure maple syrup for a breakfast bread that’s perfect for toasting or making sandwiches. My bread machine maple oatmeal bread delivers bakery-quality results with minimal effort—just add ingredients, press start, and let your machine work its magic.
SERVES: 4 | PREP: 10 MIN | COOK: 3 HR | TOTAL: 3 HR 10 MIN
Ingredients
Wet Ingredients
| Ingredient | Amount |
|---|---|
| Warm water (110°F) | 1 cup |
| Pure maple syrup | 3 tablespoons |
| Butter, softened | 2 tablespoons |
| Large egg | 1 |
Dry Ingredients
| Ingredient | Amount |
|---|---|
| Bread flour | 2¾ cups |
| Rolled oats | ½ cup |
| Non-fat dry milk powder | 2 tablespoons |
| Salt | 1¼ teaspoons |
| Active dry yeast | 2 teaspoons |
Step-by-Step Instructions
Phase 1: Preparing Your Ingredients (5 minutes)
Step 1: Remove the bread pan from your bread machine and ensure it’s completely clean and dry. Any leftover crumbs can affect how your new loaf rises.
Step 2: Check your water temperature with a thermometer—it should read between 105-115°F. Water that’s too hot will kill the yeast, while cold water won’t activate it properly. Think bathwater warm, not hot coffee.
Step 3: Measure your rolled oats and set aside 2 tablespoons. You’ll use these for topping the loaf later, which creates a beautiful bakery-style finish.
Phase 2: Loading the Bread Machine (5 minutes)
Step 4: Pour the warm water into the bread pan first. Adding liquids first protects the yeast from activating too early, which is crucial for getting the timing right with your bread machine cycle.
Step 5: Add the maple syrup and watch it swirl into the water. Real maple syrup (not pancake syrup) gives this bread its distinctive flavor and helps the crust brown beautifully.
Step 6: Drop in the softened butter in small pieces around the pan. Room temperature butter incorporates better than cold butter, which can create uneven pockets in your dough.
Step 7: Crack the egg into the pan, breaking the yolk so it blends smoothly. The egg adds richness and helps create a tender crumb structure.
Step 8: Spoon the bread flour over the wet ingredients, spreading it to the edges. This creates a barrier between the liquid and the yeast—important for bread machines that have a delay start feature.
Step 9: Sprinkle the remaining rolled oats evenly over the flour. The oats add texture and a subtle nutty flavor that pairs perfectly with maple.
Step 10: Add the dry milk powder on one side and the salt on the other. Keeping them separate initially prevents the salt from touching the yeast too soon, which can slow fermentation.
Phase 3: Adding Yeast and Starting the Machine (30 seconds)
Step 11: Create a small well in the center of the flour using your finger, making sure you don’t reach down to the liquid layer. Sprinkle the yeast into this well where it stays dry until the mixing begins.
Step 12: Lock the bread pan securely into your machine—you should hear a click. Insert the kneading paddle if it’s not already attached.
Step 13: Select the Basic/White Bread setting with a Medium crust color. The cycle should take approximately 3 hours from start to finish. If you’re using a bread machine similar to what I discuss in my bread machine herb and parmesan bread recipe, the settings will be identical.
Phase 4: Optional Oat Topping (During Baking)
Step 14: About 10 minutes before the final baking phase begins (you’ll hear the machine switch from kneading to baking), carefully open the lid. Brush the top of the risen dough with a little water and sprinkle those reserved oats on top. This step is optional but creates a stunning presentation.
Phase 5: Finishing and Cooling (30 minutes)
Step 15: When the cycle completes, immediately remove the bread pan using oven mitts—it will be extremely hot. Let the bread rest in the pan for 5 minutes to make removal easier.
Step 16: Turn the pan upside down over a cooling rack and gently shake to release the loaf. If it sticks, tap the corners of the pan firmly but carefully.
Step 17: Remove the kneading paddle from the bottom of the loaf if it’s still attached. Use a heat-resistant utensil to wiggle it free while the bread is still warm.
Step 18: Let your bread machine maple oatmeal bread cool for at least 20 minutes before slicing. Cutting into hot bread releases too much steam and creates a gummy texture inside.
Chef’s Notes
Maple Grade Matters: Use Grade A Dark or Grade B maple syrup for the most robust flavor. The darker grades have stronger maple notes that stand up to baking better than lighter varieties.
Oat Options: Old-fashioned rolled oats work best for this bread machine maple oatmeal bread. Quick oats turn mushy, while steel-cut oats stay too firm and can damage your kneading paddle.
Altitude Adjustments: If you’re baking above 3,000 feet, reduce the yeast by ¼ teaspoon and add 1-2 tablespoons extra flour. High altitude makes dough rise faster and can cause overproofing.
Timing Flexibility: Most bread machines have a delay timer. I love setting mine the night before so I wake up to fresh bread. Just place the yeast in its well and keep it away from liquids until mixing begins.
Nutrition Information (Per Serving)
Calories: 285 | Protein: 9g | Carbohydrates: 52g | Fat: 4g | Fiber: 3g | Sugar: 8g | Sodium: 320mg
These values are calculated based on dividing the finished loaf into 4 equal servings.
Variations to Try
Cinnamon Maple Swirl: Add 1½ teaspoons cinnamon to the dry ingredients and drizzle an extra tablespoon of maple syrup during the last knead cycle for ribbons of sweetness throughout.
Maple Pecan Crunch: Toss in ⅓ cup chopped toasted pecans when your machine beeps for add-ins (usually during the second kneading). The nuts add wonderful texture and complement the maple beautifully.
Honey Alternative: Not a maple fan? Try my bread machine oatmeal honey bread instead, which uses honey as the sweetener for a different but equally delicious flavor profile.
Whole Grain Boost: Replace ½ cup of the bread flour with whole wheat flour for added fiber and a heartier texture. You may need to add an extra tablespoon of water since whole wheat absorbs more liquid.
Storage & Reheating
Room Temperature: Store your cooled loaf in an airtight bag or container for up to 3 days. Bread machines create a slightly denser crumb than oven-baked bread, which actually helps it stay fresh longer.
Refrigeration: I don’t recommend refrigerating bread—it accelerates staling. Room temperature storage works better for maintaining texture.
Freezing: Slice the completely cooled bread and freeze portions in freezer bags for up to 3 months. Place parchment paper between slices so you can grab just what you need without thawing the entire loaf.
Reheating: Toast frozen slices straight from the freezer, or wrap the whole loaf in foil and warm in a 350°F oven for 15 minutes. A quick microwave burst (10-15 seconds) brings back the just-baked softness.
Troubleshooting Common Issues
Problem: Loaf Collapsed or Has a Crater on Top
Your dough overproofed because there was too much yeast or liquid. Reduce the yeast by ¼ teaspoon next time, and make sure your water isn’t warmer than 115°F. High temperatures make yeast hyperactive.
Problem: Dense, Heavy Texture
This usually means your yeast was dead or the water temperature was off. Always check your yeast’s expiration date, and test your water with a thermometer. The dough should roughly double in size during rising.
Problem: Bread Didn’t Rise at All
Either the yeast died from water that was too hot, or the salt touched the yeast before mixing started. Keep that salt away from the yeast well, and never use water hotter than 115°F.
Problem: Crust Is Too Dark
Switch your machine’s setting from Medium to Light crust. Different machines run hotter than others, and maple syrup’s natural sugars can cause extra browning. You can also remove the loaf 5 minutes early.
Problem: Paddle Stuck in Bread
This happens when the bread cools completely in the pan. Always remove bread within 10 minutes of the cycle ending. If the paddle is already stuck, use needle-nose pliers to gently twist it free after removing that slice.
Equipment Essentials
- Bread machine (1.5 to 2-pound capacity)
- Measuring cups and spoons (dry and liquid)
- Instant-read thermometer (for checking water temperature)
- Cooling rack (prevents soggy bottom crust)
- Oven mitts (for safe pan removal)
- Serrated bread knife (for clean slicing)
- Pastry brush (optional, for oat topping)
Shopping List
Dairy & Eggs Section
- Butter (softened)
- Large eggs
- Non-fat dry milk powder
Baking Aisle
- Bread flour
- Active dry yeast
- Salt
Breakfast/Cereal Aisle
- Rolled oats (old-fashioned)
Condiments/Syrup Section
- Pure maple syrup
Success Secrets
1. Temperature Is Everything: That 110°F water temperature isn’t a suggestion—it’s the sweet spot where yeast activates perfectly. Too cold and fermentation crawls, too hot and you’ll kill it.
2. Measure Flour Properly: Spoon flour into your measuring cup and level it off with a knife. Scooping directly from the bag packs in 20% more flour, which makes dry, tough bread.
3. Fresh Yeast Makes Better Bread: Yeast loses potency after opening. Write the date on your yeast container and replace it every 4 months for consistently great rises.
4. Don’t Peek Too Often: Opening the lid during rising releases heat and can cause your loaf to collapse. Only open when necessary for add-ins or toppings.
5. Clean Your Machine Between Bakes: Flour residue in the corners and around the heating element affects temperature consistency. A quick wipe-down with a damp cloth after each loaf keeps everything working perfectly.