This butternut squash soup delivers restaurant-quality results right in your home kitchen. I’ve perfected this rich and creamy butternut squash soup recipe through years of testing, and it’s become my go-to comfort food when temperatures drop. The natural sweetness of roasted squash combines with aromatic herbs and a touch of cream to create a velvety texture that’s absolutely irresistible.
SERVES: 4 | PREP: 15 MIN | COOK: 45 MIN | TOTAL: 60 MIN
Ingredients
| Ingredient Category | Item | Amount |
|---|---|---|
| Main Vegetables | Butternut squash (peeled, seeded, cubed) | 3 lbs (about 1 large squash) |
| Yellow onion (diced) | 1 large | |
| Garlic cloves (minced) | 4 cloves | |
| Carrots (peeled, chopped) | 2 medium | |
| Liquids & Dairy | Vegetable or chicken broth | 4 cups |
| Heavy cream | ½ cup | |
| Olive oil | 3 tablespoons | |
| Seasonings | Fresh thyme sprigs | 3 sprigs |
| Ground nutmeg | ¼ teaspoon | |
| Salt | 1½ teaspoons (plus more to taste) | |
| Black pepper | ½ teaspoon | |
| Ground cinnamon | ⅛ teaspoon | |
| Optional Garnish | Toasted pumpkin seeds | 2 tablespoons |
| Fresh parsley (chopped) | 2 tablespoons | |
| Crème fraîche or sour cream | For drizzling |
Step-by-Step Instructions
Phase 1: Preparation (10 minutes)
Step 1: Preheat your oven to 400°F (200°C) and line a large baking sheet with parchment paper. This temperature is perfect for caramelizing the squash without burning it, which brings out natural sugars and creates depth of flavor.
Step 2: Cut the butternut squash into 1-inch cubes after peeling and removing seeds. Uniform sizing ensures even cooking—larger pieces will stay hard while smaller ones might burn.
Step 3: Toss the squash cubes with 2 tablespoons olive oil, ½ teaspoon salt, and ¼ teaspoon black pepper on the baking sheet. Make sure each piece gets coated because the oil helps with browning and prevents sticking.
Phase 2: Roasting (25 minutes)
Step 4: Spread the squash in a single layer with space between pieces. Overcrowding creates steam instead of the roasted caramelization we want for this butternut squash soup.
Step 5: Roast for 25-30 minutes, flipping halfway through with a spatula. You’ll know it’s ready when the edges turn golden brown and a fork slides through easily.
Step 6: While the squash roasts, dice your onion and mince the garlic. I prep these during roasting time to stay efficient—the onion should be about ½-inch pieces for even cooking.
Phase 3: Building the Base (15 minutes)
Step 7: Heat 1 tablespoon olive oil in a large pot or Dutch oven over medium heat. Wait until the oil shimmers slightly before adding vegetables—this prevents sticking.
Step 8: Add the diced onion and cook for 5-6 minutes, stirring occasionally. The onion should turn translucent and soft, not brown. If it’s browning too quickly, reduce your heat.
Step 9: Stir in the minced garlic, chopped carrots, and fresh thyme sprigs. Cook for 2 minutes until you smell that amazing garlic aroma. Be careful not to let the garlic brown or it’ll taste bitter.
Step 10: Add the roasted butternut squash to the pot along with the 4 cups broth. The roasted squash brings concentrated flavor that makes this soup incredibly rich.
Phase 4: Simmering & Blending (20 minutes)
Step 11: Bring the mixture to a boil, then reduce heat to medium-low and simmer for 15 minutes. This allows the carrots to soften completely and lets all the flavors marry together.
Step 12: Remove the thyme sprigs—just fish them out with a spoon or tongs. The leaves will have released their flavor into the soup.
Step 13: Use an immersion blender to puree the soup directly in the pot until completely smooth, about 2-3 minutes. Move the blender in circles to catch all chunks. If using a regular blender, work in batches and fill only halfway to prevent hot liquid from exploding out the top.
Step 14: Stir in the heavy cream, ground nutmeg, and ground cinnamon. These warm spices complement the squash’s natural sweetness perfectly.
Phase 5: Final Seasoning (5 minutes)
Step 15: Taste and adjust seasoning with additional salt and pepper. I usually add another ½ teaspoon salt at this stage, but your broth’s saltiness will affect this.
Step 16: Simmer for an additional 3-4 minutes to let the cream fully incorporate and the soup reach your desired consistency. If it’s too thick, add more broth ¼ cup at a time.
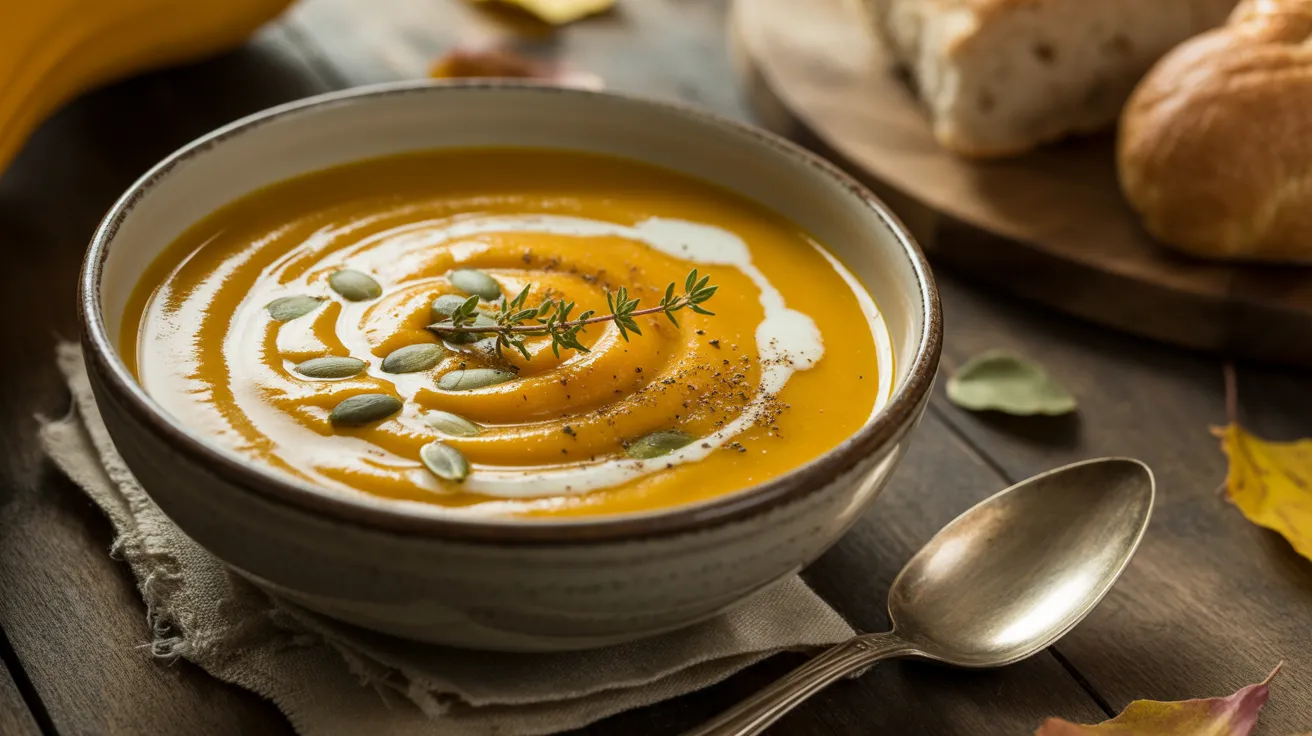
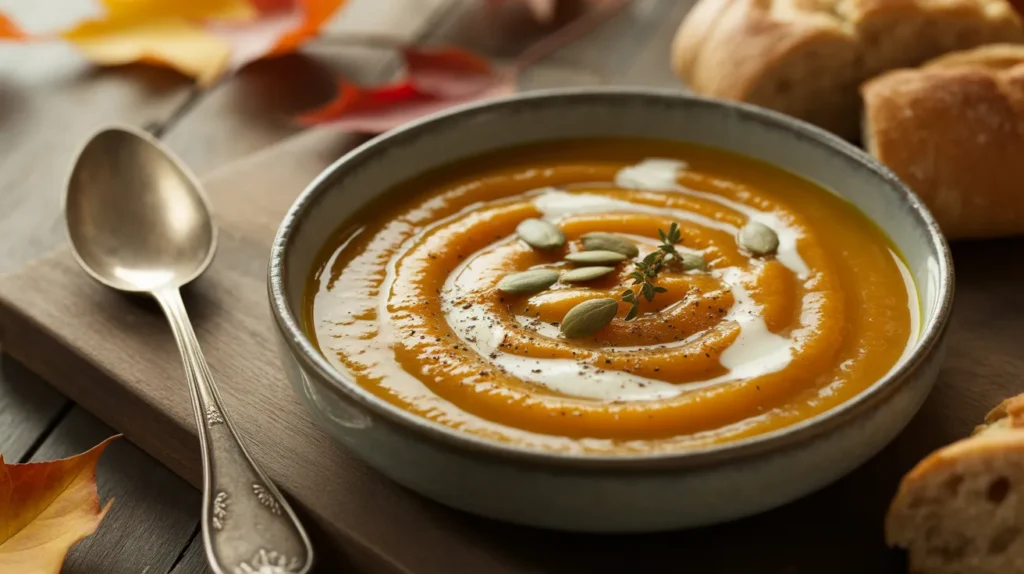
Step 17: Ladle into bowls and garnish with toasted pumpkin seeds, fresh parsley, and a drizzle of crème fraîche if desired.
Chef’s Notes
Roasting is Non-Negotiable: The roasting step transforms this butternut squash soup from good to incredible. Raw squash tastes bland and watery, but roasted squash develops caramelized notes that add complexity.
Cream Alternatives: For a lighter version, substitute half-and-half or even whole milk, though you’ll sacrifice some richness. Coconut cream works beautifully for dairy-free needs—check out this vegan butternut squash soup for plant-based options.
Make It Thicker: If you prefer ultra-thick soup, reduce the broth to 3½ cups or add 1 medium potato (peeled and cubed) with the other vegetables. The potato’s starch creates incredible body.
Season at the End: Always do your final salt adjustment after blending. The reduction during simmering concentrates flavors, and what tasted perfect before blending might need adjustment after.
Nutrition Information (Per Serving)
- Calories: 285
- Protein: 5g
- Carbohydrates: 38g
- Fat: 14g
- Fiber: 6g
- Sugar: 9g
- Sodium: 890mg
Creative Variations
Spicy Kick Version: Add ½ teaspoon cayenne pepper and 1 teaspoon smoked paprika for heat. If you enjoy bold flavors, try this spicy butternut squash sweet potato soup that takes the heat up another level.
Apple-Butternut Blend: Dice 2 Granny Smith apples and add them during the simmering phase. The tartness balances the squash’s sweetness beautifully and adds another layer of fall flavor.
Curry-Spiced: Replace the nutmeg and cinnamon with 1 tablespoon curry powder and 1 teaspoon grated fresh ginger. Finish with a squeeze of lime juice for brightness.
Sage-Brown Butter: Skip the cream and instead top each bowl with 2 tablespoons brown butter infused with crispy sage leaves. It’s richer and more sophisticated.
Storage & Reheating
Refrigerator: Store the butternut squash soup in an airtight container for 4-5 days. Let it cool to room temperature first, then refrigerate within 2 hours of cooking.
Freezer: This soup freezes beautifully for up to 3 months. I recommend freezing in individual portions using freezer-safe containers, leaving 1 inch of headspace for expansion.
Reheating: Warm on the stovetop over medium-low heat, stirring occasionally. Add a splash of broth or cream if it’s thickened too much. Microwave individual portions in 1-minute intervals, stirring between each.
Pro Tip: I freeze the soup before adding cream, then stir in fresh cream when reheating. This preserves the best texture and prevents the cream from separating.
Troubleshooting Common Problems
Problem 1: Soup is Too Thin Your broth-to-vegetable ratio was off. Simmer uncovered for an additional 10-15 minutes to reduce and concentrate. Alternatively, blend in ½ cup cooked white rice or 1 slice of white bread—both add body without changing flavor.
Problem 2: Soup Tastes Bland You likely under-salted or skipped roasting the squash. Roasting is where the magic happens. If your soup is already made, boost flavor by stirring in 1 tablespoon white miso paste or 1 teaspoon maple syrup plus more salt.
Problem 3: Grainy or Chunky Texture Your squash wasn’t cooked long enough or you didn’t blend thoroughly. Return the soup to heat and simmer until everything is fork-tender, then blend for a full 3-4 minutes until silky smooth.
Problem 4: Cream Separated or Curdled The soup was too hot when you added cream, or you reheated it too aggressively. Always add cream off the heat or on very low heat. To fix, blend again with an immersion blender, which re-emulsifies the mixture.
Problem 5: Burnt Bottom Your heat was too high or you didn’t stir enough during the sautéing phase. Scrape up any brown bits (they’re flavorful), but if it’s actually burnt, don’t scrape—transfer everything to a new pot, leaving the burnt layer behind.
Equipment Essentials
- Large baking sheet (for roasting squash)
- Parchment paper (prevents sticking)
- Large Dutch oven or soup pot (at least 6-quart capacity)
- Immersion blender (or regular blender)
- Sharp chef’s knife (for cutting squash)
- Vegetable peeler (for squash skin)
- Wooden spoon (for stirring)
- Ladle (for serving)
- Measuring cups and spoons
Shopping List
Produce Section:
- 1 large butternut squash (3 lbs)
- 1 large yellow onion
- 1 head of garlic
- 2 medium carrots
- Fresh thyme
- Fresh parsley (optional)
Dairy Section:
- Heavy cream (½ cup)
- Crème fraîche or sour cream (optional)
Pantry/Staples:
- Olive oil
- Vegetable or chicken broth (4 cups)
- Ground nutmeg
- Ground cinnamon
- Salt and black pepper
- Toasted pumpkin seeds (optional)
Success Secrets
1. Choose the Right Squash: Look for butternut squash that feels heavy for its size with a matte (not shiny) tan skin. The neck should be long and thick—that’s the seedless part with the most usable flesh.
2. Save Time with Pre-Cut: Many stores sell pre-cut butternut squash cubes. They cost more but save 10-15 minutes of prep work and eliminate the challenge of cutting through tough skin.
3. Toast Your Spices: Before adding nutmeg and cinnamon, toast them in a dry pan for 30 seconds. This releases aromatic oils and intensifies their flavor dramatically.
4. Blend Hot, Not Warm: The soup should be steaming hot when you blend it. Hot liquid blends smoother and faster than warm liquid, giving you that restaurant-quality velvety texture.
5. Rest Before Serving: Let the finished soup rest for 5 minutes after the final simmer. This allows the flavors to settle and the temperature to become perfect for eating without burning your mouth.
This rich and creamy butternut squash soup has become a staple in my fall and winter cooking rotation. The combination of roasted squash, aromatic vegetables, and just enough cream creates a bowl of pure comfort that’s both elegant enough for guests and simple enough for weeknight dinners.