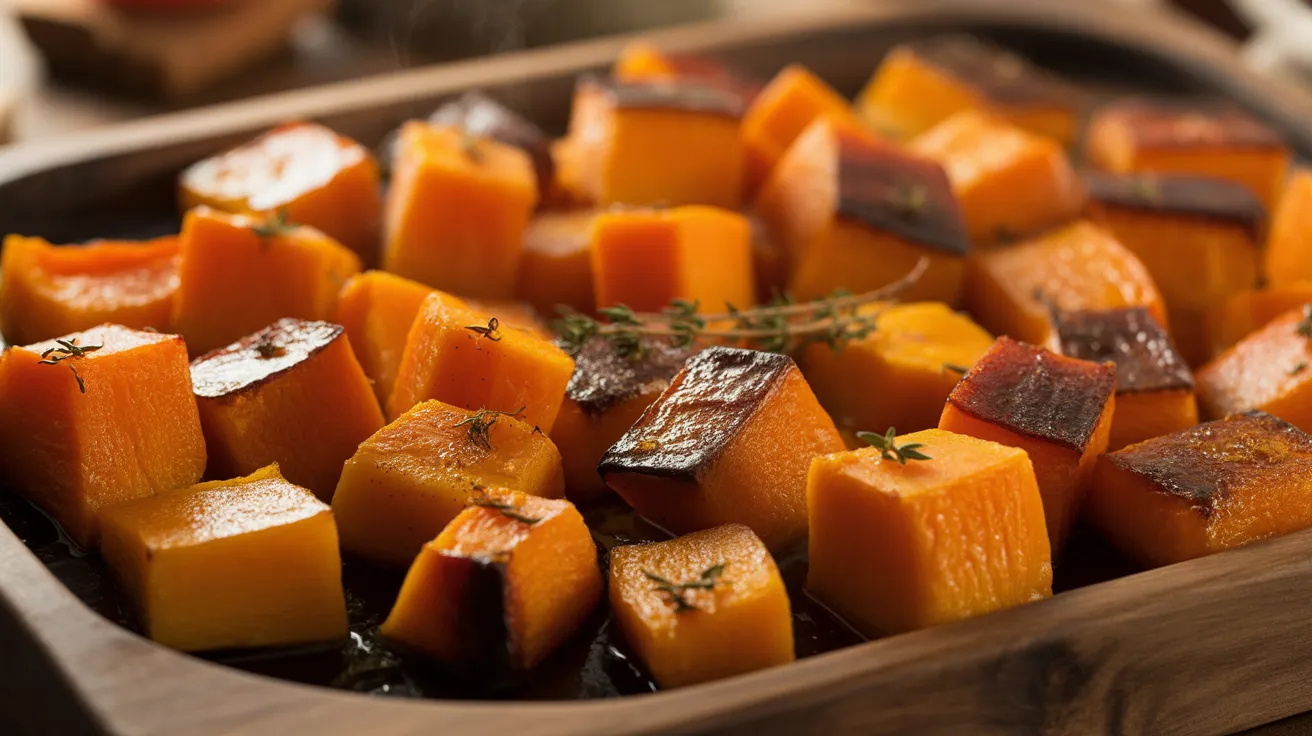
When you roast butternut squash with the right technique, something magical happens. The natural sugars transform into deep, golden caramelization that’s absolutely irresistible. This caramelized butternut squash recipe delivers restaurant-quality results with just a handful of ingredients and creates the perfect balance of sweet and savory flavors that’ll have everyone asking for seconds.
SERVES: 4 | PREP: 15 MIN | COOK: 35 MIN | TOTAL: 50 MIN
Ingredients
Main Components
| Ingredient | Amount |
|---|---|
| Butternut squash | 2 pounds (1 medium squash) |
| Olive oil | 3 tablespoons |
| Light brown sugar | 2 tablespoons |
| Salt | 1 teaspoon |
| Black pepper | ½ teaspoon |
Finishing Touches
| Ingredient | Amount |
|---|---|
| Fresh thyme leaves | 1 tablespoon |
| Butter | 2 tablespoons |
| Balsamic vinegar | 1 teaspoon (optional) |
Step-by-Step Instructions
Phase 1: Preparation (15 minutes)
Step 1: Preheat your oven to 425°F and position the rack in the center. This high temperature is crucial for caramelization—anything lower won’t create those beautiful golden edges we’re after.
Step 2: Line a large baking sheet with parchment paper or aluminum foil. The parchment prevents sticking and makes cleanup easier, which matters when working with caramelized sugars that can really bake onto your pan.
Step 3: Cut the butternut squash in half lengthwise using a sharp chef’s knife. Press down firmly but carefully—the tough skin requires some pressure. If the squash rolls, slice a thin piece off one side to create a flat, stable surface first.
Step 4: Scoop out the seeds and stringy pulp with a large spoon. Save those seeds for roasting later if you want a bonus snack! The cavity should be completely clean and smooth.
Step 5: Peel the squash using a vegetable peeler or sharp paring knife. Work from top to bottom in long strokes. The skin is thick, so you might need to make two passes. Getting all the skin off ensures even caramelization.
Step 6: Cut the peeled squash into 1-inch cubes. Consistent sizing is essential here—uneven pieces mean some burn while others stay undercooked. Use a ruler if you’re unsure about the size.
Phase 2: Seasoning (3 minutes)
Step 7: Place the cubed butternut squash in a large mixing bowl. Make sure your bowl is big enough to toss everything without pieces flying out—you’ll need room to work.
Step 8: Drizzle the olive oil over the squash cubes and toss with your hands or a large spoon. Every piece should have a light, glossy coating. The oil helps conduct heat and creates those crispy, caramelized edges.
Step 9: Sprinkle the brown sugar, salt, and black pepper over the oiled squash. The brown sugar has molasses that adds depth beyond just sweetness—this is what creates that rich, complex caramelization.
Step 10: Toss everything together thoroughly for about 30 seconds. You want the sugar mixture distributed evenly across all surfaces. Check the bottom of the bowl and make sure no sugar clumps are hiding there.
Phase 3: Roasting (35 minutes)
Step 11: Spread the seasoned squash cubes on your prepared baking sheet in a single layer. This is critical—overcrowding creates steam instead of caramelization. Leave at least ½ inch of space between each piece. Use two pans if needed.
Step 12: Roast for 20 minutes without touching. I know it’s tempting to peek, but leave that oven door closed! The consistent heat is building the caramelization from the bottom up.
Step 13: After 20 minutes, remove the pan and flip each piece using a spatula. You should see golden-brown spots forming on the bottom—that’s exactly what we want. The pieces might stick slightly, which is normal. Gently work the spatula underneath to release them.
Step 14: Return to the oven and roast for another 12-15 minutes. Watch closely during the final 5 minutes. You’re looking for deep golden-brown edges with some darker caramelized spots, but not black char.
Step 15: Test doneness by piercing a cube with a fork. It should slide in easily but the squash should still hold its shape—not mushy. If there’s resistance, give it another 3-5 minutes.
Phase 4: Finishing (2 minutes)
Step 16: Remove the pan from the oven and immediately add the butter in small pieces across the hot squash. The residual heat will melt it into a silky coating.
Step 17: Sprinkle the fresh thyme leaves over everything while the butter melts. The herb’s earthy flavor balances the sweetness perfectly.
Step 18: If you want extra depth, drizzle the balsamic vinegar over the finished squash now. The acidity cuts through the sweetness and adds another layer of complexity.
Step 19: Gently toss everything together on the pan using your spatula. The butter, herbs, and any pan drippings should coat every piece.
Step 20: Transfer to a serving dish and serve immediately while still warm. The caramelized butternut squash tastes best right out of the oven when the edges are at peak crispiness.
Chef’s Notes
Temperature matters tremendously. If your oven runs cool, bump the temperature to 450°F. You need intense heat to achieve proper caramelization on caramelized butternut squash without overcooking the interior.
Don’t skip the brown sugar step. While butternut squash has natural sugars, adding brown sugar accelerates and deepens the caramelization process. It also creates a slight crust that’s absolutely delicious.
Fresh thyme beats dried every time. The fresh herb releases aromatic oils when it hits the hot squash that dried thyme just can’t match. If you must use dried, reduce the amount to 1 teaspoon.
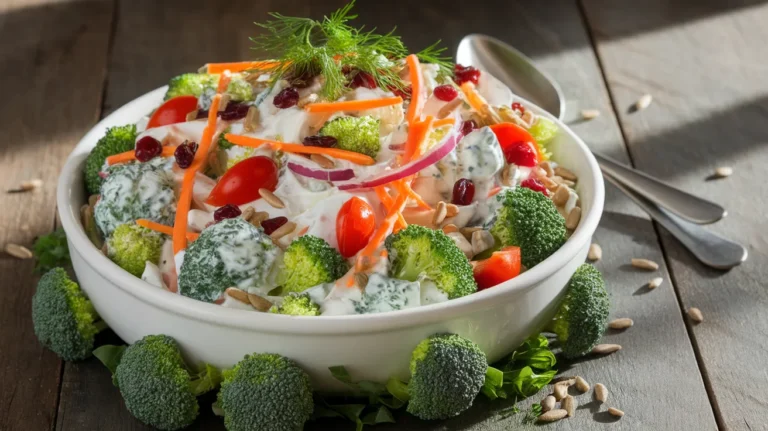
Leftover caramelized squash works beautifully in salads. Let it cool completely, then toss with mixed greens, goat cheese, and toasted pecans for an impressive side dish the next day.
Nutrition Information (Per Serving)
- Calories: 185
- Protein: 2g
- Carbohydrates: 28g
- Fat: 8g
- Fiber: 4g
- Sugar: 8g
- Sodium: 595mg
Delicious Variations
Maple-Cinnamon Version: Replace the brown sugar with pure maple syrup and add ½ teaspoon cinnamon. This creates a more breakfast-friendly flavor profile that’s perfect alongside eggs or oven baked butternut squash dishes.
Spicy-Sweet Twist: Add ¼ teaspoon cayenne pepper and 1 teaspoon smoked paprika to the seasoning mix. The heat plays beautifully against the caramelized sweetness without overwhelming it.
Herb-Crusted Style: Mix 2 tablespoons breadcrumbs with 2 tablespoons grated Parmesan and sprinkle over the squash during the last 10 minutes of roasting. This creates an extra-crispy coating that takes the dish in a savory direction.
Stuffed Preparation Base: Use this caramelized butternut squash as a component in stuffed butternut squash with spinach, bacon and cheese for an elevated presentation that impresses dinner guests.
Storage & Reheating
Store cooled caramelized butternut squash in an airtight container in the refrigerator for up to 4 days. The flavors actually deepen overnight as everything melds together.
Reheat in a 400°F oven for 8-10 minutes to restore some of that crispy exterior. Avoid the microwave—it makes everything soggy and you’ll lose the caramelization you worked so hard to achieve.
For freezing, spread pieces on a baking sheet and freeze solid before transferring to freezer bags. This prevents clumping. Frozen squash keeps for 3 months and can go straight from freezer to oven at 375°F for 15-20 minutes.
Troubleshooting Common Problems
Problem: Squash is mushy and falling apart You either cut the pieces too small or roasted too long at too low a temperature. Stick to 1-inch cubes and make sure your oven reaches 425°F. Smaller pieces overcook before they caramelize.
Problem: No caramelization, just pale roasted squash Your pan was overcrowded, creating steam instead of dry heat. The pieces need space to breathe. Also check that you’re using enough brown sugar—2 tablespoons is the minimum for proper caramelization.
Problem: Burnt edges with raw centers Your cubes were cut unevenly. Take the extra time to measure and cut uniform 1-inch pieces. Also, if your oven has hot spots, rotate the pan halfway through roasting.
Problem: Squash sticking badly to the pan You either skipped the parchment paper or didn’t use enough oil. Make sure every piece has a light oil coating before roasting. The oil creates a barrier between the sugary surface and the pan.
Problem: Tastes bland despite following the recipe You might have used table salt instead of kosher salt, which measures differently. Also, squash sweetness varies by season—early fall squash is sweeter. Adjust the brown sugar up or down by ½ tablespoon to compensate.
Equipment Essentials

- Large baking sheet (rimmed half-sheet pan works best)
- Parchment paper or aluminum foil
- Sharp chef’s knife (8-inch minimum for cutting through tough skin)
- Vegetable peeler or paring knife
- Large mixing bowl (at least 3-quart capacity)
- Metal spatula (for flipping hot squash pieces)
- Measuring spoons and cups
Shopping List by Store Section
Produce Section
- 1 medium butternut squash (about 2 pounds)
- Fresh thyme (1 small bunch)
Baking Aisle
- Light brown sugar
Oils & Vinegars
- Olive oil
- Balsamic vinegar (optional)
Dairy Section
- Butter (salted or unsalted works)
Spices
- Salt
- Black pepper
Success Secrets
1. Choose squash with a long neck. The neck portion (without seeds) gives you more usable flesh and creates more uniform cubes than the bulbous bottom section.
2. Start checking at the 30-minute mark. Every oven behaves differently, and squash sizes vary. Better to check early and add time than discover burnt pieces too late.
3. The darker the caramelization, the deeper the flavor. Don’t be afraid of those dark golden-brown edges—that’s where the magic happens. Just avoid actual black char, which tastes bitter.
4. Room temperature squash caramelizes more evenly. If your squash has been refrigerated, let it sit on the counter for 30 minutes before cutting. Cold squash can create uneven cooking.
5. Save and reuse that parchment paper. If you’re making multiple batches, the same parchment can go back in the oven. The caramelized bits stuck to it actually add flavor to the next batch.