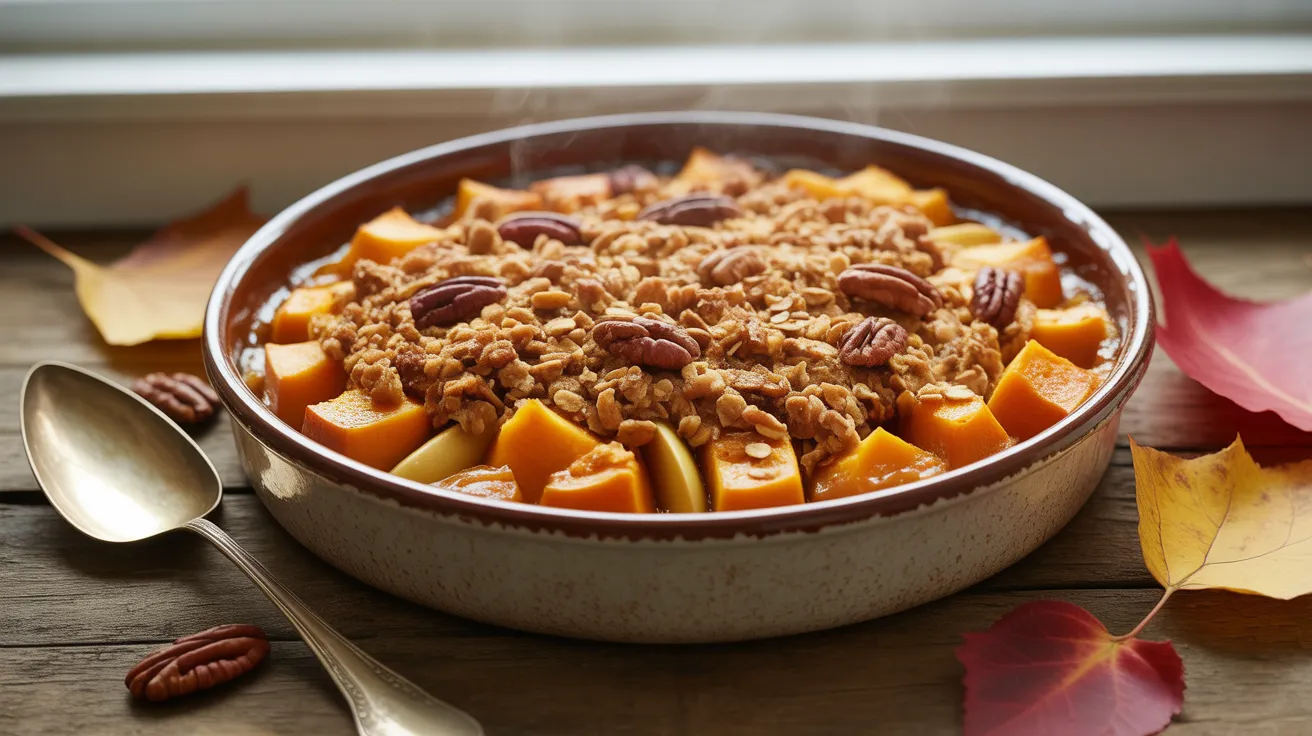
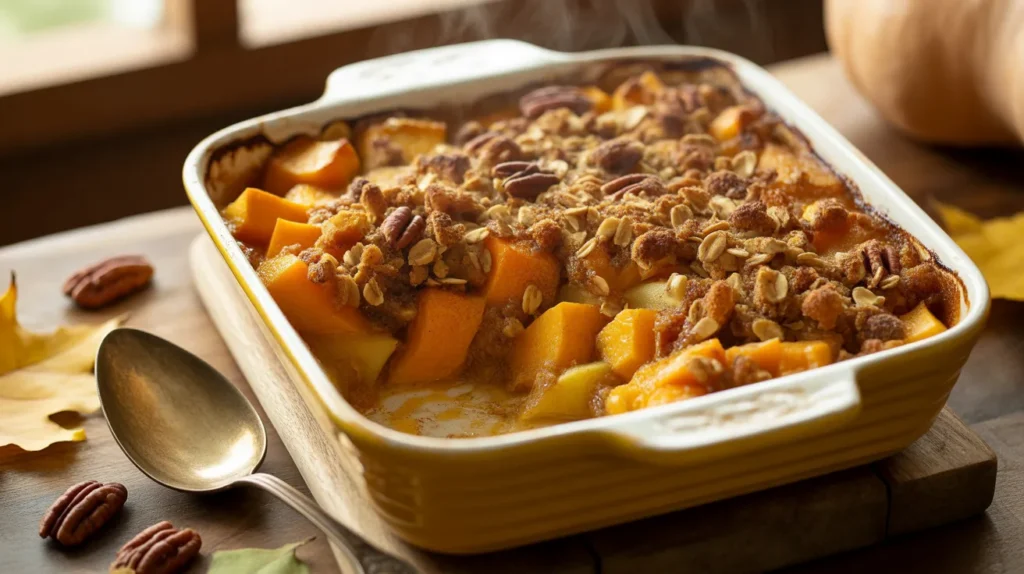
This Butternut Squash Apple Bake brings together the natural sweetness of roasted squash with cinnamon-spiced apples in a cozy casserole that tastes like autumn in every bite. My Butternut Squash Apple Bake transforms simple ingredients into a stunning side dish that works beautifully for holiday tables or weeknight dinners when you want something special without the fuss.
SERVES: 4 | PREP: 20 MIN | COOK: 45 MIN | TOTAL: 65 MIN
Ingredients
For the Butternut Squash Base
| Ingredient | Amount |
|---|---|
| Butternut squash (peeled, cubed) | 3 cups |
| Olive oil | 2 tablespoons |
| Salt | ½ teaspoon |
| Black pepper | ¼ teaspoon |
For the Apple Layer
| Ingredient | Amount |
|---|---|
| Granny Smith apples (peeled, sliced) | 2 large |
| Honeycrisp apples (peeled, sliced) | 2 medium |
| Brown sugar | 3 tablespoons |
| Ground cinnamon | 1 teaspoon |
| Ground nutmeg | ¼ teaspoon |
| Lemon juice | 1 tablespoon |
For the Topping
| Ingredient | Amount |
|---|---|
| Old-fashioned oats | ½ cup |
| All-purpose flour | ¼ cup |
| Butter (cold, cubed) | 4 tablespoons |
| Brown sugar | 2 tablespoons |
| Chopped pecans | ⅓ cup |
Step-by-Step Instructions
Phase 1: Preparing the Butternut Squash (15 minutes)
Step 1: Preheat your oven to 375°F (190°C). Grab a 9×9-inch baking dish and give it a light coating of cooking spray. This prevents sticking and makes cleanup easier later.
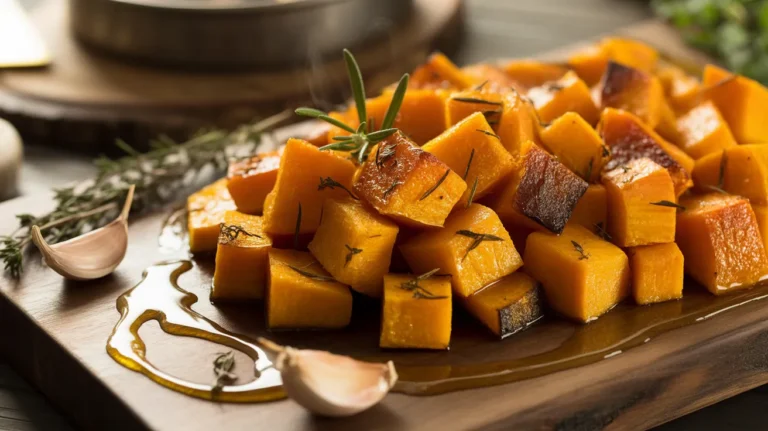
Step 2: Cut your butternut squash into 1-inch cubes. Keep them roughly the same size so they cook evenly. If pieces are too small, they’ll turn mushy. Too large, and they won’t cook through.
Step 3: Toss the squash cubes in a large bowl with 2 tablespoons olive oil, ½ teaspoon salt, and ¼ teaspoon black pepper. Make sure every piece gets coated. The oil helps the squash caramelize and develop those sweet, roasted edges.
Step 4: Spread the seasoned squash in your prepared baking dish in a single layer. Don’t pile them up or they’ll steam instead of roast. You want that golden-brown color.
Phase 2: Preparing the Apple Mixture (10 minutes)
Step 5: Peel and core your apples, then slice them into ¼-inch thick pieces. I mix Granny Smith and Honeycrisp because the tart and sweet combination creates better flavor depth than using just one variety.
Step 6: Put the apple slices in a medium bowl and drizzle with 1 tablespoon lemon juice. Toss them around with your hands. The acid keeps them from browning and balances the sweetness.
Step 7: Add 3 tablespoons brown sugar, 1 teaspoon cinnamon, and ¼ teaspoon nutmeg to the apples. Mix everything together until the spices coat every slice. You should smell that warm, cozy aroma right away.
Step 8: Layer the spiced apples directly on top of the raw squash in your baking dish. Spread them out evenly so every bite has both squash and apple. Press them down gently with your hands.
Phase 3: Making the Crispy Topping (5 minutes)
Step 9: In a small bowl, combine ½ cup oats, ¼ cup flour, 2 tablespoons brown sugar, and ⅓ cup chopped pecans. Mix these dry ingredients with a fork.
Step 10: Add 4 tablespoons cold butter cut into small cubes. Use your fingers to rub the butter into the dry mixture. Keep working it until you get pea-sized crumbs. Cold butter is key here – it creates those crispy pockets when it bakes.
Step 11: Sprinkle the crumb topping evenly over the apple layer. Don’t press it down. You want it loose so it gets crispy and golden.
Phase 4: Baking and Finishing (45 minutes)
Step 12: Cover the baking dish tightly with aluminum foil. This traps steam and helps the squash cook through without the topping burning.
Step 13: Bake for 30 minutes covered. The squash needs this time to soften. You’ll know it’s working when you start smelling the cinnamon.
Step 14: Remove the foil carefully (watch out for the steam!) and bake for another 15 minutes uncovered. The topping should turn golden brown and the apples will bubble around the edges.
Step 15: Check if the squash is fork-tender by poking a piece. If it slides in easily, you’re done. If there’s resistance, give it 5 more minutes.
Step 16: Let the bake rest for 10 minutes before serving. This lets the juices settle and makes it easier to scoop. The flavors also develop more as it cools slightly.
Chef’s Notes
Squash Selection: Choose butternut squash with a long neck and small bulb end. The neck has fewer seeds and more solid flesh, which means less waste and better texture in your Butternut Squash Apple Bake.
Apple Varieties: Mixing tart and sweet apples prevents the dish from becoming too sugary. Granny Smith holds its shape well, while Honeycrisp adds natural sweetness without turning to mush.
Make-Ahead Magic: Prep the squash and apples the night before and store them separately in airtight containers in the fridge. Assemble and add the topping right before baking.
Serving Temperature: This bake works hot, warm, or even at room temperature. I serve it as a side dish with roasted chicken, but it’s sweet enough to be a dessert with vanilla ice cream.
Nutrition Information (Per Serving)
| Nutrient | Amount |
|---|---|
| Calories | 285 |
| Protein | 4g |
| Carbohydrates | 42g |
| Fat | 13g |
| Fiber | 6g |
| Sugar | 22g |
Delicious Variations
Savory Butternut Version: Skip the sweet spices and brown sugar. Instead, season with fresh thyme, sage, and add crumbled goat cheese to the topping. This creates a savory side similar to my Pesto Butternut Squash Bake but with the apple’s natural sweetness shining through.
Cranberry Orange Twist: Add ½ cup dried cranberries between the squash and apple layers. Replace the nutmeg with 1 teaspoon orange zest. The tartness cuts through the sweetness perfectly.
Maple Pecan Upgrade: Replace the brown sugar in the topping with 2 tablespoons pure maple syrup drizzled over the assembled dish before adding the crumb topping. Double the pecans for extra crunch.
Grain-Free Option: Swap the oats and flour in the topping for ¾ cup almond flour and add 2 tablespoons coconut sugar. You’ll get a nutty, crispy topping that’s naturally gluten-free. For more butternut squash ideas without grains, check out these Cheesy Butternut Squash Fritters.
Storage & Reheating
Refrigerator: Store leftovers in an airtight container for up to 4 days. The topping will soften, but the flavors get better as they sit.
Reheating: Warm individual portions in the microwave for 1-2 minutes. For the crispiest results, reheat in a 350°F oven for 15 minutes uncovered.
Freezing: This bake freezes well for up to 2 months. Let it cool completely, wrap tightly in plastic wrap, then foil. Thaw overnight in the fridge before reheating.
Pro Tip: If the topping gets soggy after storing, spread the reheated portion on a baking sheet and broil for 2-3 minutes to crisp it back up.
Troubleshooting Guide
Problem: Squash is still hard after baking Cut your cubes smaller next time – aim for ¾-inch pieces instead of 1-inch. Dense squash varieties take longer to cook. Add 5-10 minutes of covered baking time and check frequently.
Problem: Topping burned before squash cooked Your oven runs hot. Lower the temperature to 350°F and add 10 minutes to the covered baking time. Tent foil over just the top during the uncovered phase if it browns too quickly.
Problem: Too much liquid pooling in the dish Apples release water when heated. Next time, toss the apple slices with 1 tablespoon cornstarch along with the spices. This absorbs excess moisture. You can also drain any liquid halfway through baking.
Problem: Flavors taste bland You didn’t season enough. Butternut squash needs salt to bring out its natural sweetness. Add ¼ teaspoon more salt to the squash layer and taste your apple mixture before baking – it should taste slightly over-seasoned raw.
Problem: Topping won’t get crispy Your butter was too warm when you mixed it in. Always use cold butter and work quickly. If the mixture looks greasy instead of crumbly, pop it in the freezer for 5 minutes before sprinkling it on top.
Equipment Essentials
- 9×9-inch baking dish (glass or ceramic works best)
- Large mixing bowl for tossing squash
- Medium mixing bowl for preparing apples
- Small bowl for making topping
- Sharp chef’s knife and cutting board
- Vegetable peeler for squash and apples
- Measuring cups and spoons
- Aluminum foil for covering during baking
- Pastry cutter or fork (or just use your hands for the topping)
Shopping List by Store Section
Produce:
- 1 medium butternut squash (about 2 pounds)
- 2 large Granny Smith apples
- 2 medium Honeycrisp apples
- 1 lemon
Baking Aisle:
- Brown sugar
- All-purpose flour
- Old-fashioned oats
- Ground cinnamon
- Ground nutmeg
Dairy:
- Butter (1 stick)
Pantry:
- Olive oil
- Salt
- Black pepper
Nuts/Baking:
- Chopped pecans
Success Secrets
1. Uniform Cube Size Matters: Cut all squash pieces to the same 1-inch size. This single step guarantees even cooking and prevents some pieces from turning mushy while others stay crunchy.
2. Don’t Skip the Resting Time: That 10-minute rest after baking isn’t optional. The squash continues cooking from residual heat, and the juices thicken up, making serving so much easier.
3. Layer Strategically: Always put squash on the bottom because it takes longer to cook than apples. The steam from the covered baking helps everything cook through without drying out.
4. Taste Your Apple Mixture: Before assembling, taste a piece of spiced apple. It should be slightly sweeter and more flavorful than you think necessary because baking mellows the spices.
5. Use the Fork Test: The only reliable way to know if your Butternut Squash Apple Bake is done is the fork test. Stick a fork in the thickest squash piece – if it glides through like butter, you’re ready to serve.