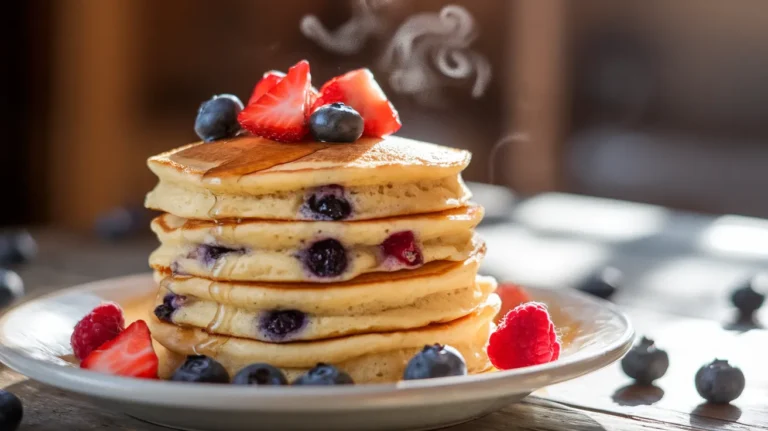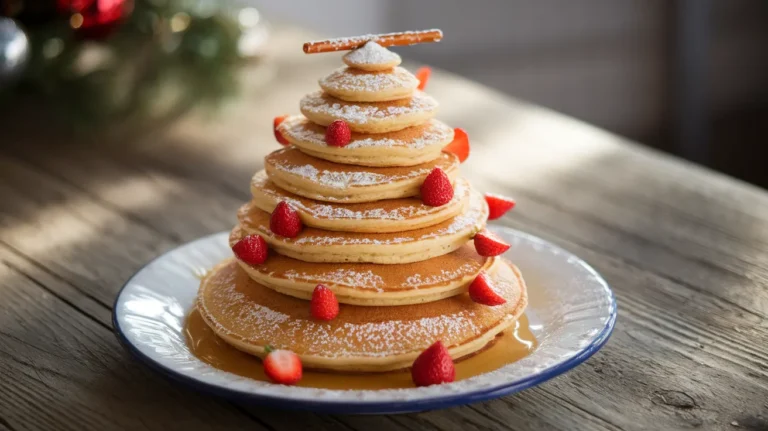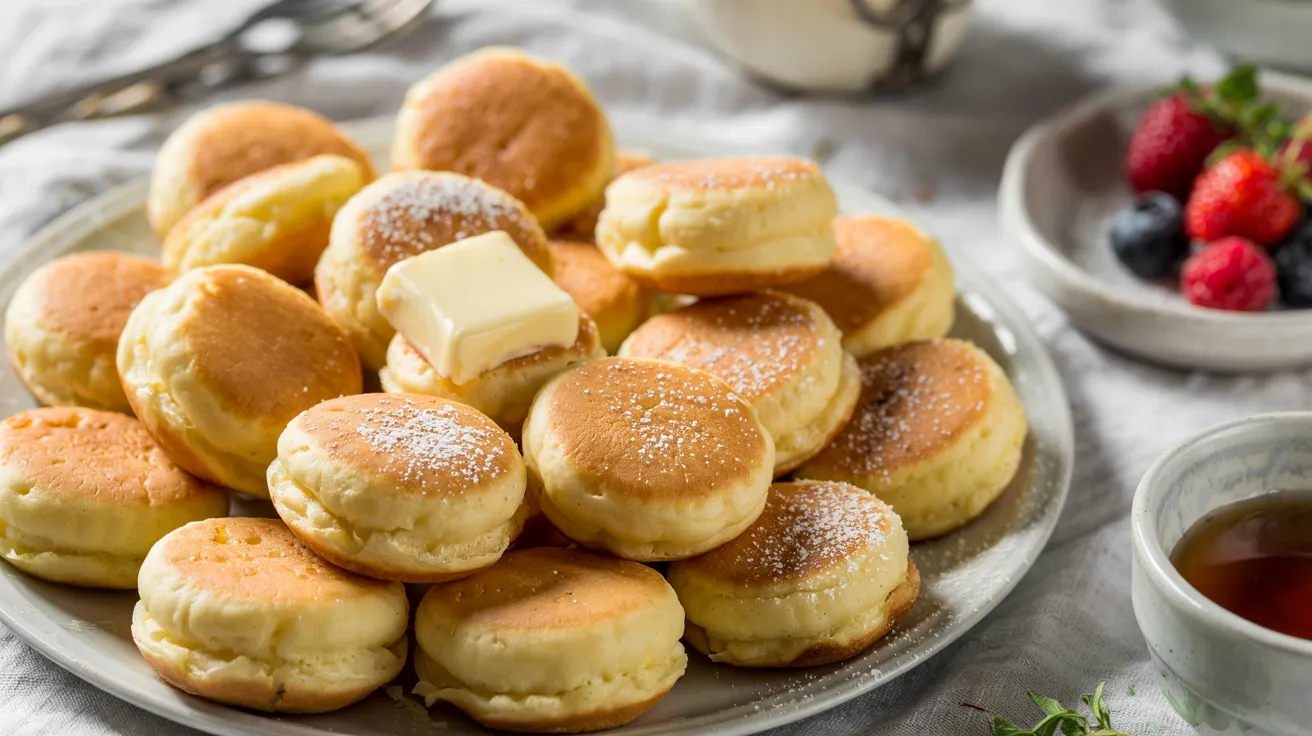
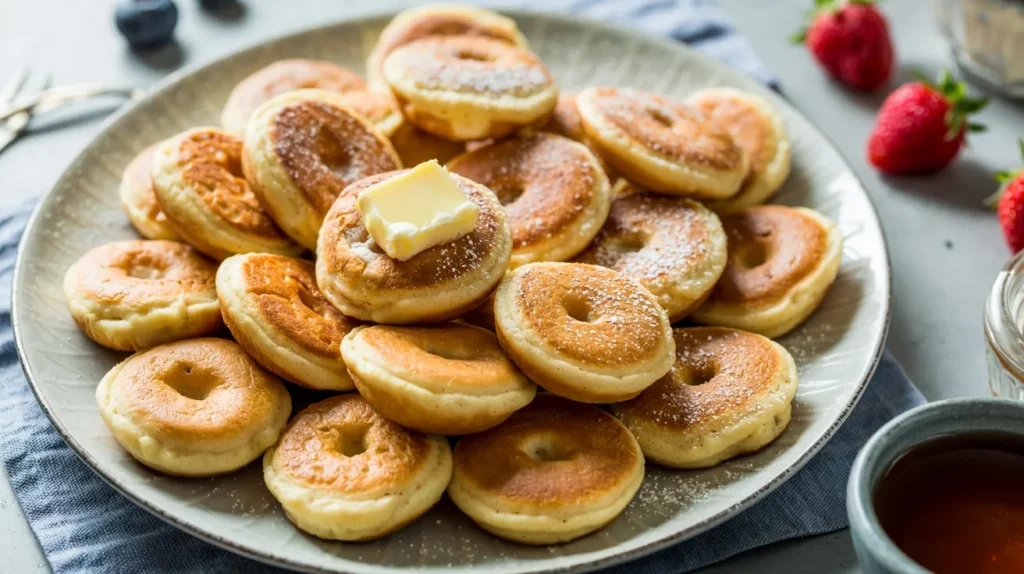
Discover the magic of authentic poffertjespan Dutch pancakes—those adorable, fluffy mini treats that transform breakfast into a celebration. These traditional bite-sized delights, cooked in a special dimpled pan, deliver pillowy soft centers with lightly crisp edges that’ll have everyone reaching for seconds. Perfect for weekend brunch or a cozy family breakfast, poffertjespan Dutch pancakes bring a taste of Amsterdam’s street markets straight to your kitchen.
SERVES: 4 | PREP: 15 MIN | COOK: 20 MIN | TOTAL: 35 MIN
What Makes Poffertjespan Dutch Pancakes Special
These aren’t your typical pancakes. Poffertjespan Dutch pancakes are smaller, fluffier, and infinitely more delightful than regular flapjacks. The secret? A yeasted batter combined with buckwheat flour that creates an incredibly light texture.
The specialized pan creates perfectly round, golf ball-sized pancakes with a signature shape. Each little pancake puffs up beautifully, creating a tender interior that melts in your mouth.
Ingredients for Poffertjespan Dutch Pancakes
Dry Ingredients
| Ingredient | Amount |
|---|---|
| All-purpose flour | 1 cup (125g) |
| Buckwheat flour | ½ cup (60g) |
| Active dry yeast | 1½ teaspoons |
| Granulated sugar | 2 tablespoons |
| Salt | ¼ teaspoon |
Wet Ingredients
| Ingredient | Amount |
|---|---|
| Whole milk (lukewarm) | 1½ cups (360ml) |
| Large egg | 1 |
| Unsalted butter (melted) | 2 tablespoons |
| Vanilla extract | 1 teaspoon |
For Cooking & Serving
| Ingredient | Amount |
|---|---|
| Butter (for pan) | 4 tablespoons |
| Powdered sugar | ½ cup |
| Fresh strawberries (optional) | 1 cup |
Step-by-Step Instructions for Perfect Poffertjespan Dutch Pancakes
Phase 1: Activating the Batter (10 minutes)
Step 1: Warm your milk to about 110°F—this should feel warm but not hot when you touch it with your finger. This temperature is crucial because it activates the yeast without killing it.
Step 2: Pour the lukewarm milk into a large mixing bowl. Sprinkle the yeast and 1 tablespoon of sugar over the surface. Let it sit for 5 minutes until you see foam forming on top—this means your yeast is alive and working.
Step 3: Add the remaining sugar, both flours, and salt to the yeast mixture. The buckwheat flour gives poffertjespan Dutch pancakes their distinctive nutty flavor that sets them apart from regular pancakes.
Step 4: Crack the egg into the bowl and add the melted butter and vanilla extract. Whisk everything together vigorously for about 2 minutes until you have a smooth, lump-free batter that’s slightly thicker than heavy cream.
Step 5: Cover the bowl with a clean kitchen towel and place it in a warm spot in your kitchen. Let it rest for 30 minutes. The batter will become slightly bubbly and increase in volume—this fermentation creates those signature fluffy pockets inside each pancake.
Phase 2: Preparing Your Poffertjes Pan (2 minutes)
Step 6: Place your poffertjes pan over medium heat. Give it 3-4 minutes to heat evenly—a properly heated pan is essential for getting that golden exterior without burning.
Step 7: Test the temperature by dropping a tiny bit of butter into one dimple. It should sizzle gently without smoking. If it turns brown immediately, reduce your heat.
Step 8: Add about ½ teaspoon of butter to each dimple in the pan. Use a pastry brush or the back of a spoon to coat the entire surface of each cup. This prevents sticking and creates a delicate crispy edge.
Phase 3: Cooking the Pancakes (15-20 minutes)
Step 9: Transfer your batter to a squeeze bottle or use a small pitcher for easier pouring. Fill each dimple about ¾ full—the batter will puff up as it cooks, and overfilling causes messy overflow.
Step 10: Watch for bubbles to appear on the surface after about 60-90 seconds. When the edges look set and the bottom is golden brown, it’s time to flip. The bubbles tell you the heat has penetrated through the batter.
Step 11: Use two wooden skewers, forks, or specialized poffertjes forks to flip each pancake. Insert one tool on each side and quickly turn them over in one smooth motion. Don’t worry if your first few flips aren’t perfect—you’ll develop a rhythm quickly.
Step 12: Cook the second side for another 45-60 seconds until golden. The pancakes should spring back when gently pressed—that’s your sign they’re fully cooked inside.
Step 13: Transfer the finished poffertjespan Dutch pancakes to a warm plate and cover loosely with foil. Continue cooking batches until all your batter is used, adding fresh butter to the pan between each batch.
Step 14: Work in batches of 15-20 pancakes depending on your pan size. Keep the temperature consistent throughout—if your pan gets too hot, the outsides will burn before the insides cook through.
Phase 4: Serving (2 minutes)
Step 15: Pile your warm poffertjespan Dutch pancakes on a serving platter. Dust generously with powdered sugar using a fine-mesh sieve for even coverage.
Step 16: Serve immediately while they’re still warm and fluffy. Add a pat of butter on top that melts into all the little crevices—this is traditional and absolutely delicious.
Chef’s Notes
The Buckwheat Balance: Traditional poffertjespan Dutch pancakes always include buckwheat flour for authentic flavor. Don’t skip it—the nutty taste is what makes these special. If you can’t find buckwheat, whole wheat flour works in a pinch, though the flavor will differ slightly.
Temperature Control: Medium heat is your friend here. Too hot and you’ll get burnt exteriors with raw centers. Too cool and they won’t develop that signature golden color. Adjust as needed between batches.
Batter Consistency: Your batter should pour smoothly but hold its shape in the dimples. Too thick and your pancakes will be dense; too thin and they won’t puff properly. Think slightly thicker than crepe batter.
Make It Flow: The 30-minute rest isn’t just for rising—it allows the flour to fully hydrate and the gluten to relax. This creates those incredibly tender poffertjespan Dutch pancakes everyone loves.
Nutrition Information (Per Serving)
Calories: 385
Protein: 11g
Carbohydrates: 52g
Fat: 15g
Fiber: 3g
Sugar: 18g
Creative Variations for Poffertjespan Dutch Pancakes
Chocolate Lover’s Version: Add 3 tablespoons of cocoa powder to your dry ingredients and increase sugar by 1 tablespoon. Serve with chocolate hazelnut spread and sliced bananas for an indulgent twist that rivals any pancake donuts you’ve tried.
Lemon Blueberry Delight: Fold ½ cup fresh blueberries and 1 tablespoon lemon zest into your rested batter. The burst of fruit in each bite creates a refreshing breakfast option that’s perfect for spring mornings.
Cinnamon Apple Spice: Mix 1 teaspoon cinnamon into your batter and serve topped with warm caramelized apples and a drizzle of maple syrup. This autumn-inspired version fills your kitchen with the most incredible aroma.
Protein-Packed Power: Replace ¼ cup of all-purpose flour with vanilla protein powder for a more substantial breakfast. This technique also works brilliantly with flourless protein pancakes if you’re looking for additional high-protein breakfast ideas.
Storage & Reheating Tips
Refrigeration: Store cooled poffertjespan Dutch pancakes in an airtight container with parchment paper between layers. They’ll keep for 3 days in the fridge and taste almost fresh when properly reheated.
Freezing: These freeze beautifully for up to 2 months. Flash-freeze on a baking sheet first, then transfer to freezer bags. This prevents them from sticking together.
Reheating: The best method is a 300°F oven for 5-7 minutes. This restores their fluffy texture without drying them out. Avoid microwaving if possible—it makes them rubbery.
Make-Ahead Strategy: Prepare the batter the night before and refrigerate. Bring to room temperature for 20 minutes before cooking. The extended fermentation actually improves the flavor.
Troubleshooting Common Problems
Problem: Dense, Heavy Pancakes
Your yeast might be expired or the milk was too hot. Always check yeast expiration dates and test milk temperature carefully. Dead yeast won’t create those airy bubbles that make poffertjespan Dutch pancakes so light.
Problem: Sticking to the Pan
Not enough butter or the pan wasn’t hot enough. Add a full ½ teaspoon of butter per dimple and ensure your pan is properly preheated. A well-seasoned pan also helps tremendously.
Problem: Burning on the Outside, Raw Inside
Your heat is too high. Reduce to medium or medium-low and give each side more time. These need gentle, even heat to cook through their thick little bodies.
Problem: Flat Pancakes That Won’t Puff
The batter wasn’t rested long enough or your kitchen was too cold. Yeast needs warmth and time to work its magic. Place the covered bowl near (not on) a warm stove if your kitchen is chilly.
Problem: Irregular Shapes
Overfilling the dimples or flipping too early causes this. Fill only ¾ full and wait for those bubbles before flipping. Patience creates perfectly round poffertjespan Dutch pancakes.
Equipment Essentials
Poffertjes Pan: The specialized cast iron or non-stick pan with shallow dimples is essential. These typically have 15-19 dimples and are available online or at specialty cooking stores.
Squeeze Bottle or Small Pitcher: Makes filling those tiny dimples infinitely easier than using a spoon or ladle.
Wooden Skewers or Poffertjes Forks: Two skewers work perfectly for flipping. Specialized poffertjes forks are available but not necessary.
Fine-Mesh Sieve: For dusting powdered sugar evenly over finished pancakes.
Kitchen Thermometer: Helpful for beginners to check milk temperature accurately.
Shopping List by Department
Baking Aisle
- All-purpose flour
- Buckwheat flour
- Active dry yeast
- Granulated sugar
- Powdered sugar
- Vanilla extract
Dairy Section
- Whole milk
- Unsalted butter
- Large eggs
Produce (Optional)
- Fresh strawberries
- Lemon (if making variations)
- Apples (if making variations)
Success Secrets from the Pros
1. Temperature Matters: Always use lukewarm milk around 110°F. Too hot kills the yeast, too cold won’t activate it properly. This single step determines whether your poffertjespan Dutch pancakes will be fluffy or flat.
2. Don’t Skip the Rest: That 30-minute wait allows the yeast to create tiny air pockets throughout the batter. Rushing this step results in dense pancakes that lack the signature light texture.
3. Consistent Heat is Key: Keep your burner at steady medium heat throughout cooking. Fluctuating temperatures create unevenly cooked batches where some burn and others stay pale.
4. The Flip Timing: Wait for those bubbles before flipping. They’re visual indicators that the structure has set enough to handle turning without deflating.
5. Serve Immediately: Poffertjespan Dutch pancakes are best enjoyed fresh and warm. Their delicate texture changes as they cool, so plan your cooking so batches come out right when you’re ready to eat.
These adorable poffertjespan Dutch pancakes transform any ordinary breakfast into something special. The combination of fluffy interiors, lightly crisp edges, and that traditional dusting of powdered sugar creates a memorable meal that brings smiles to every face at the table. Once you’ve mastered the basic recipe, experiment with different toppings and variations to make these charming mini pancakes your own signature breakfast dish.