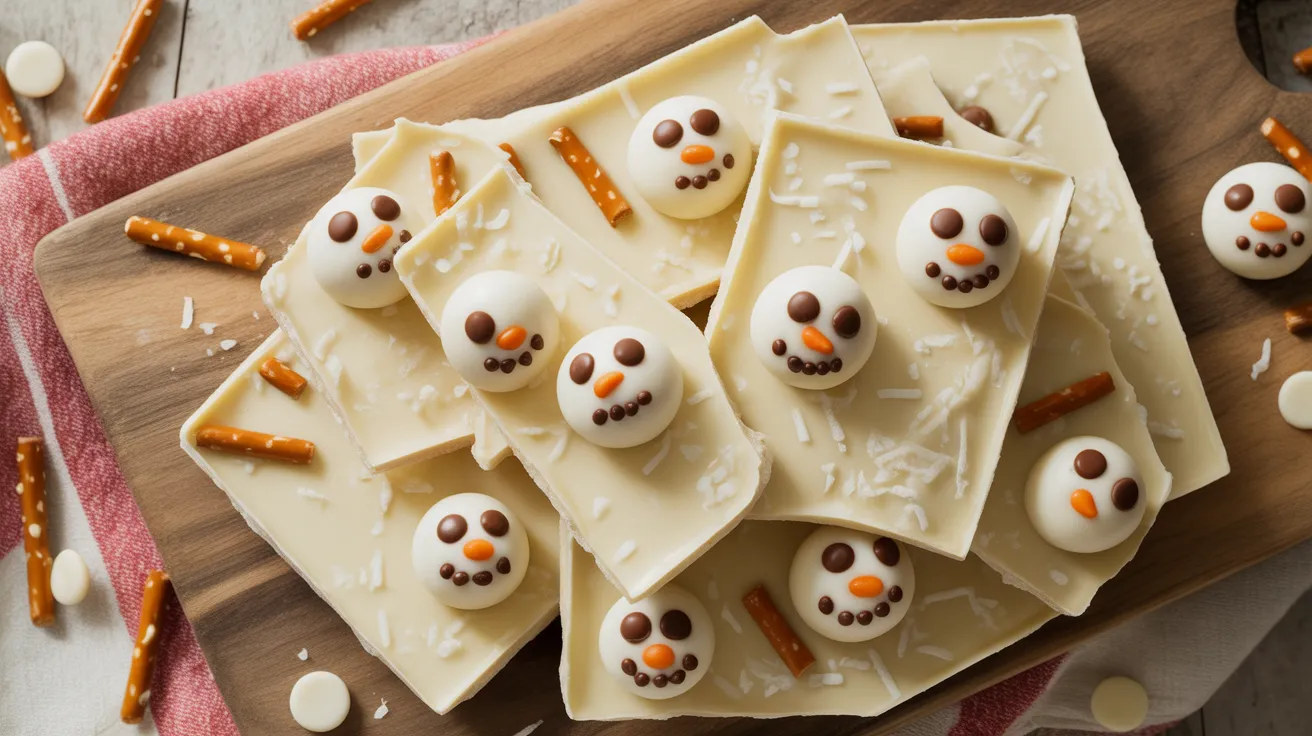
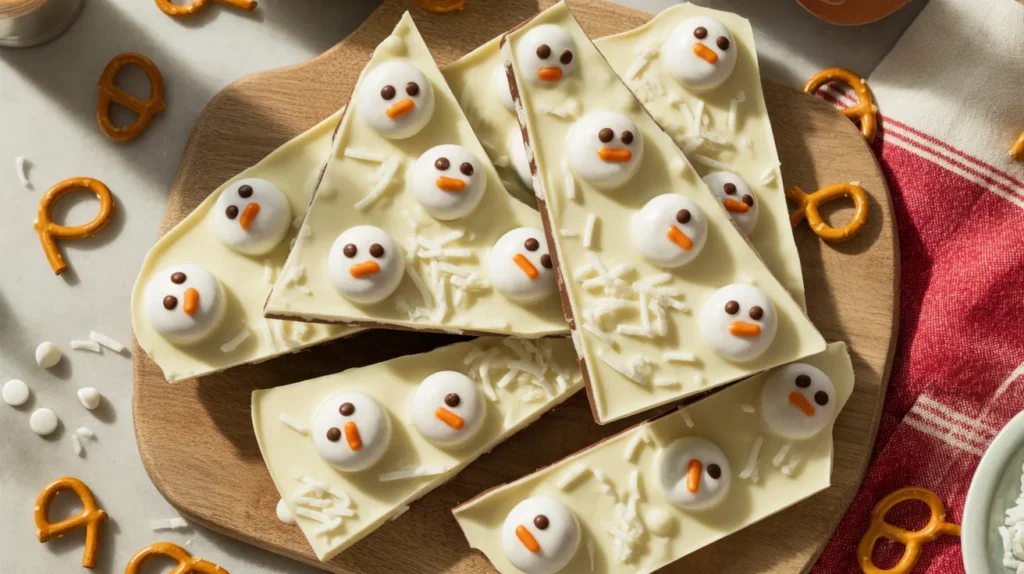
This easy snowman bark transforms simple white chocolate into adorable winter treats perfect for holiday parties and gift giving. My easy snowman bark recipe requires just basic ingredients and creates impressive results that look bakery-bought but cost pennies to make at home.
SERVES: 4 | PREP: 15 MIN | COOK: 5 MIN | TOTAL: 20 MIN (plus 30 min chilling)
Ingredients
| White Chocolate Base | Amount |
|---|---|
| White chocolate chips | 2 cups |
| Coconut oil | 1 tablespoon |
| Snowman Decorations | Amount |
|---|---|
| Mini chocolate chips | 48 pieces |
| Orange candy melts or Reese’s Pieces | 12 pieces |
| Mini pretzel sticks | 24 pieces |
| White chocolate for piping | 1/4 cup |
| Optional Toppings | Amount |
|---|---|
| Shredded coconut | 1/4 cup |
| Mini marshmallows | 1/2 cup |
| Edible pearl dust | 1 teaspoon |
Step-by-Step Instructions
Phase 1: Prepare Your Workspace (5 minutes)
Step 1: Line a standard baking sheet with parchment paper, making sure the paper extends slightly over the edges for easy removal later. Smooth out any wrinkles because bumps will transfer to your bark surface.
Step 2: Gather all your decorating supplies and place them in small bowls within arm’s reach. You’ll need to work quickly once the chocolate is melted, so having everything organized prevents scrambling.
Step 3: Count out your decorating pieces to ensure you have enough for 12 snowmen (4 per person). Each snowman needs 2 mini chocolate chips for eyes, 2 for buttons, 1 orange candy for the nose, and 2 pretzel sticks for arms.
Phase 2: Melt the Chocolate Base (5 minutes)
Step 4: Combine 2 cups white chocolate chips with 1 tablespoon coconut oil in a microwave-safe bowl. The coconut oil helps create a smoother, shinier finish that sets with a professional snap.
Step 5: Microwave in 30-second bursts, stirring between each interval. This prevents scorching, which happens when white chocolate gets too hot too quickly. After 90 seconds total, switch to 15-second bursts and stir vigorously.
Step 6: Stop microwaving when a few small lumps remain, then stir continuously until completely smooth. The residual heat will melt the last bits without risking the grainy texture that comes from overheating.
Phase 3: Create the Bark Base (3 minutes)
Step 7: Pour the melted white chocolate onto your prepared baking sheet. Use an offset spatula to spread it into a rectangle about 1/4-inch thick. Aim for consistency because uneven thickness means some sections will set faster than others.
Step 8: Gently tap the baking sheet on your counter 3-4 times. This releases trapped air bubbles that would otherwise create holes in your finished bark. You’ll see small bubbles rise to the surface and pop.
Step 9: If using shredded coconut for a snow effect, sprinkle it lightly over the entire surface now while the chocolate is still wet. Pat it gently to help it adhere.
Phase 4: Build Your Snowmen (7 minutes)
Step 10: Working quickly before the chocolate sets, create 12 evenly-spaced snowmen across your bark. Start by placing two mini chocolate chips vertically for eyes, spacing them about 1/2-inch apart.
Step 11: Add the orange candy piece just below the eyes for the nose, pressing gently so it sits flush with the chocolate surface. If using Reese’s Pieces, position the orange side facing up.
Step 12: Place two more mini chocolate chips vertically below the face for buttons, spacing them about 1/2-inch apart down the snowman’s “body.” Press each decoration firmly but carefully to ensure they stick without cracking the chocolate.
Step 13: Insert pretzel stick arms on each side of the snowman, angling them slightly upward for a cheerful wave. Push them about 1/4-inch into the chocolate so they’re secure but don’t poke through the bottom.
Step 14: If you want scarves on your snowmen, melt the additional 1/4 cup white chocolate and tint it with food coloring. Transfer to a small plastic bag, snip the corner, and pipe thin lines around each snowman’s “neck.” This optional step, similar to the decorative touches in chocolate bark with caramel and pecans, adds personality.
Phase 5: Set and Finish (30 minutes plus 5 minutes)
Step 15: Refrigerate the entire baking sheet for 30 minutes until the chocolate is completely firm. You’ll know it’s ready when the surface looks matte rather than shiny and doesn’t leave a fingerprint when touched lightly.
Step 16: Remove from the refrigerator and let sit at room temperature for 2-3 minutes. This prevents the chocolate from shattering when you break it into pieces.
Step 17: Lift the parchment paper by the edges and place the entire sheet of bark on your cutting board. Use a sharp knife to score lines between snowmen, then gently snap along the scored lines.
Step 18: For cleaner edges, you can trim the outer border before breaking into individual pieces. Save these chocolate scraps for melting into hot cocoa or sprinkling over ice cream.
Chef’s Notes
Temperature Control: White chocolate melts at lower temperatures than dark chocolate (around 110°F versus 120°F). Use a candy thermometer if you’re nervous about overheating, keeping it between 105-115°F for easy snowman bark success.
Quick Setting Trick: Pop your lined baking sheet in the freezer for 5 minutes before pouring the chocolate. The cold surface helps the bark set evenly and prevents decorations from sinking.
Storage Strategy: This easy snowman bark stays fresh for 2 weeks in an airtight container at room temperature. Layer pieces between parchment paper to prevent sticking.
Coating Variations: Mix half white chocolate with half milk chocolate for a marbled effect that still shows off your snowman decorations clearly against the lighter background.
Nutrition Information (Per Serving – 3 Snowman Pieces)
Calories: 385
Protein: 4g
Carbohydrates: 42g
Fat: 23g
Saturated Fat: 14g
Sugar: 38g
Fiber: 0g
Sodium: 65mg
Variations to Try
Peppermint Snowmen: Add 1/2 teaspoon peppermint extract to your melted white chocolate base and sprinkle crushed candy canes around the snowmen for a festive winter wonderland look.
Dark Chocolate Background: Pour melted dark chocolate as your base layer, then create snowmen using white chocolate for the bodies. This creates stunning contrast and cuts the sweetness for adult palates.
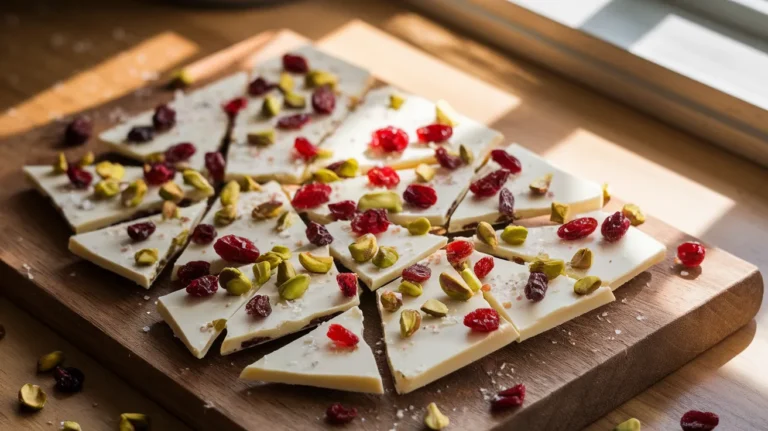
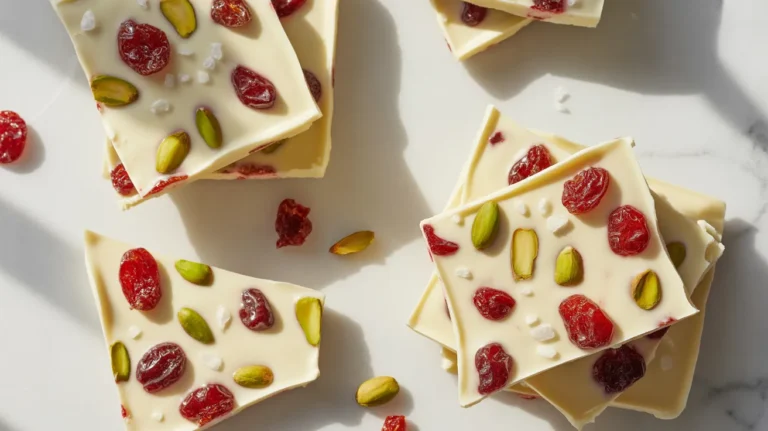
Nutty Winter Scene: Press chopped almonds or pecans into the chocolate base before adding snowmen decorations. The technique works beautifully, just like the layered approach in salted chocolate cherry pistachio pecan bark, creating texture and flavor depth.
Colored Snowmen Scarves: Tint small portions of melted white chocolate with gel food coloring (red, green, blue) and pipe thin scarves and hats on each snowman using a piping bag or plastic sandwich bag with the corner snipped off.
Storage & Reheating
Room Temperature Storage: Keep your easy snowman bark in an airtight container with parchment paper between layers for up to 2 weeks. Store in a cool, dry place away from direct sunlight or heat sources.
Refrigerator Storage: During warm weather, refrigerate bark in sealed containers for up to 3 weeks. Let pieces come to room temperature for 5 minutes before serving for the best texture and flavor.
Freezer Storage: Wrap individual pieces in plastic wrap, then place in freezer bags for up to 2 months. Thaw in the refrigerator overnight before serving.
Gift Packaging: Layer pieces in clear cellophane bags tied with ribbon, or pack in decorative tins with parchment paper between layers. Store gift packages in cool locations and consume within 1 week for peak freshness.
Troubleshooting Common Problems
Problem: White chocolate seized and became grainy.
Solution: White chocolate is sensitive to moisture and heat. If it seizes, try whisking in 1 teaspoon of vegetable oil or coconut oil. If it’s too far gone, start fresh and ensure all utensils are completely dry before melting.
Problem: Decorations keep sinking into the chocolate.
Solution: Let the chocolate cool for 2-3 minutes after spreading before adding decorations. It should be slightly thickened but still sticky. Test by touching the edge gently—if it doesn’t leave a wet mark on your finger, it’s ready for decorations.
Problem: Bark won’t release from the parchment paper.
Solution: The chocolate hasn’t fully set. Return to the refrigerator for another 15 minutes. Alternatively, place the entire sheet in the freezer for 5 minutes for guaranteed release.
Problem: Chocolate cracked when breaking into pieces.
Solution: The bark was too cold. Always let refrigerated bark sit at room temperature for 2-3 minutes before breaking. Score lines gently with a knife first, then snap along the scored lines rather than bending.
Problem: Snowman faces look messy or decorations fell off.
Solution: Press decorations firmly but gently into the chocolate while it’s still tacky. If decorations fall off after setting, use a tiny dot of melted chocolate as “glue” to reattach them.
Equipment Essentials
- Standard baking sheet (approximately 13×18 inches)
- Parchment paper or silicone baking mat
- Microwave-safe bowl (glass or ceramic)
- Offset spatula for spreading chocolate evenly
- Small bowls for organizing decorations
- Sharp knife for scoring and cutting
- Cutting board for final breaking and trimming
- Candy thermometer (optional but helpful)
- Piping bag or plastic sandwich bags for optional scarf decorating
Shopping List
Baking Aisle
- White chocolate chips (2+ cups)
- Mini chocolate chips
- Coconut oil
Candy/Seasonal Aisle
- Orange candy melts or Reese’s Pieces
- Mini pretzel sticks
- Mini marshmallows (optional)
- Edible pearl dust (optional)
Baking Supplies Section
- Parchment paper
- Piping bags (optional)
Refrigerated Section
- Shredded coconut (if using fresh)
Success Secrets
1. Use high-quality white chocolate chips or bars rather than white coating chocolate or “candy melts.” Real white chocolate contains cocoa butter which creates better flavor and texture for your easy snowman bark.
2. Add coconut oil at a 10:1 ratio (10 parts chocolate to 1 part oil) for perfectly smooth, glossy bark that snaps cleanly when broken and doesn’t leave a waxy coating in your mouth.
3. Create an assembly line for decorating with all pieces pre-counted and organized by type. Once you start placing snowmen, you have about 6-8 minutes before the chocolate sets too firm for decorations to stick.
4. Refrigerate rather than freeze for initial setting. Freezing can cause chocolate to “bloom” (develop white streaks) when brought back to room temperature, though it’s still safe to eat.
5. Make extra pieces because this easy snowman bark disappears fast at parties. Double the recipe and use two baking sheets, rotating them in your refrigerator if space is tight.