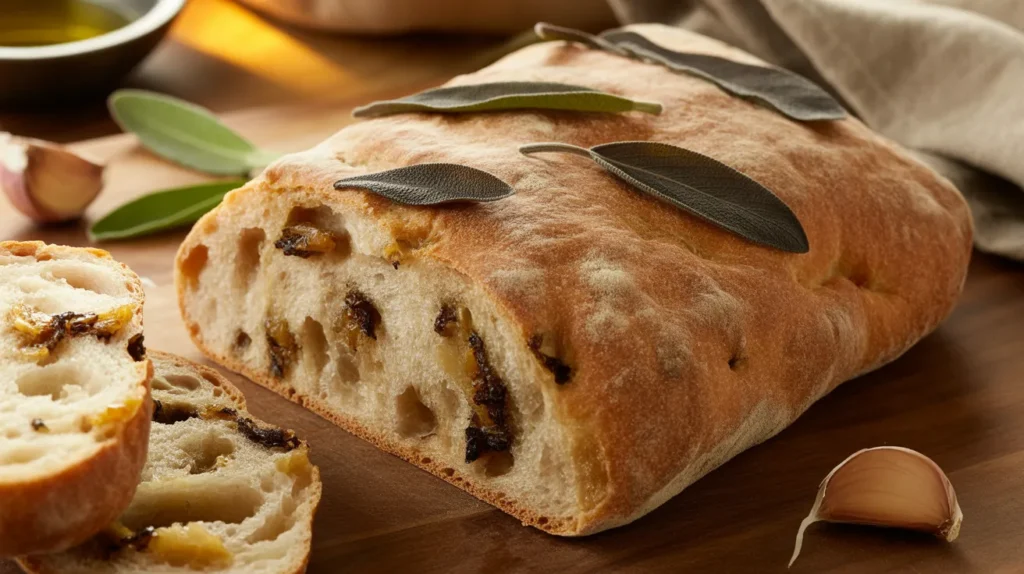
This black garlic and sage onion ciabatta combines the deep, umami richness of fermented black garlic with the earthy warmth of fresh sage and sweet caramelized onions, creating an artisan bread that’s crusty outside and pillowy soft inside. I’ve tested this black garlic and sage onion ciabatta recipe dozens of times to get that signature open crumb structure and complex flavor profile that makes every slice unforgettable.
SERVES: 4 | PREP: 30 MIN | COOK: 25 MIN | TOTAL: 4 HR 55 MIN (includes rising time)
Ingredients
For the Dough:
| Ingredient | Amount |
|---|---|
| Bread flour | 3½ cups (420g) |
| Instant yeast | 2¼ teaspoons (1 packet) |
| Warm water (110°F) | 1½ cups (360ml) |
| Extra virgin olive oil | 3 tablespoons |
| Fine sea salt | 2 teaspoons |
| Sugar | 1 teaspoon |
For the Filling:
| Ingredient | Amount |
|---|---|
| Black garlic cloves | 8-10 cloves, mashed |
| Yellow onions | 2 medium, thinly sliced |
| Fresh sage leaves | 20 leaves, chopped |
| Unsalted butter | 2 tablespoons |
| Olive oil | 2 tablespoons |
| Kosher salt | ½ teaspoon |
| Black pepper | ¼ teaspoon |
For Finishing:
| Ingredient | Amount |
|---|---|
| Olive oil | 2 tablespoons |
| Flaky sea salt | 1 teaspoon |
| Fresh sage leaves | 8 whole leaves |
How to Make Black Garlic and Sage Onion Ciabatta
Phase 1: Preparing the Dough Base (10 minutes)
Step 1: Mix 1½ cups warm water with 1 teaspoon sugar in a large mixing bowl. The water should feel like a warm bath on your wrist—around 110°F is perfect. Sprinkle 2¼ teaspoons instant yeast over the surface and let it sit for 5 minutes until it becomes foamy and smells slightly beer-like. This proves your yeast is alive and ready to work.
Step 2: Add 3 tablespoons olive oil and 2 teaspoons fine sea salt to the yeast mixture. Stir gently with a wooden spoon until everything combines into a cloudy liquid. The oil will float on top initially—that’s normal.
Step 3: Add 3½ cups bread flour one cup at a time, stirring after each addition. The dough will start shaggy and rough. Keep mixing until no dry flour remains and you have a sticky, wet dough that barely holds together. This wetter consistency is what creates those beautiful air pockets in ciabatta.
Step 4: Drizzle 1 tablespoon olive oil over the dough surface. Cover the bowl tightly with plastic wrap and place it in a warm, draft-free spot. I like to put mine in the oven with just the light on—it creates the perfect environment. Let rise for 2 hours until doubled in size.
Phase 2: Caramelizing the Filling (20 minutes)
Step 5: While the dough rises, heat 2 tablespoons butter and 2 tablespoons olive oil in a large skillet over medium heat. The combination prevents the butter from burning while adding rich flavor. Add 2 sliced onions and ½ teaspoon kosher salt. Cook for 15-18 minutes, stirring every 3-4 minutes, until the onions turn golden brown and smell sweet. They should be soft and jammy, not crispy.
Step 6: Add 20 chopped sage leaves to the onions and cook for 2 more minutes until the sage becomes fragrant but not crispy. The leaves will darken slightly and release their earthy aroma. Remove from heat and let cool for 10 minutes.
Step 7: Mash 8-10 black garlic cloves with a fork until they form a smooth paste. Black garlic should be soft and sticky, like dates. If yours is firm, microwave for 10 seconds to soften. Stir the black garlic paste into the cooled onion mixture along with ¼ teaspoon black pepper. Set aside.
Phase 3: Shaping the Black Garlic and Sage Onion Ciabatta (15 minutes)
Step 8: Once your dough has doubled, generously flour your work surface with at least ½ cup flour. Scrape the sticky dough onto the floured surface—it will be very wet and that’s correct. Dust the top with more flour. Gently stretch the dough into a 12×10-inch rectangle using your fingertips, not a rolling pin. The gentle stretching preserves those air bubbles.
Step 9: Spread the black garlic and sage onion mixture evenly over the dough rectangle, leaving a 1-inch border on all sides. The mixture should cover about 80% of the surface. Press it gently into the dough so it adheres.
Step 10: Starting from the long side closest to you, fold the dough in thirds like a business letter. First fold the bottom third up to the center, then fold the top third down over it. Pinch the seam closed. Turn the loaf seam-side down.
Step 11: Line a large baking sheet with parchment paper and dust generously with flour. Transfer your shaped loaf to the prepared sheet. Dimple the top surface all over with your fingertips, creating deep indentations. This gives ciabatta its characteristic bumpy appearance. Drizzle with 2 tablespoons olive oil and sprinkle with 1 teaspoon flaky sea salt. Press 8 whole sage leaves decoratively into the top.
Step 12: Cover loosely with a damp kitchen towel and let rise for 90 minutes in a warm spot until puffy and nearly doubled. When you gently press the dough, it should slowly spring back but leave a slight indentation.
Phase 4: Baking (25 minutes)
Step 13: Position your oven rack in the center and preheat to 425°F for at least 20 minutes before baking. Place an empty metal pan on the bottom rack—this will create steam. A hot oven is critical for that crispy crust.
Step 14: Just before baking, carefully pour 1 cup hot water into the pan on the bottom rack. This creates steam that helps the crust develop. Quickly close the oven door to trap the steam inside.
Step 15: Immediately slide the baking sheet with your black garlic and sage onion ciabatta onto the center rack. Bake for 25-28 minutes until the top is deep golden brown and the internal temperature reaches 205°F when checked with an instant-read thermometer. The sage leaves on top should be dark and crispy.
Step 16: Remove from the oven and transfer the loaf to a wire cooling rack immediately. Brush the top with another 1 tablespoon olive oil for extra shine. Let cool for at least 20 minutes before slicing. I know it’s tempting, but cutting too soon will make the interior gummy.
Chef’s Notes
Black Garlic Quality Matters: Not all black garlic tastes the same. Look for plump, sticky cloves that smell sweet and balsamic rather than sharp. I source mine from Asian markets where it’s fresher and less expensive. Store leftover black garlic in an airtight container at room temperature for up to 3 months.
Hydration is Key: This black garlic and sage onion ciabatta dough is intentionally wet and sticky. Don’t add extra flour to make it manageable—that wetness creates the open, airy crumb structure ciabatta is famous for. Use plenty of flour on your work surface instead.
Steam Creates Crust: The steam from that water pan in the oven allows the bread to expand fully before the crust sets. Without it, you’ll get a thick, tough crust. Some bakers spritz the oven walls with water instead, which works too.
Timing the Rise: Room temperature affects rising time significantly. In a 75°F kitchen, expect the full 2 hours for the first rise and 90 minutes for the second. If your kitchen is cooler, add 30-45 minutes to each rise.
Nutrition Information (Per Serving)
- Calories: 385
- Protein: 11g
- Carbohydrates: 58g
- Fat: 13g
- Fiber: 3g
- Sodium: 620mg
Delicious Variations
Rosemary Black Garlic Ciabatta: Replace the sage with 3 tablespoons fresh rosemary (chopped) for a more pungent, pine-like flavor. The rosemary pairs beautifully with the black garlic’s sweetness. This version works perfectly alongside roasted meats or in sandwiches.
Mushroom and Black Garlic Ciabatta: Add 1 cup sautéed mushrooms (cremini or shiitake work best) to your onion mixture for an extra layer of umami. Cook the mushrooms until all their liquid evaporates before mixing with the onions. The earthy mushrooms complement this black garlic and sage onion ciabatta wonderfully.
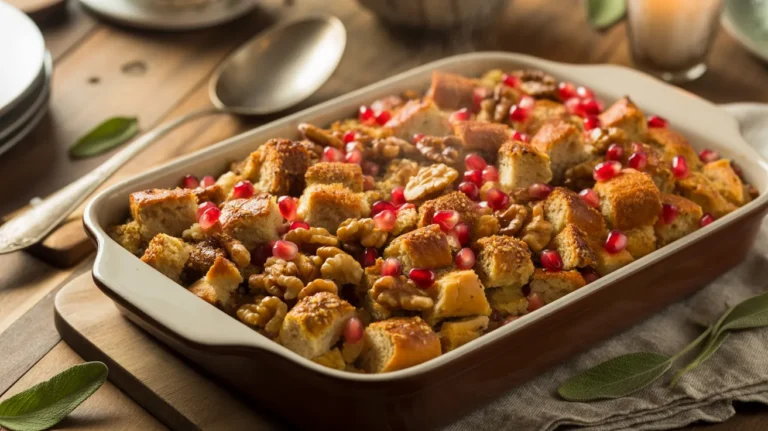
Festive Stuffing-Inspired Ciabatta: For a holiday twist, add ½ cup dried cranberries and ¼ cup toasted pecans to your filling mixture. This creates a bread that tastes like pomegranate and walnut everything bagel stuffing in ciabatta form—perfect for Thanksgiving tables.
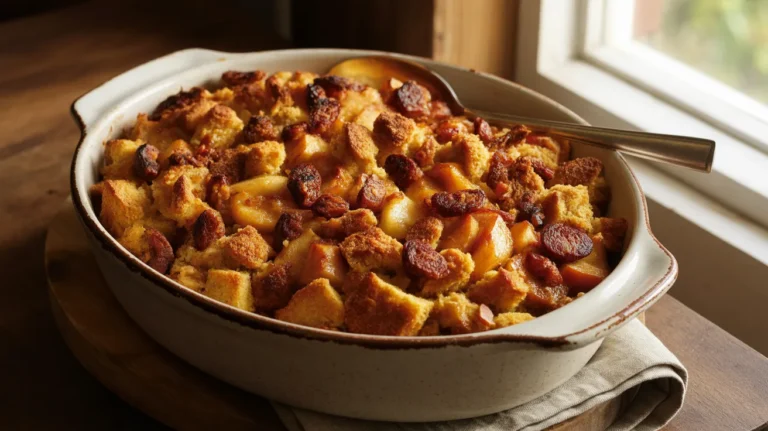
Sweet-Savory Apple Ciabatta: Mix 1 diced Granny Smith apple and 2 tablespoons maple syrup into your onion mixture. The apple’s tartness balances the black garlic’s sweetness, creating a flavor profile similar to maple glazed apple and chorizo cornmeal stuffing. Skip the chorizo here though—the black garlic provides enough complexity.
Storage and Reheating
Room Temperature Storage: Wrap cooled black garlic and sage onion ciabatta tightly in aluminum foil and store at room temperature for up to 2 days. The crust will soften slightly, but the flavor intensifies as the black garlic mellows into the bread.
Refrigerator Storage: Don’t refrigerate ciabatta—cold temperatures crystallize the starches and make the bread stale faster. If you must refrigerate, wrap tightly in plastic wrap and foil, but use within 3 days.
Freezer Storage: Slice the completely cooled loaf and wrap individual slices in plastic wrap, then place in a freezer bag. Freeze for up to 3 months. This way you can toast single slices as needed without thawing the entire loaf.
Reheating Method: For the best results, preheat your oven to 350°F and wrap the foil-covered loaf directly on the rack for 10-12 minutes. Remove the foil for the last 2 minutes to re-crisp the crust. For frozen slices, toast directly from frozen for 3-4 minutes in a toaster oven.
Reviving Day-Old Bread: Sprinkle the crust lightly with water and bake at 375°F for 5-7 minutes. The moisture creates steam that softens the interior while the heat re-crisps the exterior.
Troubleshooting Common Problems
Dense, Tight Crumb: Your dough wasn’t wet enough or you added too much flour during shaping. Ciabatta dough should be so sticky you can barely handle it. Next time, resist adding extra flour and embrace the stickiness—it’s your friend.
Flat Loaf That Didn’t Rise: Either your yeast was dead (always test by foaming it first) or your kitchen was too cold. Yeast needs warmth to activate. Try the oven-with-light-on trick, or place your bowl on top of the refrigerator where it’s warmest.
Burnt Bottom, Raw Center: Your oven was too hot or the pan was too close to the bottom element. Move the rack up one position and reduce temperature by 25°F. Use an oven thermometer—many ovens run hotter than their settings.
Filling Leaked Out: You didn’t seal the seam properly or overfilled the dough. Press the seam firmly and make sure it’s facing down during the second rise. Use only the amount of filling specified—more isn’t better here.
Tough, Chewy Crust: You skipped the steam step or your oven wasn’t hot enough. That initial steam burst is non-negotiable for tender crust. Make sure your oven fully preheats for 20 minutes and the water pan creates visible steam when water hits it.
Equipment Essentials
- Large mixing bowl (4-quart capacity minimum)
- Wooden spoon or dough whisk for mixing
- Large skillet (12-inch) for caramelizing onions
- Instant-read thermometer for checking dough temperature
- Kitchen scale (optional but helpful for accuracy)
- Baking sheet (13×18-inch half-sheet pan works perfectly)
- Parchment paper to prevent sticking
- Bench scraper for handling wet dough
- Wire cooling rack for proper air circulation
- Plastic wrap for covering during rises
- Metal pan for creating steam in the oven
Shopping List
Bakery/Bread Aisle:
- Instant yeast (1 packet)
- Bread flour (1 bag)
Produce Section:
- Yellow onions (2 medium)
- Fresh sage (1 bunch)
- Black garlic (1 bulb)
Dairy Case:
- Unsalted butter (1 stick)
Baking Aisle:
- Sugar
- Fine sea salt
- Flaky sea salt
Oils & Condiments:
- Extra virgin olive oil (1 bottle)
- Regular olive oil
Spices:
- Black pepper
Success Secrets
1. Master the Wet Dough: The stickier your dough, the better your crumb structure. Professional bakers call this “high hydration” dough—it should be almost pourable. Use wet hands or oiled hands when handling instead of adding flour.
2. Don’t Rush the Onions: Proper caramelization takes 15-18 minutes over medium heat. Too high and they’ll burn on the outside while staying raw inside. Too low and they’ll steam instead of caramelize. Patience here equals flavor.
3. Temperature Check Everything: Use an instant-read thermometer for water (110°F), room temperature (75°F ideal), and finished bread (205°F internal). These numbers aren’t suggestions—they’re the difference between success and soggy centers.
4. Dimple Deeply: When you press those dimples into the surface before the final rise, push all the way through to the pan. This prevents huge air bubbles from forming and creates ciabatta’s signature irregular surface.
5. Cool Completely Before Storing: I know the warm bread smells incredible, but wrapping it while hot creates condensation that makes the crust soggy. Wait until it’s completely cool to the touch—about 45 minutes after baking. Your patience will be rewarded with perfectly crispy crust that stays crispy.