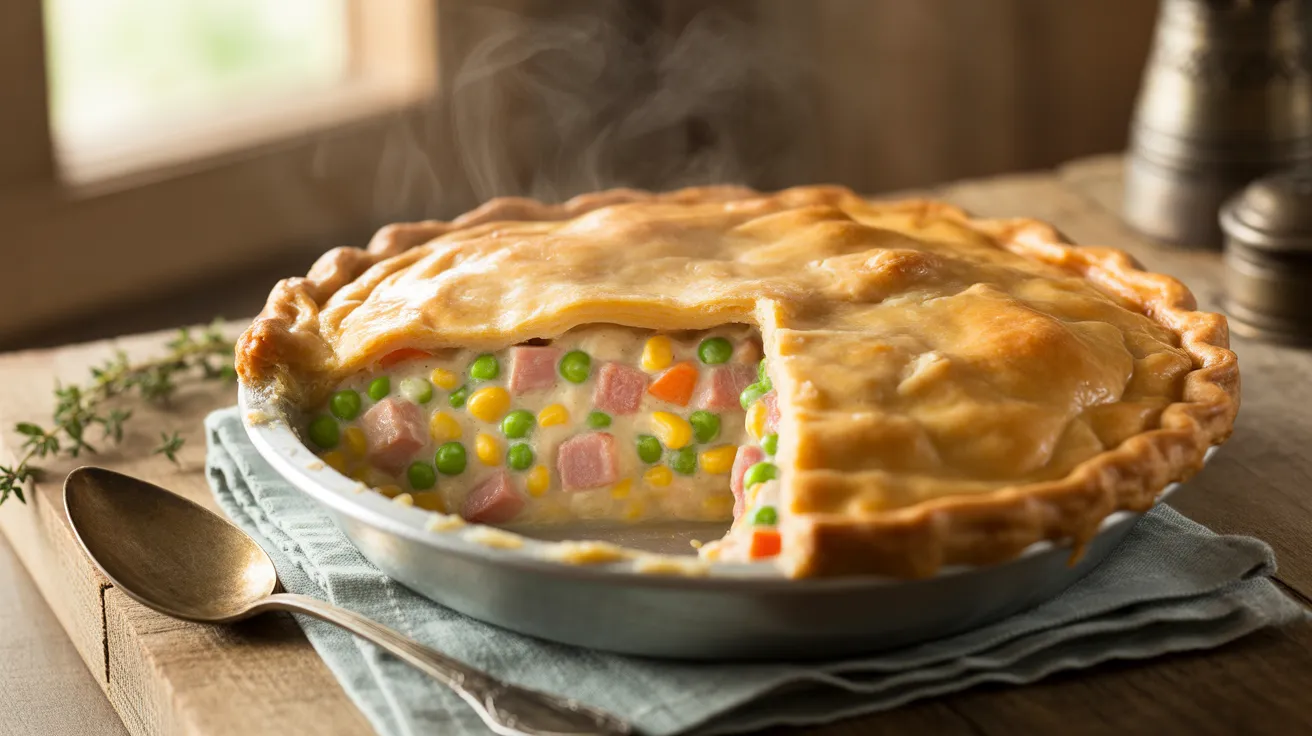
Nothing beats the cozy warmth of a leftover ham pot pie straight from your oven. This leftover ham pot pie transforms yesterday’s dinner into today’s golden-crusted masterpiece, bubbling with creamy vegetables and tender ham chunks that’ll make your kitchen smell like pure comfort food heaven.
SERVES: 4 | PREP: 25 MIN | COOK: 45 MIN | TOTAL: 70 MIN
Ingredients
For the Filling
| Ingredient | Amount |
|---|---|
| Leftover cooked ham, diced | 3 cups |
| Butter | 4 tablespoons |
| Yellow onion, diced | 1 medium |
| Carrots, peeled and diced | 2 medium |
| Celery stalks, diced | 2 stalks |
| Garlic cloves, minced | 3 cloves |
| All-purpose flour | ⅓ cup |
| Chicken broth | 2 cups |
| Whole milk | 1 cup |
| Frozen peas | 1 cup |
| Frozen corn | ½ cup |
| Fresh thyme leaves | 1 teaspoon |
| Dijon mustard | 1 tablespoon |
| Salt | ½ teaspoon |
| Black pepper | ¼ teaspoon |
| Bay leaf | 1 leaf |
For the Crust
| Ingredient | Amount |
|---|---|
| Store-bought pie dough | 2 sheets |
| Egg | 1 large |
| Water | 1 tablespoon |
Step-by-Step Instructions
Phase 1: Prep Work (10 minutes)
Step 1: Pull your leftover ham from the fridge and dice it into ½-inch cubes. You want bite-sized pieces that’ll distribute evenly throughout your pot pie.
Step 2: Preheat your oven to 400°F (200°C). This temperature creates that perfect golden crust while cooking the filling through completely.
Step 3: Dice your onion, carrots, and celery into similar-sized pieces (about ¼-inch). Uniform sizing means everything cooks evenly, so you won’t bite into raw carrots alongside mushy vegetables.
Step 4: Mince your garlic cloves finely. Fresh garlic adds aromatic depth that garlic powder just can’t match.
Phase 2: Building the Filling (15 minutes)
Step 5: Melt 4 tablespoons butter in a large skillet over medium heat. Watch for the butter to stop foaming—that’s when you know it’s ready for vegetables.
Step 6: Add your diced onion, carrots, and celery to the melted butter. Sauté for 6-7 minutes, stirring occasionally, until the onions turn translucent and the carrots start softening. You’ll smell a sweet, aromatic scent when they’re ready.
Step 7: Stir in your minced garlic and cook for 30 seconds. Garlic burns quickly, so don’t walk away during this step!
Step 8: Sprinkle ⅓ cup flour over your vegetables. Stir constantly for 2 minutes to cook out the raw flour taste. This creates what chefs call a “roux”—the thickening base for your creamy sauce.
Step 9: Pour in 2 cups chicken broth slowly while whisking continuously. The mixture will look lumpy at first, but keep whisking! After about 1 minute, you’ll see it transform into a smooth sauce.
Step 10: Add 1 cup whole milk, 1 teaspoon thyme, 1 tablespoon Dijon mustard, and your bay leaf. The mustard adds a subtle tang that cuts through the richness beautifully.
Step 11: Bring the mixture to a gentle simmer, then reduce heat to low. Let it bubble gently for 3-4 minutes until it thickens enough to coat the back of a spoon. You’re aiming for gravy consistency.
Step 12: Fold in your diced ham, frozen peas, and frozen corn. Season with ½ teaspoon salt and ¼ teaspoon black pepper. Taste and adjust—your ham might already be salty, so start conservatively.
Remove the bay leaf and take the skillet off the heat. Your filling should be thick and creamy, not runny.
Phase 3: Assembly and Baking (45 minutes)
Step 13: Roll out one pie dough sheet and press it into a 9-inch deep-dish pie plate. Let the excess hang over the edges—we’ll trim it later.
Step 14: Pour your ham filling into the crust-lined pie plate. Spread it evenly with a spatula, making sure the filling reaches all edges.
Step 15: Lay your second pie dough sheet over the filling. Press the top and bottom crusts together at the edges, then trim any excess dough with kitchen scissors, leaving about ½-inch overhang.
Step 16: Crimp the edges by pressing with a fork or pinching with your fingers. This seal keeps all that delicious filling inside while baking.
Step 17: Cut 4-5 small slits in the top crust with a sharp knife. These vents let steam escape so your crust doesn’t get soggy.
Step 18: Whisk together 1 egg and 1 tablespoon water to make an egg wash. Brush this over the entire top crust—it’s what creates that gorgeous golden-brown finish.
Step 19: Place your pot pie on a baking sheet (to catch any drips) and bake for 40-45 minutes. The crust should be deeply golden brown, and you’ll see filling bubbling through those vents.
Step 20: Let the pot pie rest for 10 minutes before slicing. This cooling time lets the filling set up so it doesn’t run all over your plate.
Chef’s Notes
Leftover Ham Quality Matters: Your leftover ham pot pie tastes best with quality ham that’s still moist. Dry, overcooked ham won’t rehydrate during cooking, so if your ham seems dry, add an extra ¼ cup broth to compensate.
Crust Temperature Trick: Keep your pie dough cold until you’re ready to use it. Warm dough becomes sticky and tears easily, making assembly frustrating.
Flour Power: That 2-minute flour-cooking step isn’t optional. Raw flour tastes chalky and won’t thicken your sauce properly. You’ll know it’s ready when it smells slightly nutty.
Blind Baking Optional: If you’re worried about a soggy bottom crust, prebake your bottom crust for 8 minutes before adding filling. I usually skip this step and haven’t had issues, but it’s insurance for perfectionism!
Nutrition Information (Per Serving)
Calories: 620
Protein: 28g
Carbohydrates: 52g
Fat: 32g
Fiber: 4g
Sodium: 980mg
Cholesterol: 125mg
Variations to Try
Cheesy Ham Pot Pie: Stir 1 cup shredded sharp cheddar into your filling during Step 12. The cheese melts into the sauce, creating an even richer filling that cheese lovers will adore.
Herb Garden Version: Replace dried thyme with 2 tablespoons fresh herbs—try a mix of parsley, chives, and tarragon. Fresh herbs brighten the whole dish and add restaurant-quality flavor.
Sweet Potato Swap: Replace regular potatoes (if you added them) with diced sweet potatoes for natural sweetness. This version pairs beautifully with holiday ham and works great if you’re looking for creative ways to use your leftover ham fried rice ingredients differently.
Individual Pot Pies: Divide filling among 4 ramekins and top each with a circle of pie dough. Bake at 400°F for 25-30 minutes. These single-serve versions look impressive for dinner parties, and if you’ve already tried our leftover ham quiche, you know individual portions make serving so much easier.
Storage & Reheating
Refrigerator Storage: Cover your cooled pot pie tightly with aluminum foil and refrigerate for up to 4 days. The crust will soften slightly in the fridge, but it’s still delicious.
Freezing Instructions: Wrap unbaked pot pie in plastic wrap, then foil, and freeze for up to 3 months. Bake from frozen at 375°F for 60-70 minutes, covering edges with foil if they brown too quickly.
Reheating Single Slices: Microwave individual slices for 2-3 minutes at 50% power for the filling, then crisp the crust in a 350°F toaster oven for 5 minutes.
Full Pie Reheating: Warm the whole pie at 325°F for 25-30 minutes, covered with foil. Remove foil for the last 10 minutes to re-crisp the crust.
Troubleshooting Common Problems
Problem #1: Runny Filling
Your sauce didn’t thicken enough during cooking. Make sure you cooked the flour-butter mixture for the full 2 minutes and simmered the sauce until noticeably thick. If it’s too late, mix 1 tablespoon cornstarch with 2 tablespoons cold water and stir into the hot filling.
Problem #2: Soggy Bottom Crust
Your filling was too hot when you added it to the crust, or you skipped the cooling time. Always let filling cool for 5 minutes before assembly. The baking sheet underneath also helps conduct heat to the bottom crust.
Problem #3: Burnt Crust Edges
Your oven runs hot, or the pot pie needed more protection. Cover edges with a pie shield or strips of aluminum foil after 25 minutes of baking to prevent over-browning while the filling finishes cooking.
Problem #4: Bland Filling
Ham can vary wildly in saltiness, so always taste before baking. Add more Dijon mustard (up to 2 tablespoons), a splash of white wine, or a pinch of cayenne pepper for complexity. Black pepper and fresh herbs also boost flavor.
Problem #5: Crust Won’t Seal
Your dough was too cold and cracking, or the edges were too dry. Let refrigerated dough sit at room temperature for 5 minutes before rolling. Brush the bottom crust edge with water before adding the top crust—moisture acts like glue.
Equipment Essentials

- 9-inch deep-dish pie plate (glass or ceramic works best)
- Large skillet (12-inch recommended for even cooking)
- Whisk (for smooth sauce)
- Rolling pin (if using refrigerated dough sheets)
- Baking sheet (to catch drips)
- Pastry brush (for egg wash)
- Sharp knife (for venting slits)
- Measuring cups and spoons
- Cutting board
- Chef’s knife (for chopping vegetables)
Shopping List
Produce Section
- Yellow onion (1 medium)
- Carrots (2 medium)
- Celery (2 stalks)
- Garlic (1 bulb)
- Fresh thyme (optional, if not using dried)
Dairy Section
- Butter (4 tablespoons)
- Whole milk (1 cup)
- Eggs (1 large)
- Store-bought pie dough (2 sheets)
Frozen Foods
- Frozen peas (1 cup)
- Frozen corn (½ cup)
Pantry/Baking Aisle
- All-purpose flour (⅓ cup)
- Chicken broth (2 cups)
- Dried thyme (if not using fresh)
- Bay leaf
- Dijon mustard
- Salt
- Black pepper
Meat Department
- Leftover cooked ham (3 cups diced) – you already have this!
Success Secrets
1. Chill Your Dough: Working with cold pie dough prevents shrinking and creates flakier layers. If your dough gets warm during assembly, pop the whole assembled pie in the fridge for 15 minutes before baking.
2. Don’t Skip the Egg Wash: That egg-water mixture does more than make things pretty. It seals small cracks and creates a moisture barrier that keeps your crust from getting soggy.
3. Listen for the Bubble: When your pot pie is properly done, you’ll hear gentle bubbling sounds from the filling. If it’s silent in there, give it another 5 minutes of baking time.
4. Cut Clean Slices: A sharp, thin knife dipped in hot water slices through crust without dragging or tearing. Wipe the knife between cuts for bakery-perfect presentation.
5. Double the Recipe: This recipe freezes beautifully, so I always make two pot pies at once—one for tonight, one for the freezer. Your future self will thank you when you need a quick, impressive dinner on a busy weeknight!
This leftover ham pot pie proves that leftovers can be even better than the original meal. The golden crust shatters under your fork, giving way to that creamy, herb-scented filling packed with tender ham and colorful vegetables. It’s the kind of meal that turns a regular Tuesday into something special.