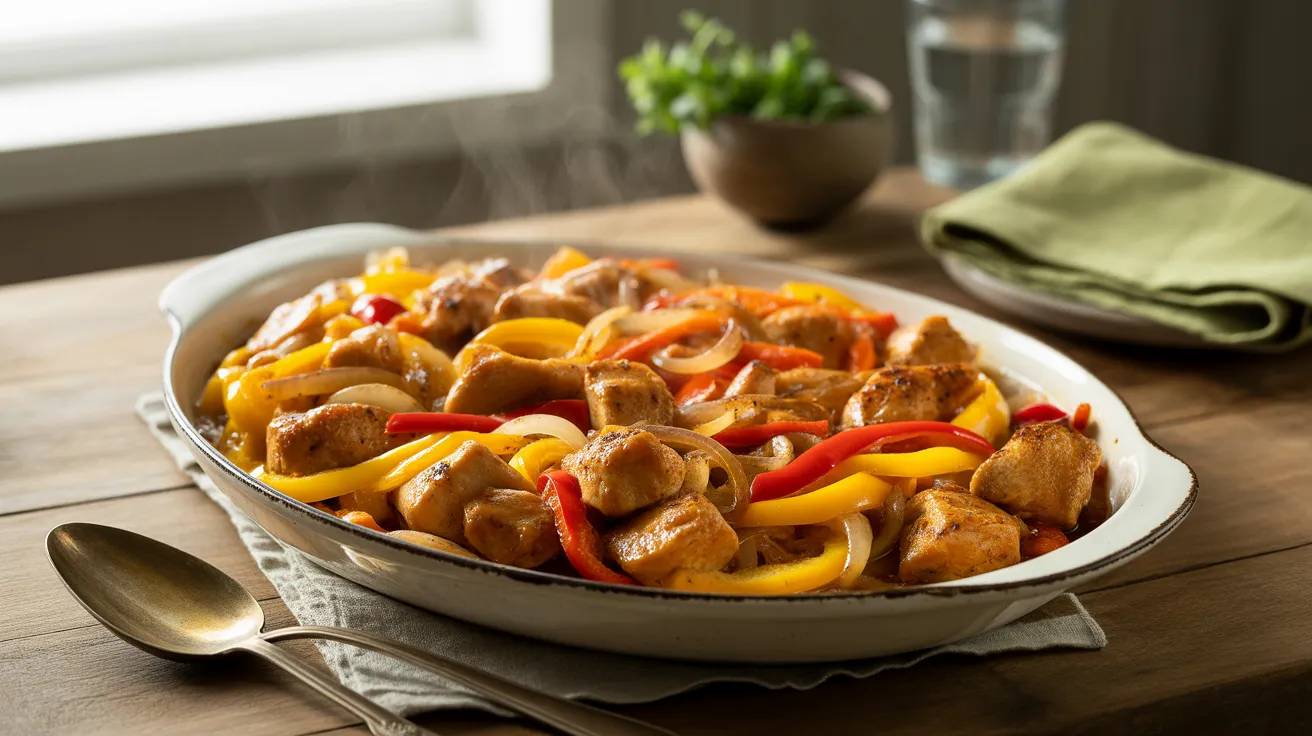
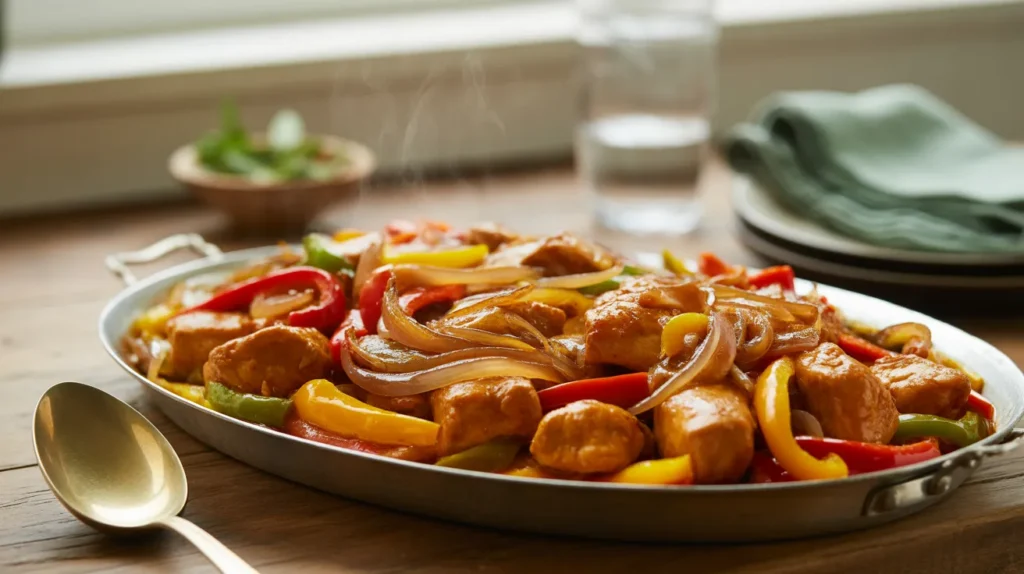
This vibrant Chicken With Bell Peppers And Onions brings restaurant flavor right to your kitchen table. I’m sharing my go-to weeknight recipe that transforms simple ingredients into a colorful, satisfying dinner your whole family will love. This Chicken With Bell Peppers And Onions serves four people perfectly, combines tender chicken with sweet caramelized vegetables, and comes together faster than ordering takeout.
SERVES: 4 | PREP: 10 MIN | COOK: 20 MIN | TOTAL: 30 MIN
What You’ll Need for Chicken With Bell Peppers And Onions
Essential Kitchen Tools
| Tool | Why You Need It |
|---|---|
| 12-inch skillet | Main cooking vessel |
| Sharp chef’s knife | Cutting chicken and vegetables |
| Cutting board | Prep surface |
| Measuring spoons | Accurate seasoning |
| Tongs | Flipping chicken safely |
| Wooden spoon | Stirring without scratching pan |
| Paper towels | Drying chicken |
| Small bowl | Mixing sauce |
Complete Ingredient List
| Ingredient | Amount | Notes |
|---|---|---|
| Boneless skinless chicken breasts | 1.5 pounds | Main protein |
| Olive oil | 3 tablespoons (divided) | Cooking fat |
| Kosher salt | 1 teaspoon | Seasoning |
| Black pepper | 1/2 teaspoon | Seasoning |
| Garlic powder | 1 teaspoon | Flavor enhancer |
| Bell peppers (mixed colors) | 3 medium | Main vegetable |
| Yellow onions | 2 medium | Aromatic base |
| Fresh garlic | 3 cloves | Flavor booster |
| Chicken stock | 1/4 cup | Sauce base |
| Soy sauce | 1 tablespoon | Umami element |
| Cornstarch | 1 teaspoon | Thickening agent |
| Red pepper flakes | 1/4 teaspoon (optional) | Heat element |
Smart Substitutions
Protein Options: Boneless chicken thighs give you extra juiciness and rich flavor. You can also cut chicken tenders into bite-sized pieces for a quicker-cooking version.
Vegetable Swaps: Any color bell peppers work beautifully here. Toss in sliced mushrooms or zucchini for extra nutrition.
Gluten-Free: Use tamari instead of soy sauce.
Lower Sodium: Choose low-sodium soy sauce and unsalted chicken stock.
Step-by-Step Instructions
Preparation Phase (10 minutes)
Step 1: Set Up Your Workspace
Wash your hands with warm water and soap for 20 seconds. Clear your counter completely and wipe it down with a clean cloth.
Gather all ingredients from your refrigerator and pantry. Place ingredients on one side of your workspace and tools on the other side.
Set up two cutting boards—one for raw chicken, one for vegetables. This prevents cross-contamination.
Step 2: Prepare the Chicken
Remove 1.5 pounds chicken breasts from packaging. Examine each piece and trim any unwanted bits.
Pat each breast completely dry with paper towels. Blot multiple times until no moisture remains.
Why this matters: Dry chicken browns beautifully and develops that restaurant-quality crust.
Place chicken on your dedicated cutting board. Hold your knife firmly and slice each breast horizontally into 1-inch wide strips.
Turn the strips and cut crosswise into 1-inch cubes. Try making all pieces similar in size so they cook evenly.
Transfer cut chicken to a clean plate. Wash your hands immediately and clean your cutting board with hot soapy water.
Step 3: Prepare the Bell Peppers
Wash 3 bell peppers under cool running water. Pat them dry with a paper towel.
Place one pepper on your clean cutting board. Hold it steady and cut off the top stem portion about 1/4 inch from the top.
Stand the pepper upright on the flat cut end. Slice down from top to bottom to cut it in half.
Use a spoon to gently scrape out all seeds and white membranes. Lay each half flat on your board, skin-side down.
Slice into 1/4-inch strips lengthwise. Cut longer strips in half crosswise for easier bites.
Transfer to a small bowl. Repeat with remaining peppers.
Step 4: Prepare the Onions
Place one onion on your cutting board. Cut off 1/4 inch from both the root and stem ends.
Stand the onion on a flat cut end. Cut in half from top to bottom.
Peel off the outer papery skin layers. Place each half flat-side down on your board.
Make 1/4-inch slices from one end to the other. Separate the onion layers with your fingers.
Transfer to a small bowl. Repeat with second onion.
Step 5: Mince the Garlic
Place your garlic bulb on the cutting board. Press down gently with your palm to loosen the cloves.
Separate 3 cloves from the bulb. Place the flat side of your knife blade on each clove.
Press firmly with your palm to crush the clove slightly. Peel away all the skin.
Hold your knife with your dominant hand, keeping your fingertips tucked safely. Rock the knife over the garlic with downward pressure.
Continue chopping until the garlic is finely minced. Pieces should be very small, about 1/16 inch.
Transfer to a small dish and set aside near your cooking area.
Step 6: Mix Your Sauce
Take a small bowl (about 1-cup capacity). Measure 1/4 cup chicken stock precisely and pour it into the bowl.
Add exactly 1 tablespoon soy sauce, 1 teaspoon cornstarch, and 1/4 teaspoon red pepper flakes if using.
Whisk vigorously for 30 seconds with a fork or small whisk. Make sure the cornstarch completely dissolves with no lumps.
Beginner tip: If you see lumps, press them against the side of the bowl with your spoon.
Set aside near your cooking area for easy access.
Cooking Phase (20 minutes)
Step 7: Heat Your Pan Properly
Place your 12-inch skillet on the stove. Make sure it’s completely clean and dry.
Turn heat to medium-high (about 7 on a numbered dial). Add 2 tablespoons olive oil.
Tilt your pan to coat the bottom evenly with oil. Wait 1-2 minutes for the oil to heat—it should shimmer slightly.
Temperature test: Hover your hand about 3 inches above the pan. You should feel warmth.
Step 8: Season the Chicken
While your oil heats, season the chicken pieces evenly. Sprinkle 1 teaspoon kosher salt from a height for even distribution.
Add 1/2 teaspoon black pepper and 1 teaspoon garlic powder. Use your fingers to toss the chicken pieces gently, coating all sides.
Test your oil temperature by adding one piece of chicken. It should sizzle immediately.
If it doesn’t sizzle, wait 30 seconds and test again.
Step 9: Brown the Chicken
Add the remaining chicken to your pan in a single layer. Leave at least 1/4 inch between pieces.
Critical warning: Don’t overcrowd the pan or your chicken will steam instead of brown.
Don’t move the chicken for the first 2-3 minutes. This lets a golden crust develop.
Watch for the whitish-opaque color creeping up the sides of your chicken pieces. After 2-3 minutes, carefully flip each piece with tongs.
Cook an additional 2-3 minutes until most sides show a golden brown color. Check doneness by cutting the largest piece in half—it should be white throughout.
Remove chicken to a clean plate using tongs. Tent loosely with foil to keep warm. Fold the foil like a tent; don’t wrap it tightly.
Step 10: Cook the Onions
Using the same unwashed pan (that’s flavor!), check your oil level. If the pan looks dry, add 1 tablespoon olive oil.
Return your pan to medium-high heat. Add your sliced onions, spreading them out evenly.
Using a wooden spoon, stir the onions to coat them with oil and those delicious pan drippings. Reduce heat to medium if the onions are browning too quickly.
Cook 3-4 minutes, stirring every 30 seconds. The onions should become translucent and slightly soft.
Visual cue: Your onions should be floppy but not browned.
Step 11: Add the Bell Peppers
Add all your bell pepper strips to the pan. Stir to combine with the onions.
Cooking technique: Toss your ingredients by pushing the pan away from you and pulling it back toward you.
Cook 4-5 minutes, stirring every minute. The peppers should bend but still snap when broken.
Visual check: Your peppers should be bright in color, not dull or wrinkled.
Step 12: Add the Garlic
Push your vegetables to the sides of the pan, creating a 2-inch clear space in the center. Add your minced garlic to this space.
Keep the garlic in the center, stirring constantly for 30 seconds.
Critical warning: Watch carefully—garlic burns easily and becomes bitter!
When the garlic becomes fragrant, stir to combine it with your vegetables.
Step 13: Combine and Finish
Return your chicken pieces to the pan, distributing them evenly among the vegetables. Stir your sauce mixture once more to make sure the cornstarch is suspended.
Pour the sauce mixture over everything, drizzling to cover most ingredients. Using your wooden spoon, gently fold the ingredients together.
Make sure the sauce contacts the pan bottom. Bring to a gentle simmer—you’ll see small bubbles around the edges.
Visual cue: The sauce will change from cloudy to clearer and slightly thicker.
Cook 2-3 minutes until the sauce thickens slightly.
Sauce test: Dip a spoon in the sauce, then run your finger across the back. It should leave a clear line.
If your sauce seems too thin, let it simmer 1-2 minutes longer. Taste one chicken piece and adjust seasoning if needed.
Give everything a final gentle stir to coat all the ingredients in that glossy sauce.
Step 14: Serve
Turn off the heat completely. Let your dish rest in the pan for 2 minutes to allow the flavors to blend.
Stir once more gently to redistribute the sauce. Use a clean serving spoon to transfer to a serving platter or individual plates.
Serve immediately while hot. Garnish with fresh herbs if desired.
Chef’s Notes
Dry Chicken is Key: I can’t stress this enough—pat your chicken completely dry before cooking. This single step makes the difference between pale, steamed chicken and beautifully browned pieces.
Don’t Rush the Onions: Those 3-4 minutes of cooking onions before adding peppers is what creates the sweet, caramelized base that makes this dish special.
Sauce Timing Matters: Mix your sauce right before using it. Cornstarch settles quickly, so give it a quick stir before pouring.
Color Combination: I love using one red, one yellow, and one orange bell pepper. The variety makes your Chicken With Bell Peppers And Onions look restaurant-quality.
Nutrition Information Per Serving
| Nutrient | Amount | % Daily Value |
|---|---|---|
| Calories | 320 | – |
| Protein | 29g | 58% |
| Carbohydrates | 12g | 4% |
| Fat | 16g | 25% |
| Fiber | 3g | 12% |
| Sugar | 5g | – |
| Sodium | 620mg | 26% |
| Vitamin C | 169mg | 188% |
| Vitamin A | 3150 IU | 63% |
Based on a 2,000 calorie diet
Creative Variations
Italian Style: Add 1 teaspoon Italian seasoning and 1/2 cup diced tomatoes for a Mediterranean twist.
Asian Fusion: Stir in 1 tablespoon hoisin sauce and 1 teaspoon fresh grated ginger for bold flavors.
Spicy Version: Double the red pepper flakes and add 1 diced jalapeño for serious heat.
Low-Carb Option: Serve over cauliflower rice instead of regular rice to keep carbs in check.
Quick Protein Swap: If you’re looking for even faster cooking, try the same technique I use in my air fryer chicken bites—smaller pieces cook in half the time!
Complete Meal: Turn this into a pasta dish similar to my grilled chicken asparagus pesto pasta by tossing everything with 8 ounces cooked penne.
Storage & Reheating Guide
Refrigeration
Allow your dish to cool completely before storing (no longer than 2 hours at room temperature). Store leftovers in an airtight container with a tight-fitting lid.
Keeps in your refrigerator for up to 3 days. Separate from rice or pasta if possible to prevent sogginess.
Reheating Methods
Microwave: Place a portion in a microwave-safe dish and cover loosely. Heat in 30-second intervals, stirring between each. Stop when the internal temperature reaches 165°F.
Stovetop: Warm in a skillet over medium heat with 2 tablespoons chicken stock. Cover and stir occasionally until heated through.
Add fresh herbs after reheating to brighten the flavors.
Meal Prep Strategy
This Chicken With Bell Peppers And Onions is excellent for making ahead. The flavors actually improve overnight in your refrigerator.
Divide into individual containers for grab-and-go lunches. I don’t recommend freezing this dish—bell peppers become too soft.
Troubleshooting Common Problems
Problem 1: Chicken Sticking to Pan
Make sure your pan is fully heated before adding oil. Pat your chicken completely dry before cooking.
Don’t crowd the pan—cook in batches if needed. Let the chicken develop a crust before attempting to flip.
Use more oil if your pan isn’t non-stick.
Problem 2: Vegetables Getting Mushy
Cut your pieces larger (1/2-inch instead of 1/4-inch). Reduce cooking time by 1-2 minutes.
Add firmer vegetables (like peppers) first, softer ones later. Make sure your heat isn’t too high.
Don’t cover the pan while cooking vegetables.
Problem 3: Sauce Not Thickening
Mix an additional 1/2 teaspoon cornstarch with 1 tablespoon cold water. Stir this slurry into your sauce.
Simmer 1-2 minutes longer. Make sure you’re simmering, not just warming.
Check that your cornstarch wasn’t expired.
Problem 4: Dish Lacks Flavor
Add 1/2 teaspoon more salt and taste again. Stir in 1 tablespoon butter at the end for richness.
Stir in 1 teaspoon honey for a touch of sweetness. Add fresh herbs like basil or parsley.
Squeeze half a lemon over the dish before serving.
Problem 5: Chicken Overcooked and Dry
Cut your chicken pieces smaller next time for faster, more even cooking. Remove chicken at 165°F internal temperature—don’t overcook.
Use boneless thighs instead of breasts for more forgiving, juicier results. Reduce heat to medium after browning.
Add chicken back to the pan for less time in the final step.
Equipment Essentials
You don’t need fancy tools for this recipe, but these basics make cooking easier:
- 12-inch skillet (non-stick or well-seasoned cast iron)
- Sharp chef’s knife (8-inch works perfectly)
- Sturdy cutting board (preferably two—one for meat, one for vegetables)
- Measuring spoons (for accurate seasoning)
- Kitchen tongs (for safe flipping and serving)
- Wooden spoon (won’t scratch your pan)
- Small mixing bowl (for sauce preparation)
- Instant-read thermometer (optional but helpful for beginners)
Shopping List Organized by Store Section
Meat Department
- 1.5 pounds boneless skinless chicken breasts
Produce Section
- 3 medium bell peppers (mixed colors)
- 2 medium yellow onions
- 1 bulb fresh garlic
Pantry Aisle
- Olive oil (if running low)
- Kosher salt
- Black pepper
- Garlic powder
- Cornstarch
- Red pepper flakes
Condiments/Asian Foods Aisle
- Soy sauce
Soup/Stock Aisle
- Chicken stock
Success Secrets
1. Temperature Control is Everything
Your pan needs to be hot enough to brown the chicken but not so hot that the garlic burns. Medium-high heat works for most stoves, but pay attention to how your specific stove behaves.
2. Prep Before You Cook
Have everything cut and ready before you turn on the heat. Once cooking starts, things move quickly!
3. Don’t Skip the Resting Time
Those 2 minutes of resting at the end let the sauce thicken slightly and the flavors blend. Don’t skip it.
4. Size Matters
Keep your chicken pieces around 1 inch and your vegetable strips around 1/4 inch for the best texture and cooking time.
5. Trust Your Senses
Look for color changes in the chicken, listen for the sizzle, smell when the garlic becomes fragrant. Cooking is a sensory experience!
Safety Reminders
Food Safety: Chicken must reach an internal temperature of 165°F (74°C). Use separate cutting boards for raw chicken and vegetables. Wash your hands thoroughly after handling raw chicken. Don’t reuse utensils that touched raw chicken. Refrigerate leftovers within 2 hours of cooking.
Kitchen Safety: Turn pan handles away from the front of your stove to prevent accidents. Use oven mitts when handling your hot skillet. Keep paper towels away from open flames. Have a lid nearby to smother potential flame-ups.
Dietary Notes: This recipe is naturally dairy-free and can be made gluten-free by using tamari instead of soy sauce. For lower carb options, serve with cauliflower rice or extra vegetables.
This Chicken With Bell Peppers And Onions delivers everything you want in a weeknight dinner—quick prep, simple ingredients, and bold flavors that make it taste like you spent hours in the kitchen. The colorful mix of peppers and tender chicken pieces creates a dish that’s as beautiful as it is delicious!