Learn how to make delicious sourdough bread at home with this step-by-step guide perfect for four servings
Key Points:
- Ready in 24 hours (20 minutes active time)
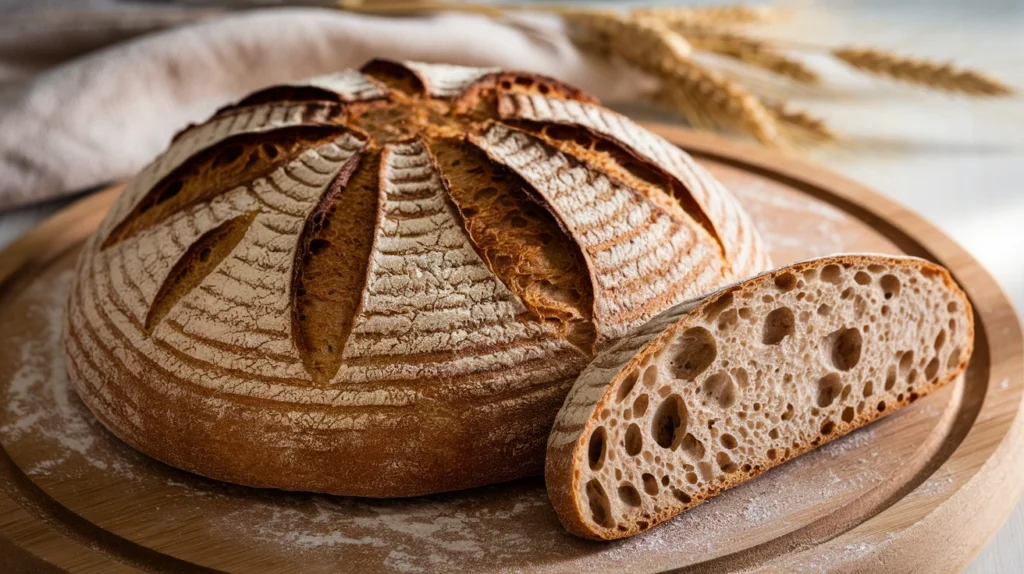
- Makes one 800g loaf (8-10 slices)
- No commercial yeast needed
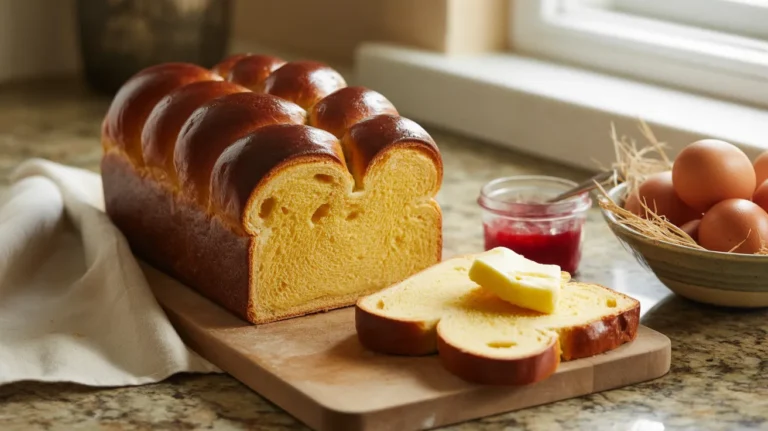
- Perfect for sandwiches and toast
Why Make Sourdough Bread?
Making sourdough bread at home puts you in control of your bread’s taste and texture. Your kitchen fills with the smell of fresh-baked bread, and you get to enjoy warm, crusty slices that beat any store-bought loaf.
Time Requirements
- Prep time: 20 minutes
- Fermentation time: 18-22 hours
- Bake time: 45-50 minutes
- Total time: 24 hours
Equipment Needed
- Digital kitchen scale
- Large mixing bowl
- Dough scraper
- Clean kitchen towel
- Dutch oven or heavy casserole dish
- Scoring blade or sharp knife
- Proofing basket or bowl
- Parchment paper
Ingredients
- 400g bread flour
- 100g whole wheat flour
- 350g water (room temperature)
- 150g active sourdough starter
- 10g salt
Detailed Step-by-Step Instructions
1. Prepare Your Starter (Morning, Day 1)
- Start with your sourdough starter storage jar
- Remove starter from refrigerator in the morning
- Feed your starter with equal parts flour and water:
- Remove all but 50g of old starter
- Add 100g room-temperature water
- Add 100g bread flour
- Mix well until no dry flour remains
- Mark the jar with tape to track rise
- Leave at room temperature (70-75°F/21-24°C)
- Wait 4-6 hours until starter doubles and shows bubbles
- Test if ready by dropping small amount in water – it should float
2. Mix the Dough (Evening, Day 1)
- Get your mixing bowl ready
- Weigh your flours:
- Put bowl on scale
- Zero the scale
- Add 400g bread flour
- Add 100g whole wheat flour
- Mix the flours together with your hands
- Weigh your water:
- Use fresh room-temperature water
- Add 350g water to flour
- Mix with your hands:
- Start with pinching motions
- Switch to folding motions
- Mix until no dry flour remains
- Dough will look shaggy
- Cover bowl with damp towel
- Let rest 30 minutes (this is called autolyse)
- After rest, add:
- 150g active starter (should be bubbly)
- 10g salt
- Mix with wet hands:
- Squeeze dough through fingers
- Fold dough over itself
- Mix until starter and salt are fully incorporated
- Dough will feel sticky – this is normal
3. Strengthen the Dough (Evening, Day 1)
- Set a timer for 2 hours
- Every 30 minutes (4 times total):
- Wet your hands (prevents sticking)
- Keep dough in bowl
- Reach under one side of dough
- Gently stretch up (about 6 inches)
- Fold over to center
- Turn bowl quarter turn
- Repeat 4 times around the bowl
- Cover between sets
- Watch for changes:
- Dough becomes smoother
- Tension increases
- Less sticky with each set
4. Bulk Fermentation (Overnight)
- After final fold:
- Cover bowl with plastic wrap or damp towel
- Mark bowl height with tape
- Note start time
- Place in draft-free spot (70-75°F/21-24°C)
- Let rise 8-12 hours:
- Dough should double
- Surface shows bubbles
- Feels puffy when touched
- Don’t rush this step – fermentation builds flavor
5. Shape the Loaf (Morning, Day 2)
- Prepare your workspace:
- Lightly flour clean counter
- Have dough scraper ready
- Prepare proofing basket with flour
- Turn out dough:
- Gently tip bowl onto counter
- Use scraper if needed
- Don’t punch down – preserve bubbles
- Shape into boule:
- Fold right side to center
- Fold left side to center
- Fold top to center
- Roll bottom up (like letter)
- Flip seam side down
- Create tension:
- Cup hands around dough
- Gently pull dough toward you
- Quarter turn
- Repeat until round and tight
- Transfer to basket:
- Flip dough (seam up) into basket
- Dust top with flour
- Cover with plastic or towel
- Final proof:
- Place in refrigerator
- Proof 2-4 hours
- Dough should pass poke test (indent springs back slowly)
6. Bake the Bread (Afternoon, Day 2)
- Prepare for baking:
- Place Dutch oven in oven
- Preheat to 450°F (230°C)
- Let heat 45-60 minutes
- Prepare dough:
- Cut parchment paper circle
- Remove dough from refrigerator
- Turn onto parchment
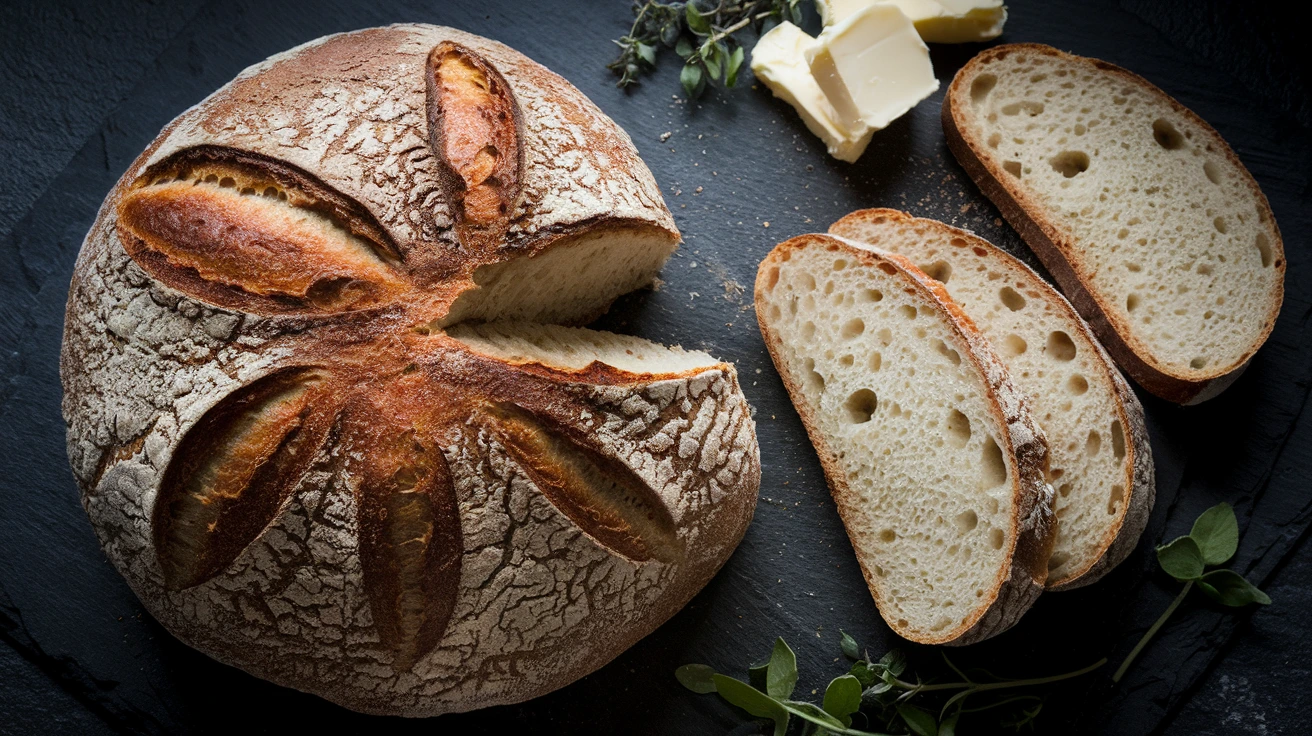
- Score the dough:
- Use sharp blade at 45-degree angle
- Make one confident slash
- Or create decorative pattern
- Cut about ¼ inch deep
- Transfer to Dutch oven:
- Remove hot Dutch oven (use mitts!)
- Lower parchment and dough inside
- Cover with lid
- Baking schedule:
- Bake covered 30 minutes
- Remove lid carefully
- Bake 15-20 minutes more
- Look for dark golden color
- Internal temp should reach 205°F (96°C)
- Cooling (Most Important!):
- Remove from Dutch oven
- Place on wire rack
- Cool minimum 1 hour
- Resist cutting too soon
- Cutting hot bread ruins texture
Troubleshooting
Dense Bread?
- Starter wasn’t active enough
- Too little fermentation time
- Room too cold
Flat Loaf?
- Over-proofed dough
- Weak shaping
- Too wet dough
Storage Tips
- Keep whole loaf at room temperature 4-5 days
- Store in paper bag
- Freeze sliced bread up to 3 months
- Toast frozen slices directly
Safety Notes
- Always use oven mitts with hot Dutch oven
- Keep children away from hot surfaces
- Score bread carefully
- Let cool before cutting
Recipe Variations
- Add nuts and seeds during mixing
- Use different flour ratios
- Try rosemary and olive oil
- Make into rolls instead of loaf
This recipe makes enough for 4 people with some leftovers perfect for toast the next day. Your homemade sourdough bread will have a crispy crust and soft interior – ideal for sandwiches or enjoying with butter.
Remember: Good sourdough takes practice. Each loaf teaches you something new about the process. Keep notes on what works best in your kitchen.