SERVES: 4 | PREP: 10 MIN | COOK: 15 MIN | TOTAL: 25 MIN
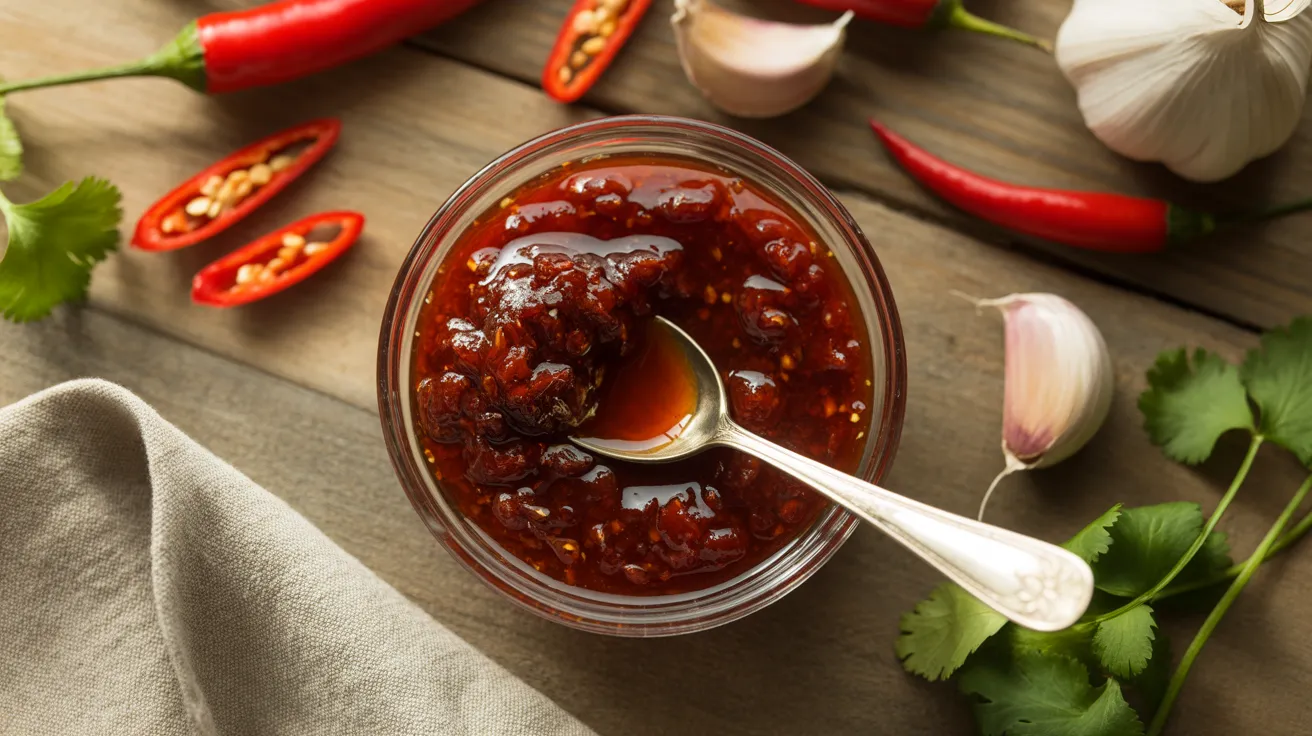
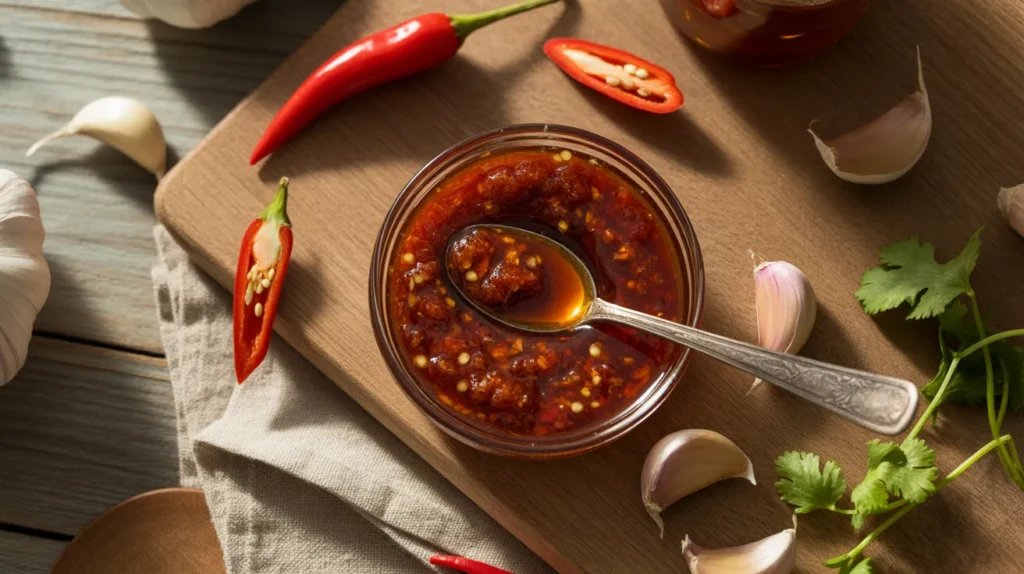
This homemade Thai sweet chili garlic dipping sauce recipe is the real deal — sticky, glossy, tangy, and just the right amount of spicy. Once you try this homemade Thai sweet chili garlic dipping sauce recipe from scratch, you’ll never reach for a store-bought bottle again.
This sauce comes together in about 25 minutes using simple ingredients you can find at any grocery store. The result is a bright, restaurant-quality sauce that tastes miles better than anything out of a jar.
You can dip just about anything into it — spring rolls, grilled chicken, coconut shrimp, dumplings, or crispy wontons. It’s sweet, garlicky, and has just enough heat to keep things interesting.
What You Need for This Homemade Thai Sweet Chili Garlic Dipping Sauce Recipe
Ingredients
| Ingredient | Amount |
|---|---|
| Red Fresno chilies or Thai red chilies | 6 medium |
| Garlic cloves, peeled | 5 large |
| Rice vinegar | ¾ cup |
| Granulated white sugar | ¾ cup |
| Water | ½ cup |
| Salt | 1 tsp |
| Cornstarch | 1 tbsp |
| Cold water (for slurry) | 2 tbsp |
Optional Add-Ins:
- 1 tsp fish sauce (for deeper, savory flavor)
- 1 tsp red pepper flakes (for extra heat)
Equipment Essentials
You don’t need any fancy tools. Here’s what to grab before you start:
- Blender or food processor — to pulse the chilies and garlic into a paste
- Small saucepan — for cooking the sauce
- Measuring cups and spoons — precise measuring matters here
- Small bowl — for mixing the cornstarch slurry
- Wooden spoon or silicone spatula — for stirring
- Glass jar or airtight container — for storage
- Cutting board and knife — for rough chopping before blending
No blender? Use a sharp knife to mince the chilies and garlic very finely by hand. It adds a few extra minutes but works just as well.
Step-by-Step Instructions
Phase 1: Prep the Chilies and Garlic
Step 1: Wash and dry your chilies. Rinse the red chilies under cold running water. Pat them completely dry with a paper towel. Wet chilies can splatter in the blender and add unwanted extra water to your sauce.
Step 2: Decide on your heat level. Slice each chili in half lengthwise. For a milder sauce, scrape out the seeds and white membranes with a small spoon. The seeds and membranes hold most of the heat. For a spicier result, leave some or all of them in. For most people, removing half the seeds gives a great balanced heat.
Step 3: Roughly chop the chilies and garlic. Cut the chilies into rough chunks — about 1-inch pieces. Peel the garlic cloves. You don’t need to be precise here because the blender handles everything. Just make sure the pieces are small enough to drop into the blender easily.
Step 4: Pulse into a coarse paste. Add the chopped chilies and garlic to your blender or food processor. Pulse 8 to 10 times in short, quick bursts. You’re aiming for a coarse, chunky paste — not a smooth puree. Stop and scrape down the sides with a spatula between every few pulses. That chunky texture is what gives an authentic homemade Thai sweet chili garlic dipping sauce recipe its signature look.
Phase 2: Cook the Sauce
Step 5: Combine the base ingredients. Pour the ¾ cup rice vinegar, ½ cup water, and ¾ cup sugar into a small saucepan. Add 1 teaspoon of salt. Stir with a wooden spoon until the sugar begins to dissolve. You don’t need it fully dissolved yet — that happens on the stove.
Step 6: Add the chili-garlic paste. Scrape every bit of the blended chili and garlic mixture into the saucepan. Stir well to combine it with the liquid. The mixture will look thin and watery at this point. That’s completely normal — don’t worry.
Step 7: Bring to a boil over medium heat. Set the burner to medium. Stir the sauce every minute or so as it heats up. This prevents the sugar from sticking to the bottom and burning. Watch for small bubbles forming around the edges of the pan — that means you’re close to a boil.
Step 8: Reduce heat and simmer for 5 minutes. Once the sauce reaches a full boil, turn the heat down to medium-low. Let it simmer gently for 5 minutes, stirring every minute. The sauce will start to reduce slightly and the color will deepen to a deeper red.
Why simmer? This step softens the sharp raw edge of the garlic and chilies and gives all the flavors time to come together properly. Skipping it leaves the sauce tasting sharp and unfinished.
Phase 3: Thicken the Sauce
Step 9: Make the cornstarch slurry. While the sauce simmers, add 1 tablespoon of cornstarch and 2 tablespoons of cold water to a small bowl. Stir vigorously until completely smooth with no lumps. Always use cold water here — hot water causes the cornstarch to clump up immediately and won’t mix properly.
Step 10: Stream the slurry into the sauce. Pour the cornstarch mixture slowly into the simmering sauce in a thin, steady stream while stirring constantly with your other hand. Don’t dump it all in at once — a slow pour gives you much better control over the final thickness.
Step 11: Stir until the sauce thickens. Keep stirring over medium-low heat for 2 to 3 minutes. You’ll actually see the sauce transform from thin and watery to thick and glossy right in front of you. It’s ready when it coats the back of a spoon and doesn’t drip off immediately.
Too thick? Add water one tablespoon at a time and stir over low heat. Too thin? Mix 1 teaspoon of cornstarch with 2 teaspoons of cold water and stir it in.
Step 12: Taste and adjust the seasoning. Take the pan off the heat. Use a clean spoon to taste the sauce carefully — it’s hot. Need more sweetness? Add 1 teaspoon of sugar and stir. Need more tang? Add a small splash of rice vinegar. Need more salt? Add a small pinch and stir again.
Phase 4: Cool and Finish
Step 13: Pour into a jar and cool. Carefully pour the hot sauce into a clean glass jar or heatproof container. Let it sit at room temperature for at least 20 to 30 minutes before serving. The sauce thickens a little more as it cools, so don’t judge the final consistency until it’s fully cooled.
Step 14: Taste one final time before serving. Give it a final taste once cooled. The flavors settle and mellow out at room temperature. Make any last small adjustments now, then it’s ready to serve.
Chef’s Notes
Use fresh chilies for the best flavor. Dried or jarred chilies won’t give you the same bright color or clean heat. Fresh red Fresno chilies are easy to find at most supermarkets and give a consistent result every time.
Rice vinegar is a must. White wine vinegar or apple cider vinegar can work in an emergency, but rice vinegar has a softer, more neutral tang that’s essential to the authentic flavor profile of this sauce.
Don’t rush the simmer. That 5-minute simmer is doing real work. It rounds out the raw garlic edge and lets the sugar caramelize just slightly for a richer, more complex flavor in your homemade Thai sweet chili garlic dipping sauce recipe.
Make it a day ahead. This sauce tastes even better the next day. The flavors settle, deepen, and balance overnight in the fridge. Make a batch on Sunday and keep it on hand all week long.
Nutrition Information (Per Serving — approx. 4 tablespoons)
| Calories | 162 |
| Carbohydrates | 42g |
| Sugar | 38g |
| Protein | 0.5g |
| Total Fat | 0g |
| Sodium | 586mg |
| Fiber | 0.5g |
This sauce is naturally vegan and gluten-free. If celiac disease is a concern, verify your cornstarch brand is certified gluten-free.
4 Variations to Try
1. Extra Garlic Dipping Sauce Double the garlic to 10 cloves for a bolder, punchier sauce. This version is incredible with grilled meats and crispy fried tofu. If you love a strong garlic forward profile, check out this classic Thai sweet chili sauce (Nam Jim Gai) for another version built around big garlic flavor.
2. Mango Sweet Chili Sauce Add ¼ cup of fresh mango puree to the saucepan in Step 6 along with the chili-garlic paste. The mango adds a tropical sweetness and a gorgeous golden-orange color. It works beautifully with shrimp tacos, coconut chicken strips, or grilled pork skewers.
3. Pineapple Sweet Chili Dipping Sauce Swap ¼ cup of the water for ¼ cup of pineapple juice. It adds a bright, fruity layer that pairs especially well with crispy wontons, crab rangoon, and pork satay. Kids absolutely love this version.
4. Reduced-Sugar Version Cut the sugar down to ½ cup and replace the other ¼ cup with 1 tablespoon of honey. The honey adds gentle natural sweetness with a slight floral note. For a full comparison of ingredients and methods, take a look at this homemade Thai sweet chili garlic dipping sauce recipe to see how small tweaks change the final result.
Storage & Reheating
Refrigerator: Store in a sealed glass jar or airtight container for up to 2 weeks. The sauce will thicken slightly in the cold — that’s completely normal.
To loosen cold sauce: Spoon out the amount you need and microwave it for 10 to 15 seconds, or set the jar in a bowl of warm water for a few minutes. Stir before serving.
Freezer: Pour into a freezer-safe container and freeze for up to 3 months. Thaw overnight in the refrigerator. The texture may shift slightly after freezing — a quick stir or a 20-second microwave warm-up fixes it every time.
Best storage vessel: Glass jars are ideal. Plastic containers tend to absorb the red color and hold onto the garlic smell over time. A clean mason jar keeps everything fresh and looking great.
Troubleshooting: 5 Common Problems
1. My sauce is too thin. You need more cornstarch. Mix 1 teaspoon of cornstarch with 2 teaspoons of cold water. Add it to the warm sauce and stir over low heat for 2 minutes. Repeat if needed, one small addition at a time.
2. My sauce is too thick. Add water one tablespoon at a time while stirring over low heat. Stop as soon as it reaches your preferred consistency. It’s easy to over-thin it, so go slowly.
3. My sauce tastes too sharp and vinegary. The sauce likely didn’t simmer long enough. Add 1 teaspoon of sugar, stir it in, and cook for 2 more minutes over low heat. The sweetness balances the sharp vinegar edge quickly.
4. The garlic flavor tastes too raw and strong. It needs more cook time. Return the pan to low heat and simmer for an additional 3 to 5 minutes, stirring every minute. This mellows the raw garlic flavor significantly and rounds out the whole sauce.
5. The sauce turned out too sweet. Add a splash more rice vinegar — start with 1 teaspoon at a time. Stir thoroughly and taste after each small addition until the sweet-to-tangy balance feels right to you.
Shopping List
Produce Section
- ☐ 6 red Fresno chilies or Thai red chilies
- ☐ 1 head of fresh garlic
Baking and Dry Goods Aisle
- ☐ Granulated white sugar
- ☐ Cornstarch
- ☐ Salt
International or Asian Foods Aisle
- ☐ Rice vinegar
Optional Add-Ins
- ☐ Fish sauce (Asian foods aisle)
- ☐ Red pepper flakes (spice aisle)
5 Success Secrets for a Perfect Homemade Thai Sweet Chili Garlic Dipping Sauce Recipe
1. Pulse, don’t blend. A chunky, textured paste makes this sauce look and taste authentic. Over-blending turns it into a smooth liquid — fine flavor, but you lose the beautiful look that makes a great homemade Thai sweet chili garlic dipping sauce recipe stand out.
2. Cold water for the cornstarch slurry — always. Hot or warm water makes cornstarch clump before it ever hits the pan. Cold water keeps it fully dissolved so it distributes evenly and thickens the sauce smoothly without any lumpy spots.
3. Taste at the end, not the beginning. The flavor changes dramatically during cooking. Sugar mellows, vinegar softens, and garlic rounds out. Always taste and adjust seasoning after the sauce is fully cooked and off the heat for the best result.
4. Wait for it to cool before judging the thickness. The sauce always looks thinner when it’s hot. Give it at least 20 minutes to cool before deciding if it needs adjustment. Many home cooks over-thicken their sauce by adding more cornstarch too early.
5. Double the batch. This sauce disappears fast. Once your family and friends taste your homemade Thai sweet chili garlic dipping sauce recipe, they’ll want it on absolutely everything. A double batch takes almost no extra effort and stores beautifully in the freezer for up to 3 months.