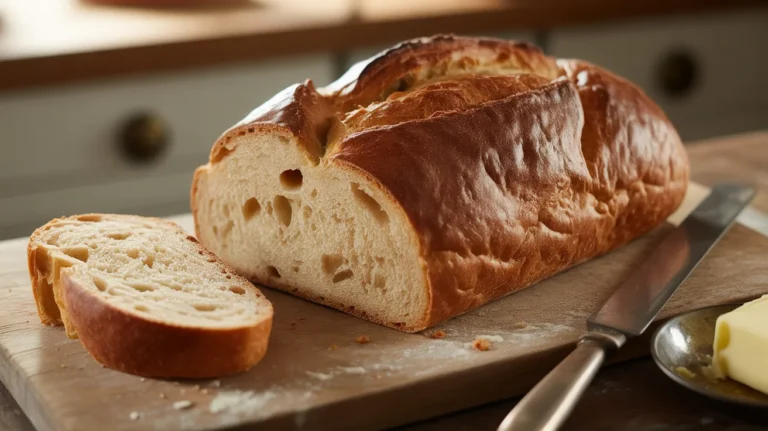
Turn your kitchen into a bakery with this foolproof sandwich bread recipe that yields two perfect loaves.
Key Points:
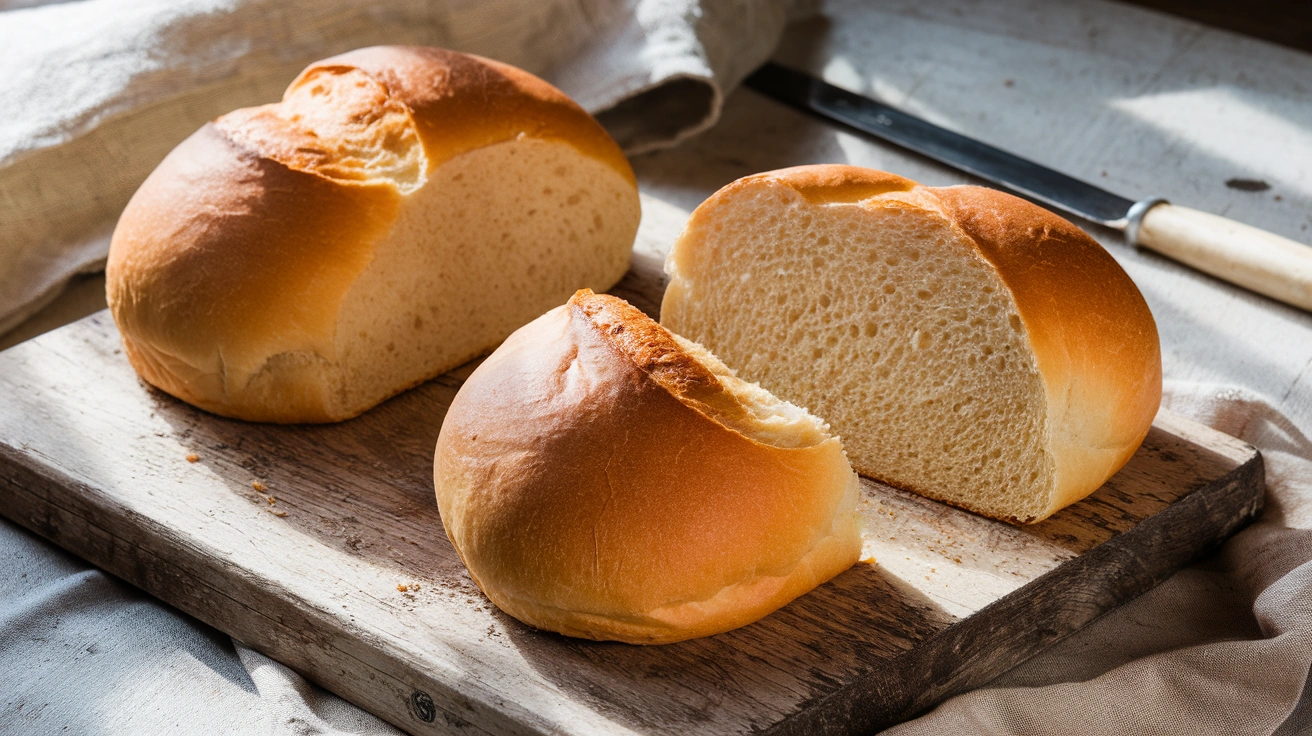
- Makes 2 medium loaves (ideal for a family of 4)
- Ready in 3 hours (30 minutes active time)
- No bread machine needed
- Perfect for beginners
Why Make Your Own Sandwich Bread?
Store-bought bread just doesn’t compare to a fresh, warm loaf from your oven. This sandwich bread recipe creates soft, fluffy slices that’ll make your morning toast and lunchtime sandwiches taste amazing. Best part? You’ll know exactly what’s in it.
Equipment You’ll Need
- 2 9×5-inch loaf pans
- Large mixing bowl
- Measuring cups and spoons
- Kitchen thermometer
- Clean kitchen towel
- Dough scraper (optional but helpful)
Ingredients
For Two Loaves:
- 6 cups bread flour
- 2¼ cups warm water (105-110°F)
- 2 tablespoons active dry yeast
- 2 tablespoons honey
- 2 teaspoons salt
- 4 tablespoons unsalted butter, softened
- 2 tablespoons neutral oil (for greasing)
Step-by-Step Instructions
1. Prepare Your Ingredients (10 minutes)
Getting Ready:
- Clear your counter space and wash your hands thoroughly
- Take butter out of refrigerator 30 minutes before starting
- Gather all measuring tools and ingredients in one spot
- Line up your ingredients in order of use
Temperature Check:
- Fill measuring cup with water
- Use thermometer to check water temperature
- Adjust with hot/cold water until it reaches 105-110°F (feels warm, not hot, to touch)
- If you don’t have a thermometer, water should feel like warm bath water
Mise en Place:
- Measure 6 cups flour into separate bowl
- Measure 2 tablespoons honey
- Measure 2 teaspoons salt
- Check butter softness – should indent easily with finger
- Get oil ready for greasing
Pan Preparation:
- Pour 1 tablespoon oil into each loaf pan
- Use paper towel to spread oil evenly on bottom and sides
- Pay extra attention to corners
- Set prepared pans aside
2. Mix the Dough (15 minutes)
Activate Yeast:
- Pour warm water into large mixing bowl
- Add honey to water and stir until dissolved
- Sprinkle yeast evenly over water surface
- Don’t stir – let it sit 5 minutes
- Watch for foam and bubbles – this means yeast is alive
- If no foam appears after 5 minutes, your yeast might be old – start over with fresh yeast
Initial Mix:
- Add 3 cups of flour to yeast mixture
- Add salt
- Mix with wooden spoon using circular motion
- Mixture will look shaggy and wet – this is correct
- Add softened butter in small pieces
- Mix until butter disappears into dough
Add Remaining Flour:
- Add flour ½ cup at a time
- Stir well after each addition
- Dough will get stiffer – this is normal
- Keep adding flour until dough pulls away from bowl sides
- Dough should be slightly sticky but manageable
3. Knead and First Rise (1 hour)
Prepare for Kneading:
- Sprinkle clean counter with 2 tablespoons flour
- Scrape dough onto floured surface
- Dust your hands with flour
- Keep extra flour nearby for sprinkling
Kneading Technique:
- Fold dough in half toward you
- Push dough away with heel of hands
- Turn dough quarter turn
- Repeat fold-push-turn motion
- Add small amounts of flour if dough sticks
- Knead 8-10 minutes until dough is:
- Smooth like baby’s skin
- Bounces back when poked
- No longer sticky
- Holds shape
First Rise Setup:
- Clean and dry mixing bowl
- Add 1 tablespoon oil to bowl
- Place dough in bowl, flip once to coat with oil
- Cover with clean kitchen towel
- Place in warm spot (near window or on top of fridge)
- Set timer for 45 minutes
- Dough should double in size
- Test by poking – indent should slowly fill in
4. Shape Loaves (15 minutes)
Prepare Dough:
- Gently punch down center of dough
- Fold edges toward center
- Turn onto lightly floured counter
- Cut dough in half using knife or dough scraper
- Weigh pieces if you have a scale – they should be equal
Shape Each Loaf:
- Pat one piece into 9×13 inch rectangle
- Starting from short end, roll tightly like sleeping bag
- Pinch seam firmly to seal
- Pinch ends and tuck under
- Place in prepared pan seam-side down
- Repeat with second piece
- Cover both pans with kitchen towel
5. Second Rise and Bake (1 hour 20 minutes)
Second Rise:
- Place covered pans in warm spot
- Set timer for 45 minutes
- Loaves should rise just above pan rim
- Gently press corner of dough – should hold indentation
Preheat and Prepare:
- Start preheating oven to 350°F when rise begins
- Place oven rack in center position
- Clear oven of other pans
- Have pot holders ready
Baking:
- Remove towel from pans
- Place pans in oven with space between them
- Set timer for 35 minutes
- Don’t open oven during first 20 minutes
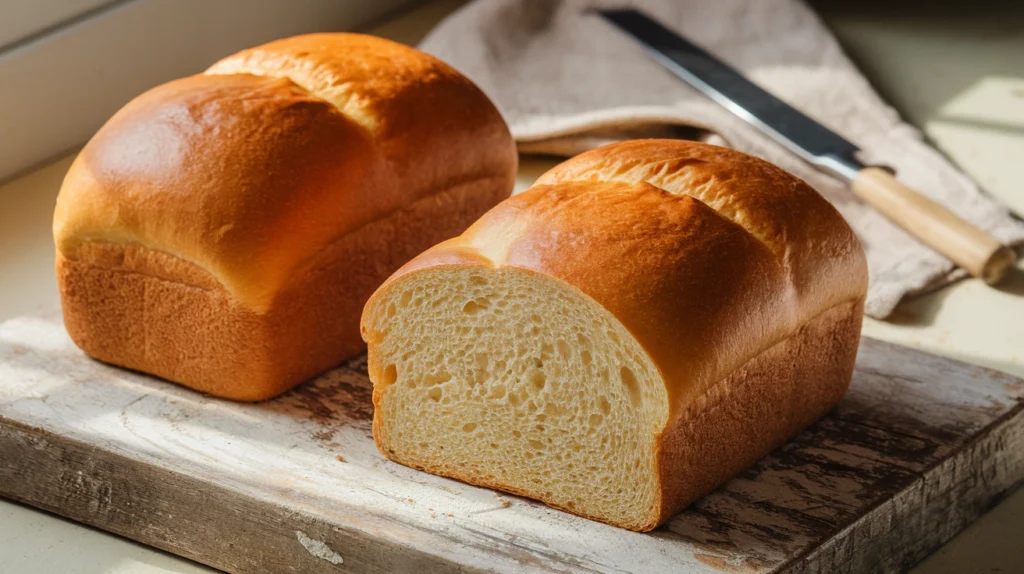
- Check at 35 minutes – loaves should be:
- Golden brown on top
- Sound hollow when tapped
- Register 190°F on thermometer
- If needed, bake 3-5 minutes more
Cooling:
- Remove pans from oven
- Immediately turn loaves out onto cooling rack
- If stuck, run knife around edges
- Place loaves on sides to prevent soggy bottom
- Let cool 1 hour before slicing
- Use serrated knife for clean cuts
Troubleshooting
Dough Too Sticky?
Add flour 1 tablespoon at a time while kneading
Bread Not Rising?
- Check yeast expiration date
- Ensure water temperature is correct
- Keep dough in warm spot (75-80°F)
Dense Loaf?
- Knead longer next time
- Let rise completely
- Don’t add too much flour
Variations
Whole Wheat Version:
Replace 2 cups bread flour with whole wheat flour
Honey Oat:
Add 1 cup rolled oats and extra 2 tablespoons honey
Storage Tips
- Cool completely before storing
- Keep at room temperature up to 4 days
- Freeze sliced loaves up to 3 months
- Thaw frozen bread overnight
Safety Notes
- Use clean tools and workspace
- Wash hands thoroughly
- Don’t consume raw dough
- Let bread cool 30 minutes before slicing
Pro Tips
- Room temperature ingredients work best
- Don’t rush the rising time
- Use bread flour for better structure
- Score top of loaves before baking
- Brush with butter after baking for soft crust
This recipe yields 2 loaves perfect for a family of 4, with enough for sandwiches, toast, and more. Each loaf provides approximately 12 slices.