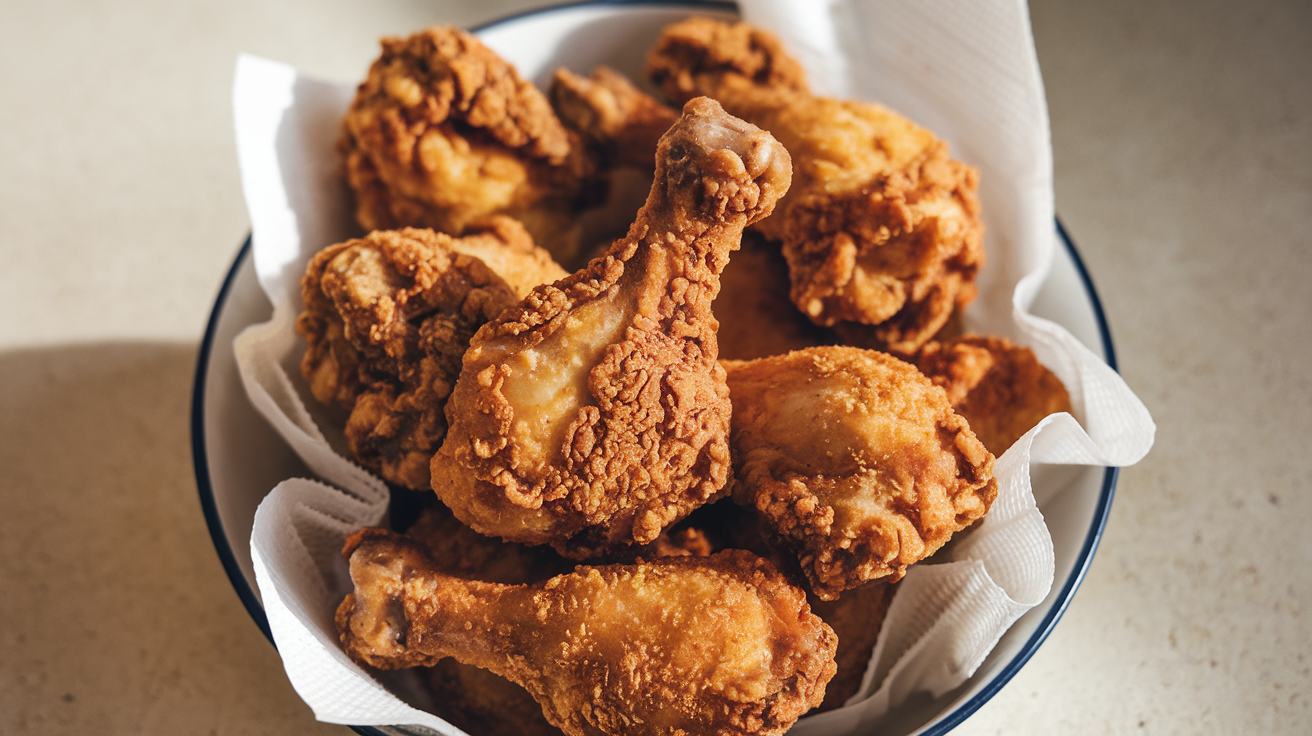
Key Points:
- Takes 1 hour to prepare, 30 minutes to cook
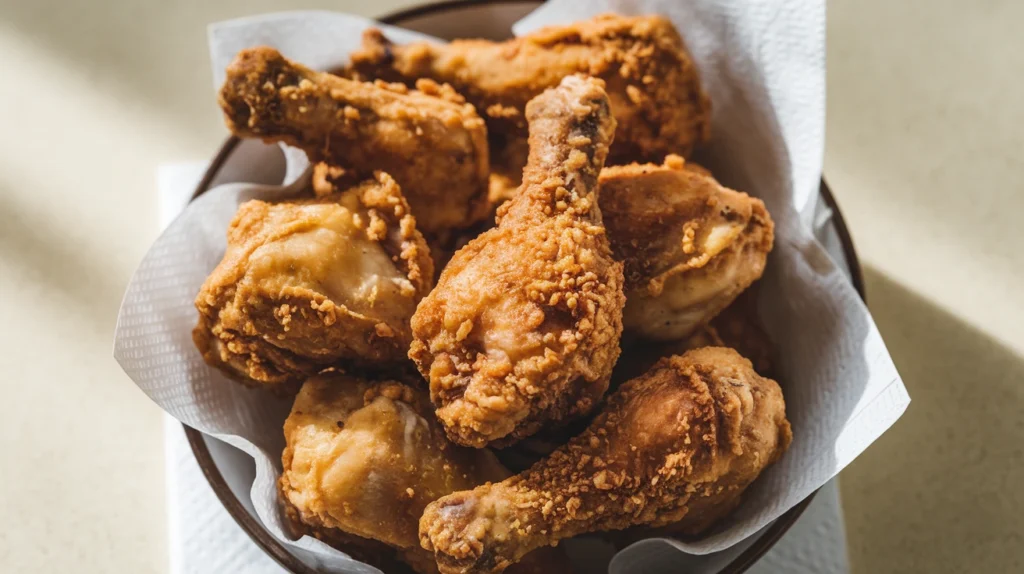
- Creates golden-brown, crispy crust with juicy meat inside
- Uses simple ingredients you already have at home
- Perfect for family dinners or special occasions
Ever tried making a fried chicken recipe at home but ended up with burnt coating and raw centers? This classic fried chicken recipe fixes that problem with an easy, tested method that gives you perfectly crispy chicken every time.
What You’ll Need for This Fried Chicken Recipe
Kitchen Equipment
- Large cast-iron skillet or heavy-bottom pan (12-inch size preferred)
- Kitchen thermometer (must read up to 375°F)
- Large mixing bowls (3)
- Paper towels (full roll)
- Long-handled tongs (12-inch or longer)
- Wire rack that fits your sheet pan
- Rimmed sheet pan (to catch drips)
- Measuring cups and spoons
- Sharp knife for cutting chicken (if needed)
- Clean kitchen towels
Ingredients for Perfect Fried Chicken
For the Chicken:
- 1 whole chicken (3-4 pounds), cut into 8 pieces
- 2 cups buttermilk (cold from refrigerator)
- 2 large eggs (room temperature)
- 2 tablespoons hot sauce (optional, like Tabasco)
For the Coating:
- 3 cups all-purpose flour (measured by spooning into cups, not scooping)
- 1 tablespoon salt (regular table salt)
- 2 teaspoons black pepper (freshly ground if possible)
- 2 teaspoons paprika (sweet, not smoked)
- 1 teaspoon garlic powder
- 1 teaspoon onion powder
- Vegetable oil for frying (about 3 cups)
Southern Fried Chicken Recipe: Super-Detailed Instructions for Beginners
Before You Start (15 minutes)
- Wash your hands thoroughly:
- Use warm water and soap
- Scrub for at least 20 seconds
- Dry with clean towel
- Gather all equipment and ingredients:
- Take everything out and place on counter
- Check expiration dates on ingredients
- Make sure you have enough space to work
- Ensure you have all necessary tools
- Check that you have enough oil
- Prepare your work station:
- Cover a large work surface with paper towels
- Arrange your mixing bowls in order of use
- Set up three stations: raw chicken, coating, and finished chicken
- Have your thermometer ready
- Keep extra paper towels nearby
- Place trash can within easy reach
Chicken Preparation (25 minutes)
- If starting with whole chicken:
- Remove chicken from packaging over sink to catch any liquid
- Discard packaging immediately
- Rinse chicken under cold water (optional)
- Pat very dry with paper towels (important for crispy results)
- Place on clean cutting board (preferably plastic for easy sanitizing)
- Cut into 8 pieces:
- First, place chicken breast-side up
- Remove wings by cutting through joint where wing meets body
- Cut legs away from body by slicing through skin between leg and body
- Bend leg back until hip joint pops, then cut through joint
- Separate drumsticks from thighs by locating joint and cutting through it
- Remove backbone with kitchen shears (save for stock if desired)
- Cut breast in half along breastbone
- You should now have: 2 breast halves, 2 thighs, 2 drumsticks, 2 wings
- If using pre-cut chicken:
- Remove from packaging
- Pat each piece very dry with paper towels
- Inspect for any remaining feathers and remove them
- Make buttermilk mixture:
- Select a bowl large enough to hold all chicken pieces and liquid
- Crack eggs into bowl one at a time (into separate small bowl first to check for shells)
- Whisk eggs until well beaten and slightly frothy
- Measure and add buttermilk to eggs
- Add hot sauce if using (adds flavor, not much heat)
- Whisk until completely combined and smooth
- Mixture should be pale yellow and slightly thick
- Soak chicken:
- Add chicken pieces to buttermilk mixture one by one
- Make sure each piece is fully submerged (push down if needed)
- Use hands or tongs to arrange pieces so they’re all covered
- Cover bowl with plastic wrap or lid
- Place in refrigerator on middle shelf
- Set timer for exactly 1 hour
- Wash hands thoroughly after handling raw chicken
If you’re looking for a twist on traditional chicken recipes, you might also enjoy our Chicken Nanban recipe which features a sweet and tangy sauce.
Coating Preparation (15 minutes)
- Mix dry ingredients while chicken soaks:
- Select a bowl wide enough to fit largest chicken piece
- Measure flour carefully (spoon into measuring cup, level with knife)
- Add measured salt
- Add black pepper
- Add paprika
- Add garlic powder
- Add onion powder
- Whisk together thoroughly for at least 30 seconds
- Make sure no clumps remain
- Taste a tiny bit to check salt level (adjust if needed)
- Set up breading station:
- Place wire rack on sheet pan (lines should run across, not lengthwise)
- Position flour mixture bowl where you can easily reach it
- Leave space for buttermilk bowl (will be added later)
- Line plate with 2-3 layers of paper towels for finished chicken
- Make sure you have at least 2 feet of clear counter space
- Have tongs ready for handling chicken
Oil Preparation (15 minutes)
- Choose your pan:
- Use heavy-bottom skillet or cast iron (lightweight pans heat unevenly)
- Make sure it’s completely dry (any water will cause dangerous splattering)
- Check that handle is secure
- Place on largest burner of your stove
- Position handle away from edge of stove (safety measure)
- Add oil:
- Measure oil to ensure correct amount
- Pour oil into cold pan slowly
- Oil should be 1-inch deep exactly (use ruler if unsure)
- Oil should come up side about 1/3 of pan height
- Leave at least 2 inches from oil surface to pan top (prevents overflow)
- Insert thermometer so bulb is in middle of oil but not touching pan bottom
- Heat oil:
- Turn heat to medium (not high, oil heats slowly but steadily)
- Heat oil to exactly 350°F (this is critical for proper cooking)
- This process takes about 8-10 minutes (be patient)
- Watch carefully – never leave hot oil unattended
- Look for slight shimmer on oil surface
- Check temperature frequently
- Have a lid nearby in case of emergency
Coating the Chicken (20 minutes)
- Prepare for coating process:
- Remove chicken from refrigerator when oil is almost ready
- Set buttermilk bowl next to flour bowl
- Have clean, dry hands or wear disposable gloves
- Place wire rack within easy reach
- Remove chicken from buttermilk:
- Take out one piece at a time using tongs
- Hold piece over buttermilk bowl
- Let excess buttermilk drip off completely (count to 5 slowly)
- Too much buttermilk will make coating soggy
- Coat each piece thoroughly:
- Place chicken piece in flour mixture
- Use dry hand to scoop flour over top
- Press flour firmly onto all surfaces of chicken
- Flip piece and repeat on other side
- Make sure all crevices are coated
- Coating should be even and complete
- Gently shake off excess flour (too much will fall off in oil)
- Place on prepared wire rack
- Repeat with all pieces, working from smallest to largest
- Space pieces on rack so they don’t touch
- Let stand 5 minutes for coating to set (this helps it stick better)
Frying Process (35 minutes)
- Final oil temperature check:
- Must be exactly 350°F before starting
- Sprinkle tiny bit of flour in oil – should sizzle immediately but not burn
- If oil smokes, it’s too hot (remove from heat briefly)
- Adjust heat as needed to maintain temperature
- Keep thermometer in oil throughout cooking
- Add chicken carefully:
- Have a timer ready
- Use long tongs to lower pieces into oil away from you
- Start with thighs and drumsticks (they take longest)
- Lower each piece gently to avoid splashing
- Add only 3-4 pieces at a time (don’t crowd the pan)
- Leave at least 1 inch between pieces
- Oil temperature will drop when chicken is added – this is normal
- Adjust heat to bring back to 350°F
- Monitor and cook first side:
- Set timer for 6 minutes
- Watch oil temperature constantly
- Maintain as close to 350°F as possible (adjust heat if needed)
- Don’t move chicken for first 4 minutes (disturbing forms soggy spots)
- If one area browns too quickly, rotate pan (not the chicken)
- Look for golden-brown color developing
- Turn chicken pieces:
- After 6 minutes, check color (should be golden-brown)
- Use tongs to carefully flip each piece
- Turn away from yourself to avoid splatter
- Be gentle to keep coating intact
- Return oil to 350°F after turning
- Cook second side:
- Set timer for 6 more minutes
- Continue to monitor temperature
- Dark meat (thighs, drumsticks) may need 1-2 minutes extra
- White meat (breast) may cook slightly faster
- Check doneness thoroughly:
- Use meat thermometer after minimum cook time
- Insert into thickest part of meat (don’t touch bone)
- Temperature must read 165°F minimum
- Check each piece individually
- If below 165°F, continue cooking 1-2 minutes more
- Check again until proper temperature is reached
- Cut into thickest piece if uncertain – no pink meat should be visible
- Juices should run clear, not pink
- Between batches:
- Skim any loose flour bits from oil using slotted spoon
- Return oil to 350°F before adding more chicken
- Allow time for temperature to stabilize
- Follow same process for remaining chicken
Finishing Steps (15 minutes)
- Remove chicken properly:
- Use tongs to lift pieces straight up
- Hold above oil briefly (3-5 seconds)
- Let excess oil drip back into pan
- Place on paper towel-lined plate in single layer
- Arrange darker pieces in center, lighter pieces on outside
- Drain and blot:
- Let sit on paper towels 1 minute
- Gently blot top with fresh paper towel
- Don’t press hard (preserves crispy coating)
- Add more paper towels if needed
- Rest chicken properly:
- Transfer to fresh paper towels or clean wire rack
- Arrange in single layer with space between pieces
- Let sit 5-10 minutes minimum (allows juices to redistribute)
- Don’t cover (steam will soften coating)
- Check internal temperature again (should remain above 165°F)
- Keep warm if serving later:
- Heat oven to exactly 200°F (not hotter)
- Place chicken on clean wire rack over sheet pan
- Keep warm up to 30 minutes maximum
- Longer will dry out chicken
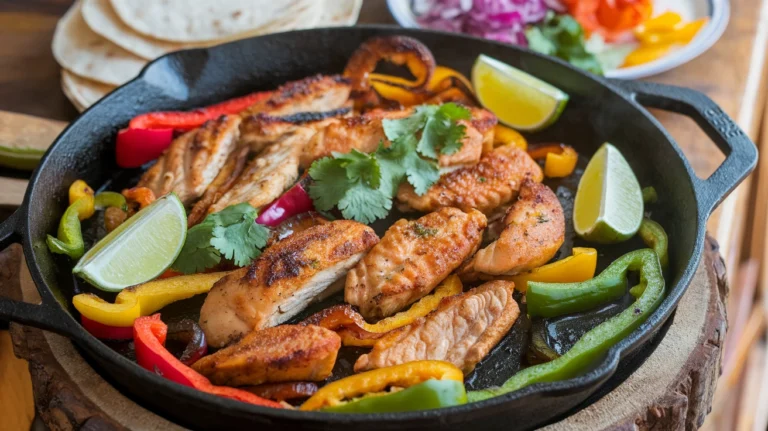
Once you master this crispy fried chicken recipe, you might want to explore other chicken dinner options like our Chicken Fajita Recipe for a completely different flavor profile.
Crispy Fried Chicken Recipe: Troubleshooting Tips
- Coating falls off while frying:
- Chicken was too wet before coating
- Pat chicken drier before flouring
- Let coating rest longer (10 minutes next time)
- Oil temperature was too low when adding chicken
- Chicken was moved too soon after being placed in oil
- Oil too hot (coating burns but inside raw):
- Chicken browns too fast (under 4 minutes)
- Inside stays raw
- Lower heat immediately
- If severe, remove chicken and start over with fresh oil
- Always use thermometer, don’t guess temperature
- Oil too cool (greasy, soggy coating):
- Coating absorbs too much oil
- Doesn’t crisp properly
- Increase heat gradually
- Be patient waiting for proper temperature
- Don’t overcrowd pan (reduces temperature)
- Uneven cooking (some parts done, others not):
- Pieces too cold or different sizes
- Let chicken rest 20-30 minutes at room temperature before frying
- Cut pieces more evenly next time
- Group similar-sized pieces in same batch
- Coating too thin or thick:
- Too thin: double-dip next time
- Too thick: shake off more excess flour
Variations & Substitutions for Your Fried Chicken Recipe
- No buttermilk available?
- Mix 2 cups regular milk with 2 tablespoons lemon juice or white vinegar
- Stir briefly (milk will curdle slightly)
- Let stand 5 minutes before using
- Proceed with recipe as normal
- Gluten-free version?
- Use rice flour or cornstarch mixture instead of wheat flour
- Same measurement (3 cups)
- Add 1/2 teaspoon xanthan gum for better adhesion
- Rest coated chicken 10 minutes before frying
- Extra crispy texture?
- Double-dip chicken pieces:
- Dip in buttermilk, then flour
- Return to buttermilk briefly
- Coat in flour again
- Let rest 10 minutes between dips
- Cook time may increase slightly
- Spicier fried chicken?
- Add 1/2 to 1 teaspoon cayenne pepper to flour
- Increase hot sauce in buttermilk to 4 tablespoons
- Add 1 teaspoon black pepper
- Optional: add 1/4 teaspoon ground dried chilies
- Herb-seasoned variation:
- Add 1 tablespoon dried herbs to flour mixture
- Try: thyme, rosemary, oregano, or Italian blend
- Fresh herbs don’t work well (burn in hot oil)
Storage & Reheating Instructions
- Cool completely before storing (about 30 minutes)
- Do not cover while cooling (creates condensation/soggy coating)
- Place in airtight container with paper towels between layers
- Refrigerate immediately after cooling
- Store in refrigerator up to 3 days maximum
- Never leave at room temperature more than 2 hours
To reheat for best results:
- Preheat oven to 375°F
- Place chicken on wire rack over sheet pan
- Heat 10-15 minutes until internal temp reaches 165°F
- Check often to prevent drying
- Don’t microwave (makes coating extremely soggy)
- Don’t cover while reheating (traps steam)
Safety Notes for Frying Chicken
- Keep a fire extinguisher rated for grease fires nearby
- Never leave hot oil unattended, not even for a minute
- Keep children and pets completely out of kitchen during frying
- Don’t add wet or frozen chicken to hot oil (will cause dangerous splattering)
- Use long tongs (12-inch minimum) to prevent oil burns
- Check internal temperature twice with clean thermometer
- Turn pan handles inward so they don’t extend over edge of stove
- Keep all water sources away from hot oil (causes violent splattering)
- Have lid nearby to cover pan if oil flames
- If oil smokes heavily, turn off heat immediately
- Allow oil to cool completely before disposing (several hours)
- Never pour oil down the drain
Remember: Your first attempt at this fried chicken recipe might not be perfect, and that’s completely normal! Each time you make it, you’ll get better at judging oil temperature, timing, and technique. Keep practicing, and soon you’ll be making restaurant-quality fried chicken at home that will impress family and friends.