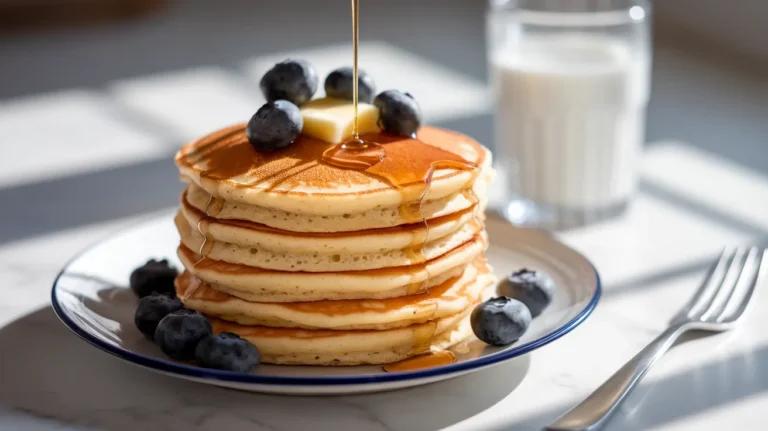
Discover how air fryer pancakes transform your morning routine with perfectly fluffy, golden results in just minutes. These air fryer pancakes cook evenly without flipping, giving you consistent texture every time while keeping your stovetop clean.
SERVES: 4 | PREP: 10 MIN | COOK: 12 MIN | TOTAL: 22 MIN
Why Air Fryer Pancakes Work So Well
Your air fryer isn’t just for chicken wings anymore. The circulating hot air creates perfectly even cooking on both sides simultaneously. No more burned bottoms with raw centers. The consistent 360-degree heat mimics a professional griddle, and you can walk away while they cook.
I started making pancakes this way after burning my third batch in a row on the stovetop. Game changer.
Ingredients
Dry Ingredients
| Ingredient | Amount |
|---|---|
| All-purpose flour | 2 cups |
| Granulated sugar | 3 tablespoons |
| Baking powder | 2 teaspoons |
| Baking soda | 1 teaspoon |
| Salt | ½ teaspoon |
Wet Ingredients
| Ingredient | Amount |
|---|---|
| Buttermilk | 1¾ cups |
| Large eggs | 2 |
| Unsalted butter, melted | 4 tablespoons |
| Pure vanilla extract | 1 teaspoon |
For Cooking
| Ingredient | Amount |
|---|---|
| Cooking spray | As needed |
Step-by-Step Instructions
Phase 1: Batter Preparation (5 minutes)
Step 1: Grab a large mixing bowl and add your 2 cups flour, 3 tablespoons sugar, 2 teaspoons baking powder, 1 teaspoon baking soda, and ½ teaspoon salt. Whisk these dry ingredients together for about 30 seconds until everything looks evenly distributed. This step matters because clumps of baking powder create bitter pockets in your pancakes.
Step 2: In a separate medium bowl, crack 2 eggs and beat them lightly with a fork for about 10 seconds. Add 1¾ cups buttermilk, 4 tablespoons melted butter, and 1 teaspoon vanilla extract. Whisk until the mixture turns pale yellow and slightly frothy, roughly 45 seconds. The frothiness means you’ve incorporated air, which helps create fluffy pancakes.
Step 3: Pour the wet ingredients into the dry ingredients all at once. Use a wooden spoon or spatula to stir gently, making no more than 15-20 circular strokes. The batter should look lumpy with visible flour streaks. This is exactly what you want. Overmixing develops gluten, which makes pancakes tough and chewy instead of tender. Let the batter rest for 5 minutes while you prep the air fryer.
Phase 2: Air Fryer Setup (2 minutes)
Step 4: Preheat your air fryer to 350°F for 3 minutes. This temperature creates the perfect balance—hot enough for golden browning but gentle enough to cook through without burning. Higher temps create crispy edges with raw centers. Lower temps make pale, dense pancakes.
Step 5: While it preheats, line your air fryer basket with parchment paper circles cut to fit the bottom, or use a silicone air fryer liner. Spray the liner generously with cooking spray, covering every inch. Pancake batter contains sugar that caramelizes and sticks like glue to bare metal. If you don’t have liners, spray the basket directly but expect some sticking.
Step 6: Check your batter consistency now. It should pour slowly from a spoon, like thick cream. If it plops off in clumps, whisk in 1-2 tablespoons of buttermilk. Too thick means dense pancakes that don’t rise properly.
Phase 3: First Batch Cooking (6 minutes)
Step 7: Pour ⅓ cup of batter onto the prepared surface for each pancake. Your air fryer basket can typically fit 2-3 pancakes depending on size, leaving 1 inch of space between each one. They’ll expand slightly as they cook. Use a ¼ cup measuring cup and add an extra splash for consistency.
Step 8: Use the back of your spoon to gently smooth the tops if they have peaks from pouring. Flat tops cook more evenly. The batter should spread to about 3-4 inches wide and look slightly domed in the center.
Step 9: Close the air fryer and set the timer for 6 minutes. Don’t open it to peek. The circulating air needs to stay hot and consistent. Opening the basket drops the temperature by 20-30 degrees and adds cooking time.
Step 10: At the 6-minute mark, open carefully and check the tops. They should look dry and set with tiny bubbles across the surface. The edges will appear slightly golden and pull away from the parchment. If the centers still look wet and glossy, close and add 1-2 more minutes.
Step 11: Remove pancakes using a thin spatula, sliding it gently underneath. They’ll feel firm but have a slight jiggle in the center—that’s perfect. Place finished pancakes on a wire cooling rack, not a plate, so the bottoms don’t get soggy from trapped steam.
Phase 4: Subsequent Batches (6 minutes each)
Step 12: If your parchment looks heavily browned or has batter residue, replace it with a fresh piece. Otherwise, spray the same liner again and continue. The basket stays hot between batches, so subsequent rounds might cook 30-60 seconds faster. Start checking at the 5-minute mark for batches 2-4.
Step 13: Continue cooking in batches until all batter is used. Gently stir the batter between batches with 2-3 light swirls—the flour and liquid separate as it sits. You should get 8-10 pancakes total from this recipe serving 4 people (2-2.5 pancakes each).
Step 14: For the final batch, watch extra carefully. The air fryer basket retains more heat after multiple uses, and pancakes can brown faster. If the tops look done but you want more golden color, try 1 minute at 375°F at the end.
Chef’s Notes
Buttermilk Substitution Matters: If you don’t have buttermilk, mix 1¾ cups regular milk with 2 tablespoons white vinegar or lemon juice. Let it sit 5 minutes until it curdles. This acid reacts with baking soda to create lift, making your air fryer pancakes extra fluffy.
Batter Thickness Control: The perfect air fryer pancakes batter should ribbon off your spoon and slowly disappear back into itself. Too thin means flat pancakes. Add 2 tablespoons flour if needed.
Temperature Variations: Every air fryer model runs slightly different. If your first batch browns too quickly with raw centers, drop to 325°F and add 1-2 minutes. If they’re pale and dry, increase to 365°F.
Batch Efficiency: Double this recipe and freeze extras. Reheat frozen air fryer pancakes at 350°F for 3 minutes—they taste freshly made.
Nutrition Information (Per Serving)
Calories: 385 | Protein: 11g | Carbohydrates: 52g | Fat: 15g | Fiber: 2g | Sugar: 11g | Sodium: 620mg
Creative Variations
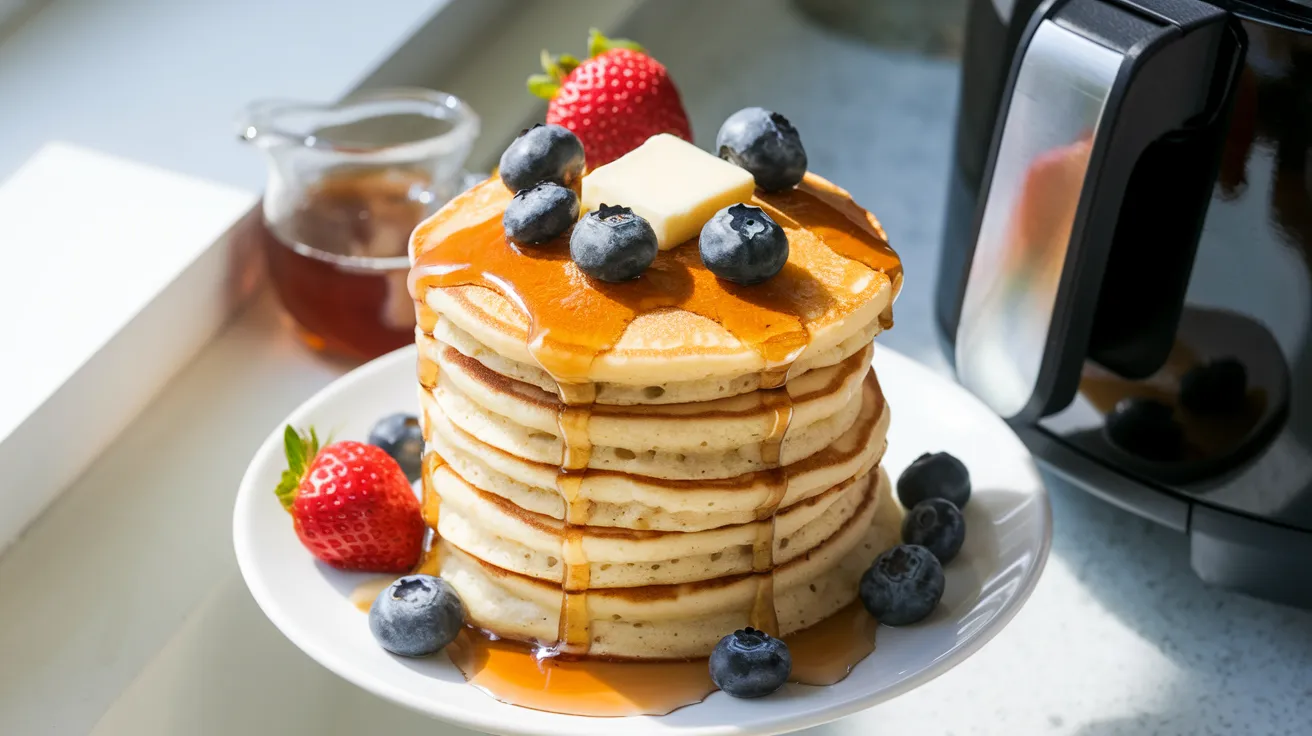
Blueberry Burst
Fold 1 cup fresh or frozen blueberries into the batter after mixing. Frozen berries work better in the air fryer because they don’t bleed as much color. Add 1 extra minute to cooking time. For more berry-packed ideas, check out these double strawberry pancakes that bring serious fruit flavor.
Chocolate Chip Indulgence
Sprinkle 2 tablespoons mini chocolate chips on each pancake immediately after pouring batter in the basket. Regular-sized chips weigh down the batter. The air fryer melts them perfectly without burning.
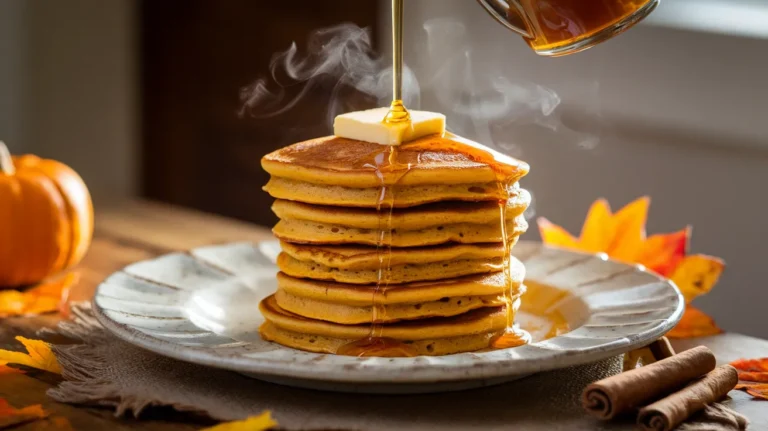
Cinnamon Sugar Swirl
Mix 1 tablespoon cinnamon with 3 tablespoons sugar. After pouring batter, use a toothpick to swirl ½ teaspoon of the mixture into each pancake top. Creates a beautiful marbled effect.
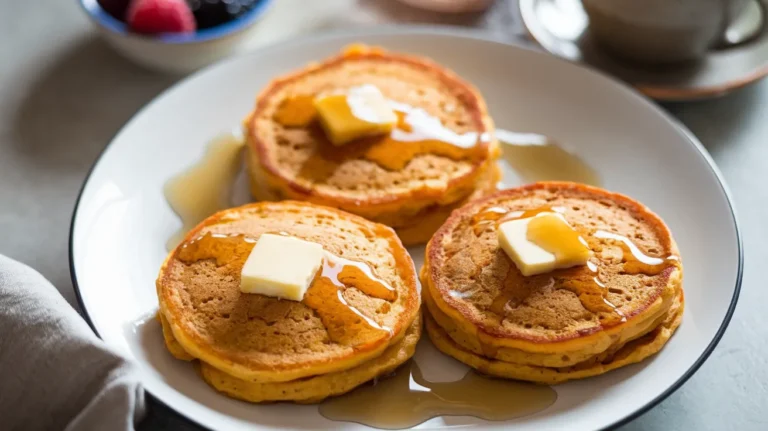
Protein-Packed Power
Replace ½ cup flour with ½ cup vanilla protein powder. Add 2-3 extra tablespoons buttermilk since protein powder absorbs more liquid. If you want even more creative breakfast options, try these squash peanut butter pancakes for unique flavor combinations.
Storage & Reheating
Refrigerator Storage
Cool pancakes completely on a wire rack, about 15 minutes. Stack with parchment paper squares between each one to prevent sticking. Store in an airtight container for up to 4 days. Without the parchment barrier, they’ll fuse together into a pancake brick.
Freezer Storage
Arrange cooled pancakes in a single layer on a baking sheet. Freeze for 2 hours until solid. Transfer to a freezer bag, pressing out all air. They’ll keep for 2 months. Flash-freezing first prevents them from sticking together.
Reheating Methods
Air fryer: Best method. Heat at 350°F for 2-3 minutes from refrigerated, 3-4 minutes from frozen. They’ll taste freshly made.
Microwave: Place pancake on a damp paper towel. Heat 20-30 seconds from refrigerated, 45-60 seconds from frozen. The damp towel adds moisture back.
Toaster: Works if your pancakes are thin enough. Use the lowest setting and watch carefully. They’ll crisp up nicely on the edges.
Troubleshooting Guide
Problem: Pancakes Stick to Basket
Solution: You didn’t use enough cooking spray or skipped the parchment. The sugar in pancakes caramelizes and bonds to metal. Always use parchment paper or a silicone liner plus a generous spray coating. If already stuck, fill the basket with hot soapy water and let it soak 30 minutes before scrubbing.
Problem: Raw Centers with Burned Edges
Solution: Temperature is too high. Air fryers vary wildly by brand—some run 25 degrees hotter than the display shows. Drop to 325°F and increase cooking time to 7-8 minutes. Also check that you’re not making pancakes too thick. They should be ½ inch maximum when poured.
Problem: Dense, Heavy Texture
Solution: You overmixed the batter. Those lumps you saw in Step 3 are crucial—they represent unmixed flour that creates tender pockets. Mix only until barely combined, even if it looks messy. Also verify your baking powder is fresh by dropping ½ teaspoon in hot water. It should bubble vigorously. Dead baking powder means flat, heavy pancakes.
Problem: Pale Color, No Browning
Solution: Temperature is too low, or your batter lacks sugar. Increase heat to 365-375°F for the last 1-2 minutes of cooking. If still pale, add 1 extra tablespoon sugar to your next batch—sugar caramelizes and creates that golden color.
Problem: Dry, Tough Pancakes
Solution: You overcooked them or used too much flour. Air fryer pancakes continue cooking slightly after removal from residual heat. Remove them when centers still have a slight jiggle. Also check you measured flour correctly—scoop flour into your measuring cup with a spoon instead of packing it in. Packed flour adds 25% more than the recipe intends.
Equipment Essentials
- Air fryer (3.5 quart minimum capacity)
- Parchment paper circles or silicone air fryer liner
- Large mixing bowl (3+ quart capacity)
- Medium mixing bowl (2 quart capacity)
- Whisk (balloon style works best)
- Measuring cups and spoons
- Wooden spoon or rubber spatula
- ⅓ cup measuring cup or ladle for portioning
- Thin flexible spatula for removing pancakes
- Wire cooling rack
- Cooking spray (canola or avocado oil based)
Shopping List
Dairy Section
- Buttermilk (14 oz container)
- Unsalted butter (½ stick)
- Large eggs (½ dozen)
Baking Aisle
- All-purpose flour (small bag if you don’t have it)
- Granulated sugar
- Baking powder (check expiration date)
- Baking soda
- Pure vanilla extract
Paper Products
- Parchment paper or silicone air fryer liners
Pantry Staples You Likely Have
- Salt
- Cooking spray
Success Secrets
1. Temperature Test First Run your air fryer empty at 350°F for 3 minutes, then check if the display matches reality with an oven thermometer inside. Many models run hot or cold. Adjust your cooking temperature based on what you discover. This one-time test saves every future batch.
2. The Rest Period Transforms Texture That 5-minute rest in Step 3 isn’t optional. The flour absorbs liquid and the baking powder starts reacting. Pancakes made immediately after mixing turn out 30% denser. Set a timer and resist the urge to rush.
3. Consistent Portioning Equals Even Cooking Use the same ⅓ cup measure for every single pancake. Different sizes cook at different rates, leaving you with some burned and others raw. When they’re identical, they all finish together perfectly.
4. The Single-Layer Rule Never stack or overlap pancakes in the air fryer, even if they fit. The bottom pancake steams instead of crisps, and the top one cooks too fast. Two perfect batches beat one mediocre batch every time.
5. Serve Immediately After Batch Completion Air fryer pancakes taste best within 5-10 minutes of cooking. The texture changes as they cool. If making for a crowd, keep finished pancakes in a 200°F oven on a wire rack while cooking remaining batches. They’ll stay warm without overcooking.