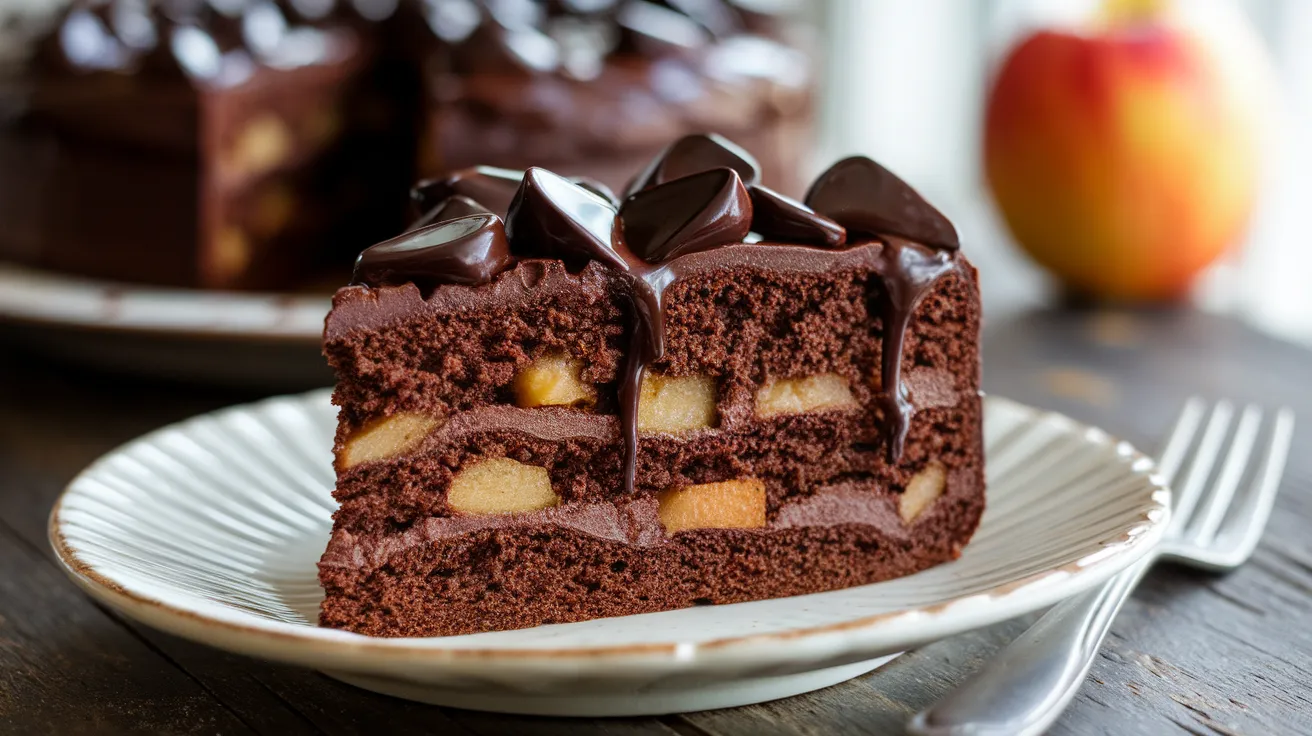
This apple and chocolate cake combines tender spiced apples with rich cocoa in a moist, bakery-style dessert that’s surprisingly simple to make at home. Whether you’re craving comfort food or need an impressive dessert for guests, this apple and chocolate cake delivers deep flavor without fancy techniques.
SERVES: 4 | PREP: 20 MIN | COOK: 45 MIN | TOTAL: 65 MIN
Ingredients You’ll Need
For the Cake Base
| Ingredient | Amount |
|---|---|
| All-purpose flour | 1½ cups |
| Unsweetened cocoa powder | ⅓ cup |
| Baking powder | 1½ teaspoons |
| Baking soda | ½ teaspoon |
| Ground cinnamon | 1 teaspoon |
| Salt | ¼ teaspoon |
| Granulated sugar | ¾ cup |
| Vegetable oil | ½ cup |
| Large eggs | 2 |
| Vanilla extract | 1 teaspoon |
| Buttermilk | ½ cup |
For the Apple Layer
| Ingredient | Amount |
|---|---|
| Medium apples (Granny Smith or Honeycrisp) | 2 |
| Brown sugar | 2 tablespoons |
| Ground cinnamon | ½ teaspoon |
| Lemon juice | 1 teaspoon |
For the Topping
| Ingredient | Amount |
|---|---|
| Dark chocolate chips | ⅓ cup |
| Powdered sugar (optional) | For dusting |
Step-by-Step Instructions
Phase 1: Prep Work (10 minutes)
Step 1: Set your oven to 350°F and position the rack in the center. This ensures even heat distribution, which prevents a domed top or undercooked center.
Step 2: Grease an 8-inch round cake pan with butter, then dust it lightly with cocoa powder instead of flour. Tap out excess. This creates a non-stick surface that won’t leave white residue on your chocolate cake.
Step 3: Peel your apples using a vegetable peeler, then slice them into ¼-inch thick pieces. Thin slices cook faster and distribute evenly throughout the cake. Toss them immediately with lemon juice to prevent browning.
Step 4: In a small bowl, mix your apple slices with 2 tablespoons brown sugar and ½ teaspoon cinnamon. Set aside. The sugar will draw out moisture and create a syrupy coating that keeps apples tender.
Phase 2: Dry Ingredients (3 minutes)
Step 5: Get a medium bowl and add flour, cocoa powder, baking powder, baking soda, cinnamon, and salt. Whisk these together for 30 seconds until the color is uniform and no cocoa clumps remain.
Step 6: Sift the mixture if your cocoa powder looks lumpy. This extra step takes 30 seconds but prevents dry pockets in your finished apple and chocolate cake.
Phase 3: Wet Ingredients (5 minutes)
Step 7: In a large bowl, whisk together sugar and oil for about 1 minute until well combined. The mixture will look like wet sand. This creates the base that holds everything together.
Step 8: Crack in your eggs one at a time, whisking after each addition for 20 seconds. You’ll notice the mixture becomes lighter and slightly fluffy. This means you’re incorporating air, which helps the cake rise.
Step 9: Add vanilla extract and buttermilk, then whisk for another 30 seconds. The buttermilk reacts with the baking soda to create lift and adds tanginess that balances the chocolate’s bitterness.
Phase 4: Combining (4 minutes)
Step 10: Pour your dry ingredients into the wet ingredients all at once. Using a rubber spatula, fold the mixture together using a figure-eight motion. Stop mixing the moment you see the last streak of flour disappear—about 15-20 folds total.
Step 11: Gently fold in half of your prepared apple slices (save the rest for topping). Don’t overmix here. A few quick folds are enough. Overmixing develops gluten, which makes the cake tough instead of tender.
Phase 5: Assembly (3 minutes)
Step 12: Pour the batter into your prepared pan and use your spatula to spread it evenly to the edges. Tap the pan on the counter 3-4 times to release air bubbles.
Step 13: Arrange the remaining apple slices on top in a circular pattern, pressing them slightly into the batter so they’re about halfway submerged. This creates both decoration and flavor pockets.
Step 14: Scatter chocolate chips over the top, focusing on the gaps between apple slices. They’ll melt and create chocolate pools as the cake bakes.
Phase 6: Baking (45 minutes)
Step 15: Place the pan in your preheated oven on the center rack. Set a timer for 40 minutes. Don’t open the oven door before then—temperature drops can cause the cake to sink in the middle.
Step 16: At 40 minutes, insert a toothpick into the center of the cake, avoiding apple pieces. It should come out with a few moist crumbs (not wet batter). If it’s still wet, bake for 5 more minutes and check again.
Step 17: When done, the edges will pull slightly away from the pan sides and the top will spring back when gently pressed. Remove from oven and let cool in the pan for 15 minutes.
Step 18: Run a butter knife around the pan edges, then flip the cake onto a cooling rack. Immediately flip it right-side up onto a serving plate. Let it cool for at least 20 minutes before slicing.
Chef’s Notes
Cocoa Quality Matters: Dutch-processed cocoa creates a darker, more elegant apple and chocolate cake, while natural cocoa powder gives a lighter, more acidic flavor. Both work beautifully.
Apple Selection Strategy: Granny Smith apples hold their shape and provide tartness, while Honeycrisp adds sweetness and stays firm. Avoid Red Delicious—they turn mushy when baked.
Oil Over Butter: Vegetable oil keeps this apple chocolate cake incredibly moist for days. Butter makes a denser texture that dries out faster.
Temperature Check: If your oven runs hot, reduce to 325°F. Dark pans absorb more heat, so they may need lower temperatures too.
Nutrition Information (Per Serving)
Calories: 385 | Protein: 6g | Carbohydrates: 52g | Fat: 18g | Fiber: 4g | Sugar: 32g
Creative Variations
Double Chocolate Apple Cake: Add ½ cup chocolate chunks to the batter along with the chocolate chip topping. The extra chocolate creates pockets of melted richness throughout.
Caramel Apple Chocolate Version: Drizzle 3 tablespoons caramel sauce over the apples before baking. It caramelizes during cooking for an incredible flavor boost. If you love apple desserts with caramel notes, try this apple strudel cake for a different take on the combination.
Spiced Apple Chocolate Cake: Add ¼ teaspoon nutmeg and ⅛ teaspoon ground cloves to your dry ingredients. These warming spices complement both the chocolate and apples perfectly.
Crumb-Topped Apple Chocolate Cake: Before baking, sprinkle 3 tablespoons of streusel topping over the apples. For a complete crumb topping experience, check out this apple crumb cake recipe that takes the concept even further.
Storage & Reheating
Room Temperature: Cover loosely with foil and keep on the counter for up to 2 days. The apples release moisture that keeps the cake tender.
Refrigerator Storage: Wrap individual slices in plastic wrap, then place in an airtight container. Stays fresh for 5 days. The chocolate flavor actually deepens after a day in the fridge.
Freezing Instructions: Wrap the completely cooled cake tightly in plastic wrap, then aluminum foil. Freeze for up to 3 months. Thaw overnight in the refrigerator.
Reheating Method: Microwave individual slices for 15-20 seconds. The chocolate chips will soften and the apples warm through beautifully. Oven reheating at 300°F for 8-10 minutes works for the whole cake.

Troubleshooting Common Problems
Problem: Cake is too dense and heavy The most common cause is overmixing after adding flour. Mix only until you can’t see dry flour anymore—about 15-20 gentle folds. Overmixing develops gluten strands that create a tough, dense texture instead of the light crumb you want.
Problem: Apples sink to the bottom This happens when apple pieces are too large or wet. Cut them into ¼-inch slices maximum, and pat them dry with paper towels after tossing with lemon juice. Tossing them with the cinnamon-sugar mixture also helps them grip the batter.
Problem: Cake is dry and crumbly You either overbaked it or measured flour incorrectly. Use the spoon-and-level method: spoon flour into your measuring cup, then level with a knife. Never scoop directly from the bag—you’ll pack in 25% more flour than needed.
Problem: Top is burnt but center is raw Your oven temperature is too high. Use an oven thermometer to verify accuracy—many ovens run 25°F hotter than the dial shows. Cover the top loosely with foil at the 30-minute mark if it’s browning too fast.
Problem: Chocolate chips burned on top Add the chocolate chips at the 30-minute mark instead of before baking. This gives the cake time to set up first, and the chips still melt perfectly without burning.
Equipment Essentials
- 8-inch round cake pan (metal works best for even browning)
- Medium mixing bowl (for dry ingredients)
- Large mixing bowl (for wet ingredients)
- Whisk (for mixing dry ingredients and eggs)
- Rubber spatula (prevents overmixing)
- Vegetable peeler (for apples)
- Sharp knife (for slicing apples)
- Measuring cups and spoons (accurate measurements are crucial)
- Cooling rack (prevents soggy bottom)
- Toothpick (for doneness testing)
- Sifter or fine-mesh strainer (optional, for lumpy cocoa)
Shopping List by Store Section
Baking Aisle
- All-purpose flour
- Unsweetened cocoa powder
- Baking powder
- Baking soda
- Granulated sugar
- Brown sugar
- Powdered sugar (optional)
- Dark chocolate chips
- Vanilla extract
Spice Section
- Ground cinnamon
- Salt
Produce Section
- 2 medium apples (Granny Smith or Honeycrisp)
- 1 lemon (for juice)
Dairy Section
- Buttermilk
- Large eggs
- Butter (for greasing pan)
Oil Section
- Vegetable oil
Success Secrets
1. Room Temperature is Key: Let eggs and buttermilk sit out for 30 minutes before mixing. Cold ingredients don’t combine smoothly and can create a lumpy batter that bakes unevenly.
2. Don’t Skip the Pan Prep: Greasing with butter and dusting with cocoa powder (not flour) prevents sticking and avoids white residue on your dark cake. It takes 2 extra minutes but saves your dessert.
3. Test Early: Start checking for doneness at 40 minutes, even though the recipe says 45. Every oven is different, and overbaking by even 5 minutes can dry out your apple and chocolate cake.
4. Cool Completely Before Serving: I know it’s tempting, but cutting into a warm cake makes it crumble and fall apart. The structure needs 20 minutes to set up properly.
5. Apple Placement Strategy: Press those top apple slices down so they’re halfway into the batter. Apples that sit completely on top can burn, while buried apples stay moist and tender.
This apple and chocolate cake proves that simple ingredients can create something extraordinary. The combination of tender apples and rich chocolate makes every bite interesting, while the straightforward method means you’ll want to bake it again and again.