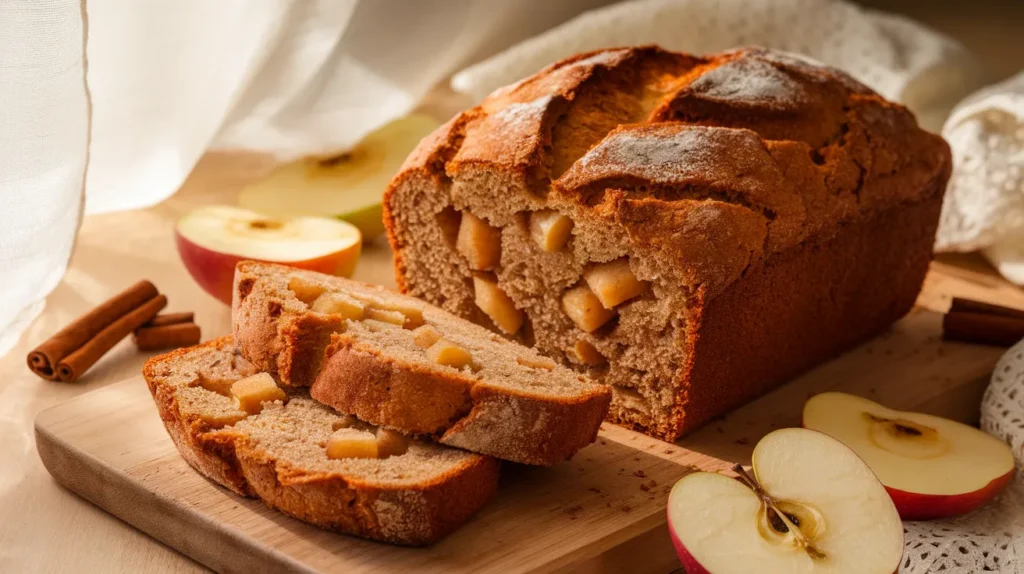
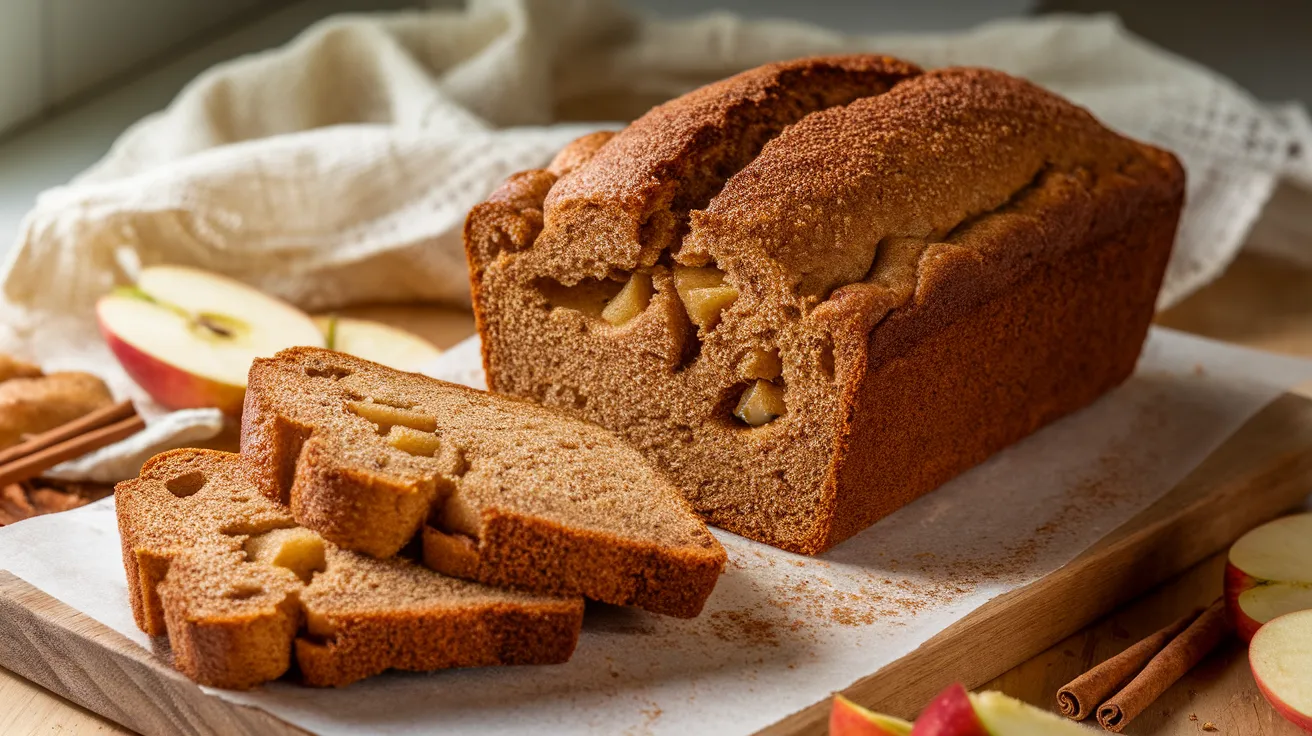
This apple bread combines sweet cinnamon-spiced apples with a tender, moist crumb that’s perfect for breakfast or dessert. Whether you’re craving something cozy or need a showstopping treat, this apple bread delivers every single time.
SERVES: 4 | PREP: 20 MIN | COOK: 55 MIN | TOTAL: 75 MIN
Ingredients
For the Apple Bread:
| Ingredient | Amount |
|---|---|
| All-purpose flour | 2 cups |
| Baking powder | 1½ teaspoons |
| Baking soda | ½ teaspoon |
| Salt | ½ teaspoon |
| Ground cinnamon | 1½ teaspoons |
| Ground nutmeg | ¼ teaspoon |
| Unsalted butter (melted) | ½ cup |
| Granulated sugar | ¾ cup |
| Large eggs | 2 |
| Vanilla extract | 2 teaspoons |
| Sour cream | ½ cup |
| Granny Smith apples (peeled, diced) | 1½ cups |
For the Cinnamon Sugar Topping:
| Ingredient | Amount |
|---|---|
| Granulated sugar | 2 tablespoons |
| Ground cinnamon | 1 teaspoon |
Step-by-Step Instructions
Phase 1: Getting Ready (5 minutes)
Step 1: Preheat your oven to 350°F (175°C). Position the rack in the center of your oven so the bread bakes evenly. This temperature creates the perfect environment for a golden-brown crust while keeping the inside super moist.
Step 2: Grab a 9×5-inch loaf pan and grease it generously with butter or cooking spray. Make sure to get into all the corners. Then dust it lightly with flour, tapping out any excess. This double layer prevents sticking and makes removing your finished apple bread so much easier.
Phase 2: Mixing the Dry Ingredients (3 minutes)
Step 3: In a large bowl, whisk together the flour, baking powder, baking soda, salt, cinnamon, and nutmeg. Whisking for about 30 seconds helps distribute the leavening agents evenly, which means no weird pockets of baking soda taste. The cinnamon and nutmeg will make your kitchen smell incredible right from the start.
Step 4: Set this bowl aside for now. Don’t skip this separation of wet and dry ingredients—it’s the secret to preventing overmixing, which can make your bread tough and dense.
Phase 3: Creating the Wet Mixture (5 minutes)
Step 5: In a separate medium bowl, whisk together the melted butter and sugar until combined. The mixture will look grainy, and that’s totally normal. Keep whisking for about 1 minute until it lightens slightly in color.
Step 6: Add the eggs one at a time, whisking well after each addition. This helps create an emulsion that keeps your bread tender. You’ll notice the mixture becoming smoother and more cohesive—that’s exactly what you want.
Step 7: Stir in the vanilla extract and sour cream. The sour cream is your secret weapon here—it adds moisture and creates that bakery-style tender crumb. Mix until everything looks uniform and creamy, about 30 seconds.
Phase 4: Bringing It Together (4 minutes)
Step 8: Pour the wet ingredients into the bowl with your dry ingredients. Using a rubber spatula, fold them together with gentle strokes. Mix only until you can’t see any more flour streaks—this should take about 15-20 folds. Stop immediately when combined. Overmixing develops gluten and creates a tough, chewy texture instead of the soft bread you’re after.
Step 9: Gently fold in your diced apples. Use a folding motion (not stirring) to distribute them throughout the batter. The apples will sink slightly, and that’s perfect—they’ll create pockets of sweetness throughout your apple bread. If you’re looking for more apple inspiration, check out these apple muffins that use a similar technique.
Phase 5: Preparing for the Oven (3 minutes)
Step 10: Scrape all the batter into your prepared loaf pan, using your spatula to get every last bit. Spread it evenly, paying special attention to pushing batter into the corners. Tap the pan gently on the counter 2-3 times to release any air bubbles trapped inside.
Step 11: In a small bowl, mix together the 2 tablespoons sugar and 1 teaspoon cinnamon for the topping. Sprinkle this evenly over the top of your batter. This creates a slightly crispy, sweet crust that contrasts beautifully with the soft interior.
Phase 6: Baking (55 minutes)
Step 12: Place the pan in your preheated oven on the center rack. Bake for 50-55 minutes. You’ll know it’s done when a toothpick inserted into the center comes out with just a few moist crumbs (not wet batter). The top should be deeply golden brown and spring back when gently pressed.
Visual cue: Around 45 minutes, the top will start looking set and cracked—that’s normal and actually a good sign. If the top is browning too quickly, loosely tent it with aluminum foil for the last 10-15 minutes.
Phase 7: Cooling and Serving (30 minutes minimum)
Step 13: Remove the pan from the oven and place it on a wire cooling rack. Let it cool in the pan for 15 minutes. This resting time lets the structure set so the bread won’t fall apart when you remove it.
Step 14: Run a butter knife around the edges to loosen any spots that might be sticking. Turn the pan upside down onto the cooling rack and gently shake until the bread releases. Flip it right-side up and let it cool for at least 15 more minutes before slicing.
Step 15: Slice with a serrated knife using a gentle sawing motion. The first slice is always the hardest—after that, it gets easier. Serve warm or at room temperature.
Chef’s Notes
Apple Selection Matters: Granny Smith apples work best for apple bread because they hold their shape during baking and provide a tart contrast to the sweet batter. Honeycrisp or Braeburn are excellent alternatives.
Room Temperature Ingredients: While I called for melted butter (which obviously isn’t room temp), make sure your eggs and sour cream aren’t straight from the fridge. Cold ingredients don’t emulsify as well and can create a denser texture.
Don’t Skimp on Greasing: I’ve learned this the hard way—even with nonstick pans, you need to grease thoroughly. Apple bread has natural sugars that can cause sticking, especially in the corners.
The Toothpick Test: Insert it into the thickest part of the bread, not near the edges where it cooks faster. A few moist crumbs are fine, but if you see wet batter, give it another 5 minutes and test again.
Nutrition Facts (Per Serving)
- Calories: 445
- Protein: 7g
- Carbohydrates: 58g
- Fat: 21g
- Fiber: 2g
- Sugar: 32g
Creative Variations
Caramel Apple Bread: Swirl 3 tablespoons of caramel sauce into the batter before baking. Add an extra drizzle on top when it’s still warm. For the ultimate caramel-apple experience, pair this with my caramel apple pie at your next gathering.
Nutty Apple Bread: Fold in ½ cup chopped walnuts or pecans along with the apples. Toast them first in a dry skillet for 3-4 minutes to intensify their flavor.
Apple Streusel Bread: Skip the cinnamon sugar topping and add a streusel instead: combine ¼ cup flour, ¼ cup brown sugar, 3 tablespoons cold butter, and ½ teaspoon cinnamon until crumbly. Sprinkle over the batter before baking.
Whole Wheat Apple Bread: Replace 1 cup of the all-purpose flour with whole wheat flour. You might need an extra tablespoon of sour cream since whole wheat absorbs more liquid. This adds a nutty flavor and extra fiber.
Storage & Reheating
Room Temperature: Wrap your apple bread tightly in plastic wrap or aluminum foil. It’ll stay fresh on your counter for 3-4 days. The moisture from the apples actually helps it stay tender longer than regular quick breads.
Refrigerator Storage: If your kitchen is warm or humid, store it in the fridge wrapped in plastic wrap, then placed in a zip-top bag. This extends freshness to one week. Let slices come to room temperature before eating, or warm them slightly.
Freezing: This bread freezes beautifully for up to 3 months. Wrap the whole loaf (or individual slices) in plastic wrap, then aluminum foil. Thaw overnight in the fridge or at room temperature for 2-3 hours.
Reheating: Pop individual slices in the microwave for 15-20 seconds, or toast them lightly in a toaster or toaster oven. The toasting method brings back some of that fresh-baked texture and makes the edges slightly crispy.

Troubleshooting Guide
Problem: My bread is too dense and heavy The most common cause is overmixing the batter after adding the flour. Mix only until the flour disappears—you should still see some small lumps. Also check that your baking powder and baking soda aren’t expired. They lose potency after 6 months.
Problem: The top cracked in weird places This is actually pretty normal for quick breads! The crack happens when the outside sets before the inside finishes rising. It doesn’t affect taste at all. If you want a more even top, lower your oven temperature to 325°F and bake for an extra 10 minutes.
Problem: The center is raw but the edges are overcooked Your oven temperature might be too high. Use an oven thermometer to check accuracy—many ovens run 25°F hotter or cooler than the display shows. Also, dark-colored pans absorb more heat, so reduce the temperature by 25°F if you’re using a dark pan.
Problem: My apples all sank to the bottom Toss the diced apples in 1 tablespoon of flour before folding them into the batter. This helps suspend them throughout the loaf. Also, make sure your apples are diced into ½-inch pieces, not larger—bigger pieces are heavier and sink more easily.
Problem: The bread stuck to the pan Next time, use both butter AND flour to coat your pan, or try parchment paper. Cut a strip to fit the length of the pan with overhang on the sides—this creates handles for easy removal. Let the bread cool the full 15 minutes in the pan before attempting to remove it.
Equipment Essentials
- 9×5-inch loaf pan (metal works best for even browning)
- Large mixing bowl (for dry ingredients)
- Medium mixing bowl (for wet ingredients)
- Whisk (for combining ingredients smoothly)
- Rubber spatula (for folding and scraping)
- Measuring cups and spoons (for accuracy)
- Wire cooling rack (essential for proper cooling)
- Serrated knife (for clean slicing)
- Small bowl (for cinnamon sugar topping)
Shopping List
Baking Aisle:
- All-purpose flour
- Baking powder
- Baking soda
- Granulated sugar
- Ground cinnamon
- Ground nutmeg
- Vanilla extract
Dairy Section:
- Unsalted butter
- Sour cream
- Large eggs
Produce Section:
- Granny Smith apples (2 medium apples make about 1½ cups diced)
Spices/Seasonings:
- Salt
Success Secrets
1. Measure Flour Correctly: Spoon flour into your measuring cup and level it off with a knife. Scooping directly from the bag packs the flour down and you’ll end up using too much, which makes dry, dense apple bread.
2. Don’t Overmix: I mentioned this earlier, but it’s worth repeating. Mix just until you don’t see dry flour anymore. Those few small lumps will disappear during baking, and your texture will be so much better.
3. Use Fresh Spices: Old cinnamon and nutmeg lose their punch. If yours have been sitting in the cupboard for over a year, grab new ones. The difference in flavor is huge.
4. Test Your Oven Temperature: Invest in a simple oven thermometer. When my oven was running 25°F too hot, everything came out overdone on the outside and raw in the middle. One $7 thermometer solved months of baking frustration.
5. Resist Cutting Too Soon: I know it’s tempting when your kitchen smells amazing, but cutting into hot bread releases steam and dries it out. Those final 15 minutes of cooling make a real difference in texture and make slicing so much cleaner.
Pro tip: This apple bread tastes even better the next day after the flavors have had time to meld together. Make it in the evening and enjoy perfect slices for breakfast!


