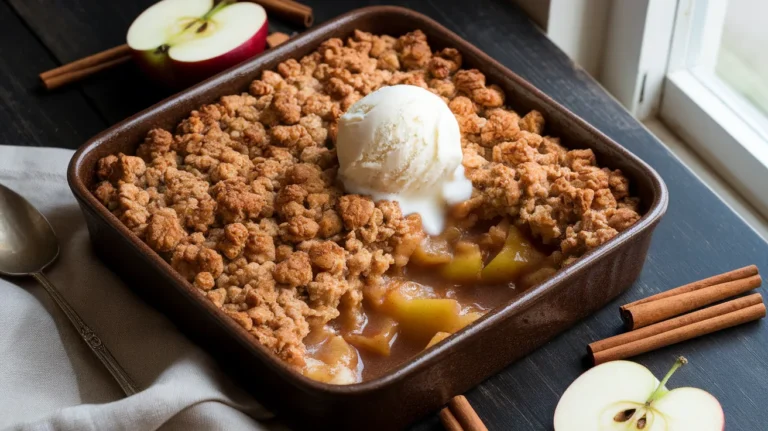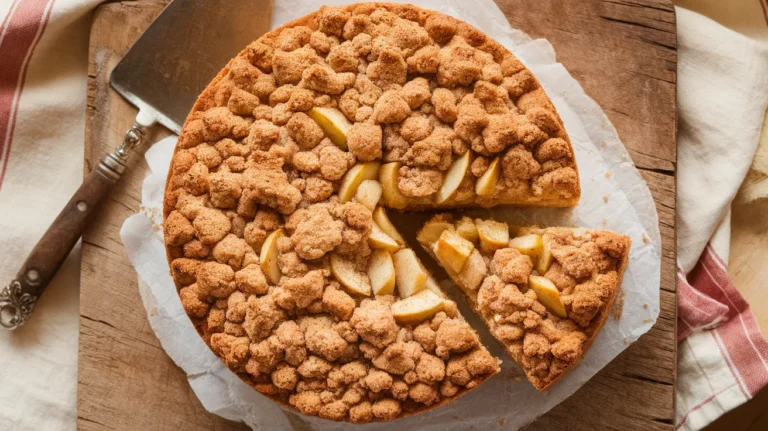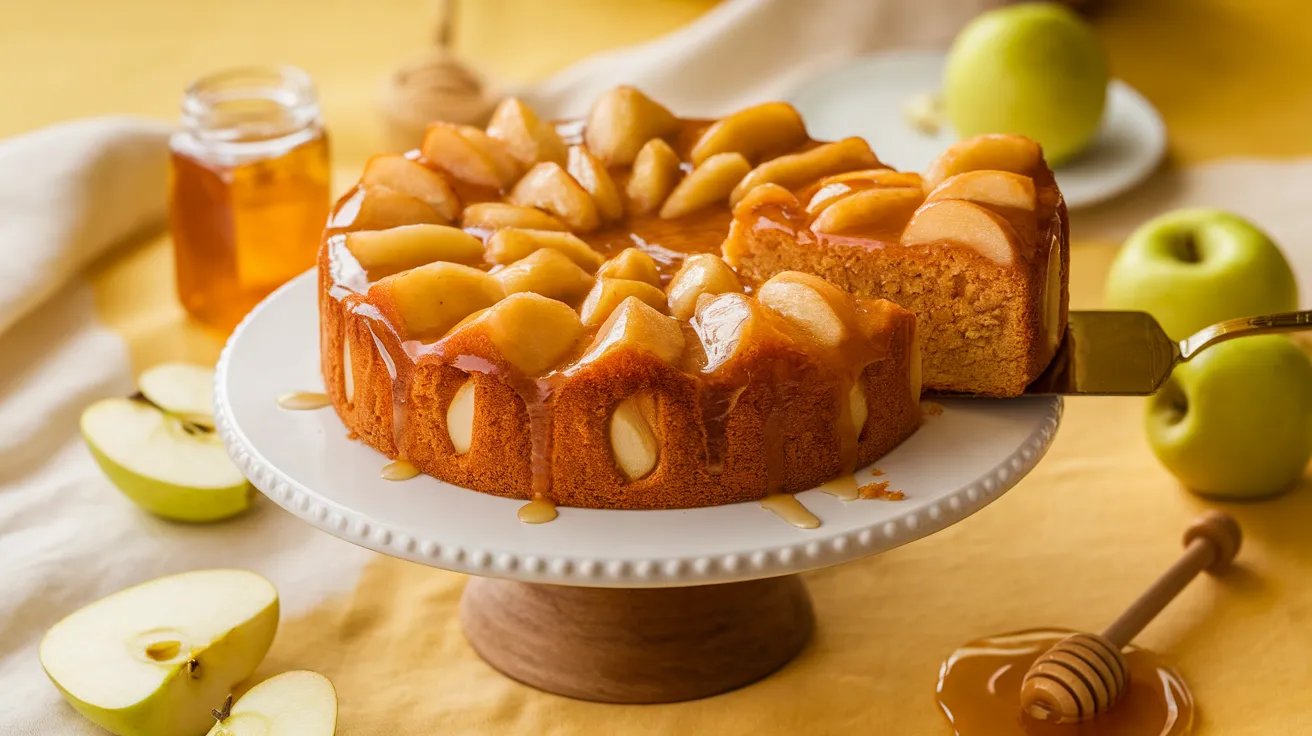
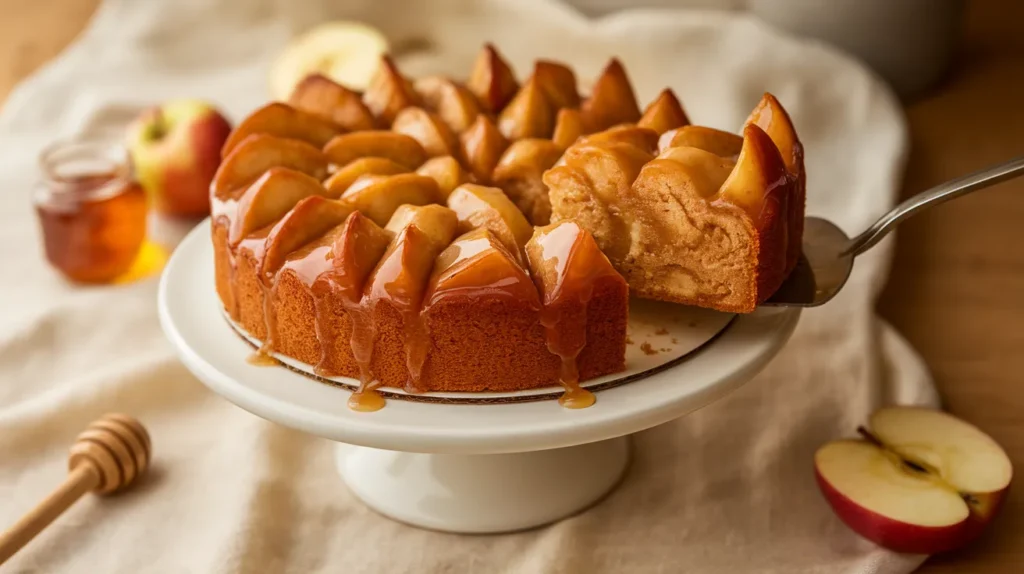
This apple honey cake combines tender fruit chunks with golden honey sweetness, creating a moist dessert that’s perfect for fall gatherings or cozy weekend baking. The natural pairing of tart apples and floral honey makes this cake irresistible, while the simple ingredients ensure even beginner bakers can achieve bakery-quality results.
SERVES: 4 | PREP: 20 MIN | COOK: 45 MIN | TOTAL: 65 MIN
Why This Apple Honey Cake Works
I’ve tested this recipe dozens of times in my own kitchen.
The honey keeps everything incredibly moist for days. The apples release just enough juice during baking to create pockets of fruity goodness throughout.
You don’t need fancy equipment or hard-to-find ingredients.
This apple honey cake uses pantry staples and comes together faster than running to the bakery. The result tastes like you spent all day baking.
Ingredients You’ll Need
Dry Ingredients
| Ingredient | Amount | Notes |
|---|---|---|
| All-purpose flour | 1½ cups | Spoon and level for accuracy |
| Baking powder | 1½ tsp | Check expiration date |
| Baking soda | ½ tsp | Fresh for best rise |
| Ground cinnamon | 1 tsp | Use quality spice |
| Salt | ¼ tsp | Balances sweetness |
Wet Ingredients
| Ingredient | Amount | Notes |
|---|---|---|
| Honey | ½ cup | Use any variety you love |
| Vegetable oil | ⅓ cup | Keeps cake tender |
| Eggs | 2 large | Room temperature works best |
| Vanilla extract | 1 tsp | Pure, not imitation |
| Greek yogurt | ¼ cup | Adds moisture and tang |
Fresh Ingredients
| Ingredient | Amount | Notes |
|---|---|---|
| Apples | 2 medium | Granny Smith or Honeycrisp |
| Lemon juice | 1 tbsp | Prevents browning |
Step-by-Step Instructions
Phase 1: Prep Work (5 minutes)
Step 1: Position your oven rack to the center slot and preheat to 350°F (175°C). This ensures even heat circulation around your cake. A centered rack prevents the top from browning too quickly while the inside stays raw.
Step 2: Grab an 8-inch round cake pan and coat it generously with butter or cooking spray. Dust with flour and tap out the excess. This double-layer protection guarantees your apple honey cake will release cleanly after baking.
Step 3: Line the bottom with parchment paper cut to fit perfectly. Trace the pan bottom on parchment, cut it out, and press it into the greased pan. This extra step prevents any sticking disasters.
Phase 2: Apple Preparation (5 minutes)
Step 4: Wash and peel your 2 apples completely. The peels can create tough bits in the finished cake, so remove them entirely using a vegetable peeler or paring knife.
Step 5: Cut each apple into quarters, remove the core completely, then dice into ½-inch cubes. Uniform pieces ensure even distribution and consistent texture throughout your cake.
Step 6: Toss the apple cubes immediately with 1 tablespoon lemon juice in a small bowl. This prevents oxidation (browning) and adds a bright flavor note that balances the honey’s sweetness. Set aside while you mix the batter.
Phase 3: Dry Ingredients (3 minutes)
Step 7: In a medium mixing bowl, whisk together 1½ cups flour, 1½ teaspoons baking powder, ½ teaspoon baking soda, 1 teaspoon cinnamon, and ¼ teaspoon salt. Whisking for 30 seconds distributes the leavening agents evenly, preventing pockets of bitter baking soda in your finished cake.
Step 8: Set this bowl aside. Don’t skip the whisking—lumpy flour mixtures create dense spots in baked goods.
Phase 4: Wet Ingredients (5 minutes)
Step 9: In a large mixing bowl, combine ½ cup honey and ⅓ cup vegetable oil. Whisk vigorously for 1 minute until they’re completely blended and slightly lighter in color. The oil helps the honey incorporate smoothly into the batter.
Step 10: Crack in 2 eggs one at a time, whisking thoroughly after each addition. Each egg should be fully incorporated before adding the next. This builds proper structure and creates a smooth, emulsified base for your apple honey cake.
Step 11: Add 1 teaspoon vanilla extract and ¼ cup Greek yogurt. Whisk until completely smooth with no yogurt streaks visible. The yogurt adds tanginess and keeps the crumb incredibly tender.
Phase 5: Combining Everything (3 minutes)
Step 12: Pour the dry ingredients into the wet ingredients all at once. Using a rubber spatula, fold gently using broad strokes from the bottom of the bowl up and over the top. Stop mixing as soon as you see no more dry flour streaks—about 15-20 strokes total.
Why this matters: Overmixing develops gluten, which makes cakes tough and chewy instead of tender. A few small lumps are perfectly fine.
Step 13: Drain any excess liquid from your apple cubes. Fold them gently into the batter using just 5-6 strokes. The apples should be evenly distributed but the batter shouldn’t be overworked.
Phase 6: Baking (45 minutes)
Step 14: Pour the batter into your prepared pan and smooth the top gently with a spatula. Tap the pan firmly on the counter twice to release any large air bubbles trapped in the batter.
Step 15: Slide the pan into your preheated oven on the center rack. Set a timer for 40 minutes. Don’t open the oven door before then—temperature fluctuations can cause the cake to sink in the middle.
Step 16: At the 40-minute mark, insert a toothpick or cake tester into the center. It should come out with just a few moist crumbs attached, not wet batter. If it’s still wet, bake for 5 more minutes and test again.
Visual cue: The top should be golden brown and spring back when lightly pressed. The edges will pull away slightly from the pan sides.
Phase 7: Cooling (30 minutes)
Step 17: Remove the pan from the oven and place it on a wire cooling rack. Let it cool in the pan for 15 minutes. This resting period allows the structure to set properly so the cake doesn’t crumble when removed.
Step 18: Run a butter knife around the edges to loosen any stuck spots. Place a plate over the pan, flip everything over, and gently lift off the pan. Peel away the parchment paper.
Step 19: Flip the cake right-side up onto your serving plate. Let it cool for another 15 minutes before slicing. Cutting too soon releases steam and makes the texture gummy.
Safety tip: The pan will be extremely hot. Use oven mitts for all handling during the first 20 minutes of cooling.
Chef’s Notes
Honey Variety: I prefer using clover or wildflower honey for this apple honey cake. Darker honeys like buckwheat can overpower the apple flavor, though they work beautifully if you love bold taste.
Apple Selection: Granny Smith apples provide tartness that contrasts perfectly with honey’s sweetness. Honeycrisp or Fuji apples make the cake sweeter and less tangy. Avoid Red Delicious—they turn mushy during baking.
Oil Substitution: You can replace vegetable oil with melted coconut oil or light olive oil. Butter makes the cake denser and less moist, so stick with liquid fats for the best texture in this apple honey cake.
Make-Ahead Trick: This cake actually tastes better the next day. The flavors meld together and the crumb becomes even more tender as the honey continues to work its magic.
Nutrition Information (Per Serving)
Calories: 385 | Protein: 6g | Carbohydrates: 58g | Fat: 15g | Fiber: 2g | Sugar: 32g
Delicious Variations to Try
Spiced Apple Honey Cake: Add ½ teaspoon ground ginger and ¼ teaspoon nutmeg to the dry ingredients. This creates a warming spice profile perfect for cold weather. If you love cinnamon-forward desserts, try our cinnamon applesauce bread for another cozy option.
Nutty Crunch Version: Fold in ½ cup chopped walnuts or pecans with the apples. Toast the nuts first in a dry skillet for 3-4 minutes to intensify their flavor and add extra crunch.
Maple Apple Cake: Replace half the honey with pure maple syrup for a deeper, more complex sweetness. The maple complements apples beautifully and creates an almost caramel-like undertone.
Apple Strudel Style: Mix 2 tablespoons brown sugar with ½ teaspoon cinnamon and sprinkle over the batter before baking. This creates a crispy, sweet crust. For more apple pastry inspiration, check out our apple strudel cake recipe.
Storage & Reheating Guide
Room Temperature: Keep the apple honey cake covered with plastic wrap or in an airtight container for up to 3 days. The honey acts as a natural preservative and keeps it moist.
Refrigeration: Wrap individual slices tightly and refrigerate for up to 1 week. The cake actually becomes more flavorful after 2-3 days as the apple and honey flavors intensify.
Freezing: Wrap the cooled cake tightly in plastic wrap, then aluminum foil. Freeze for up to 3 months. Thaw overnight in the refrigerator before serving.
Reheating: Microwave individual slices for 15-20 seconds to restore that fresh-baked warmth. The honey will soften and create an almost gooey texture that’s absolutely irresistible.
Troubleshooting Common Problems
Problem 1: Cake Sinks in the Middle
Your oven temperature is too high, causing the outside to set before the inside cooks through. Use an oven thermometer to verify accuracy. Also, opening the oven door too early releases heat and causes collapse. Wait the full 40 minutes before checking.
Problem 2: Dry, Crumbly Texture
You’ve either overbaked or overmixed the batter. Check your cake 5 minutes early next time—every oven runs differently. Also, measure flour by spooning it into the cup and leveling off, never scooping directly from the bag, which packs in too much flour.
Problem 3: Apples Sink to the Bottom
The batter is too thin. This happens when the yogurt has too much liquid or the apples weren’t drained properly. Pat your apple cubes completely dry before folding them in, and use thick Greek yogurt, not regular yogurt.
Problem 4: Cake Sticks to Pan
Your pan wasn’t greased thoroughly or the cake didn’t cool long enough. Next time, use both butter and flour, plus the parchment paper bottom. Let it cool the full 15 minutes before attempting to remove it.
Problem 5: Bitter Aftertaste
Your baking soda is old or you accidentally added too much. Check expiration dates on leavening agents—they lose potency over time. Always level off measuring spoons with a knife for accuracy.
Equipment Essentials
- 8-inch round cake pan (metal works better than glass)
- Mixing bowls (1 medium, 1 large)
- Whisk (for dry and wet ingredients)
- Rubber spatula (for gentle folding)
- Measuring cups and spoons (dry and liquid)
- Vegetable peeler (for apples)
- Wire cooling rack (prevents soggy bottom)
- Parchment paper (for easy release)
- Toothpick or cake tester (for doneness check)
Shopping List by Store Section
Baking Aisle:
- All-purpose flour
- Baking powder
- Baking soda
- Ground cinnamon
- Vanilla extract
Oil & Condiments:
- Vegetable oil
- Honey
Dairy Section:
- Eggs
- Greek yogurt
Produce:
- Apples (2 medium)
- Lemon (for juice)
Pantry:
- Salt
Success Secrets from the Test Kitchen
1. Room Temperature Matters: Take your eggs and yogurt out of the fridge 30 minutes before baking. Cold ingredients don’t emulsify properly, creating a dense, uneven crumb in your apple honey cake.
2. Don’t Skip the Lemon: That tablespoon of lemon juice does double duty—it prevents browning and cuts through the honey’s sweetness. Your cake will taste flat and one-dimensional without it.
3. Test Early: Start checking your cake at the 40-minute mark, not 45. Overbaking is the number one mistake with honey cakes because the honey makes them appear underdone even when they’re perfect.
4. Use Fresh Spices: Ground cinnamon loses potency after 6 months. Smell your spice—if it’s barely fragrant, replace it. Fresh cinnamon makes a huge difference in the final flavor of this apple honey cake.
5. Resist Cutting Too Soon: I know waiting is torture, but slicing into a hot cake releases all the steam and moisture. Give it the full cooling time for the best texture and easiest slicing.