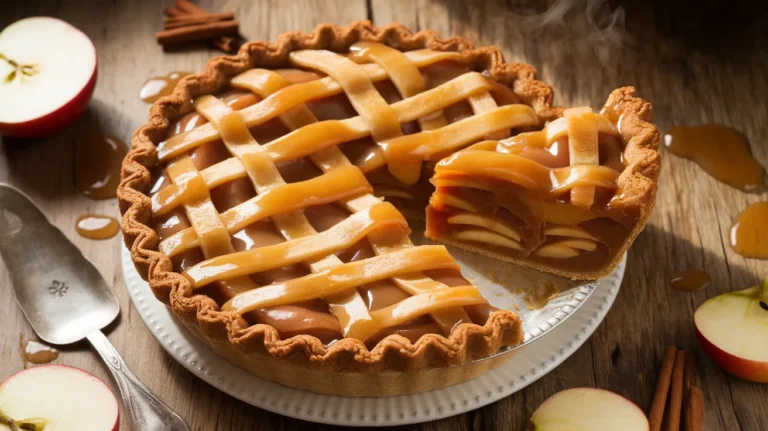
This apple strudel cake combines buttery layers of flaky pastry with cinnamon-spiced apples in a show-stopping dessert that’s easier than traditional strudel. Perfect for Sunday brunch or holiday gatherings, this apple strudel cake delivers bakery-quality results with simple ingredients you probably have on hand.
SERVES: 4 | PREP: 25 MIN | COOK: 45 MIN | TOTAL: 70 MIN
Why This Apple Strudel Cake Works
Traditional strudel requires paper-thin dough and expert stretching technique. This apple strudel cake gives you all those warm spiced flavors in a cake form that’s foolproof.
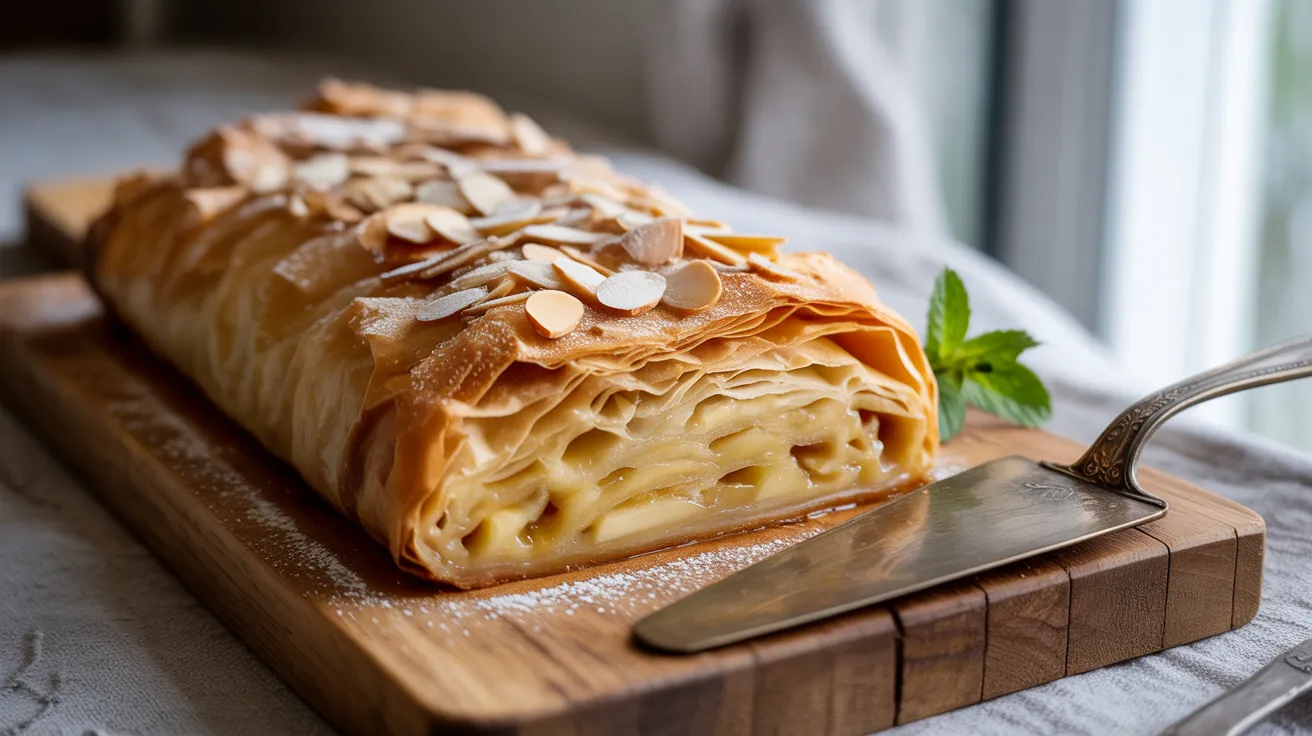
The magic happens when butter-soaked phyllo layers meet caramelized apples. You get crispy edges with a tender, custardy center.
It’s fancy enough for guests but simple enough for Tuesday night.
Ingredients
For the Apple Filling
| Ingredient | Amount |
|---|---|
| Granny Smith apples (peeled, cored, thinly sliced) | 3 medium |
| Granulated sugar | ¼ cup |
| Ground cinnamon | 2 tsp |
| Ground nutmeg | ¼ tsp |
| Fresh lemon juice | 1 tbsp |
| Golden raisins | ⅓ cup |
| Breadcrumbs (plain) | 3 tbsp |
For the Cake Layers
| Ingredient | Amount |
|---|---|
| Phyllo dough sheets (thawed) | 8 sheets |
| Unsalted butter (melted) | ½ cup (1 stick) |
| Powdered sugar | 2 tbsp |
| Vanilla extract | 1 tsp |
For the Topping
| Ingredient | Amount |
|---|---|
| Sliced almonds | ¼ cup |
| Powdered sugar (for dusting) | 2 tbsp |
Step-by-Step Instructions
Phase 1: Prep Work (10 minutes)
Step 1: Preheat your oven to 375°F (190°C). Position the rack in the center of your oven for even heat distribution.
Step 2: Grease an 8-inch square baking pan with butter, then line it with parchment paper, leaving 2-inch overhangs on two sides. This creates handles for easy removal later.
Step 3: Peel your apples using a vegetable peeler, moving in downward strokes. Core them, then slice into ⅛-inch thick pieces—thin enough to cook through but thick enough to hold their shape.
Step 4: In a large mixing bowl, toss apple slices with granulated sugar, cinnamon, nutmeg, and lemon juice. The acid in the lemon prevents browning and balances the sweetness. Let this mixture sit for 5 minutes to release some juice.
Step 5: Stir in golden raisins and breadcrumbs. The breadcrumbs absorb excess moisture during baking, preventing a soggy bottom—a trick borrowed from traditional Austrian strudel makers.
Phase 2: Building the Cake (15 minutes)
Step 6: Carefully unroll your phyllo dough and cover it immediately with a slightly damp kitchen towel. Phyllo dries out in seconds, becoming brittle and impossible to work with.
Step 7: In a small bowl, mix melted butter with vanilla extract. This adds an extra layer of flavor to every crispy bite.
Step 8: Place one phyllo sheet in your prepared pan, letting the edges hang over the sides. Brush the entire surface with the vanilla butter mixture using a pastry brush. Don’t skip any spots—the butter is what makes it crispy and golden.
Step 9: Repeat with 3 more phyllo sheets, buttering each layer generously. You’re building a crispy foundation for your apple strudel cake.
Step 10: Spread half of your apple mixture evenly over the phyllo base. Use a slotted spoon to leave behind excess liquid in the bowl.
Step 11: Layer 2 more buttered phyllo sheets over the apples, tucking them around the edges as best you can. It won’t look perfect—that’s fine.
Step 12: Add the remaining apple mixture, then top with your final 2 phyllo sheets, brushing the top layer extra generously with butter. Fold any overhanging edges inward to create a rustic border.
Phase 3: Baking (45 minutes)
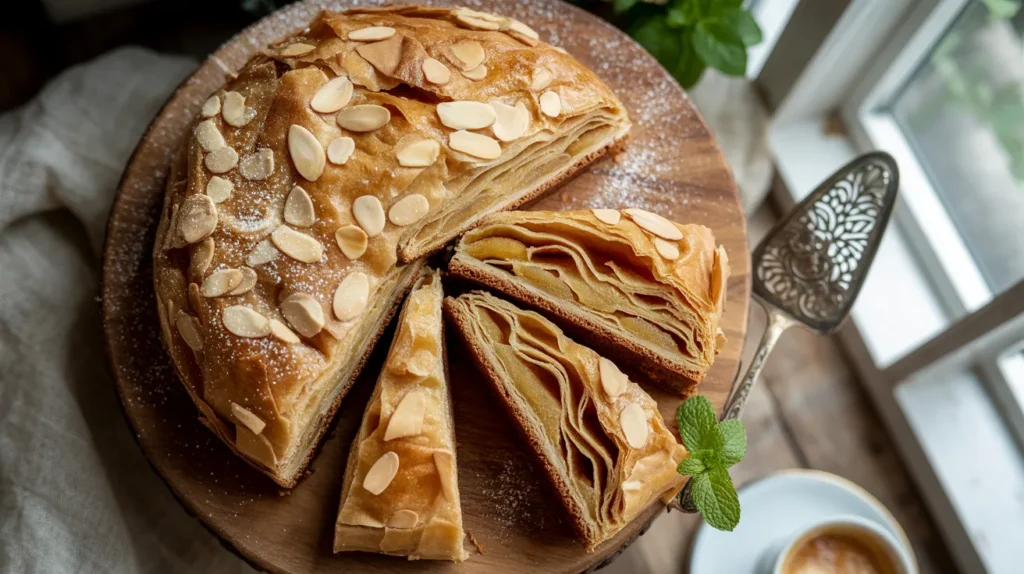
Step 13: Sprinkle sliced almonds over the top, pressing them gently into the butter so they stick.
Step 14: Place the pan in your preheated oven on the center rack. Bake for 40-45 minutes, rotating the pan halfway through for even browning.
Step 15: You’ll know it’s done when the phyllo turns deep golden brown and you hear a slight sizzle from the caramelizing apples. The edges should look crispy and the center should jiggle just slightly when you shake the pan.
Step 16: Remove from the oven and let cool in the pan for 15 minutes. This resting time lets the layers set up properly.
Phase 4: Finishing Touches (5 minutes)
Step 17: Use the parchment paper handles to lift the entire cake onto a cutting board. If you’re feeling fancy, like when making an apple honey cake, presentation matters.
Step 18: Dust generously with powdered sugar through a fine-mesh sieve for that professional bakery look.
Step 19: Slice into 4 generous squares using a sharp serrated knife in a gentle sawing motion to preserve those flaky layers.
Step 20: Serve warm or at room temperature. The flavors deepen as it sits, making leftovers even better.
Chef’s Notes
Phyllo handling is everything. Keep unused sheets covered while you work. Even 30 seconds of air exposure makes them crack like autumn leaves.
Apple variety matters. Granny Smith apples hold their shape during baking and provide tartness that balances the sweet phyllo. If you prefer sweeter results, try a mix of Granny Smith and Honeycrisp.
Don’t skimp on butter. Every layer needs proper coating for maximum crispiness. Under-buttered phyllo = leathery texture instead of shattering crunch.
Serve within 6 hours for peak crispiness. After that, moisture from the apples softens the phyllo layers. Still delicious, just less crackling-crispy. Similar to how you’d serve an apple and chocolate cake, timing affects texture significantly.
Nutrition Information (Per Serving)
- Calories: 385
- Protein: 4g
- Carbohydrates: 52g
- Fat: 19g
- Fiber: 4g
- Sugar: 28g
Creative Variations
Chocolate Chip Apple Strudel Cake
Sprinkle ⅓ cup mini chocolate chips between the apple layers. The chocolate melts into pockets of richness that complement the cinnamon beautifully.
Cranberry-Orange Twist
Replace raisins with dried cranberries and add 1 teaspoon orange zest to the apple mixture. The citrus brightens the whole dessert.
Nutty Caramel Version
Drizzle 3 tablespoons caramel sauce over the bottom phyllo layer before adding apples. Add ¼ cup chopped pecans to the filling.
Pear and Ginger Alternative
Substitute 2 apples with 2 ripe pears and add ½ teaspoon ground ginger to the spice mix. Pears create a softer, more delicate texture.
Storage & Reheating
Room Temperature: Cover loosely with foil and keep on the counter for up to 2 days. Don’t use airtight containers—they trap moisture and make phyllo soggy.
Refrigerator: Wrap individual squares in plastic wrap and refrigerate for up to 4 days. The phyllo loses some crispness but the flavor intensifies.
Freezing: Wrap the entire cooled cake tightly in plastic wrap, then aluminum foil. Freeze for up to 2 months. Thaw overnight in the refrigerator.
Reheating: Place squares on a baking sheet and warm at 350°F for 8-10 minutes. This revives the crispiness better than microwaving, which makes phyllo rubbery.
Pro tip: Never microwave phyllo pastries. The microwave creates steam that destroys the flaky texture you worked so hard to achieve.
Troubleshooting Common Problems
Problem: Soggy Bottom Layer
Solution: Make sure you’re using enough breadcrumbs—they’re essential moisture absorbers. Also, don’t let the apple mixture sit too long before using it, as it releases more juice over time. Use a slotted spoon when transferring apples to leave excess liquid behind.
Problem: Phyllo Tears While Working
Solution: Phyllo tears are normal and expected. Simply patch tears with small pieces from another sheet, brush with butter, and continue. The layers bond together during baking and tears become invisible.
Problem: Uneven Browning
Solution: Your oven has hot spots. Rotate the pan 180 degrees halfway through baking. If the top browns too quickly before the apples cook through, tent loosely with aluminum foil for the final 15 minutes.
Problem: Dry, Tough Texture
Solution: You didn’t use enough butter between layers. Each phyllo sheet needs complete coverage—about 1½ tablespoons per sheet. Also, make sure your oven isn’t running hot; use an oven thermometer to verify temperature accuracy.
Problem: Apples Still Crunchy After Baking
Solution: Your apple slices were too thick. They should be paper-thin, about ⅛-inch maximum. Also, tart apples like Granny Smith take longer to soften than sweet varieties. Next time, let the apple mixture macerate for 10 minutes instead of 5 before assembling.
Equipment Essentials
- 8-inch square baking pan (metal or glass)
- Pastry brush (silicone brushes work best)
- Sharp vegetable peeler
- Apple corer or paring knife
- Large mixing bowl
- Small microwave-safe bowl (for melting butter)
- Kitchen towels (slightly dampened for phyllo)
- Parchment paper
- Serrated knife (for clean slicing)
- Fine-mesh sieve (for dusting powdered sugar)
- Oven thermometer (recommended for accuracy)
Shopping List
Produce Section
- 3 Granny Smith apples
- 1 lemon (for juice)
Baking Aisle
- Phyllo dough (one 1-pound package)
- Granulated sugar
- Powdered sugar
- Ground cinnamon
- Ground nutmeg
- Plain breadcrumbs
- Vanilla extract
Dried Fruit & Nuts
- Golden raisins
- Sliced almonds
Dairy Section
- Unsalted butter (1 stick)
Success Secrets
1. Temperature matters more than you think. Cold phyllo straight from the fridge is brittle and cracks. Let it sit at room temperature for 1 hour before unwrapping. But once unwrapped, work quickly—room temperature phyllo dries out fast.
2. Slice apples consistently thin. Use a mandoline slicer set to ⅛-inch if you have one. Consistent thickness means even cooking. Thick pieces stay crunchy while thin pieces turn to mush.
3. The breadcrumb trick is non-negotiable. Traditional strudel makers toast breadcrumbs in butter first for extra flavor. Try it: toast your breadcrumbs in 1 tablespoon butter over medium heat for 2-3 minutes until golden before mixing with apples.
4. Butter temperature is crucial. Melted butter should be warm but not hot. Hot butter makes phyllo translucent and greasy. Warm butter (about 100°F) brushes on smoothly and creates flaky layers.
5. Cut with confidence using the right technique. Score the top layer lightly with a sharp knife before baking to mark your cutting lines. After baking, use a serrated knife in a gentle sawing motion—pressing down crushes those delicate layers you worked so hard to create.
Pro Chef’s Final Tip: This apple strudel cake tastes even better the next day when flavors have melded. Make it a day ahead for parties, then warm individual squares in a 350°F oven for 5 minutes before serving. Your guests will think you spent hours in the kitchen when you actually spent most of that time relaxing.