Prep Time: 20 minutes | Cook Time: 15 minutes | Total Time: 35 minutes | Serves: 4
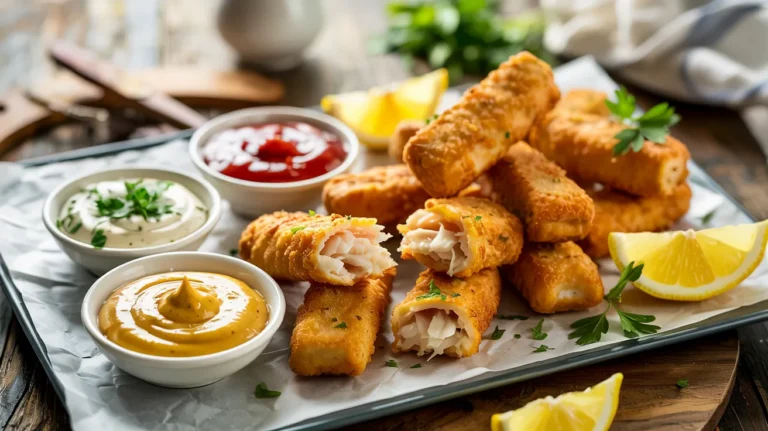
- Golden-crisp exterior with perfectly flaky fish inside – no soggy batter!
- Foolproof technique works even if you’ve never fried fish before
- Ready in just 35 minutes from start to finish
- Customizable with different fish varieties and beer types
Why This Beer Battered Fried Fish Recipe Works
Ever tried making fried fish at home only to end up with a soggy, greasy mess? We’ve been there too.
This beer battered fried fish recipe solves that problem with a simple technique that gives you restaurant-quality results right in your kitchen. The carbonation in beer creates tiny air bubbles that make the batter incredibly light and crispy. If you enjoy fish dishes, you’ll find this recipe a perfect addition to your repertoire, just like our fish sticks but with a more gourmet twist.
By using the right temperature and technique, you’ll get perfectly golden fish every single time. Let’s get cooking!
Nutrition Information
| Nutrient | Amount per Serving |
|---|---|
| Calories | 425 |
| Protein | 28g |
| Carbohydrates | 34g |
| Fat | 18g |
| Fiber | 1g |
| Sodium | 580mg |
Based on cod as the fish choice with standard measurements
What You’ll Need
Ingredients
| Ingredient | Measurement | Notes |
|---|---|---|
| White fish fillets (cod, haddock, or pollock) | 1½ pounds | Cut into 3-inch pieces |
| All-purpose flour | 1½ cups + 1/2 cup | Divided (batter and dredging) |
| Baking powder | 1 tablespoon | For extra crispiness |
| Salt | 1 teaspoon | – |
| Black pepper | ½ teaspoon | – |
| Garlic powder | ½ teaspoon | Optional, but recommended |
| Paprika | ½ teaspoon | Adds nice color |
| Light beer | 12 oz (1½ cups) | Cold! |
| Vegetable oil | 2-3 quarts | For frying |
| Lemon wedges | 1 lemon | For serving |
| Tartar sauce | ½ cup | For serving |
Kitchen Equipment
| Tool | Purpose |
|---|---|
| Deep heavy-bottomed pot or Dutch oven | For frying |
| Candy/deep-fry thermometer | For monitoring oil temperature |
| Slotted spoon or spider | For removing fish from oil |
| Paper towel-lined baking sheet | For draining |
| 2 medium bowls | For batter and dredging |
| Whisk | For mixing batter |
| Tongs | For handling fish |
| Cooling rack (optional) | For extra crispiness |
Possible Substitutions
- Fish: Any firm white fish works well – try halibut, tilapia, or even yellow croaker (check out our braised yellow croaker fish with garlic for another delicious way to prepare this versatile fish)
- Beer: Non-alcoholic beer works perfectly, or substitute seltzer water
- Flour: For gluten-free, use a 1:1 gluten-free flour blend
- Oil: Any neutral oil with a high smoke point (canola, peanut, or sunflower)
Step-by-Step Instructions for Beginners
Preparation Phase
- Take fish out of refrigerator:
- Remove fish from the refrigerator 15 minutes before cooking
- This helps the fish cook more evenly
- Cold fish straight from the fridge can lower your oil temperature too much
- Cut the fish into portions:
- Place fish on a clean cutting board
- Using a sharp knife, cut into roughly 3-inch pieces (about the size of a deck of cards)
- Try to make pieces uniform in thickness so they cook at the same rate
- Don’t worry if they aren’t perfectly shaped
- Pat fish dry thoroughly:
- Lay out several paper towels on your counter
- Place fish pieces on the paper towels
- Press additional paper towels on top to absorb moisture
- Repeat with fresh paper towels if needed
- Fish must be very dry for the batter to stick properly
- Set up your draining station:
- Option 1: Place a wire cooling rack over a baking sheet
- Option 2: Line a baking sheet with 3-4 layers of paper towels
- Position this close to your stove, but not too close (safety first!)
- This is where your fried fish will land after cooking
- Prepare your oil:
- Select a deep, heavy pot with high sides (a Dutch oven is perfect)
- Pour oil to a depth of 3 inches
- Important safety rule: Never fill more than halfway up the pot
- Place pot on stove over medium heat
- Clip candy/fry thermometer to the side of pot (don’t let it touch the bottom)
- Begin heating to 350°F (this will take about 5-10 minutes)
- Set up dredging station:
- While oil heats, place ½ cup flour in a shallow dish
- Add a pinch of salt and pepper to the flour
- Mix with a fork until combined
- Position this dish at the start of your assembly line
- Prepare a safe landing spot for raw battered fish:
- Place a plate lined with parchment paper near your batter bowl
- This is where the battered fish will wait briefly before frying
- Don’t stack pieces on top of each other
Making the Batter
- Combine dry batter ingredients:
- In a medium-sized bowl, add the remaining 1½ cups flour
- Add 1 tablespoon baking powder
- Add 1 teaspoon salt
- Add ½ teaspoon black pepper
- Add ½ teaspoon garlic powder
- Add ½ teaspoon paprika
- Whisk everything together until well combined
- Make sure there are no clumps of baking powder
- Add the beer properly:
- Open your cold beer just before using
- Cold beer makes a crisper batter than room temperature
- Pour beer into dry ingredients slowly while whisking continuously
- Stop occasionally to break up any large clumps
- Whisk just until combined – small lumps are actually good!
- Over-mixing can make your batter dense instead of light
- Check batter consistency:
- Dip a spoon in the batter and lift it
- Batter should coat the back of the spoon but run off smoothly
- Too thick? Add 1 tablespoon more beer at a time
- Too thin? Add 1 tablespoon more flour at a time
- The ideal consistency is similar to pancake batter
- Rest the batter:
- Set the bowl aside to rest for 5 minutes
- This activates the baking powder for maximum crispiness
- Use this time to check your oil temperature
Frying Process (The Main Event)
- Check your oil temperature:
- Oil should be at 350°F before you begin frying
- Too cool? Turn up heat slightly and wait longer
- Too hot? Turn down heat slightly and wait for it to cool
- Maintaining proper temperature is the key to success!
- Tip: Test a drop of batter in the oil – it should sizzle immediately and float
- Prepare for safe frying:
- Keep a lid nearby that fits your pot (in case of fire)
- Have your slotted spoon or spider ready
- Make sure children and pets are away from the cooking area
- Have all your equipment within arm’s reach
- Never walk away from hot oil
- Dredge the fish in flour:
- Pick up one piece of fish with dry hands
- Place it in the seasoned flour
- Flip to coat all sides
- Gently shake off any excess flour
- The flour creates a “glue” for the batter to stick to
- Coat fish with batter:
- Transfer floured fish to your batter bowl
- Use your other hand (keep a “wet hand” and a “dry hand”)
- Spoon batter over the top if needed for full coverage
- Lift piece out, letting excess batter drip off for 2-3 seconds
- Don’t wipe or scrape batter off – let gravity do the work
- Begin frying – first batch:
- Make sure oil is still at 350°F
- Hold battered fish just above the oil surface
- Gently lower piece into hot oil, sliding it away from you
- If it sticks to the bottom, don’t force it – it will release when cooked
- Add 2-3 more pieces, leaving plenty of space between them
- Never crowd the pot! This lowers temperature and causes soggy fish
- Monitor cooking process:
- Set a timer for 3 minutes
- Watch for the batter to set and begin turning golden
- After about 1-2 minutes, fish should float to the surface
- Use your slotted spoon to gently flip each piece
- If oil starts smoking or batter browns too quickly, lower heat
- If batter stays pale, raise heat slightly
- Check for doneness:
- Fish should be golden brown all over
- Total cooking time is typically 3-4 minutes
- For thick pieces, you can check internal temperature with a thermometer
- Should reach 145°F at the thickest part
- Or, check that fish flakes easily with a fork by making a small break in one piece
- Remove and drain properly:
- Use slotted spoon or spider to remove fish one piece at a time
- Hold above oil briefly to let excess drip off
- Place on prepared rack or paper towels
- Don’t stack pieces! They’ll steam each other and get soggy
- Sprinkle with a pinch of salt while still hot (optional)
- Continue with remaining batches:
- Check oil temperature between batches – it must return to 350°F
- Repeat the process with remaining fish pieces
- Remember to work in small batches (3-4 pieces at a time)
- Keep finished pieces warm in a 200°F oven if needed
- Give the oil time to recover between batches
- Rest before serving:
- Let fried fish rest 1-2 minutes after cooking
- This sets the crust and makes it even crispier
- During this time, prepare your serving plates
- Cut lemon into wedges
- Portion out tartar sauce into small serving bowls
Serving
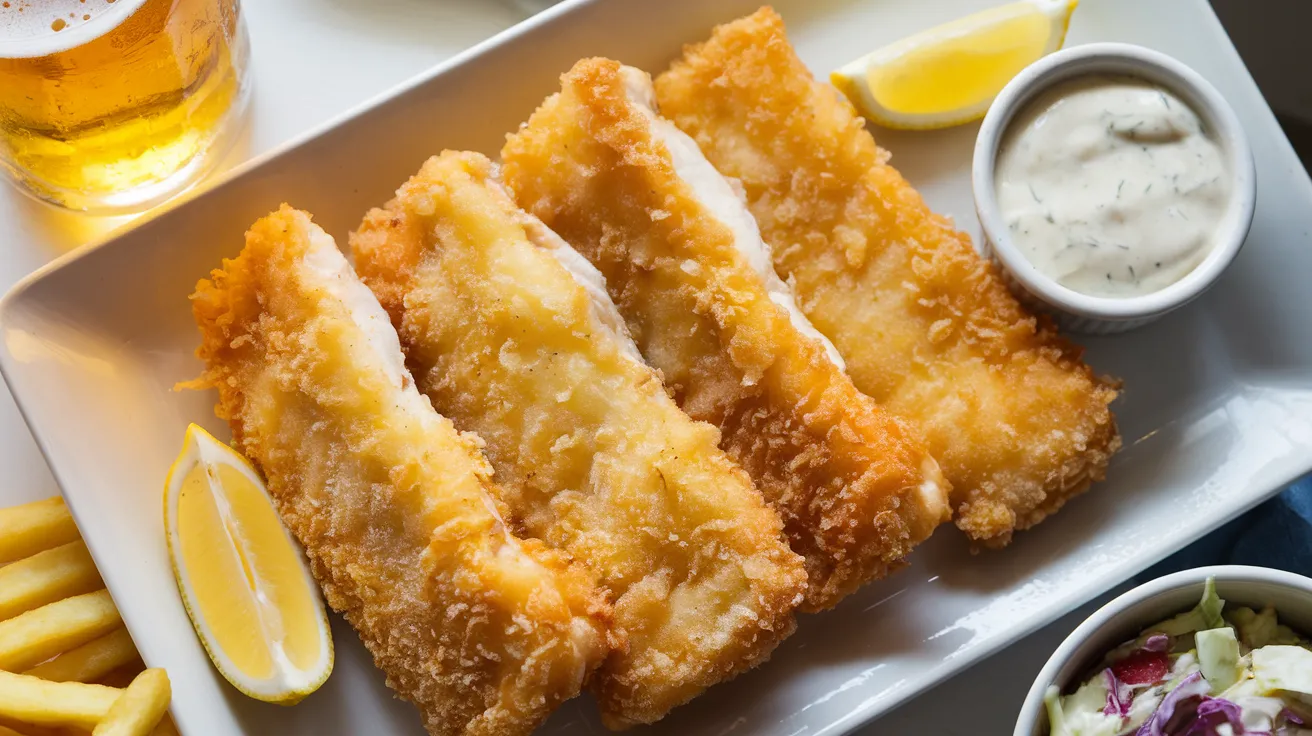
- Plate your masterpiece:
- Place 3-4 pieces of fish on each plate
- Add lemon wedges on the side
- Include a small dish of tartar sauce
- Serve immediately while hot and crispy
- Congratulate yourself on making perfect beer battered fish!

Troubleshooting
Problem: Batter Falling Off
Solution: Make sure fish is completely dry before dredging in flour. The flour-dredge step is crucial – don’t skip it! Also check that your oil is hot enough.
Problem: Greasy Fish
Solution: Your oil temperature likely dropped too low. Maintain a steady 350°F throughout cooking, and don’t overcrowd the pot.
Problem: Batter Too Thick or Thin
Solution: Adjust consistency with small amounts of beer (to thin) or flour (to thicken). It should coat the back of a spoon but drip off easily.
Problem: Fish Not Cooking Through
Solution: Cut fish pieces smaller or slightly lower oil temperature to 340°F and cook a bit longer.
Problem: Oil Smoking
Solution: Your oil is too hot! Remove from heat immediately, let cool slightly, then return to heat at a lower temperature setting.
Problem: Batter Too Dark But Fish Not Done
Solution: Your oil is too hot. Lower temperature to 335-340°F and make your fish pieces thinner for the next batch.
Variations & Substitutions
Flavor Boosters
- Add 1 tablespoon of Old Bay seasoning to the batter
- Mix in 2 tablespoons of chopped fresh herbs (dill, parsley)
- Substitute half the flour with cornstarch for extra crispiness
Diet-Specific Versions
- Gluten-Free: Use gluten-free flour blend and gluten-free beer or seltzer
- Dairy-Free: This recipe is naturally dairy-free
- Low-Carb: Try crushed pork rinds instead of flour (though this won’t be a true beer batter)
Fish Taco Variation
Transform this into fish tacos by:
- Cutting fish into smaller strips (about 1-inch wide)
- Adding 1 teaspoon of cumin to the batter
- Serving in warm corn tortillas with slaw and lime crema
Storage & Reheating
Storage
- Refrigerator: Store leftover fried fish in an airtight container for up to 2 days
- Freezer: Not recommended as texture suffers significantly
Reheating for Best Results
- Oven method (best):
- Preheat oven to 350°F
- Place fish on a wire rack over a baking sheet (important for air circulation)
- Heat for 10-12 minutes until crispy and heated through
- Check halfway through and flip if needed
- Air fryer method:
- Preheat air fryer to 350°F
- Place fish in a single layer (don’t stack!)
- Cook for 3-4 minutes until crisp and hot
- No need to add extra oil
- Avoid microwave: This will make your fish soggy and ruin the texture.
Safety Notes & Tips
Oil Safety
- Never fill your pot more than halfway with oil
- Keep a lid nearby to cover pot in case of fire
- Never leave hot oil unattended
- Let oil cool completely before discarding
- Never pour oil down the drain – transfer to a container for disposal or recycling
Fish Selection Tips
- Choose fresh fish that smells clean, not “fishy”
- Fresh fish should have clear, not cloudy eyes
- Look for firm flesh that springs back when touched
- Frozen fish works well too – just thaw completely in refrigerator overnight and pat very dry
Pro Tips
- Temperature is key: Use a thermometer and maintain 350°F
- Work in batches: Don’t overcrowd the pot
- Serve immediately: Fried fish is at its best right after cooking
- Oil reuse: Strain cooled oil through a fine-mesh strainer lined with cheesecloth for future use (can be reused 2-3 times)
- Fish prep: Remove any pin bones with clean tweezers before cooking
This crispy beer battered fish pairs perfectly with homemade french fries, coleslaw, or a simple green salad. The light, crispy coating and tender fish inside make this a crowd-pleasing meal any day of the week!