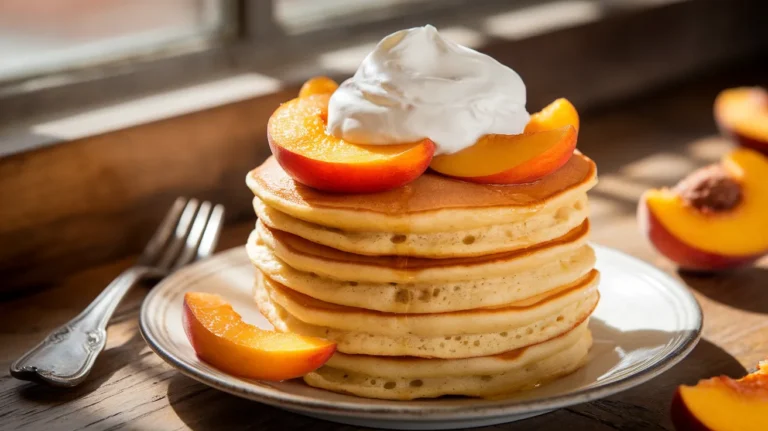
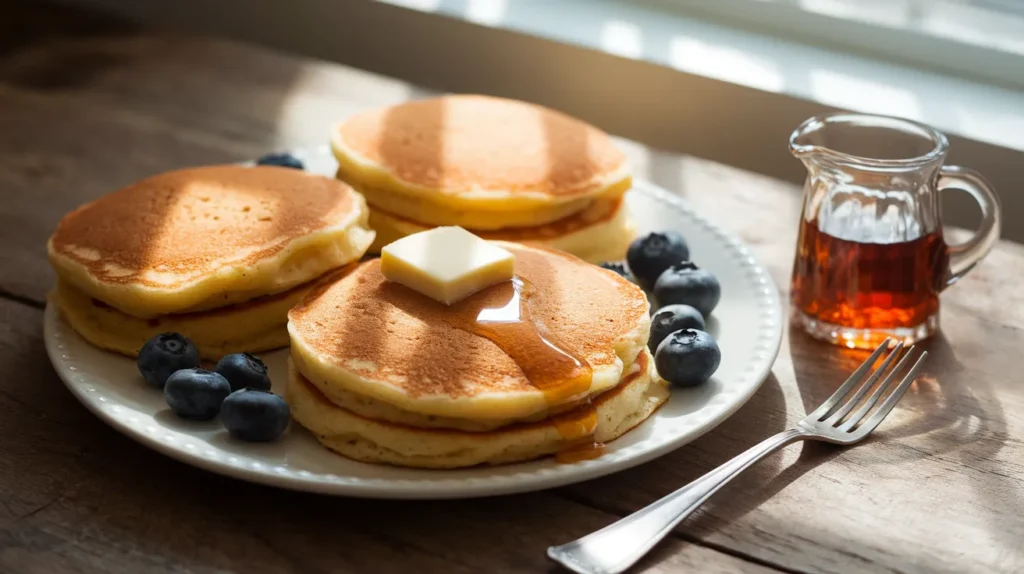
Nothing beats the comfort of golden, fluffy pancakes on a weekend morning, and these Bisquick pancakes deliver that perfect diner-style taste right from your own kitchen. Using the beloved pancake mix that’s been a breakfast staple for generations, this foolproof recipe creates tender, light pancakes that practically melt in your mouth – no measuring flour or worrying about lumpy batter required.
SERVES: 4 | PREP: 5 MIN | COOK: 10 MIN | TOTAL: 15 MIN
Ingredients You’ll Need
For the Pancake Batter:
| Ingredient | Amount | Notes |
|---|---|---|
| Bisquick Original Pancake Mix | 2 cups | Don’t substitute with other brands |
| Large eggs | 2 | Room temperature works best |
| Whole milk | 1 cup | 2% milk also works well |
| Vegetable oil | 2 tablespoons | Or melted butter for richer flavor |
| Pure vanilla extract | 1 teaspoon | Skip imitation – use real vanilla |
For Cooking & Serving:
- Butter or cooking spray for the pan
- Pure maple syrup
- Fresh berries (optional)
- Powdered sugar for dusting
Step-by-Step Instructions
Phase 1: Prepare Your Workspace (2 minutes)
Step 1: Heat your griddle or large non-stick skillet over medium heat (about 350°F if using an electric griddle). Why this matters: Getting the right temperature from the start prevents uneven cooking and ensures that perfect golden color.
Step 2: Gather all ingredients on your counter and let eggs come to room temperature if they’ve been refrigerated. Pro tip: Room temperature eggs blend more easily and create fluffier pancakes.
Phase 2: Mix the Perfect Batter (3 minutes)
Step 3: In a large mixing bowl, measure exactly 2 cups of Bisquick pancake mix. Important: Use the scoop-and-level method – don’t pack the mix down as this can make pancakes dense.
Step 4: Create a well (small crater) in the center of the dry mix. This prevents lumpy batter and ensures even mixing.
Step 5: In a separate bowl, whisk together the eggs, milk, vegetable oil, and vanilla extract until completely combined. Visual cue: The mixture should be smooth and slightly frothy on top.
Step 6: Pour the wet ingredients into the well you created in the Bisquick mix. Critical step: Using a wooden spoon or whisk, stir just until ingredients are combined – about 15-20 gentle stirs maximum.
Step 7: Stop mixing immediately when you can no longer see dry flour, even if small lumps remain. Why this works: Overmixing develops gluten, creating tough, chewy pancakes instead of fluffy ones.
Phase 3: Test and Cook (8 minutes)
Step 8: Test your griddle temperature by sprinkling a few drops of water on the surface. Perfect temperature indicator: Water should sizzle and evaporate within 2-3 seconds.
Step 9: Lightly grease the griddle with butter or cooking spray. Pro technique: Use a paper towel to spread butter evenly, leaving just a thin coating.
Step 10: Pour batter using a 1/4 cup measuring cup for consistent pancake sizes. Spacing tip: Leave about 2 inches between pancakes to allow for spreading.
Step 11: Watch for the bubble test – when bubbles form on the surface and the edges look slightly set (about 2-3 minutes), it’s time to flip. Visual cue: The bottom should be golden brown when you peek with a spatula.
Step 12: Flip pancakes in one confident motion and cook for another 1-2 minutes until the second side is golden brown. Safety note: Never press down on pancakes with your spatula – this squeezes out air and makes them dense.
Phase 4: Serve Immediately (2 minutes)
Step 13: Transfer cooked Bisquick pancakes immediately to warmed plates or a 200°F oven to keep warm while finishing the batch.
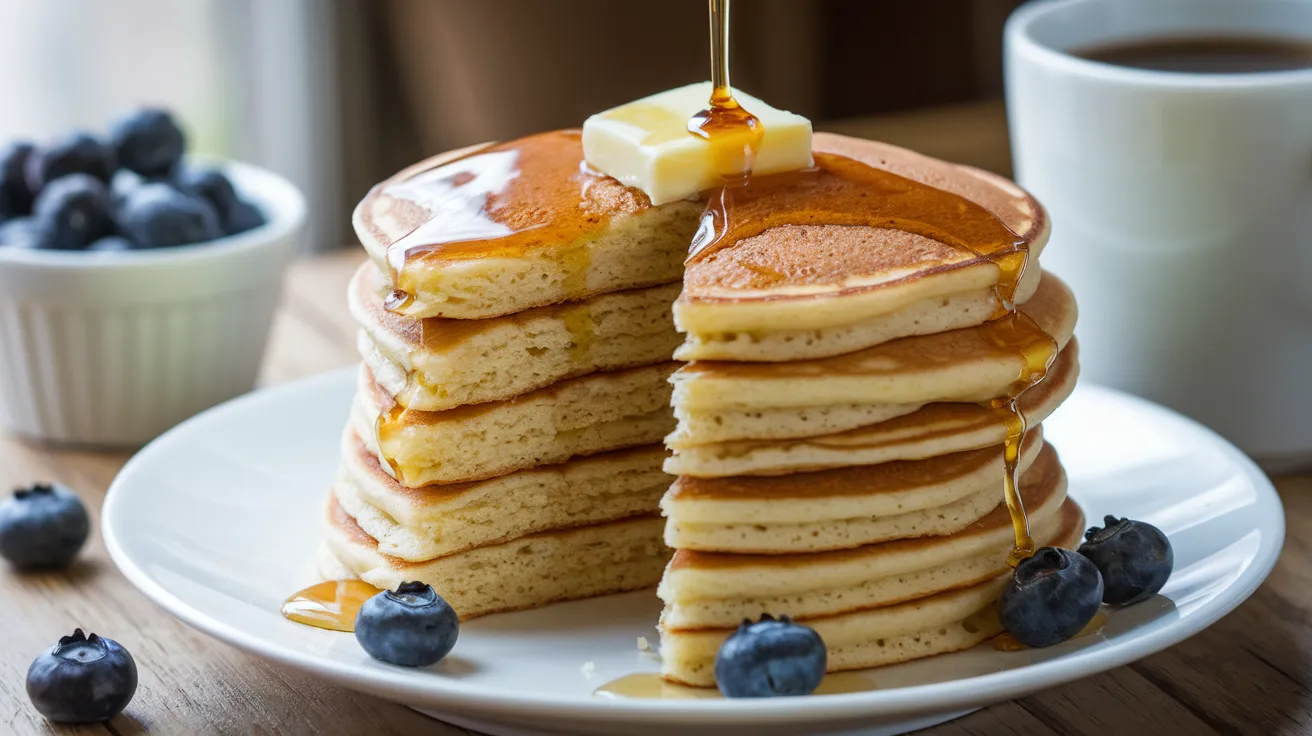
Step 14: Serve immediately with butter, maple syrup, and your favorite toppings while they’re still steaming hot.
Chef’s Notes
Consistency Secret: The key to perfect Bisquick pancakes lies in minimal mixing – lumpy batter actually creates fluffier results than smooth batter.
Temperature Control: Medium heat is crucial; too hot and you’ll get burnt outsides with raw centers, too low and they’ll be pale and dense.
Timing Perfection: Fresh pancakes taste dramatically better than reheated ones, so plan to serve immediately after cooking.
Flavor Enhancement: Adding vanilla extract elevates these pancakes from good to restaurant-quality without any extra effort.
Nutrition Information (Per Serving)
- Calories: 285
- Protein: 9g
- Carbohydrates: 42g
- Fat: 9g
- Fiber: 2g
- Sugar: 8g
Creative Variations
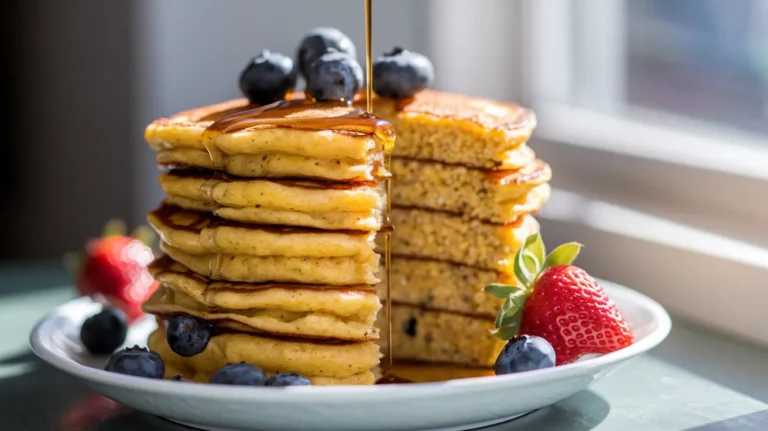
Blueberry Burst Pancakes: Gently fold 3/4 cup fresh blueberries into the batter just before cooking. The berries will burst during cooking, creating pockets of sweet flavor.
Chocolate Chip Delight: Add 1/2 cup mini chocolate chips to the batter for an indulgent breakfast treat that kids absolutely love.
Cinnamon Spice: Mix 1 teaspoon ground cinnamon and 1/4 teaspoon nutmeg into the dry Bisquick mix for warm, cozy flavors. For more creative pancake ideas, check out these delicious squash peanut butter pancakes that offer a unique twist on traditional breakfast favorites.
Lemon Ricotta Style: Add 1/2 cup ricotta cheese and 2 tablespoons fresh lemon juice to create luxuriously creamy pancakes with bright citrus notes. If you’re interested in plant-based alternatives, these vegan cornmeal pancakes provide excellent dairy-free options.
Storage & Reheating Guide
Refrigerator Storage: Cool completely and store in an airtight container for up to 3 days. Place parchment paper between layers to prevent sticking.
Freezer Storage: Wrap individual pancakes in plastic wrap and freeze in a freezer bag for up to 2 months. Label with date for best quality tracking.
Reheating Methods:
- Toaster: Best method – pop frozen pancakes directly into toaster for 2-3 minutes
- Microwave: 30-45 seconds per pancake, though texture won’t be as crispy
- Oven: 350°F for 5-7 minutes on a baking sheet
Troubleshooting Common Problems
Problem 1: Dense, Heavy Pancakes Solution: You overmixed the batter. Next time, stir just until combined – lumps are actually good for fluffy texture.
Problem 2: Pancakes Spreading Too Thin Solution: Your batter is too liquid. Add 2-3 tablespoons more Bisquick mix to thicken it up.
Problem 3: Burnt Outside, Raw Inside Solution: Heat is too high. Reduce to medium-low and cook longer on each side for even heating.
Problem 4: Pancakes Sticking to Pan Solution: Your pan isn’t hot enough or needs more grease. Wait for proper temperature and add a thin layer of butter.
Problem 5: Pale, Unappetizing Color Solution: Increase heat slightly and ensure you’re using fresh Bisquick mix – old mix can affect browning.
Equipment Essentials
Must-Have Tools:
- Large mixing bowl (at least 3-quart capacity)
- Wire whisk or wooden spoon
- 1/4 cup measuring cup for portioning
- Large non-stick skillet or electric griddle
- Wide, thin spatula for easy flipping
Nice-to-Have Additions:
- Electric griddle for cooking multiple pancakes
- Squeeze bottle for perfect round pancakes
- Kitchen scale for precise measurements
Shopping List by Store Section
Baking Aisle:
- Bisquick Original Pancake Mix (20 oz box)
- Pure vanilla extract
Dairy Section:
- Large eggs (dozen)
- Whole milk (half-gallon)
- Butter
Condiments/Syrup Aisle:
- Pure maple syrup
- Vegetable oil
Produce Section (Optional):
- Fresh berries for topping
Success Secrets from the Pros
- Temperature Test Every Time: Always test your griddle temperature with water drops – consistent heat creates consistent results.
- Don’t Skip the Rest: Let your batter sit for 2-3 minutes after mixing to fully hydrate the Bisquick mix for maximum fluffiness.
- First Pancake Rule: The first pancake is usually a test – use it to adjust temperature and timing for perfect subsequent batches.
- Measure Accurately: Use proper measuring techniques – too much liquid creates thin, crepe-like results while too little makes thick, dense pancakes.
- Serve Immediately: Bisquick pancakes taste best within 5 minutes of cooking – the texture and temperature are at their absolute peak.