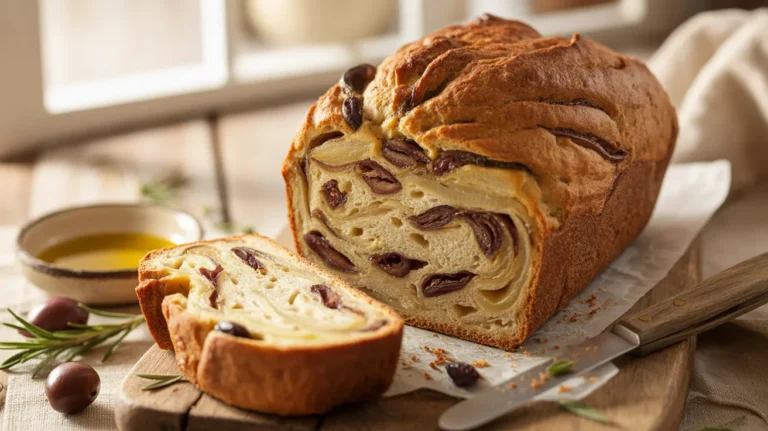
Never waste stale bread again with this simple homemade bread crumbs recipe that’s perfect for coating, topping, or binding your favorite dishes.
Key Takeaways:
- Transform any type of bread into fresh bread crumbs in under 30 minutes
- Store homemade bread crumbs for up to 3 months in an airtight container
- Customize with your favorite seasonings for Italian-style or other flavored variations
- Save money and reduce food waste by using leftover bread
Why Make Your Own Bread Crumbs?
Fresh homemade bread crumbs taste better than store-bought ones and help prevent food waste. Whether you need them for meatloaf, crispy toppings, or breaded dishes, this recipe shows you how to make perfect bread crumbs every time.
Equipment Needed
- Food processor or blender
- Baking sheet
- Parchment paper
- Airtight storage container
- Measuring spoons
- Mixing bowl
- Spatula or wooden spoon
- Clean kitchen towel
Ingredients
Base Recipe (4 Servings):
- 8 slices stale bread (about 8 ounces)
- 1/4 teaspoon salt
Optional Seasonings:
- 1 teaspoon Italian herbs
- 1/2 teaspoon garlic powder
- 1/4 teaspoon black pepper
Time Requirements
- Prep Time: 5 minutes
- Drying Time: 20 minutes
- Total Time: 25 minutes
Step-by-Step Instructions
Before You Begin
- Gather Your Materials
- Place all equipment on a clean counter
- Measure your seasonings into small bowls
- Have a clean kitchen towel ready for any spills
- Check Your Bread
- Look for any signs of mold
- Remove any extremely hard or burnt edges
- Count out exactly 8 slices
Preparation Phase (5 minutes)
- Prepare Your Oven
- Move the oven rack to the middle position
- Preheat to exactly 250°F (120°C)
- Wait for the oven to fully preheat (usually 10-15 minutes)
- Prepare Your Baking Sheet
- Take out a rimmed baking sheet
- Cut parchment paper to fit the sheet
- Place parchment paper on sheet, making sure it lies flat
- Press down any curled edges
- Prepare Your Bread
- For stale bread:
- Tear into roughly 1-inch pieces
- Place pieces in a bowl as you tear
- For fresh bread:
- Use a serrated knife to cut into 1-inch cubes
- Cut away from your body for safety
- You should have about 4-5 cups of bread pieces
Processing Phase (10 minutes)
- Set Up Food Processor
- Attach the blade securely
- Make sure the bowl is locked in place
- Check that the lid fits tightly
- Add Bread to Processor
- Fill processor only halfway (about 2 cups at a time)
- Don’t compress the bread pieces
- Leave room for pieces to move around
- Process the Bread
- Start with 3-second pulses
- Watch through the lid to monitor progress
- Stop every 4-5 pulses to check texture
- Scrape down sides with spatula if needed
- Continue until crumbs are rice-sized
- Transfer processed crumbs to mixing bowl
- Repeat with remaining bread
Drying Phase (20 minutes)
- Spread Crumbs on Baking Sheet
- Use a spatula to spread evenly
- Create a layer no thicker than 1/4 inch
- Break up any clumps with your fingers
- Leave no thick spots or piles
- Bake the Crumbs
- Place sheet in preheated oven
- Set timer for 10 minutes
- After timer rings, remove carefully
- Stir crumbs gently with spatula
- Spread again into even layer
- Return to oven for 8-10 more minutes
- Check for Doneness
- Crumbs should feel dry to touch
- Color should be light golden
- They should crumble easily
- If still moist, bake 2-3 minutes more
Final Steps (5 minutes)
- Season the Crumbs
- Remove from oven
- Let cool for 2-3 minutes
- Add measured salt and seasonings
- Mix thoroughly with spatula
- Taste and adjust seasonings if needed
- Cool Completely
- Spread crumbs out on sheet
- Let sit for 15-20 minutes
- They should be room temperature
- Stir occasionally to help cooling
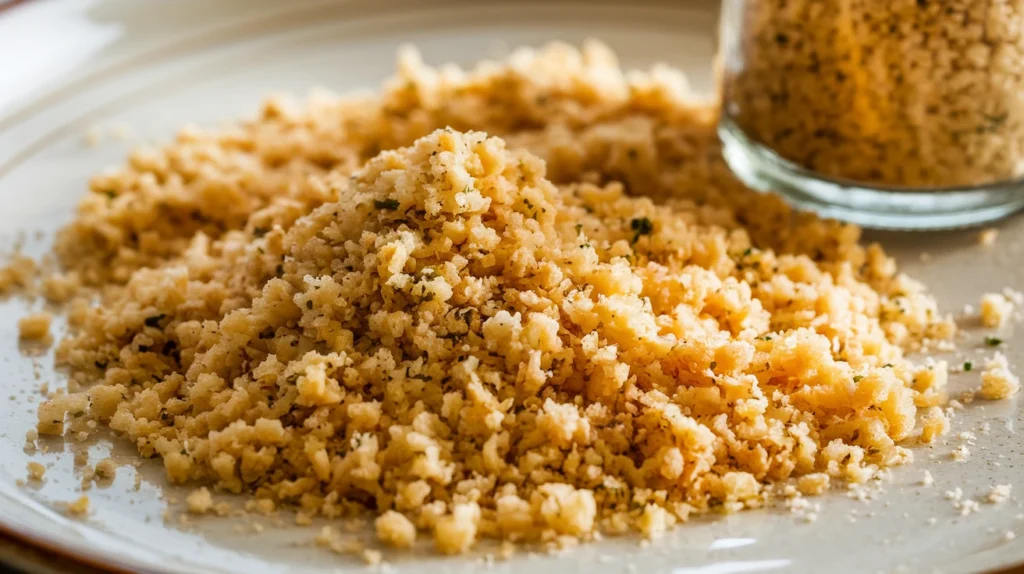
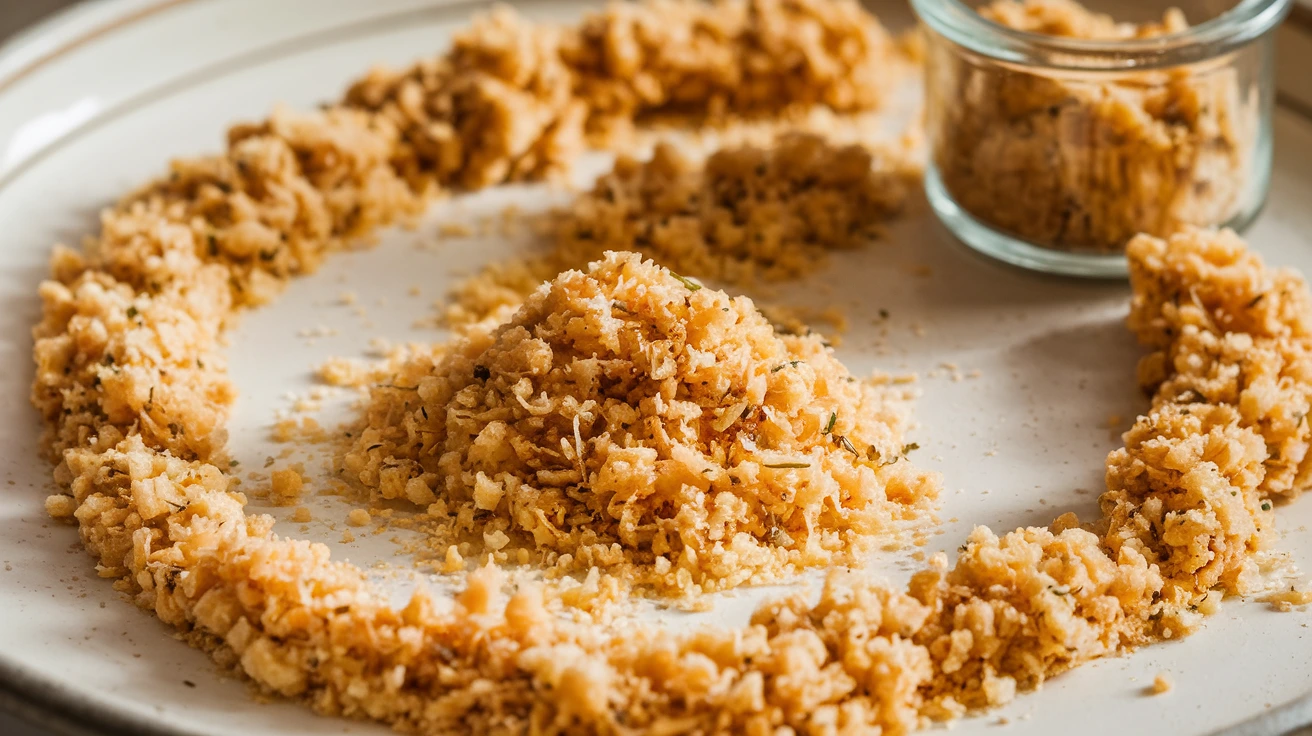
- Check Final Texture
- Crumbs should be:
- Completely dry
- Easy to separate
- Light and crispy
- Even in color
Troubleshooting Tips
- Crumbs too coarse? Process longer using shorter pulses
- Uneven texture? Work in smaller batches
- Not crispy enough? Extend drying time by 5-minute intervals
- Browning too quickly? Lower oven temperature to 225°F
Variations and Substitutions
- Bread Types:
- White bread
- Whole wheat
- Sourdough
- Gluten-free bread
- Seasoning Blends:
- Italian: Add dried basil, oregano, and garlic powder
- Spicy: Mix in cayenne and paprika
- Savory: Include onion powder and thyme
Storage Guidelines
- Store in an airtight container
- Keep at room temperature for up to 1 month
- Freeze for up to 3 months
- Check for moisture or mold before using
Safety Notes and Tips
- Always use clean, dry hands and equipment
- Let bread crumbs cool completely before storing
- Check bread for any signs of mold before using
- Use fresh seasonings for best results
- Keep away from heat and moisture during storage
Common Mistakes to Avoid
- Processing bread too long (creates paste-like texture)
- Using very fresh, soft bread (results in gummy crumbs)
- Storing while still warm (causes moisture buildup)
- Overcrowding the food processor
- Skipping the oven-drying step
Remember: The key to perfect bread crumbs is starting with good bread and drying them properly. Take your time with the process, and you’ll have delicious homemade bread crumbs ready for all your recipes.