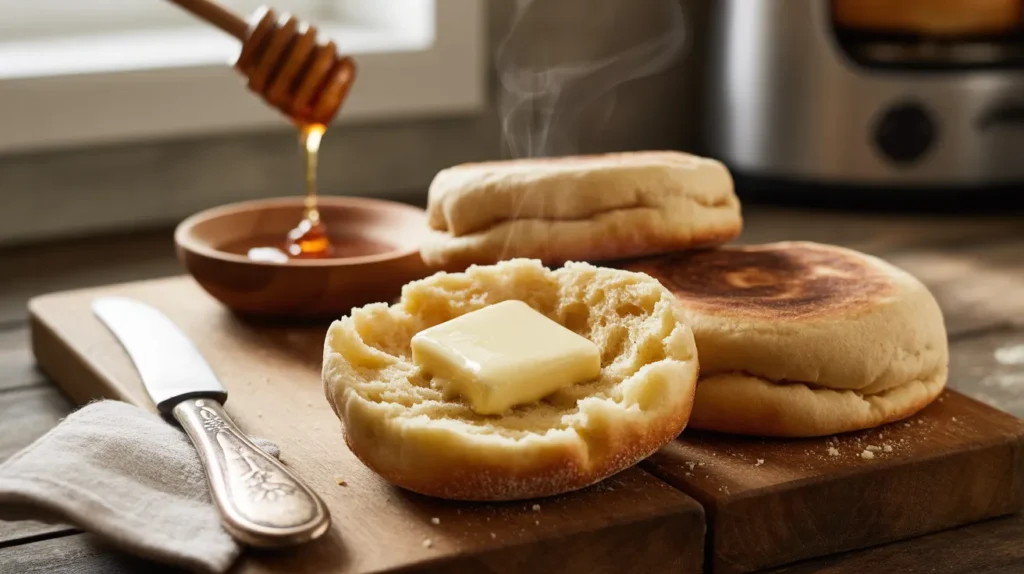
There’s something magical about making English Muffins (Bread Machine Method) at home – those crispy exteriors, tender insides, and signature nooks and crannies that catch every bit of butter and jam. I’ll show you how to make English Muffins (Bread Machine Method) using your bread machine to handle the heavy lifting, then we’ll shape and griddle them to golden perfection.
SERVES: 4 (8 muffins) | PREP: 15 MIN | RISE: 90 MIN | COOK: 16 MIN | TOTAL: 2 HR 1 MIN
Ingredients
Dough Base
| Ingredient | Measurement |
|---|---|
| Warm milk (110°F) | 1 cup |
| Unsalted butter, melted | 2 tablespoons |
| Granulated sugar | 1 tablespoon |
| Salt | 1 teaspoon |
| Bread flour | 3 cups |
| Active dry yeast | 2 teaspoons |
For Cooking & Finishing
| Ingredient | Measurement |
|---|---|
| Cornmeal (for dusting) | 1/4 cup |
| Butter (for griddle) | 1 tablespoon |
Step-by-Step Instructions
Phase 1: Bread Machine Dough Preparation (5 Minutes Active)
Step 1: Pour the warm milk into your bread machine pan first. The milk should feel like bathwater – around 110°F. Too hot kills the yeast, too cold won’t activate it properly.
Step 2: Add the melted butter and sugar to the milk. The sugar feeds the yeast and helps create that slightly sweet flavor English muffins are known for.
Step 3: Sprinkle the salt into the liquid mixture. Keep it away from where you’ll add the yeast since direct contact can slow yeast activation.
Step 4: Add all 3 cups of bread flour on top of the liquid ingredients. Bread flour’s higher protein content creates the chewy texture and structure we want.
Step 5: Make a small well in the center of the flour (don’t let it reach the liquid) and add the active dry yeast. This keeps the yeast dry until mixing starts.
Step 6: Select your bread machine’s “Dough” cycle and press start. This cycle typically runs 90 minutes and handles all the kneading and first rise. Much like bread machine cheese bread, this method saves your arms from 10 minutes of hand-kneading.
Phase 2: Shaping the Muffins (10 Minutes)
Step 7: When the dough cycle completes, sprinkle 2 tablespoons of cornmeal on your clean countertop. Remove the dough – it should be soft, slightly sticky, and doubled in size.
Step 8: Gently press the dough into a rectangle about 1/2 inch thick. Don’t roll it thinner or you’ll lose those important air pockets that create the nooks and crannies.
Step 9: Use a 3-inch round cutter (or drinking glass) to cut out circles. Press straight down without twisting – twisting seals the edges and prevents proper rising.
Step 10: Place remaining cornmeal on a baking sheet. Transfer each circle to the sheet and sprinkle more cornmeal on top. The cornmeal prevents sticking and adds authentic texture.
Step 11: Cover the muffins loosely with a clean kitchen towel. Let them rise for 30 minutes until puffy but not doubled. They should feel light when you gently touch them.
Phase 3: Griddle Cooking (16 Minutes)
Step 12: Heat a large griddle or cast-iron skillet over medium-low heat (about 325°F). English muffins need gentle, even heat to cook through without burning.
Step 13: Add a small amount of butter to the griddle and let it melt. Wipe away excess with a paper towel – you want just a light coating.
Step 14: Carefully place 4 muffins on the griddle, leaving space between each. Don’t crowd them or they’ll steam instead of developing that crispy crust.
Step 15: Cook for 8 minutes without moving them. You’ll see the edges turn golden and the tops will look slightly dry. Resist peeking underneath too early.
Step 16: Flip each muffin gently with a spatula. Cook the second side for another 8 minutes until golden brown. The muffins should sound hollow when tapped.
Step 17: Transfer cooked muffins to a cooling rack. Repeat steps 13-16 with remaining dough circles. Let them cool for 10 minutes before splitting.
Step 18: Split the muffins using a fork (never a knife!). Insert fork tines around the middle edge and gently pull apart. This creates those signature craggy surfaces that hold butter perfectly.
Chef’s Notes
Temperature Control: Your griddle temperature matters more than you think. Too hot and the outsides burn before the insides cook. Too cool and they turn dense. Medium-low gives you that perfect golden crust with a fluffy interior, similar to what you’d achieve with bread machine garlic parmesan bread.
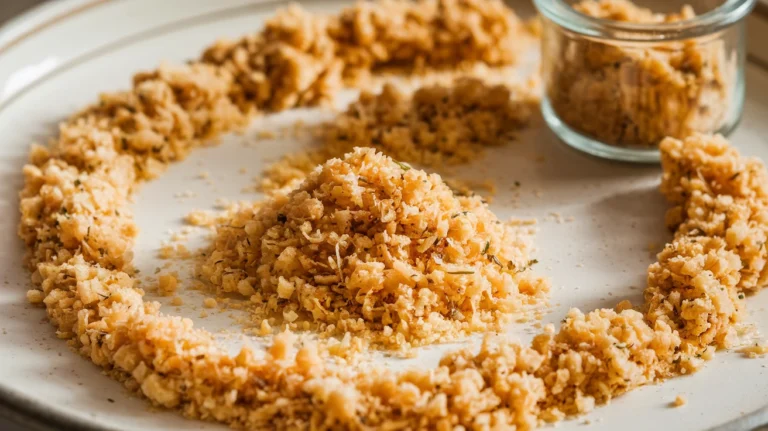
The Cornmeal Secret: Don’t skip the cornmeal! It’s not just for preventing sticking – it adds that authentic pizzeria-style crunch and keeps the bottoms from getting soggy. Plus it signals “I made these from scratch.”
Fork Splitting Technique: Using a fork instead of a knife is traditional for a reason. The fork creates rough, uneven surfaces with lots of texture. A knife gives you smooth surfaces that don’t catch toppings as well.
Make-Ahead Strategy: Shape all your muffins, place them on the cornmeal-dusted baking sheet, cover tightly with plastic wrap, and refrigerate overnight. In the morning, let them sit at room temperature for 20 minutes before griddling. Fresh English muffins for breakfast with minimal morning effort!
Nutrition Information (Per Muffin)
Calories: 195 | Protein: 6g | Carbohydrates: 35g | Fat: 3g | Fiber: 1g | Sugar: 2g | Sodium: 295mg
Delicious Variations
Whole Wheat English Muffins: Replace 1 cup of bread flour with whole wheat flour for a nuttier flavor and extra fiber. Add 1 tablespoon more milk since whole wheat absorbs more liquid. These have a heartier texture perfect for savory breakfast sandwiches.
Cinnamon Raisin English Muffins: Add 1/2 cup raisins, 1 tablespoon cinnamon, and an extra tablespoon of sugar to the bread machine with the flour. The sweet spices and fruit make incredible French toast or pair beautifully with cream cheese.
Everything Bagel English Muffins: Skip the cornmeal dusting and instead press each shaped muffin into everything bagel seasoning before the final rise. You get all that savory, garlicky goodness in every bite. Perfect for egg sandwiches.
Sourdough-Style English Muffins: Replace 1/2 cup of the milk with sourdough discard and reduce yeast to 1 1/2 teaspoons. This adds a subtle tang and more complex flavor. Let them rise an extra 15 minutes since less yeast means slower fermentation.
Storage & Reheating
Let your English muffins cool completely before storing. Place them in an airtight container or zip-top bag at room temperature for up to 3 days.
For longer storage, freeze them for up to 3 months. Split them before freezing so you can pop them straight into the toaster from frozen.
To reheat, always split first and toast until crispy. The toaster revives that fresh-made texture better than a microwave, which makes them chewy and tough.
Troubleshooting Guide
Problem: Dense, Heavy Muffins Your liquid was probably too cold and didn’t activate the yeast properly. Always test your milk temperature – it should feel warm but not hot on your wrist. Also check your yeast’s expiration date. Dead yeast equals flat muffins.
Problem: Burnt Outsides, Raw Insides Your griddle ran too hot. English muffins need patient, gentle cooking at medium-low heat. If you see dark browning in under 5 minutes, reduce your heat immediately. Consider using an instant-read thermometer to check doneness – the center should reach 190°F.
Problem: No Nooks and Crannies You either over-kneaded the dough or rolled it too thin during shaping. The bread machine handles kneading, so this usually means the dough was pressed below 1/2 inch thickness. Those air pockets need room to develop. Also, make sure you’re splitting with a fork, not slicing with a knife.
Problem: Muffins Spread Instead of Rising The dough was too wet or over-proofed. If they spread flat during the second rise, your kitchen might be too warm (over 80°F). Also check that you measured flour correctly – scoop and level, don’t pack it down.
Problem: Tough, Chewy Texture You cooked them too long or at too high a temperature. English muffins should feel light and airy, not dense. Reduce your griddle heat and don’t cook past 8 minutes per side. Overcooked muffins turn into hockey pucks.
Equipment Essentials
- Bread machine (any size that handles 3 cups flour)
- Large griddle or cast-iron skillet (12-inch works best)
- 3-inch round cutter (or clean drinking glass)
- Rolling pin (optional, hands work fine)
- Kitchen towel for covering dough
- Baking sheet for second rise
- Wide spatula for flipping
- Fork for splitting (never a knife!)
- Instant-read thermometer (optional but helpful)
Shopping List
Dairy Section
- Whole milk (1 cup)
- Unsalted butter (3 tablespoons total)
Baking Aisle
- Bread flour (3 cups)
- Active dry yeast (1 packet/2 teaspoons)
- Granulated sugar (1 tablespoon)
- Cornmeal (1/4 cup)
Spices & Seasonings
- Table salt (1 teaspoon)
Success Secrets
1. Temperature Is Everything Keep your milk between 105-115°F. Too hot kills yeast, too cold leaves it dormant. The “wrist test” works – it should feel comfortably warm, like baby formula.
2. Don’t Skip the Second Rise That 30-minute rest after shaping develops flavor and creates the light, airy texture. Rushing this step gives you dense, bread-like muffins instead of light, fluffy ones.
3. Use Bread Flour, Not All-Purpose The extra protein in bread flour creates better structure and that signature chewy texture. All-purpose flour works in a pinch but gives you softer, less authentic results.
4. Master the Medium-Low Heat This is the hardest part for beginners. Your griddle should be hot enough that a drop of water sizzles gently, but not so hot it evaporates instantly. Most people cook these too hot and wonder why they burn.
5. Always Split with a Fork I can’t stress this enough. A knife gives you smooth surfaces. A fork creates those rough, craggy nooks and crannies that make English muffins special. Insert the fork tines around the edge and twist gently to pull apart.