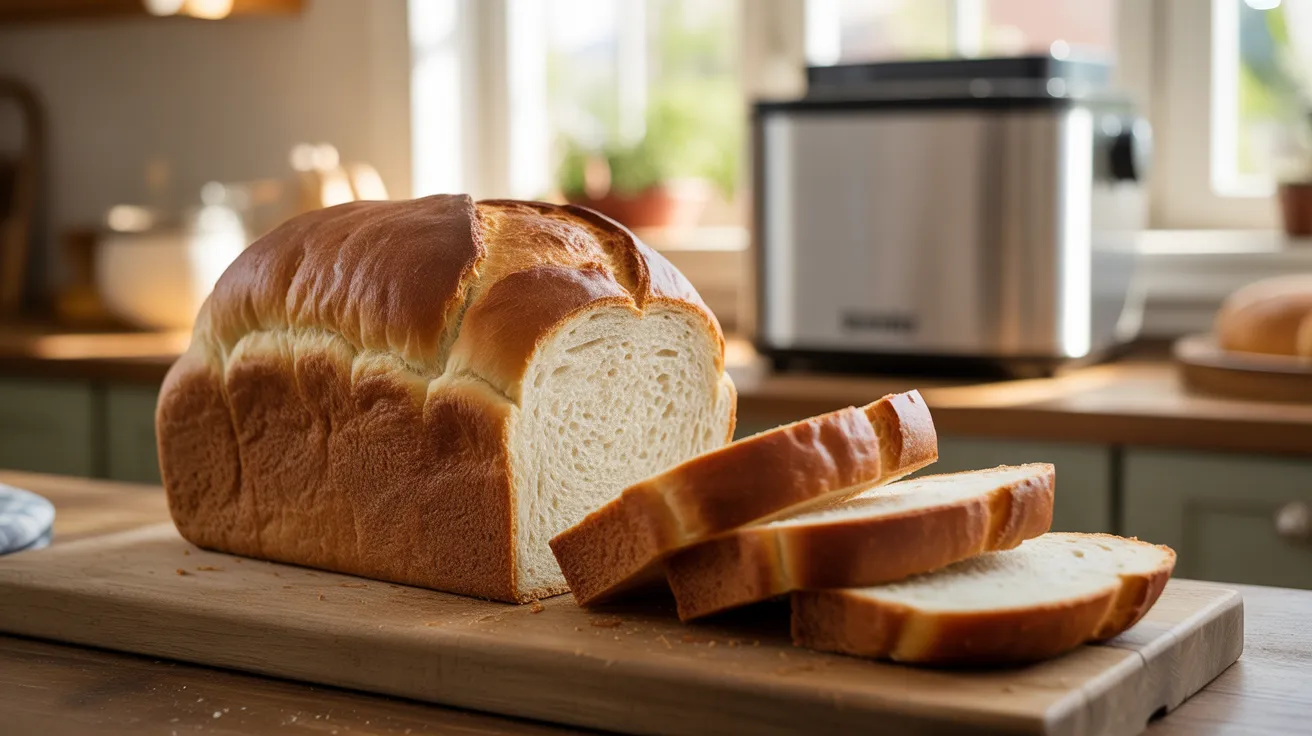
Craving that classic English muffin flavor but want it in easy loaf form? This bread machine english muffin bread captures the slightly tangy taste with a tender crumb perfect for toasting. Make bakery-quality bread machine english muffin bread at home with this simple recipe that requires just 10 minutes of hands-on work.
SERVES: 4 | PREP: 10 MIN | COOK: 3 HRS | TOTAL: 3 HRS 10 MIN
Why You’ll Love This Bread Machine English Muffin Bread
I love this recipe because it brings English muffin flavor to your breakfast table without any of the griddle work. The bread machine does everything while you go about your day. The secret? Baking soda and dry milk create that signature tangy taste, while the cornmeal coating adds authentic texture.
This bread toasts up beautifully with a crispy outside and soft interior. It’s perfect for breakfast sandwiches, avocado toast, or simply buttered with jam. The texture is more bread-like than true English muffins, but the flavor hits all the right notes.
Ingredients
Liquid Ingredients
| Ingredient | Amount |
|---|---|
| Water (75-80°F) | 1½ cups |
| Vegetable oil | 2 tablespoons |
Dry Ingredients
| Ingredient | Amount |
|---|---|
| Bread flour | 3½ cups |
| Sugar | 3 tablespoons |
| Nonfat dry milk powder | ¼ cup |
| Salt | 1½ teaspoons |
| Baking soda | ¼ teaspoon |
| Bread machine yeast | 2¼ teaspoons |
For Cornmeal Coating (Optional)
| Ingredient | Amount |
|---|---|
| Cornmeal | ¼ cup |
Step-by-Step Instructions
Phase 1: Preparing Ingredients (5 minutes)
Step 1: Measure your water temperature with a thermometer. It should read 75-80°F – this feels slightly cool to lukewarm to the touch. If it’s too warm (above 85°F), let it cool for a few minutes. If it’s too cold (below 70°F), microwave it for 10-15 seconds. Room temperature water works great for this recipe.
Step 2: Measure your bread flour using the spoon-and-level method. Fluff the flour first, then spoon it into your measuring cup and level off with a knife. Don’t pack it down or scoop directly from the bag. Three and a half level cups should weigh about 420 grams if you have a kitchen scale.
Step 3: Get all your ingredients to room temperature before starting. Cold ingredients can slow down yeast activity and affect rising time. Lay everything out on your counter so you don’t forget anything during assembly.
Step 4: Check your yeast expiration date. Expired yeast won’t rise properly and you’ll end up with a dense loaf. If your yeast is more than a few months old, test it by dissolving a pinch in warm water with sugar – it should foam within 5-10 minutes.
Phase 2: Loading the Bread Machine (3 minutes)
Step 5: Pour the 1½ cups of water into your bread machine pan first. Liquids always go in first to prevent dry ingredients from getting stuck in the bottom corners where the kneading paddle can’t reach them.
Step 6: Add the 2 tablespoons of vegetable oil to the water. You can also use melted butter if you prefer, but oil gives a softer crumb that stays fresh longer. Swirl the pan gently to distribute the oil across the water surface.
Step 7: Carefully spoon the bread flour on top of the liquid. Pour it slowly and evenly to create a layer that completely covers all the water. This creates a barrier between the yeast and liquid, which is essential if you plan to use a delayed start timer.
Step 8: Sprinkle the sugar evenly across the flour surface. The sugar feeds the yeast and helps create a golden crust. Don’t dump it in one spot – distribute it around the pan.
Step 9: Add the dry milk powder next. Dry milk adds protein and helps the bread brown nicely. It also contributes to that slight tangy flavor reminiscent of English muffins. Sprinkle it evenly over the flour.
Step 10: Place the salt in one corner and the baking soda in the opposite corner. Keep them separated from each other and away from where you’ll add the yeast. The baking soda is crucial – it creates a subtle tang and helps with browning. Salt inhibits yeast if they touch directly.
Step 11: Make a small shallow well in the center of the flour using your finger. The well should go down about halfway through the flour layer but shouldn’t reach the liquid below. Pour your yeast into this protected well.
Phase 3: Machine Cycle – Basic Method (3 hours)
Step 12: Select the Basic/White Bread cycle on your machine. Choose medium crust setting for the best results. A light crust will be too pale, while a dark crust can taste slightly bitter. Close the lid and press start.
Step 13: After 5-7 minutes of mixing, quickly open the lid and check your dough. It should form a soft, slightly tacky ball that cleans the sides of the pan. If it’s too dry and stiff, add water 1 tablespoon at a time. If it’s too wet and not forming a ball, add flour 1 tablespoon at a time. Close the lid quickly to maintain temperature.
Step 14: Optional cornmeal coating step: If you want authentic English muffin texture on the outside, set a timer for when the final kneading ends (check your machine’s manual – usually 1 hour 45 minutes into the cycle). When the timer goes off, carefully remove the dough ball, quickly roll it in cornmeal on all sides, and place it back in the pan. This takes 30 seconds maximum. Close the lid immediately so the dough doesn’t cool down.
Step 15: Let the machine complete its full cycle without opening the lid again. You’ll hear the machine go through mixing, rising, punching down, second rise, and baking. The entire cycle takes about 3 hours total. Your kitchen will start smelling amazing during the baking phase.
Phase 4: Removing and Cooling (25 minutes)
Step 16: When the machine beeps to signal completion, put on oven mitts immediately. The pan is extremely hot and can burn you severely. Turn off any “keep warm” function right away, as this makes the crust too thick and tough.
Step 17: Carefully remove the bread pan from the machine using both hands. Turn it upside down over a wire cooling rack and gently shake. The loaf should slide out easily. If it sticks, wait 2-3 minutes for it to cool slightly, then try again. Never pry with metal utensils as they damage the non-stick coating.
Step 18: Stand the loaf upright on the cooling rack. Let it cool for at least 20 minutes before slicing. Hot bread is gummy inside and will compress when you cut it. The cooling time allows the interior structure to firm up properly. You’ll see steam escaping from the top – this is normal and helps the crust crisp up.
Step 19: Once cooled, use a serrated bread knife with a gentle sawing motion to slice. Cut the bread about ½ to ¾ inch thick. The texture will be tender with a close crumb – different from griddle-cooked English muffins but with similar flavor. This bread is meant to be toasted before eating.
Step 20: For the best experience, toast slices until golden brown and crispy. The toasting brings out the tangy flavor and creates a crunchy exterior that’s perfect for butter and jam. Untoasted, this bread tastes good but doesn’t have the signature English muffin character.
Chef’s Notes
Tip 1: This bread won’t have the dramatic “nooks and crannies” of griddle-cooked English muffins – that texture only happens when dough is cooked on a skillet. What you will get is the characteristic tangy flavor and soft texture that makes English muffins special. The baking soda is the secret ingredient that creates that slight tang.
Tip 2: The optional cornmeal coating step (Step 14) is worth doing if you want authentic English muffin appearance and texture on the crust. Set a timer so you don’t miss the window. Work quickly – you only have 30 seconds to roll and replace the dough before it cools down too much.
Tip 3: Using dry milk powder instead of fresh milk is important here. Dry milk adds protein without extra liquid, which keeps the dough at the right consistency. It also adds to shelf life and contributes to browning. Don’t substitute fresh milk or you’ll need to reduce the water significantly. For another great bread machine recipe, try this bread machine cheese bread.
Tip 4: This bread machine english muffin bread absolutely must be toasted before eating. Straight from the machine, it tastes okay but lacks character. Toasted until golden and crispy, it transforms into something special. The heat brings out the tangy notes and creates textural contrast that fresh bread doesn’t have.
Nutrition Information (Per Serving)
Serving Size: ¼ of loaf (about 4-5 slices)
- Calories: 548
- Protein: 18g
- Carbohydrates: 96g
- Fat: 8g
- Fiber: 4g
- Sugar: 10g
- Sodium: 475mg
Delicious Variations
Honey Wheat Version: Replace 1 cup of bread flour with whole wheat flour. Add an extra tablespoon of water and swap the sugar for honey (3 tablespoons). This creates a heartier, nuttier flavor with more fiber and nutrients.
Cinnamon Raisin English Muffin Bread: Add ½ cup raisins and 2 teaspoons cinnamon at the add-in beep (after first kneading). Increase sugar to ¼ cup for a sweeter breakfast bread. Toast and spread with cream cheese for a treat.
Sourdough Style: Replace ½ cup of water with ½ cup unfed sourdough discard. This adds extra tang that closely mimics traditional sourdough English muffins. The fermentation flavor pairs beautifully with butter and jam. For more flavorful bread variations, check out this bread machine garlic parmesan bread.
Multigrain English Muffin Bread: Replace 1 cup bread flour with a multigrain blend (wheat, oats, flax). Add 1 tablespoon vital wheat gluten to maintain structure. This version has wonderful texture and nutty flavor with added nutrition.
Storage & Reheating
Room Temperature Storage: Keep your bread machine english muffin bread in a bread box or wrapped in a kitchen towel for 3-4 days. Don’t refrigerate bread – this speeds up staling and makes it dry and crumbly.
Freezing Instructions: Slice the completely cooled bread and place parchment paper between slices. Store in a freezer bag with air pressed out for up to 3 months. Frozen slices go straight into the toaster without thawing.
Best Reheating Method: Toast slices directly from frozen for 4-5 minutes on medium-high heat. The bread will crisp up perfectly and taste freshly baked. You can also warm whole slices in a 350°F oven for 8-10 minutes wrapped in foil.
Reviving Stale Bread: Sprinkle slightly stale slices with water and toast them. The moisture creates steam that softens the interior while the heat crisps the outside. Works like magic for day-old bread.
Troubleshooting Common Problems
Problem 1 – Dense, Heavy Loaf: Your yeast might be expired or the water temperature was wrong. Test yeast freshness by proofing it in warm water with a pinch of sugar first. Water should be 75-80°F – warmer than that can stress the yeast, cooler slows it down. Also check that you measured flour correctly using spoon-and-level method.
Problem 2 – Bread Didn’t Rise Well: Check three things: yeast expiration date, ingredient temperatures, and machine placement. All ingredients should be room temperature. If your kitchen is very cold (below 65°F), the dough might need extra time. Also ensure your bread machine sits on a stable, level surface away from cold drafts.
Problem 3 – Too Dry and Crumbly: You likely added too much flour or not enough water. Humidity levels affect flour, so on dry days you might need an extra tablespoon of water. The dough should form a soft, slightly tacky ball during kneading, not a stiff, dry one.
Problem 4 – Crust Too Hard or Pale: Use the medium crust setting, not light or dark. If your machine tends to run hot, you can remove the bread 5 minutes early when it’s golden brown. Some machines have hotter elements than others. The crust should be golden, not pale white or dark brown.
Problem 5 – Bread Collapsed After Rising: This usually means over-proofing or too much yeast. Stick to the exact yeast amount – more isn’t better. If your kitchen is very warm (above 78°F), reduce yeast by ¼ teaspoon. Over-risen dough rises beautifully, then collapses during baking, leaving a sunken top.
Equipment Essentials
- Bread machine (1.5 to 2-pound capacity)
- Instant-read thermometer (for milk temperature)
- Liquid measuring cup (for accurate liquid measurement)
- Dry measuring cups (for flour and cornmeal)
- Measuring spoons
- Wire cooling rack
- Serrated bread knife
- Kitchen towel or oven mitts
- Kitchen scale (optional but helpful for consistent results)
Shopping List
Baking Aisle
- Bread flour (3½ cups needed)
- Sugar (granulated)
- Nonfat dry milk powder
- Bread machine yeast (or active dry yeast)
- Salt
- Baking soda
- Cornmeal (optional, for coating)
Oil Section
- Vegetable oil (or canola oil)
5 Success Secrets for Perfect English Muffin Bread
1. Don’t Expect True Nooks and Crannies: Understand what this bread is – it’s a loaf that tastes like English muffins, not actual English muffins. The texture will be bread-like with a close crumb. The tangy flavor comes from baking soda and dry milk, not from the texture. Manage your expectations and you’ll love the results.
2. The Baking Soda is Essential: That ¼ teaspoon of baking soda seems tiny but it’s the secret to authentic English muffin flavor. It creates a subtle tang and helps with browning. Don’t skip it or substitute baking powder – they’re chemically different and won’t give the same results.
3. Room Temperature Water is Key: Unlike many bread recipes that need warm liquid, this one works best with 75-80°F water – basically room temperature or slightly warmer. Too-warm water can make the dough rise too fast and create a coarse texture. Use a thermometer until you learn what this temperature feels like.
4. Always Toast Before Eating: This is non-negotiable. Bread machine english muffin bread needs toasting to reach its full potential. Fresh from the machine, it’s bland and soft. Toasted until golden, it transforms with crispy edges, enhanced tang, and that characteristic English muffin taste. Butter melts into it perfectly.
5. The Cornmeal Coating is Worth the Effort: If you take the time to do Step 14 (rolling in cornmeal), you’ll get authentic English muffin appearance and a slight crunch on the crust. Set a timer for 1 hour 45 minutes into the cycle so you don’t forget. Work quickly – you have just 30 seconds to roll and replace before the dough cools.
Final Thoughts
This bread machine english muffin bread has become my go-to for easy breakfast prep. While it doesn’t have the dramatic holes of griddle-cooked English muffins, it delivers that characteristic tangy flavor and toasts up beautifully with butter and jam. The bread machine does all the work while you’re sleeping or working on other things.
The recipe makes a perfect-sized loaf for a family of four to enjoy over several days. Slice it thick, toast it until golden and crispy, and top with whatever makes you happy. I love it with cream cheese and cucumber for lunch sandwiches, or simply buttered for breakfast.
The key is understanding what you’re making – this is bread with English muffin flavor, not traditional English muffins in loaf form. Once you accept that, you’ll appreciate how convenient and delicious it is. Set it on a timer before bed, wake up to fresh bread, toast a few slices, and you’ve got a restaurant-quality breakfast at home.
Give this recipe a try this weekend. Your bread machine will earn its counter space, and you’ll have homemade bread that beats anything from the store.