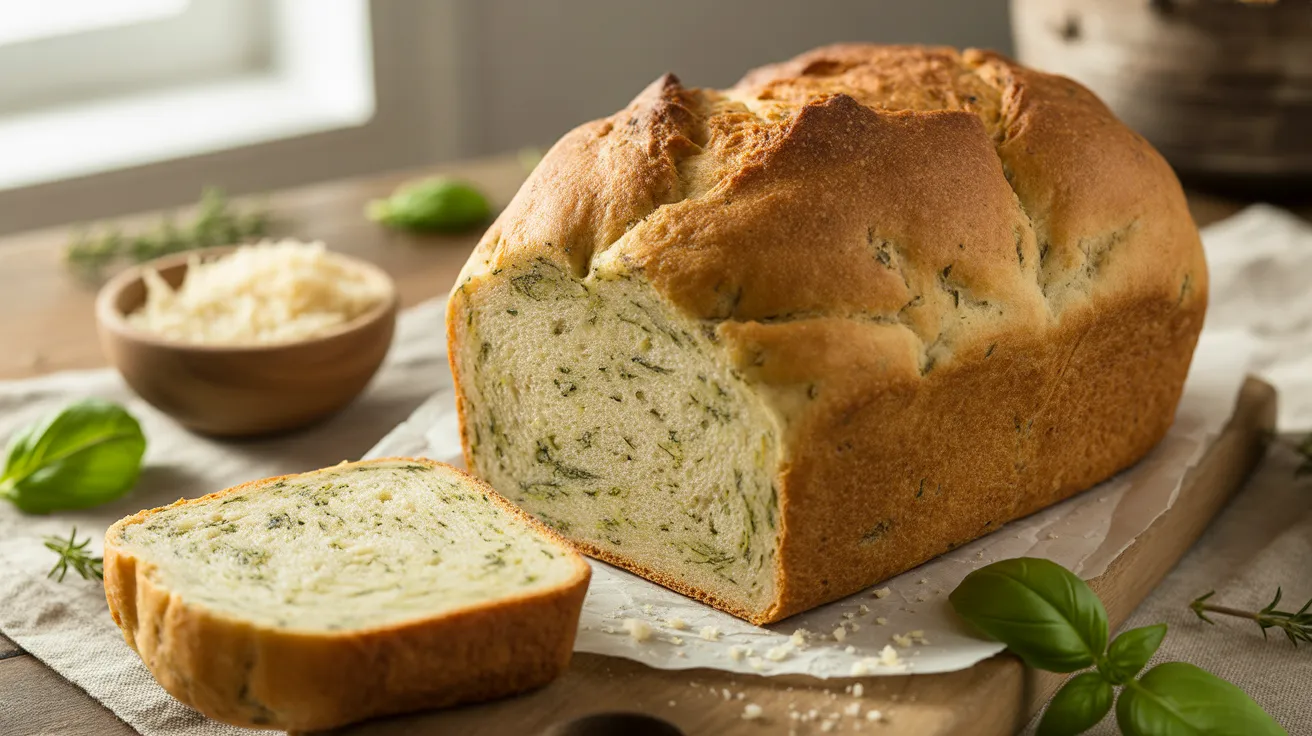
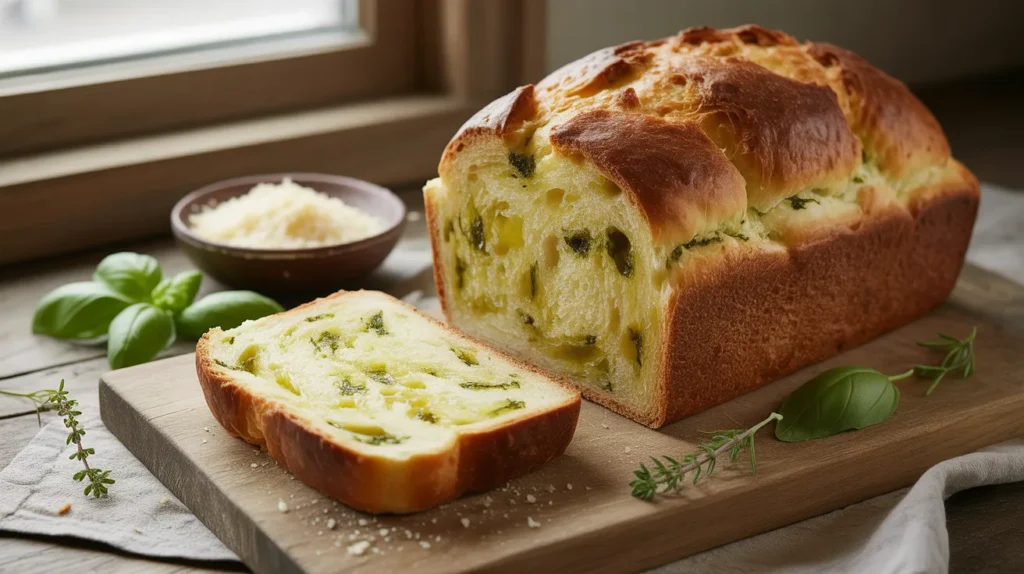
I’ve been making bread machine herb and parmesan bread every week for months now, and I can’t stop. There’s something magical about waking up to the smell of fresh herbs and nutty cheese baking away while you sip your morning coffee. This bread machine herb and parmesan bread takes all the hard work out of artisan bread making, giving you a crusty, golden loaf packed with Italian flavors that’ll make your kitchen smell like a fancy bakery.
SERVES: 4 | PREP: 10 MIN | COOK: 3 HRS | TOTAL: 3 HRS 10 MIN
Ingredients
| Wet Ingredients | Amount |
|---|---|
| Warm water (110°F) | 1 cup |
| Olive oil | 2 tablespoons |
| Egg (room temperature) | 1 large |
| Dry Ingredients | Amount |
|---|---|
| Bread flour | 3 cups |
| Grated Parmesan cheese | ¾ cup |
| Granulated sugar | 1 tablespoon |
| Salt | 1 teaspoon |
| Active dry yeast | 2¼ teaspoons |
| Herbs & Seasonings | Amount |
|---|---|
| Dried basil | 1 tablespoon |
| Dried oregano | 1 tablespoon |
| Dried rosemary (crushed) | 1 teaspoon |
| Garlic powder | 1 teaspoon |
| Black pepper | ½ teaspoon |
Step-by-Step Instructions
Phase 1: Preparing Your Ingredients (5 minutes)
Step 1: Check your water temperature using a thermometer. 110°F is your sweet spot – too hot kills the yeast, too cold won’t activate it. If you don’t have a thermometer, the water should feel warm on your wrist but not hot.
Step 2: Crack your egg into a small bowl and let it sit on the counter for 10 minutes to reach room temperature. Cold eggs can slow down the rising process and create a denser loaf.
Step 3: Measure your Parmesan cheese and set it aside. Use freshly grated if possible – the pre-grated stuff works but fresh melts better and gives you more flavor.
Step 4: Crush your dried rosemary between your fingers before measuring. This releases the aromatic oils and prevents large, woody pieces that can taste bitter when baked.
Phase 2: Loading the Bread Machine (5 minutes)
Step 5: Pour the warm water into your bread machine pan first. Liquid always goes in first to prevent the yeast from activating too early and to help all ingredients mix evenly.
Step 6: Add the olive oil and beaten egg to the water. I like to whisk the egg lightly before adding it so there aren’t any large chunks floating around.
Step 7: Add your bread flour carefully, spreading it across the liquid surface to create a complete layer. This flour barrier keeps the yeast separate from the wet ingredients until mixing begins.
Step 8: Sprinkle the Parmesan cheese evenly over the flour layer. Don’t dump it all in one spot or you’ll get cheese pockets instead of even distribution.
Step 9: Add the sugar and salt to opposite corners of the pan. Salt can kill yeast on contact, so keeping them separated until mixing is important.
Step 10: Create a small well in the center of the flour (don’t let it touch the liquid) and add your active dry yeast. This well protects the yeast until the machine starts mixing.
Phase 3: Adding Herbs and Starting the Cycle (2 minutes)
Step 11: Combine all your dried herbs – basil, oregano, rosemary, garlic powder, and black pepper – in a small bowl. Mix them together so they distribute evenly.
Step 12: Sprinkle the herb mixture over the flour layer, keeping it away from the yeast well. The machine will mix everything together, but starting with good distribution helps.
Step 13: Close the bread machine lid and select the “Basic” or “White Bread” cycle with a medium crust setting. My machine takes exactly 3 hours on this setting.
Step 14: Press start and let the machine do its thing. Don’t open the lid during the first rise (usually the first 90 minutes). Checking releases heat and can cause the bread to collapse.
Phase 4: Monitoring and Finishing (10 minutes hands-on time)
Step 15: After 15 minutes of mixing, open the lid quickly and check the dough consistency. It should form a smooth ball that’s slightly tacky but not sticky. If it’s too dry, add water 1 teaspoon at a time. If too wet, add flour 1 tablespoon at a time.
Step 16: Listen for the beep signal during the last rise (if your machine has one). This tells you the bread is about to start baking. You’ll hear the heating element kick on.
Step 17: When the cycle completes and beeps, immediately remove the bread pan. Leaving it in the machine steams the crust and makes it soggy.
Step 18: Let the bread sit in the pan for 5 minutes only. This brief rest helps it release from the pan without falling apart.
Step 19: Turn the pan upside down and gently shake to release the loaf. If it sticks, run a butter knife around the edges. The paddle might be stuck in the bottom – just pull it out with tongs while the bread is still warm.
Step 20: Place your bread machine herb and parmesan bread on a wire cooling rack. Cool for at least 30 minutes before slicing or you’ll squish the soft interior. I know it’s tempting, but warm bread cuts terribly and turns gummy.
Chef’s Notes
Herb Freshness Matters: Dried herbs lose potency after 6 months. If your bread machine herb and parmesan bread tastes bland, your herbs might be too old. Give them the smell test – they should be fragrant, not dusty.
Cheese Quality: Real Parmesan (Parmigiano-Reggiano) costs more but transforms this recipe. The cheap stuff in the green can works in a pinch, but it doesn’t melt as well and has less flavor. Similar to what you’d find in garlic parmesan bread variations, quality cheese makes a difference.
Altitude Adjustments: If you live above 3,000 feet, reduce yeast by ¼ teaspoon and add 2 tablespoons more flour. High altitude makes dough rise faster and can cause over-proofing.
Moisture Control: Humidity affects flour absorption. On rainy days, your dough might need an extra tablespoon of flour. On dry winter days, you might need a teaspoon more water.
Nutrition Information (Per Serving)
Calories: 385
Protein: 15g
Carbohydrates: 58g
Fat: 10g
Fiber: 2g
Sodium: 520mg
Calcium: 185mg
Variations to Try
Mediterranean Style: Replace oregano with 2 tablespoons sun-dried tomatoes (chopped fine) and add 1 tablespoon fresh thyme. Reduces the Italian herb profile for a brighter, tangier flavor.
Spicy Italian: Add 1 teaspoon red pepper flakes and ½ teaspoon Italian sausage seasoning to the herb mix. Creates a nice kick that pairs perfectly with pasta dishes.
Whole Grain Version: Substitute 1 cup whole wheat flour for 1 cup bread flour and add 1 tablespoon vital wheat gluten. Makes a heartier loaf with more fiber, though texture will be denser. If you enjoy whole grain breads, try this maple oatmeal variation for breakfast.
Garlic Lover’s Dream: Double the garlic powder to 2 teaspoons and add 2 tablespoons roasted garlic paste with the wet ingredients. Transforms this into serious garlic bread territory.
Storage & Reheating
Room Temperature: Wrap cooled bread tightly in plastic wrap or aluminum foil. Keeps fresh for 3 days on the counter. Don’t store in the fridge – it dries out the bread faster.
Freezing: Slice the bread first, then wrap slices individually in plastic wrap. Place wrapped slices in a freezer bag and freeze for up to 3 months. Pull out individual slices as needed.
Reheating: Toast frozen slices directly in the toaster for 2-3 minutes. For whole loaves, wrap in foil and heat at 350°F for 10 minutes. Brush with butter before reheating for extra richness.
Reviving Stale Bread: Sprinkle the crust lightly with water and bake at 300°F for 5 minutes. The moisture creates steam that softens the interior while re-crisping the crust.
Troubleshooting
Problem: Bread collapsed in the middle
Your yeast was too active or the dough over-proofed. This happens when the kitchen is too warm (above 80°F) or you used too much yeast. Try reducing yeast by ½ teaspoon and make sure your water isn’t hotter than 110°F.
Problem: Dense, heavy texture
Not enough gluten development or old yeast. Make sure you’re using bread flour (not all-purpose) because it has more protein. Check your yeast expiration date and proof it in warm water first to ensure it’s active.
Problem: Huge air pocket under the crust
The dough was too wet or didn’t have enough structure. Next time, add flour 1 tablespoon at a time during the mix cycle until the dough forms a proper ball. The dough should be tacky, not sticky.
Problem: Crust is too dark/burnt
Your machine’s dark crust setting is too aggressive for cheese bread. Switch to medium or light crust setting. The cheese sugars caramelize quickly and can burn on high heat.
Problem: Herbs clumped together instead of distributing
The herbs got wet before mixing started. Make sure you’re sprinkling herbs on top of the dry flour layer, not near the liquid. Also, crushing larger herbs like rosemary helps them distribute better.
Equipment Essentials
- Bread machine (2-pound capacity minimum)
- Digital kitchen thermometer (for water temperature)
- Measuring cups and spoons (dry and liquid)
- Wire cooling rack (prevents soggy bottom)
- Serrated bread knife (for clean slicing)
- Kitchen scale (optional but helpful for consistent results)
- Small mixing bowls (for combining herbs)
- Silicone spatula (for scraping pan)
Shopping List
Dairy Section
- Parmesan cheese (¾ cup grated)
- Eggs (1 large)
Baking Aisle
- Bread flour (3 cups)
- Active dry yeast (2¼ teaspoons)
- Granulated sugar (1 tablespoon)
- Olive oil (2 tablespoons)
Spice Aisle
- Dried basil (1 tablespoon)
- Dried oregano (1 tablespoon)
- Dried rosemary (1 teaspoon)
- Garlic powder (1 teaspoon)
- Black pepper (½ teaspoon)
- Salt (1 teaspoon)
Success Secrets
1. Temperature is Everything
Your water temperature controls the entire process. Invest in a $10 digital thermometer and always hit that 110°F mark. Even 10 degrees makes a difference between perfect rise and flat bread.
2. Watch the First Mix Cycle
The most critical moment happens in the first 15 minutes. Check your dough ball at this point. It should clean the sides of the pan and feel like a baby’s earlobe when touched – soft but not wet.
3. Use Fresh Yeast
Yeast expires faster than you think, especially after opening. Write the date on your yeast jar and replace it every 3 months. Dead yeast is the number one cause of bread machine failures.
4. Don’t Skip the Cooling
I know you want to tear into that hot bread, but 30 minutes of cooling is mandatory. Cutting too early releases steam that makes the interior gummy and ruins the texture you worked hard to create.
5. Experiment with Timing
Most machines have a delayed start feature. Load your bread machine herb and parmesan bread ingredients before bed and wake up to fresh bread. Just keep the yeast away from the liquid until mixing starts by following the proper layering order.
Pro Tip: Save your leftover bread machine herb and parmesan bread to make incredible croutons. Cube it, toss with olive oil, and bake at 375°F for 15 minutes. They’re perfect for Caesar salads and tomato soup.