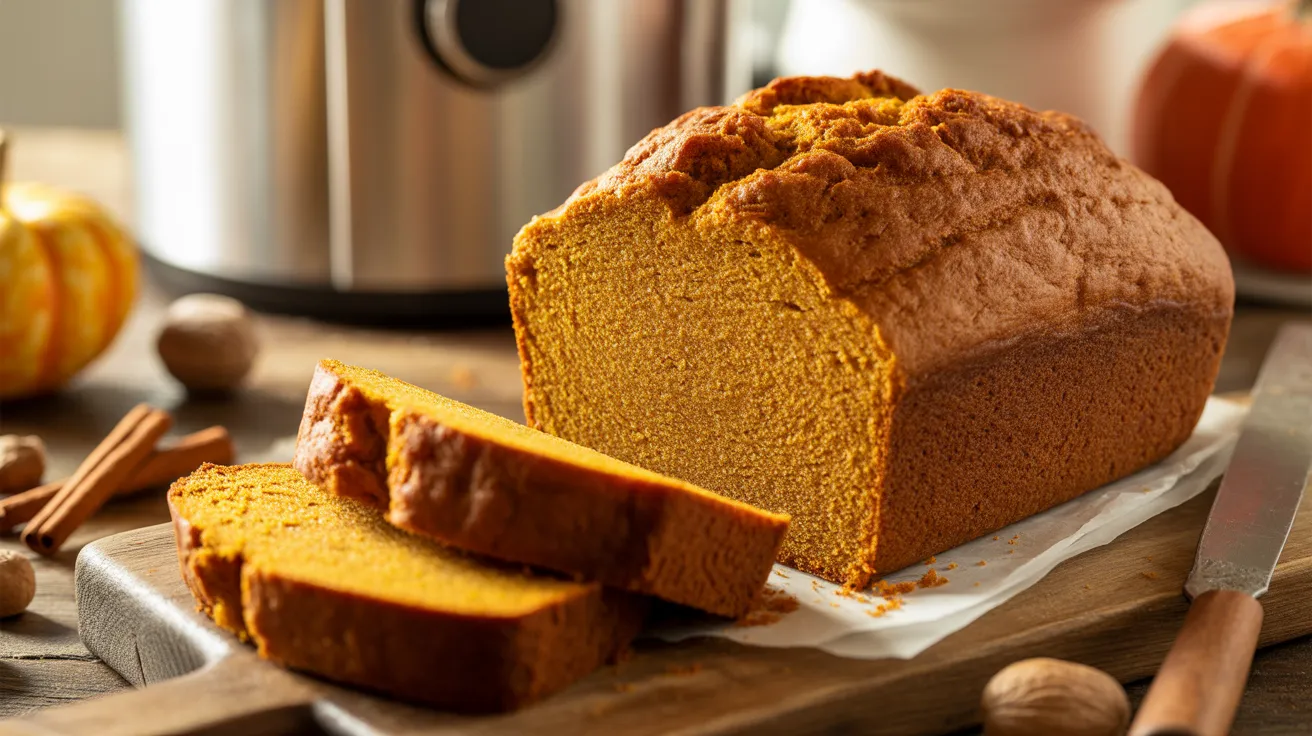
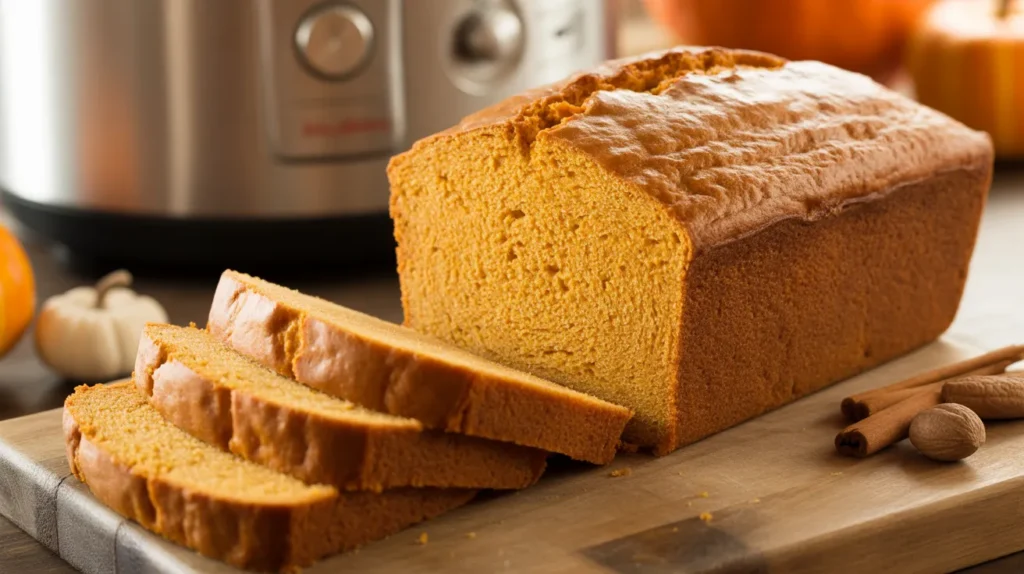
There’s nothing quite like the aroma of fresh bread machine pumpkin yeast bread baking in your kitchen on a cool autumn morning. This bread machine pumpkin yeast bread combines the convenience of automated baking with the cozy flavors of fall—warm spices, rich pumpkin puree, and a tender, pillowy crumb that’s perfect for toast, sandwiches, or eating straight from the loaf. Whether you’re a bread machine beginner or a seasoned baker looking for an easy seasonal recipe, this pumpkin bread delivers bakery-quality results with minimal hands-on effort.
SERVES: 4 | PREP: 10 MIN | COOK: 3 HRS | TOTAL: 3 HRS 10 MIN
Ingredients
Wet Ingredients
| Ingredient | Amount |
|---|---|
| Pumpkin puree (canned or fresh) | ¾ cup |
| Warm water | ½ cup |
| Vegetable oil | 3 tablespoons |
| Honey | 2 tablespoons |
| Large egg | 1 |
Dry Ingredients
| Ingredient | Amount |
|---|---|
| Bread flour | 3 cups |
| Granulated sugar | 2 tablespoons |
| Salt | 1½ teaspoons |
| Ground cinnamon | 1 teaspoon |
| Ground nutmeg | ½ teaspoon |
| Ground ginger | ¼ teaspoon |
Leavening
| Ingredient | Amount |
|---|---|
| Active dry yeast | 2¼ teaspoons (1 packet) |
Step-by-Step Instructions
Phase 1: Preparation (5 minutes)
Step 1: Remove your bread machine pan from the machine and place it on a clean countertop. This makes adding ingredients easier and prevents spills inside the machine. The pan should be completely dry before you start.
Step 2: Check your pumpkin puree consistency—it should be thick, not watery. If you’re using canned pumpkin, stir it well first. If it looks runny, drain off any excess liquid through a fine-mesh strainer. Too much moisture will make your bread dense and gummy.
Step 3: Measure your warm water to exactly 110°F using a kitchen thermometer. This temperature is critical—too hot (above 120°F) will kill the yeast, too cold (below 100°F) won’t activate it properly. If you don’t have a thermometer, the water should feel like a warm bath on your wrist.
Phase 2: Adding Ingredients (5 minutes)
Step 4: Add the wet ingredients to your bread pan in this exact order: pumpkin puree first, then warm water, vegetable oil, honey, and crack the egg directly into the pan. This order matters because it keeps the yeast separated from the salt until mixing begins, which prevents the salt from inhibiting yeast activation.
Step 5: Measure your bread flour using the spoon-and-level method—spoon flour into your measuring cup and level it off with a knife. Don’t scoop directly from the bag, as this packs the flour and adds too much. Pour the flour gently over the wet ingredients to create a complete layer that covers the liquid.
Step 6: Create four small wells in the flour—one in each corner of the pan. Add the sugar in one well, salt in another, and divide your spices (cinnamon, nutmeg, and ginger) between the remaining two wells. This distribution helps the spices blend evenly throughout the dough.
Step 7: Make a small crater in the center of the flour layer, being careful not to reach the wet ingredients below. Add your active dry yeast to this crater. The yeast needs to stay dry until the mixing cycle begins—if it touches liquid too early, it can start activating unevenly.
Phase 3: Machine Setup and Baking (3 hours)
Step 8: Place the bread pan back into your bread machine, ensuring it clicks securely into place. Give it a gentle tug to confirm it’s locked—a loose pan will prevent proper mixing and could cause the machine to malfunction during the kneading cycle.
Step 9: Close the lid and select your machine’s Basic/White Bread setting. Choose the medium crust option if your machine offers crust control. Medium crust provides the best balance—light crust can be too soft for pumpkin bread, while dark crust might taste bitter with the spices.
Step 10: Set the loaf size to 1.5 pounds if your machine has this option. This is the perfect size for a four-person serving and ensures proper rising without overflowing the pan.
Step 11: Press start and let the machine do its work. Your bread machine will go through several cycles: initial mixing (5-10 minutes), first kneading (15-20 minutes), first rise (40-60 minutes), punch down (30 seconds), second rise (30-40 minutes), and finally baking (50-60 minutes).
Step 12: Resist the urge to open the lid during the rising phases—this releases heat and humidity that the dough needs. You can peek during the first kneading cycle (first 15 minutes) to check dough consistency. The dough should form a slightly sticky ball that cleans the sides of the pan. If it’s too dry and crumbly, add water one teaspoon at a time. If it’s too wet and sticking everywhere, add flour one tablespoon at a time.
Step 13: When you hear the completion beep (usually after 3 hours total), check that the bread is done by inserting an instant-read thermometer into the center—it should read 190-200°F. The top should be golden brown and sound hollow when tapped lightly.
Step 14: Immediately remove the bread pan from the machine using oven mitts—the pan will be extremely hot. Let it cool in the pan for 5 minutes only. This brief rest allows the bread to firm up slightly, making it easier to remove.
Step 15: Turn the pan upside down and gently shake to release the loaf onto a wire cooling rack. If it sticks, run a thin silicone spatula around the edges. Remove the kneading paddle if it came out with the bread—use a wooden chopstick to pop it out from the bottom while the bread is still slightly warm.
Step 16: Let the bread machine pumpkin yeast bread cool for at least 30 minutes before slicing. Cutting too early releases steam and makes the texture gummy. For the cleanest slices, use a serrated bread knife with a gentle sawing motion.
Chef’s Notes
1. Pumpkin Puree Quality Matters: Always use pure pumpkin puree, not pumpkin pie filling (which contains added sugars and spices). Libby’s brand is reliable and consistently thick. If you’re roasting fresh pumpkin, make sure to drain it very well—homemade puree typically contains more moisture than canned.
2. Flour Type Makes a Difference: Bread flour is essential for this bread machine pumpkin yeast bread recipe—don’t substitute all-purpose flour. Bread flour has higher protein content (12-14%) which creates more gluten structure, giving you that tall, fluffy loaf with good texture. All-purpose flour will result in a shorter, denser loaf.
3. Yeast Freshness Check: Before you start, test your yeast if it’s been sitting in your pantry for more than three months. Mix ¼ teaspoon of yeast with ¼ cup warm water and a pinch of sugar. If it doesn’t foam within 10 minutes, your yeast is dead and needs replacing.
4. Spice Level Adjustment: The spice amounts listed create a subtly spiced bread that works well for both sweet and savory uses. If you want more pronounced fall flavors, you can increase the cinnamon to 1½ teaspoons and add ⅛ teaspoon of ground cloves. For a kid-friendly version, reduce spices by half.
Nutrition Information (Per Serving)
Calories: 385
Protein: 11g
Carbohydrates: 68g
Fat: 8g
Fiber: 3g
Sugar: 9g
Sodium: 445mg
Nutrition calculated per ¼ of loaf (approximately 3 thick slices)
Delicious Variations
1. Pumpkin Cranberry Walnut Bread: Add ½ cup dried cranberries and ½ cup chopped walnuts during the mix-in cycle (your machine will beep to signal when to add extras, usually 5-10 minutes into kneading). This creates a beautiful contrast of tart, sweet, and nutty flavors that’s perfect for holiday breakfasts.
2. Maple Pumpkin Bread: Replace the honey with pure maple syrup and increase to 3 tablespoons for more pronounced sweetness. Add ½ teaspoon maple extract with the wet ingredients. This version pairs beautifully with cream cheese, much like this bread machine oatmeal honey bread that also features a sweet, comforting flavor profile.
3. Whole Wheat Pumpkin Bread: Substitute 1 cup of the bread flour with whole wheat flour for added fiber and nutty flavor. You may need to add 1-2 extra tablespoons of water since whole wheat flour absorbs more liquid. This creates a heartier texture similar to bread machine whole wheat peanut butter bread recipes.
4. Savory Herb Pumpkin Bread: Omit the honey and reduce sugar to 1 tablespoon. Replace the sweet spices with 1 teaspoon dried rosemary, ½ teaspoon dried sage, and ½ teaspoon garlic powder. This makes an incredible bread for Thanksgiving stuffing or serving alongside soups.
Storage & Reheating
Room Temperature Storage: Once completely cooled, wrap your bread machine pumpkin yeast bread tightly in plastic wrap, then place in a resealable plastic bag with the air pressed out. Store at room temperature for up to 3 days. The bread will stay soft thanks to the moisture from the pumpkin.
Refrigerator Storage: If your kitchen is very warm or humid, refrigerate the wrapped bread for up to 1 week. Let slices come to room temperature before eating, or toast them for 2-3 minutes to restore softness.
Freezer Storage: Slice the entire loaf before freezing—this lets you remove only what you need. Wrap the loaf (or individual slices separated by parchment paper) in plastic wrap, then aluminum foil, then place in a freezer bag. Freeze for up to 3 months. Label with the date so you remember when you made it.
Reheating Individual Slices: For the best texture, toast frozen slices straight from the freezer for 3-4 minutes on medium setting. You can also microwave slices for 20-30 seconds wrapped in a damp paper towel, but this makes them slightly chewier than toasting.
Refreshing Day-Old Bread: Wrap the entire loaf in foil and warm in a 300°F oven for 10-12 minutes. This steams the bread slightly and brings back that fresh-baked softness.
Troubleshooting Common Problems
Problem 1: Bread Didn’t Rise Properly (Dense, Short Loaf)
Solution: This usually means your yeast was dead, the water was too hot or cold, or you forgot to add the yeast entirely (it happens!). Check your yeast expiration date and always test the water temperature. Make sure you’re using bread flour, not all-purpose—bread flour’s higher protein content is essential for good rise. Also verify your bread machine’s yeast dispenser isn’t clogged if you’re using that feature.
Problem 2: Loaf Collapsed or Has a Crater on Top
Solution: This indicates too much liquid in the ratio. Pumpkin puree varies in moisture content between brands—next time, measure your puree and then press it gently in a strainer to remove excess liquid before adding to the pan. Also make sure you’re measuring flour correctly (spoon and level, don’t scoop). Using too much yeast can also cause over-rising followed by collapse.
Problem 3: Bread Is Too Dry and Crumbly
Solution: You likely added too much flour or didn’t add enough wet ingredients. Bread machine recipes are sensitive to exact measurements—invest in a kitchen scale for best results. Make sure you’re not using pumpkin pie filling by mistake, as it’s thicker. If your loaf comes out dry, next time add 2 extra tablespoons of water.
Problem 4: Paddle Stuck Inside Baked Bread
Solution: This is completely normal with bread machines. Remove the hot loaf to a cooling rack and let it cool for 2-3 minutes (not longer or the paddle will be stuck permanently). Use a wooden or silicone tool to gently push the paddle out from the bottom of the loaf—don’t use metal utensils as they’ll scratch your nonstick pan. Some bakers lightly oil the paddle before adding ingredients to prevent sticking.
Problem 5: Spices Not Evenly Distributed (Streaks of Spice)
Solution: Your spices clumped together instead of dispersing. Next time, whisk your spices together with the flour in a separate bowl before adding to the pan, or add them to the wells in the flour more carefully. Make sure your spices aren’t old and clumped—spices older than 6 months lose potency and tend to stick together.
Equipment Essentials
- Bread Machine (1.5-2 lb capacity)
- Liquid Measuring Cup (for pumpkin and water)
- Dry Measuring Cups (for flour and sugar)
- Measuring Spoons (for spices, salt, yeast)
- Kitchen Thermometer (for testing water temperature)
- Wire Cooling Rack (for proper bread cooling)
- Serrated Bread Knife (for clean slicing)
- Silicone Spatula (for removing loaf from pan)
- Oven Mitts (for handling hot bread pan)
Optional but helpful: Kitchen scale for precise measurements, fine-mesh strainer for draining pumpkin
Shopping List
Baking Aisle
- Bread flour (3 cups)
- Granulated sugar
- Active dry yeast
- Ground cinnamon
- Ground nutmeg
- Ground ginger
Canned Goods
- Pure pumpkin puree (not pie filling)
Refrigerated Section
- Large eggs
Pantry/Staples
- Vegetable oil
- Honey
- Salt
Success Secrets
1. Always add ingredients in the order listed—wet ingredients first, then flour to create a barrier, then yeast on top. This prevents premature yeast activation and ensures proper mixing.
2. Check your dough during the first 5 minutes of kneading. It should form a slightly tacky ball that cleans the pan sides. Adjust with water or flour one tablespoon at a time if needed.
3. Don’t open the lid after the first kneading cycle—you’ll release heat and humidity that the dough needs for proper rising. Your patience will be rewarded with a taller loaf.
4. Remove the loaf from the pan within 5-10 minutes of the completion beep. Leaving it in the pan too long traps steam and creates a soggy bottom crust.
5. Let your bread machine pumpkin yeast bread cool for at least 30 minutes before slicing. This allows the internal structure to set properly—cutting too early releases steam and makes the texture gummy rather than fluffy.