- Ready in just 30 minutes with only 5 main ingredients
- Sweet and savory flavor profile that even picky eaters love
- One-pan recipe means minimal cleanup
- Perfect meal prep option that reheats beautifully
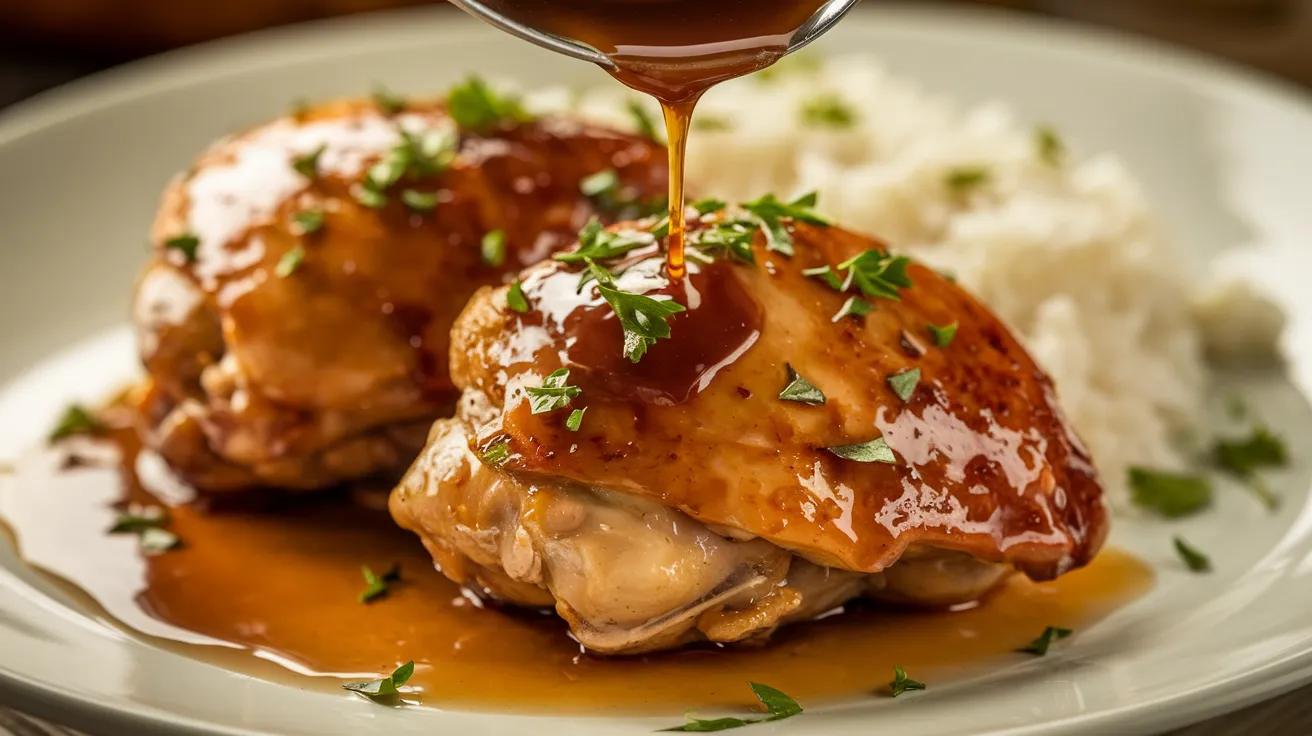
Tired of Boring Chicken Dinners? This Brown Sugar Garlic Chicken Recipe Is Your Answer
Chicken dinners can get boring fast. You cook the same recipes week after week, and suddenly nobody’s excited about dinner anymore.
This Brown Sugar Garlic Chicken recipe changes everything. With just a handful of ingredients, you’ll create a sticky, sweet, and savory glaze that transforms plain chicken thighs into something truly special. If you’ve enjoyed our Chicken Nanban with its sweet and tangy sauce, you’ll love how this Brown Sugar Garlic Chicken delivers a perfect balance of flavors.
Best of all? It’s ready in 30 minutes and uses just one pan.
Nutrition Facts (Per Serving)
| Nutrient | Amount |
|---|---|
| Calories | 385 |
| Protein | 28g |
| Carbs | 12g |
| Fat | 21g |
| Fiber | 0g |
| Sugar | 11g |
| Sodium | 590mg |
What You’ll Need
Ingredients (Serves 4)
| Ingredient | Amount | Notes |
|---|---|---|
| Chicken thighs (boneless, skinless) | 2 pounds (about 8 thighs) | Room temperature |
| Brown sugar | 1/3 cup | Packed |
| Garlic | 6 cloves | Minced (about 2 tablespoons) |
| Olive oil | 2 tablespoons | |
| Soy sauce | 1/4 cup | Low-sodium preferred |
| Black pepper | 1/2 teaspoon | Freshly ground |
| Red pepper flakes | 1/4 teaspoon | Optional, for heat |
| Fresh parsley | 2 tablespoons | Chopped, for garnish |
Kitchen Equipment
| Tool | Purpose |
|---|---|
| Large skillet | Cooking the chicken |
| Tongs | Flipping the chicken |
| Measuring cups and spoons | Measuring ingredients |
| Small bowl | Mixing the sauce |
| Whisk or fork | Combining sauce ingredients |
| Meat thermometer | Checking doneness |
| Cutting board | Prepping ingredients |
| Sharp knife | Chopping garlic and herbs |
Possible Substitutions
- Chicken breasts can replace thighs (reduce cooking time by 2-3 minutes)
- Coconut aminos work instead of soy sauce for a gluten-free option
- Honey can substitute for brown sugar (use 1/4 cup)
- Garlic powder (1 tablespoon) if fresh garlic isn’t available
- Coconut oil instead of olive oil for a different flavor profile
Step-by-Step Instructions (Beginner-Friendly Guide)
Prep Time: 10 minutes
Cook Time: 20 minutes
Total Time: 30 minutes
Preparation Phase
- Bring chicken to room temperature (15-20 minutes before cooking)
- Take chicken thighs out of refrigerator
- Place them on a plate on the counter
- This helps the chicken cook more evenly
- IMPORTANT: Don’t leave chicken out for more than 30 minutes for food safety
- Prepare your workspace
- Wash your hands thoroughly with soap and warm water
- Clear counter space for prepping ingredients
- Place cutting board on counter
- Get all equipment and ingredients ready and within reach
- Prepare the garlic
- Separate 6 cloves from the garlic head
- Remove papery skin from each clove (press with flat side of knife to make this easier)
- Mince garlic by:
- Slicing each clove lengthwise into thin slices
- Cut across slices to create tiny pieces
- Continue chopping until pieces are very small (about the size of grains of rice)
- Transfer minced garlic to a small bowl
- TIP: If you’re unsure about your knife skills, you can use a garlic press or pre-minced garlic (2 tablespoons)
- Measure remaining sauce ingredients
- Use measuring cup to measure 1/3 cup brown sugar (push down to pack it)
- Measure 1/4 cup soy sauce
- Measure 1/2 teaspoon black pepper
- If using, measure 1/4 teaspoon red pepper flakes
- Make the sauce
- In a small bowl, combine brown sugar, minced garlic, soy sauce, and red pepper flakes (if using)
- Use a fork or small whisk to mix until ingredients are combined
- Keep stirring until most of the sugar has dissolved (it won’t dissolve completely)
- Set bowl aside where you won’t accidentally knock it over
- Prepare the chicken
- Place chicken thighs on a clean section of cutting board
- Using paper towels, pat both sides of each thigh until they’re completely dry
- Sprinkle a small pinch of salt and black pepper on both sides of each thigh
- WHY THIS MATTERS: Dry chicken browns better and seasoning directly on the meat adds flavor
Cooking Phase
- Heat your pan properly
- Place large skillet on burner
- Set heat to medium-high
- Add 2 tablespoons olive oil to cold pan
- Wait until oil begins to shimmer (about 1-2 minutes)
- HOW TO CHECK: Oil will look wavy and flow more easily when tilted
- CAUTION: Don’t let oil smoke – if it starts smoking, remove from heat briefly and lower temperature
- Add chicken to pan safely
- Using tongs, carefully place each chicken thigh in the pan, smooth side down
- Start at the far side of pan and work toward you to avoid oil splatter
- Leave at least 1/2 inch space between pieces
- If all pieces don’t fit with space between, cook in two batches
- TIP: Listen for a moderate sizzle – too loud means pan is too hot, too quiet means too cool
- Cook first side properly
- Once all pieces are in pan, DON’T TOUCH for 5 minutes
- After 5 minutes, check one thigh by gently lifting edge with tongs
- Look for golden brown color – should be rich golden, not pale
- If not golden enough, cook 1 more minute and check again
- BEGINNER TIP: Color = flavor, so be patient during this step
- Flip chicken safely
- Using tongs, carefully flip each piece of chicken
- Start with the first piece you put in the pan
- Flip away from you to prevent oil splatter
- If chicken sticks to pan, wait 30 seconds and try again – it will release when properly browned
- Cook second side completely
- Allow chicken to cook on second side for 4-5 minutes
- Again, resist the urge to move the chicken around
- This side won’t get as dark as the first side, which is normal
- Check temperature properly
- Insert meat thermometer into thickest part of a thigh
- Avoid touching the pan with the thermometer
- Look for temperature of 165°F (74°C)
- Check at least two pieces to be sure
- If temperature is below 165°F, continue cooking for 1-2 minute intervals
- SAFETY NOTE: Undercooking chicken can cause foodborne illness
Adding the Glaze
- Reduce heat before adding sauce
- Turn heat down to medium-low
- Wait about 30 seconds for pan temperature to decrease
- WHY THIS MATTERS: Sugar burns easily at high temperatures
- Add sauce safely
- Stir sauce once more with fork
- Slowly pour sauce over chicken pieces
- Use a spoon to scoop any sugar that settled at bottom of bowl
- Tilt pan gently in all directions to distribute sauce evenly
- CAUTION: Sauce may sizzle and steam when added to hot pan
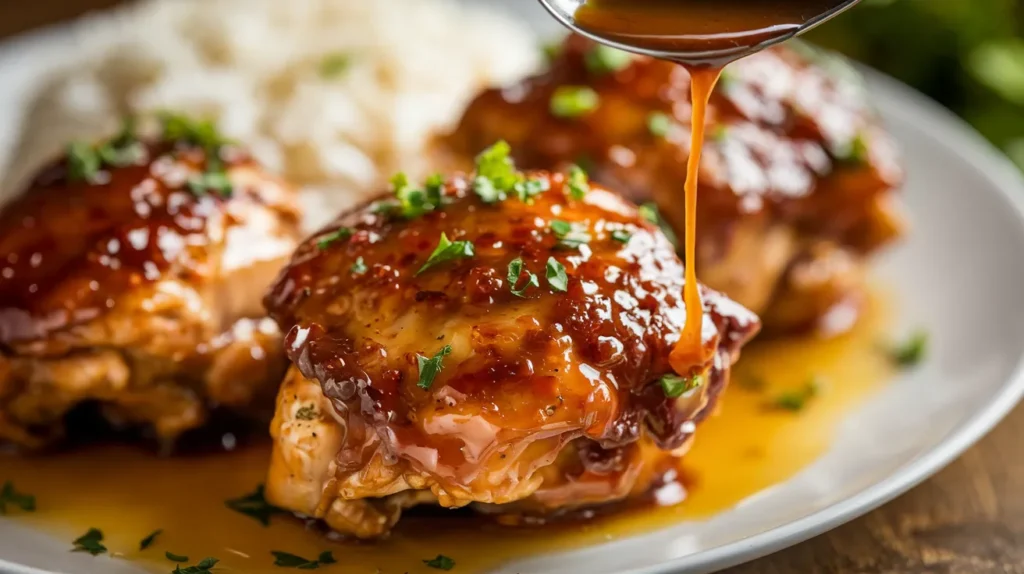
- Create the perfect glaze
- Allow sauce to simmer gently (small bubbles, not rapid boiling)
- Watch carefully as sauce begins to thicken (about 2-3 minutes)
- Using a spoon, continuously baste chicken by scooping sauce and pouring over top of each piece
- Flip each piece of chicken once during this process
- Sauce is ready when it coats the back of a spoon
- VISUAL CUE: Sauce should be thick enough to leave a clear path when you drag your finger across back of spoon
Finishing Touches
- Rest the chicken properly
- Remove pan from heat completely
- Let chicken rest in the pan for 2-3 minutes
- During this time, sauce will continue to thicken
- WHY THIS MATTERS: Resting keeps chicken juicy and allows flavors to settle
- Prepare garnish while waiting
- Rinse parsley under cold water
- Pat dry with paper towel
- Remove leaves from stems
- Chop leaves into small pieces (about 2 tablespoons)
- Plate your masterpiece
- Use tongs to transfer chicken pieces to plates or serving platter
- Spoon extra glaze from pan over each piece
- Sprinkle chopped parsley evenly over chicken
- Serve immediately while hot
Troubleshooting Brown Sugar Garlic Chicken
Problem: Sauce Burns Too Quickly
- Solution: Lower heat immediately and add 2 tablespoons of water to thin the sauce. The sugar in this recipe can burn easily if heat is too high.
- How to prevent: Keep heat at medium-low when adding sauce and watch carefully for any darkening beyond caramelization.
Problem: Chicken Is Undercooked
- Solution: Return to pan, add 2 tablespoons of water to prevent burning, cover with lid, and cook on low heat until internal temperature reaches 165°F.
- How to identify: Chicken appears pink near bone or juices run pink instead of clear.
Problem: Sauce Is Too Thin
- Solution: After removing chicken, simmer sauce alone for 1-2 minutes until it reaches desired thickness.
- Visual cue: Sauce should coat the back of a spoon and not immediately run off.
Problem: Sauce Is Too Thick
- Solution: Stir in 1-2 tablespoons of water or chicken broth to thin it out.
- How to fix: Add liquid gradually while stirring constantly to achieve desired consistency.
Brown Sugar Garlic Chicken Variations to Try
Spicy Brown Sugar Garlic Chicken
- Add 1-2 teaspoons of sriracha or 1/2 teaspoon of cayenne pepper to the sauce
- Garnish with thinly sliced jalapeños for extra heat
Citrus Brown Sugar Chicken
- Add zest and juice of one orange to the sauce mixture
- Replace parsley with 1 tablespoon of chopped cilantro
Asian-Inspired Brown Sugar Garlic Chicken
- Add 1 tablespoon of grated ginger and 1 tablespoon of rice vinegar to the sauce
- Garnish with sliced green onions and 1 teaspoon of sesame seeds
- Serve with steamed white rice
- For a creamier option, try our Creamy Smothered Chicken and Rice recipe
Herb-Infused Option
- Add 1 teaspoon dried thyme or rosemary to the sauce
- Use fresh herbs in place of parsley for garnish
- Serve with roasted potatoes tossed in olive oil and herbs
Storing & Reheating Brown Sugar Garlic Chicken
Refrigerator Storage
- Let chicken cool completely before storing (no more than 2 hours at room temperature)
- Transfer to airtight container with sauce
- Store for up to 3 days in refrigerator
- Label container with date and contents
Freezer Storage
- Portion into freezer-safe containers (individual portions work best)
- Label with date and contents
- Freeze for up to 2 months
- Leave 1/2 inch space at top for expansion
- Cool completely before freezing to prevent ice crystals
Reheating Instructions
Microwave Method:
- Place in microwave-safe dish
- Cover with microwave-safe lid or damp paper towel
- Heat for 1-2 minutes at 70% power
- Stir sauce and rotate chicken
- Heat in additional 30-second intervals until internal temperature reaches 165°F
- Let stand for 1 minute before serving
Stovetop Method (Preferred):
- Place in skillet over medium-low heat
- Add 1-2 tablespoons of water or chicken broth
- Cover with lid and heat for 4-5 minutes
- Flip chicken halfway through
- Check internal temperature reaches 165°F
- Spoon sauce over chicken before serving
Safety Notes & Tips
Food Safety
- Always wash hands for 20 seconds before and after handling raw chicken
- Use separate cutting boards for meat and other ingredients
- Sanitize all surfaces that come in contact with raw chicken
- Never reuse marinades or sauces that have touched raw chicken
- Verify internal temperature reaches 165°F using meat thermometer
- Refrigerate leftovers within 2 hours of cooking
Cooking Tips for Beginners
- Prep all ingredients before turning on heat (called “mise en place”)
- Don’t crowd the pan – chicken will steam instead of brown
- Watch the sauce carefully when reducing to prevent burning
- Let chicken rest before cutting to keep juices inside
- Trim excess fat from thighs before cooking for less splatter
- If sauce starts to burn, immediately move pan off heat and add water
Serving Your Brown Sugar Garlic Chicken
- Pair with steamed jasmine rice to soak up extra sauce
- Serve with simple steamed vegetables like broccoli or green beans
- Add a side salad with light vinaigrette for freshness
- Warm some dinner rolls to clean your plate with
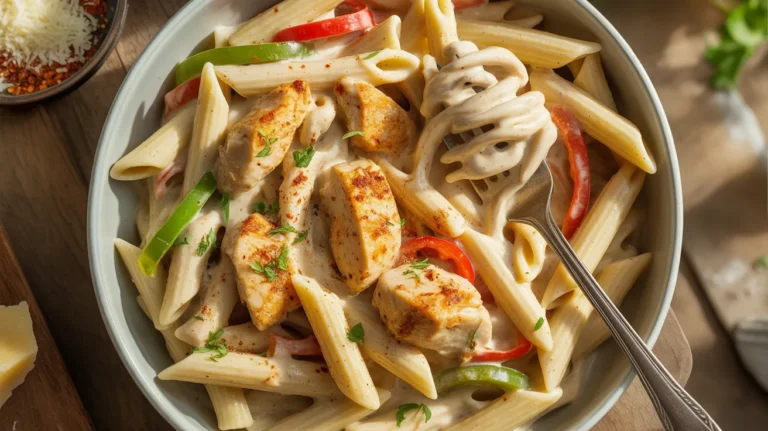
- If you love garlic-forward recipes, try our Garlic Butter Chicken Bites with Creamy Parmesan Pasta as another weeknight option
- Sprinkle with sesame seeds for extra texture and presentation
Quick Tips for Success
- Pat chicken dry completely for better browning
- Room temperature chicken cooks more evenly than cold chicken
- Don’t move chicken for first 3-4 minutes to develop crisp exterior
- Use low-sodium soy sauce to control saltiness
- Fresh garlic gives best flavor, but pre-minced works in a pinch
- Adjust sweetness to taste by starting with less sugar and adding more if needed
- When in doubt about doneness, use your meat thermometer