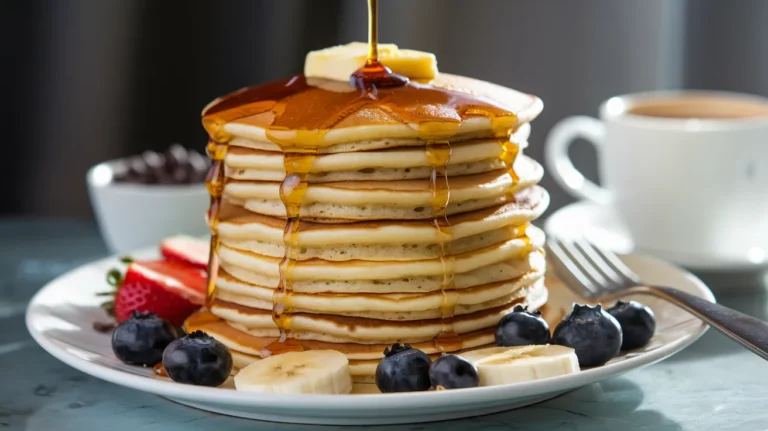
These incredible carbquik pancakes transform your weekend breakfast into a guilt-free indulgence that tastes just like the fluffy pancakes you remember. Made with the popular low-carb baking mix, these carbquik pancakes deliver amazing texture and flavor while keeping carbs under control – perfect for anyone following a keto or low-carb lifestyle without sacrificing their favorite breakfast comfort food.
SERVES: 4 | PREP: 10 MIN | COOK: 15 MIN | TOTAL: 25 MIN
Ingredients
Dry Mix
| Ingredient | Amount |
|---|---|
| Carbquik baking mix | 2 cups |
| Baking powder | 1 teaspoon |
| Salt | 1/4 teaspoon |
| Sweetener (erythritol or stevia blend) | 2 tablespoons |
Wet Ingredients
| Ingredient | Amount |
|---|---|
| Large eggs | 3 |
| Heavy cream | 1/2 cup |
| Water | 1/4 cup |
| Vanilla extract | 1 teaspoon |
| Melted butter | 2 tablespoons |
Detailed Step-by-Step Instructions for Carbquik Pancakes
Phase 1: Equipment Setup and Preparation (5 minutes)
- Set up your cooking station completely before starting. Place your griddle or large non-stick skillet on the stove. If using an electric griddle, plug it in now. Position it away from your mixing area to avoid splatter accidents.
- Preheat your cooking surface slowly to medium heat. Turn the burner to medium (about setting 5 out of 10) and let it warm for 3-4 minutes. For electric griddles, set to 350°F and allow the indicator light to show it’s ready. The gradual heating prevents hot spots that burn pancakes.
- Gather every single ingredient on your counter. Open the Carbquik box, measure out your sweetener, crack your eggs into a small bowl to check for broken shells, and set the heavy cream and vanilla within arm’s reach. This prevents scrambling for ingredients mid-recipe.
- Test your griddle temperature properly. Sprinkle 3-4 drops of water onto the surface. They should dance and sizzle for 2-3 seconds before evaporating completely. If they disappear instantly, your heat is too high. If they just sit there, increase the temperature and wait another minute.
Phase 2: Creating the Perfect Batter (8 minutes)
- Measure Carbquik correctly using the spoon-and-level method. Don’t scoop directly from the box with your measuring cup – this packs too much mix and creates dense pancakes. Instead, use a spoon to lightly fill your measuring cup, then level off with a knife. You want exactly 2 cups, no more.
- Combine all dry ingredients in your largest mixing bowl. Add the measured Carbquik, baking powder, salt, and sweetener. Use a whisk to blend them together for 30 seconds until you see no streaks of individual ingredients. This ensures even distribution and prevents pockets of salt or sweetener.
- Create a deep well in the center of your dry mix. Push the dry ingredients toward the edges of the bowl, leaving a crater in the middle about 4 inches wide. This well technique prevents overmixing when you add wet ingredients – the secret to tender carbquik pancakes.
- Prepare wet ingredients in a separate bowl first. Crack your 3 eggs into a medium bowl and whisk them vigorously for 45 seconds until they’re completely smooth with no visible white streaks. Add the heavy cream, water, vanilla extract, and melted butter (make sure it’s cooled slightly so it doesn’t cook the eggs).
- Whisk wet ingredients until just combined. Blend for 15-20 seconds until the mixture looks uniform. Don’t worry about tiny lumps of butter – they’ll disappear during cooking and actually help create tender pancakes.
- Pour wet ingredients into the dry ingredient well all at once. Don’t pour slowly or in stages – dump it all in the center crater you created. This helps control mixing and prevents flour pockets.
- Mix with exactly 12-15 gentle strokes using a fork. Start from the center well and gradually incorporate dry ingredients from the sides. Stop the moment you can’t see dry Carbquik – the batter should still look lumpy and slightly rough. Overmixing creates tough, chewy carbquik pancakes.
Phase 3: Cooking Your Carbquik Pancakes (12 minutes)
- Double-check your griddle temperature before cooking. The water drop test should still produce that perfect 2-3 second sizzle. If your pan got too hot during batter prep, turn the heat down slightly and wait 30 seconds.
- Grease the cooking surface lightly but evenly. Use a paper towel dipped in melted butter or a quick spray of cooking oil. Wipe off any excess – too much fat causes uneven browning and greasy pancakes. Re-grease between batches only if pancakes start sticking.
- Portion batter using a 1/4 cup measure for consistent size. Dip your measuring cup into the batter and level it off. Pour each pancake portion about 3 inches apart – they’ll spread slightly as they cook. You should get 8 pancakes total from this recipe.
- Pour batter onto the griddle in one smooth motion. Don’t wiggle the cup or try to shape the pancakes – let gravity do the work. The batter will naturally form round shapes. Pour all pancakes you can fit (usually 3-4) before moving to the next step.
- Watch for the first visual cues carefully. After 2 minutes, you’ll see small bubbles forming around the edges. After 2.5-3 minutes, bubbles will appear across the entire surface. When bubbles form and stay open (don’t immediately fill back in), your carbquik pancakes are ready to flip.
- Check the bottom before flipping. Gently lift one edge with your spatula – it should be golden brown, not pale or dark brown. If it’s too light, wait another 30 seconds. If it’s getting dark, your heat is too high for the next batch.
- Flip with confidence using proper technique. Slide a thin spatula completely under each pancake, lift quickly, and flip in one smooth motion. Don’t hesitate or flip twice – carbquik pancakes are more delicate than regular pancakes. They should sizzle gently when they hit the griddle.
- Cook the second side for less time. The second side only needs 1-2 minutes since it’s thinner and the pan is fully heated. Look for the edges to appear set and slightly dry. Press gently with your spatula – the pancake should spring back slightly.
- Keep finished pancakes warm properly. Place cooked carbquik pancakes on a baking sheet in a 200°F oven. Don’t stack them directly – use parchment paper between layers if needed. This prevents sogginess while keeping them warm for serving.
Chef’s Notes for Perfect Carbquik Pancakes
• Room temperature ingredients blend easier – take eggs and cream out of the fridge 30 minutes before cooking for smoother batter.
• Batter consistency should coat a spoon but still pour easily. If too thick, add water one teaspoon at a time. Too thin means your pancakes will spread too much.
• Let batter rest for 3 minutes after mixing. This allows Carbquik to fully hydrate, creating more tender pancakes with better structure.
• Medium heat is non-negotiable for carbquik pancakes. High heat burns the outside while leaving the inside gummy and undercooked.
Nutrition Information (Per Serving)
Calories: 285 | Protein: 12g | Net Carbs: 8g | Fat: 22g
Creative Carbquik Pancake Variations
Double Chocolate Chip
Fold in 1/4 cup sugar-free chocolate chips and 1 tablespoon unsweetened cocoa powder for decadent carbquik pancakes. These chocolate chip and banana pancakes inspired this rich variation.
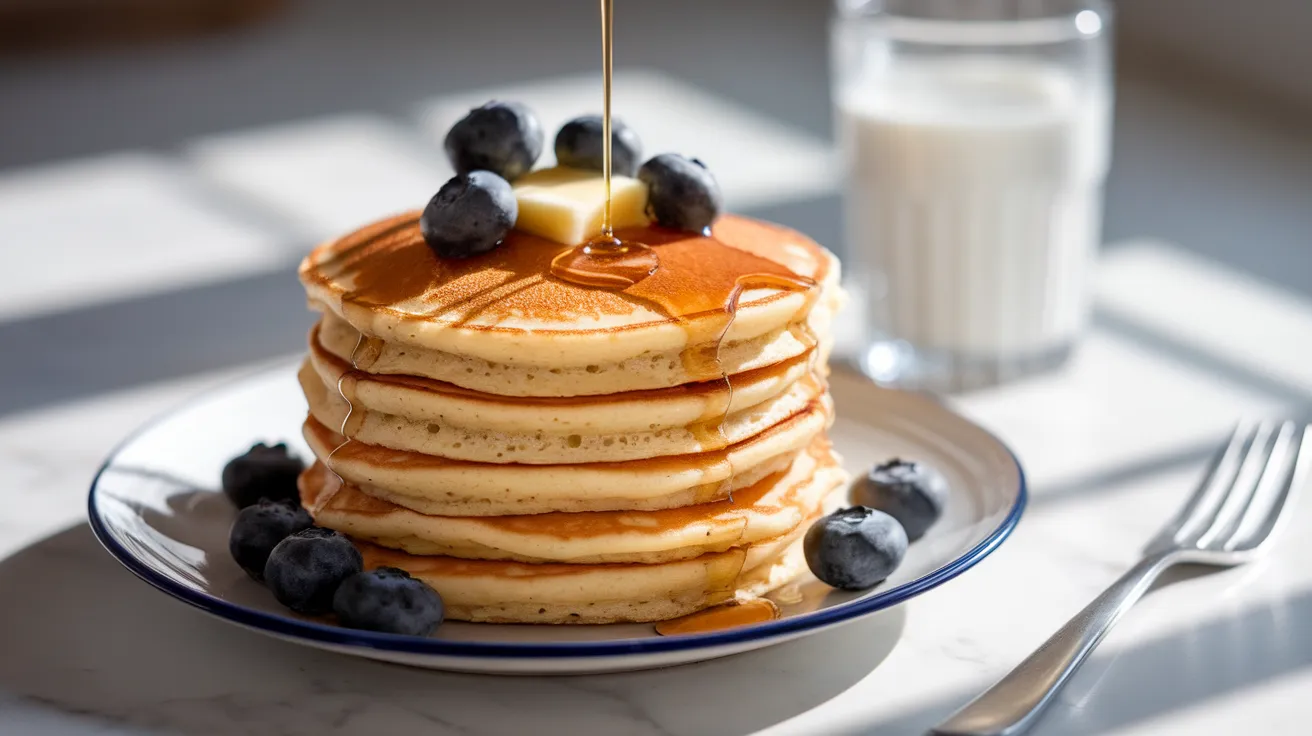
Fresh Berry Medley
Gently fold 1/3 cup mixed fresh berries into the finished batter. The natural fruit sugars complement the Carbquik base beautifully.
High-Protein Power Pancakes
Replace 1/4 cup Carbquik with vanilla protein powder for extra muscle-building benefits. These rival the best protein pancakes for post-workout fuel.
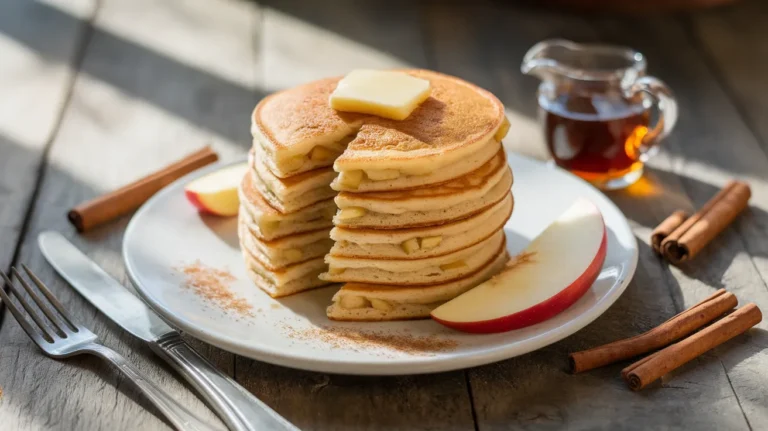
Warm Spice Blend
Add 1 teaspoon cinnamon, 1/4 teaspoon nutmeg, and a pinch of cardamom to your dry ingredients for bakery-style carbquik pancakes.
Storage & Reheating Your Carbquik Pancakes
Refrigerator Storage: Cool completely before storing. Layer parchment paper between pancakes in an airtight container for up to 4 days. This prevents sticking and maintains texture.
Freezer Storage: Flash-freeze on baking sheets for 2 hours, then transfer to freezer bags. Remove excess air and freeze for up to 3 months. Label with date and contents.
Best Reheating Methods:
- Toaster: Place frozen pancakes directly in toaster slots for 1-2 cycles until heated through
- Microwave: Heat refrigerated pancakes 20-30 seconds; frozen ones 60-90 seconds
- Oven: Arrange on baking sheet and warm at 300°F for 8-10 minutes
Troubleshooting Common Carbquik Pancake Problems
Problem: Dense, heavy pancakes Solution: Your baking powder may be old (replace every 6 months), or you overmixed the batter. Next time, stir just until ingredients barely come together.
Problem: Pancakes burning outside, raw inside Solution: Heat is too high. Lower to medium-low and cook longer. Carbquik pancakes need gentle, patient cooking to cook through properly.
Problem: Batter seems too thick to pour Solution: Add warm water one tablespoon at a time until batter flows easily but still holds its shape on the griddle.
Problem: Pancakes taste bland Solution: Increase vanilla to 1.5 teaspoons and add 1/4 teaspoon cinnamon to boost flavor without adding carbs.
Problem: Sticking to the pan Solution: Your pan isn’t hot enough, or you need more fat. Re-grease between batches and ensure proper preheating.
Essential Equipment for Making Carbquik Pancakes
• Large mixing bowls (at least 3-quart capacity) • Wire whisk for smooth blending • 1/4 cup dry measuring cup for perfect portioning • Non-stick griddle or heavy-bottomed skillet • Thin, flexible spatula for easy flipping • Digital kitchen scale (optional but recommended for accuracy)
Organized Shopping List
Baking Aisle
- Carbquik baking mix (32 oz box)
- Baking powder (check expiration date)
- Pure vanilla extract
- Granulated erythritol or stevia blend
Dairy Section
- Heavy whipping cream
- Unsalted butter
- Large eggs (Grade A)
Pantry Staples
- Fine sea salt
Five Success Secrets for Perfect Carbquik Pancakes
- Master your heat control – consistent medium temperature throughout cooking creates evenly golden, perfectly cooked pancakes every time.
- Measure Carbquik by weight when possible – 2 cups equals roughly 240 grams for the most consistent results batch after batch.
- Time your flips by watching bubbles – when surface bubbles form and stay open without filling back in, that’s your perfect flip moment.
- Keep batter lumpy on purpose – smooth batter creates tough, chewy carbquik pancakes. Embrace those lumps for tender results.
- Serve immediately for best texture – carbquik pancakes are at their fluffiest peak right off the griddle, though they reheat beautifully too.
These detailed instructions ensure your first batch of carbquik pancakes turns out perfectly fluffy and delicious, giving you confidence to make them again and again for your family’s favorite low-carb breakfast!