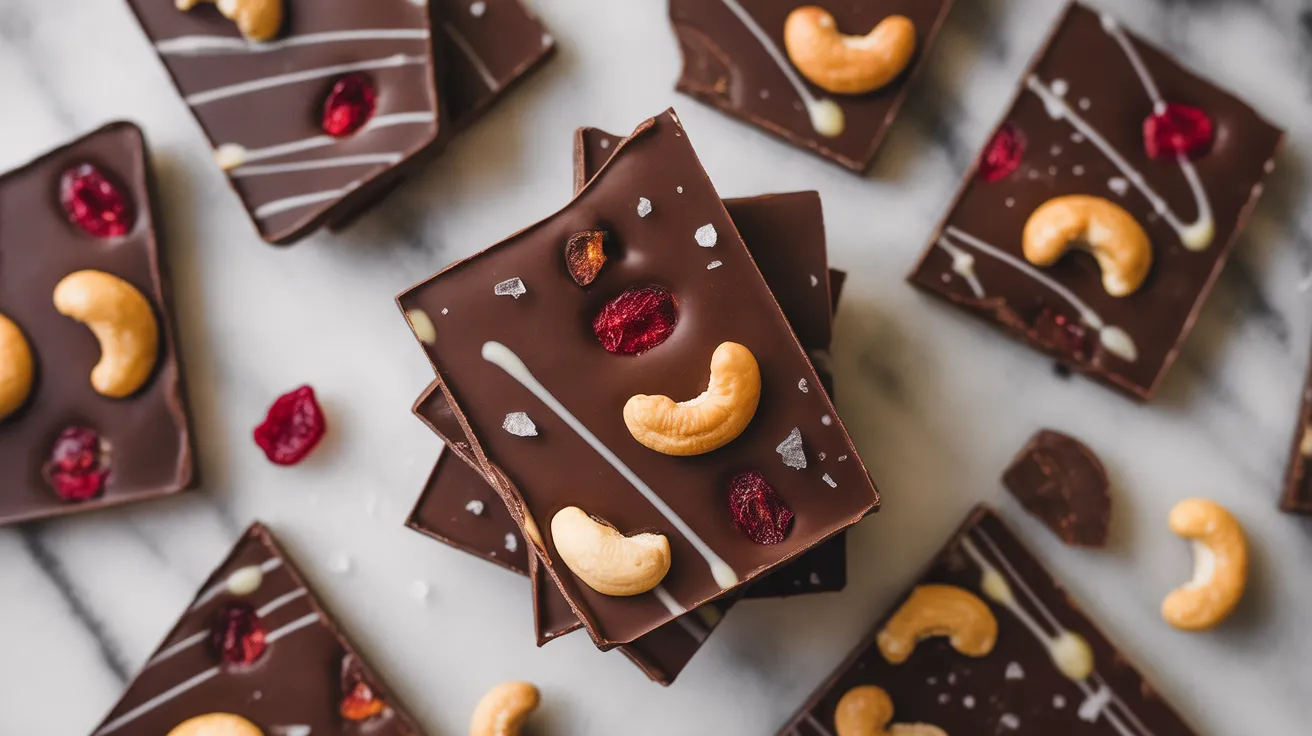
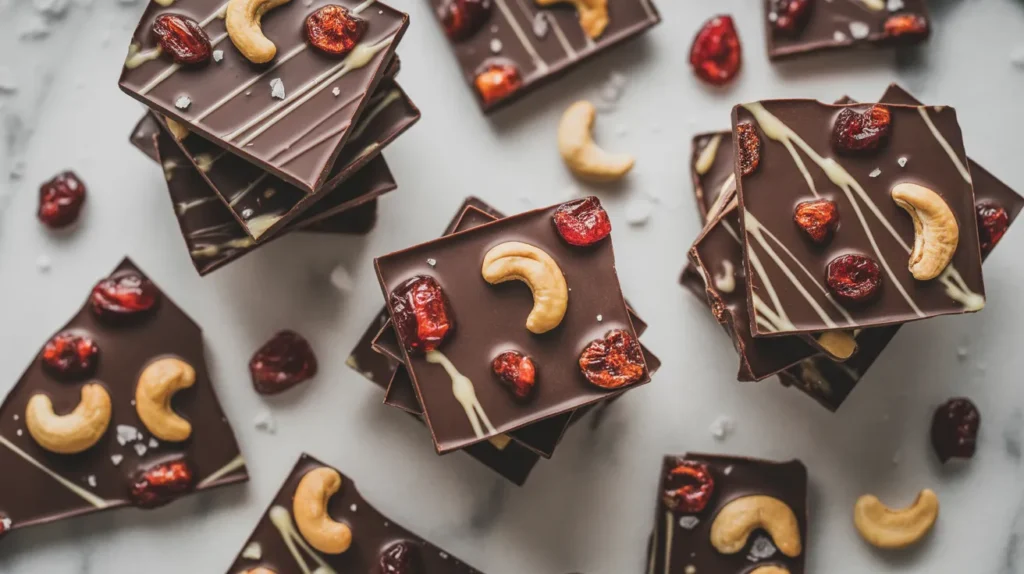
This cherry cashew chocolate bark combines rich dark chocolate with crunchy roasted cashews and tangy dried cherries for an impressive treat that takes just minutes to make. I’ve been making this cherry cashew chocolate bark for years, and it never fails to wow guests at parties—even though it’s secretly one of the easiest recipes I know.
SERVES: 4 | PREP: 15 MIN | COOK: 5 MIN | TOTAL: 2 HR 20 MIN
Ingredients
Chocolate Base
| Ingredient | Amount |
|---|---|
| Dark chocolate chips | 12 oz (2 cups) |
| Coconut oil | 1 tablespoon |
| Vanilla extract | 1 teaspoon |
| Sea salt | ¼ teaspoon |
Toppings
| Ingredient | Amount |
|---|---|
| Roasted cashews | 1 cup, roughly chopped |
| Dried cherries | ¾ cup, roughly chopped |
| White chocolate chips | ¼ cup (optional drizzle) |
| Flaky sea salt | For finishing |
Step-by-Step Instructions
Phase 1: Preparation (5 minutes)
Step 1: Line a 9×13-inch baking sheet with parchment paper, making sure the paper extends over the edges by about 2 inches on each side. This overhang becomes your handles for lifting the bark out later, which prevents cracking.
Step 2: Roughly chop your cashews into pieces about the size of large peas. I don’t make them uniform because different sizes create better texture contrast when you bite into the finished bark.
Step 3: Chop the dried cherries into halves or thirds. Smaller pieces distribute better throughout the bark and prevent big chunks that make breaking the bark difficult later.
Phase 2: Melting the Chocolate (5 minutes)
Step 4: Add your dark chocolate chips and coconut oil to a microwave-safe bowl. The coconut oil helps thin the chocolate slightly, making it easier to spread and giving it that professional glossy finish.
Step 5: Microwave on 50% power for 30-second intervals, stirring thoroughly between each interval. This gentle heating prevents the chocolate from seizing or burning—I learned this the hard way after ruining three batches early on.
Step 6: Keep microwaving and stirring until you have about 90% of the chips melted. Stop microwaving at this point and let the residual heat melt the remaining chips as you stir. This technique prevents overheating.
Step 7: Stir in the vanilla extract and sea salt. The salt enhances the chocolate flavor instead of making it taste salty—it’s a game-changer that professional chocolatiers always use.
Phase 3: Assembly (5 minutes)
Step 8: Pour the melted chocolate onto your prepared parchment paper. Use a silicone spatula to spread it into a rectangle roughly ¼ inch thick. Don’t worry about perfect edges—rustic looks more artisanal anyway.
Step 9: Working quickly before the chocolate starts to set, sprinkle ¾ of the chopped cashews evenly across the surface. Press them gently into the chocolate with clean fingertips so they stick properly when the bark hardens.
Step 10: Scatter the chopped dried cherries over the cashews, again pressing them lightly into the chocolate. The cherries add beautiful pops of red color and tangy sweetness that cuts through the rich chocolate.
Step 11: Sprinkle the remaining cashews on top. This creates layers of nuts throughout the bark—some pressed in deep, some sitting on the surface for varied crunch.
Step 12: If using white chocolate, melt it the same way you did the dark chocolate and drizzle it over the bark using a fork or a piped plastic bag with the corner snipped off. This adds visual appeal and a creamy flavor contrast.
Step 13: Finish with a light sprinkle of flaky sea salt across the entire surface. The salt crystals catch the light and add an elegant touch.
Phase 4: Setting (2 hours)
Step 14: Transfer the baking sheet to your refrigerator and let it chill for 2 hours minimum. The bark needs to be completely solid before you break it, or it’ll just smoosh instead of snap.
Step 15: Once hardened, lift the bark out using the parchment paper handles. Place it on a cutting board and use your hands to break it into irregular pieces. I aim for pieces roughly 2-3 inches in size—perfect for sharing.
Step 16: If any toppings fall off during breaking, press them back into the chocolate side while applying slight pressure. The natural oils in the chocolate will help them stick again.
Chef’s Notes
Temperature Control: Room temperature matters more than you’d think. If your kitchen is warm (above 75°F), the chocolate may not set properly in the fridge. I sometimes freeze mine for 30 minutes instead when I’m making this cherry cashew chocolate bark during summer months.
Chocolate Quality: Use good-quality dark chocolate with at least 60% cacao. The better your chocolate, the better your bark—cheap chocolate contains more wax and less cocoa butter, making it harder to work with.
Toasting Cashews: While I call for roasted cashews, toasting them yourself for 8 minutes at 350°F creates much deeper flavor. Let them cool completely before adding to prevent the chocolate from melting.
Cherry Selection: Look for soft, pliable dried cherries rather than the hard, sugar-crusted variety. Trader Joe’s and Whole Foods carry excellent options that stay tender in the finished bark.
Nutrition Information (Per Serving)
- Calories: 385
- Protein: 6g
- Carbohydrates: 38g
- Fat: 25g
- Fiber: 4g
- Sugar: 28g
Delicious Variations
Tropical Twist: Replace cherries with dried pineapple and cashews with macadamia nuts. Add toasted coconut flakes for a vacation-worthy treat that reminds me of beach trips.
Peanut Butter Lover’s Version: Swirl 2 tablespoons of natural peanut butter into the melted chocolate before spreading. This creates marble patterns and adds creamy richness that peanut butter fans go crazy for.
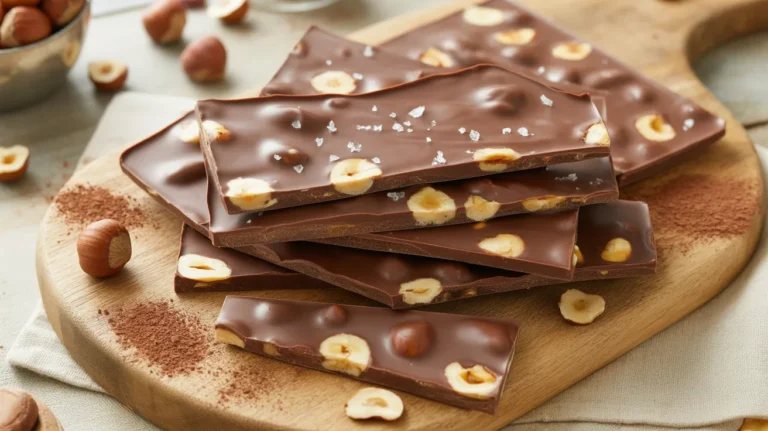
Holiday Spice: Add ½ teaspoon cinnamon and ¼ teaspoon cayenne to the melted chocolate. Use dried cranberries instead of cherries for a festive twist. If you love chocolate bark variations, try my chocolate hazelnut bark for another crowd-pleasing option.
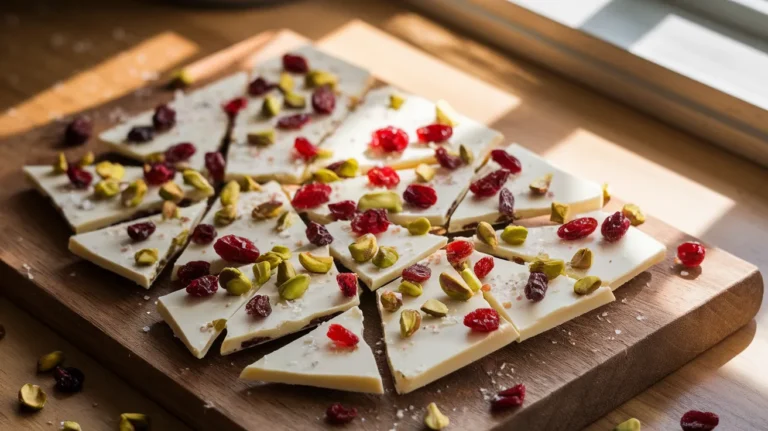
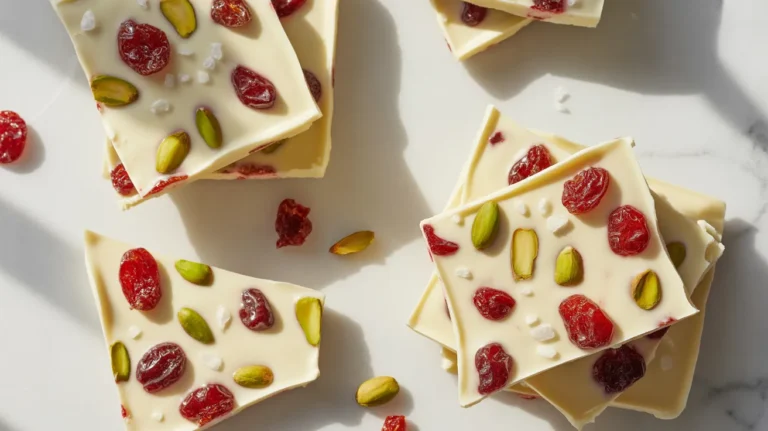
Triple Nut Delight: Combine cashews with almonds and pistachios for visual appeal and complex flavor. My salted caramel pretzel bark uses a similar multi-textured approach that works beautifully.
Storage & Reheating
Room Temperature: Store your cherry cashew chocolate bark in an airtight container with parchment paper between layers for up to 1 week. Keep it in a cool, dry place away from direct sunlight or heat sources.
Refrigerated: The bark stays fresh in the fridge for 3 weeks when properly stored. I actually prefer eating it cold because the chocolate has a better snap and the cherries stay chewy.
Frozen: Freeze for up to 3 months in a freezer-safe container or bag. Let it sit at room temperature for 5-10 minutes before serving—frozen bark can be too hard to bite.
Warning: Never store chocolate bark in humid conditions or near strong-smelling foods. Chocolate absorbs odors easily and humidity causes that white “bloom” that looks unappetizing (though it’s still safe to eat).
Troubleshooting Common Problems
Chocolate Won’t Melt Smoothly: You’ve probably overheated it or gotten water in the bowl. Start over with fresh chocolate and make absolutely sure your bowl is completely dry—even one drop of water will seize chocolate into a grainy mess.
Toppings Fall Off After Breaking: The chocolate wasn’t warm enough when you added the toppings, so they didn’t get pressed in properly. Next time, work faster and press toppings more firmly into the still-melted chocolate.
Bark Is Too Thick and Hard to Bite: You spread the chocolate too thick. Pour less chocolate or use a larger pan. The sweet spot for cherry cashew chocolate bark is ¼ inch thick—thin enough to snap easily but thick enough to support the toppings.
White Streaks or Spots Appeared: This is called chocolate “bloom” and happens when chocolate gets too warm then cools again, or from moisture. It’s completely safe to eat, just not as pretty. Store bark in consistent, cool temperatures to prevent this.
Bark Tastes Waxy: You used low-quality chocolate chips with too many stabilizers. Invest in better chocolate—look for brands listing “cocoa butter” as the fat source rather than “vegetable oil.”
Equipment Essentials
- 9×13-inch baking sheet
- Parchment paper (don’t substitute wax paper—it’s not heat safe)
- Microwave-safe mixing bowl (glass or ceramic)
- Silicone spatula for spreading
- Sharp knife for chopping nuts and cherries
- Cutting board
- Measuring cups and spoons
Shopping List
Baking Aisle
- Dark chocolate chips (12 oz)
- White chocolate chips (if making drizzle)
- Vanilla extract
Nuts & Dried Fruit Section
- Roasted cashews (1 cup)
- Dried cherries (¾ cup)
Oils & Seasonings
- Coconut oil
- Sea salt (regular and flaky)
Success Secrets
1. Use High-Quality Chocolate: The chocolate is the star here, so don’t cheap out. I use Ghirardelli or Guittard dark chocolate chips for consistently great results in my cherry cashew chocolate bark.
2. Work in a Cool Kitchen: Chocolate sets best when your kitchen is below 70°F. I sometimes turn on the AC before making bark during summer because warm kitchens lead to soft, fingerprint-covered chocolate.
3. Don’t Skip the Parchment: Wax paper will stick to the chocolate and create a mess. Parchment paper releases perfectly every time and makes cleanup effortless.
4. Break, Don’t Cut: Cutting chocolate bark with a knife creates chocolate dust and straight edges that look unnatural. Breaking by hand gives you those beautiful irregular shards that look professionally made.
5. Make It Personal: The beauty of chocolate bark is how customizable it is. Once you master this cherry cashew chocolate bark recipe, experiment with your favorite nuts, dried fruits, and even crushed cookies or candy pieces.