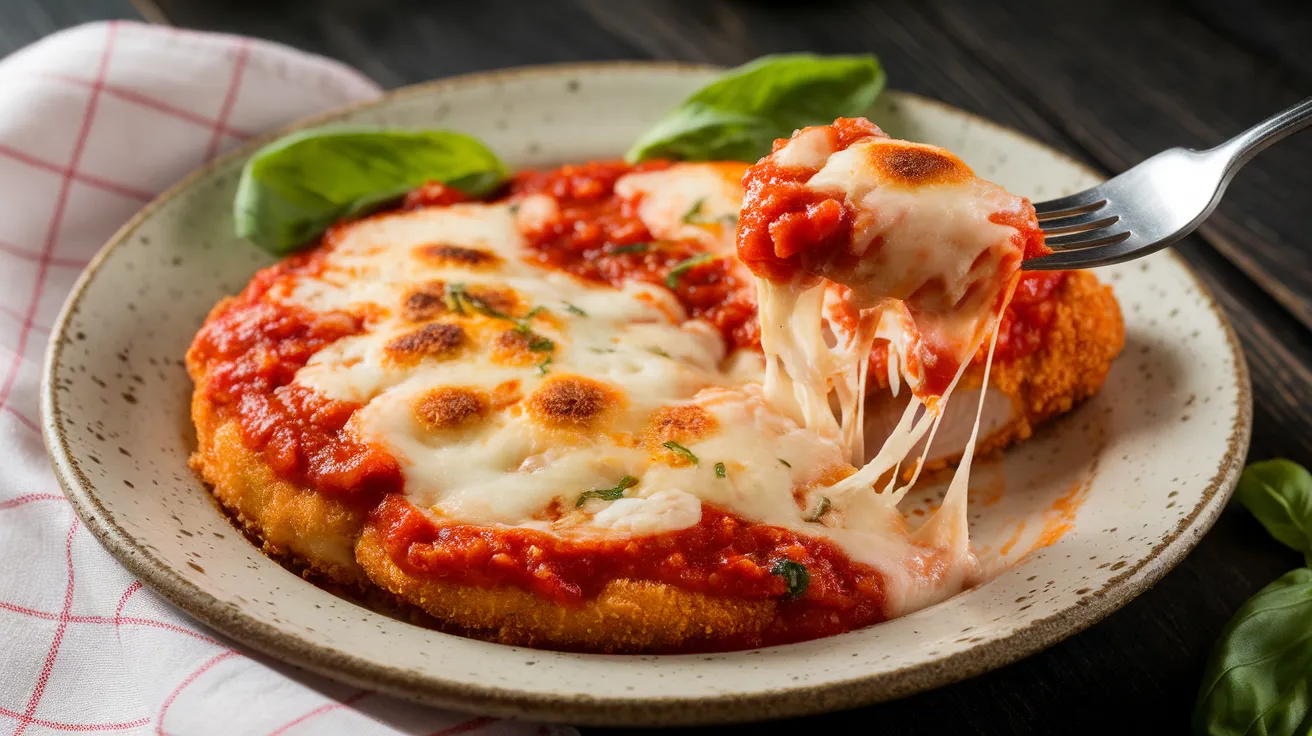
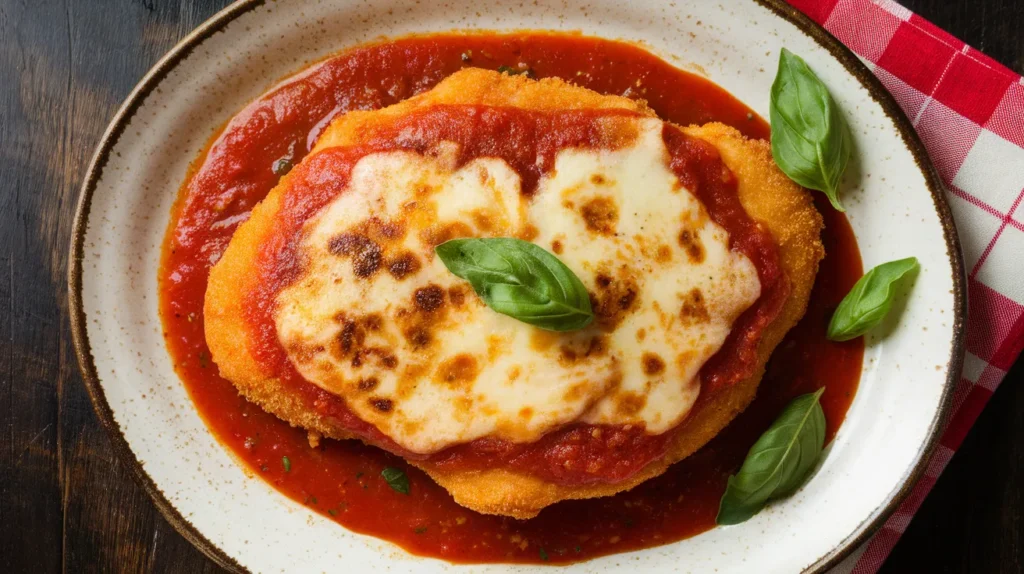
Golden-crisp breaded chicken cutlets smothered in tangy marinara sauce and melted mozzarella cheese create the ultimate Italian-American comfort food. This classic chicken parmigiana delivers restaurant-quality results right in your home kitchen, with tender meat that stays juicy under a blanket of bubbling cheese and rich tomato sauce.
SERVES: 4 | PREP: 25 MIN | COOK: 35 MIN | TOTAL: 60 MIN
Ingredients You’ll Need
For the Chicken:
| Ingredient | Amount |
|---|---|
| Boneless, skinless chicken breasts | 4 large (6-8 oz each) |
| All-purpose flour | 1 cup |
| Large eggs | 3 |
| Italian breadcrumbs | 2 cups |
| Parmesan cheese, grated | ¾ cup |
| Salt | 1½ teaspoons |
| Black pepper | 1 teaspoon |
| Garlic powder | 1 teaspoon |
| Vegetable oil (for frying) | 1 cup |
For the Assembly:
| Ingredient | Amount |
|---|---|
| Marinara sauce | 3 cups |
| Fresh mozzarella cheese, sliced | 12 oz |
| Parmesan cheese, grated | ½ cup |
| Fresh basil leaves | ¼ cup |
| Olive oil | 2 tablespoons |
Step-by-Step Instructions
Phase 1: Preparing the Chicken (10 minutes)
Step 1: Place each chicken breast between two sheets of plastic wrap or parchment paper. Using a meat mallet or rolling pin, pound the chicken to an even ½-inch thickness throughout. This ensures every bite cooks at the same rate and stays tender.
Step 2: Pat the chicken completely dry with paper towels. Any moisture will prevent the breading from sticking properly and create a soggy coating instead of that crispy crust you want.
Step 3: Season both sides of each chicken breast generously with salt and pepper. Don’t skip this step—it’s your only chance to season the actual meat before breading.
Phase 2: Setting Up Your Breading Station (5 minutes)
Step 4: Arrange three shallow bowls in a row on your counter. In the first bowl, add the flour. In the second bowl, beat the eggs with 2 tablespoons of water until completely combined. In the third bowl, mix the breadcrumbs with ¾ cup Parmesan cheese, garlic powder, and a pinch of salt.
Step 5: Line a baking sheet with parchment paper and place it at the end of your breading station. This is where you’ll rest your breaded chicken before cooking.
Phase 3: Breading the Chicken (10 minutes)
Step 6: Take one piece of chicken and coat it completely in flour, shaking off any excess. The flour creates a dry surface that helps the egg stick.
Step 7: Dip the floured chicken into the beaten eggs, letting any excess drip back into the bowl. Make sure every spot is covered—any dry patches will cause the breadcrumbs to fall off during cooking.
Step 8: Press the chicken firmly into the breadcrumb mixture, coating both sides thoroughly. Use your hands to really press those crumbs in so they adhere. Place on the prepared baking sheet and repeat with remaining chicken pieces.
Step 9: Let the breaded chicken rest for 5 minutes before cooking. This helps the coating set and stick better during frying.
Phase 4: Frying the Chicken (15 minutes)
Step 10: Heat the vegetable oil in a large skillet over medium-high heat until it reaches 350°F. Test by dropping in a breadcrumb—it should sizzle immediately but not burn. If you don’t have a thermometer, the oil is ready when you see gentle ripples across the surface.
Step 11: Carefully place 2 chicken breasts in the hot oil without crowding the pan. Fry for 4-5 minutes on the first side without moving them. You’ll know they’re ready to flip when the edges turn golden brown and the coating looks set.
Step 12: Flip the chicken using tongs (never a fork, which will pierce the coating) and cook for another 4-5 minutes until the second side is golden brown and the internal temperature reaches 165°F. The chicken should feel firm when pressed gently.
Step 13: Transfer the cooked chicken to a paper towel-lined plate to drain excess oil. Repeat the frying process with the remaining 2 pieces of chicken.
Phase 5: Assembly and Baking (20 minutes)
Step 14: Preheat your oven to 400°F. Spread 1 cup of marinara sauce across the bottom of a 9×13-inch baking dish. This prevents the chicken from sticking and adds flavor.
Step 15: Arrange the fried chicken breasts in a single layer over the sauce. Spoon the remaining marinara sauce evenly over each piece, making sure to cover the top surface completely.
Step 16: Layer 3-4 slices of fresh mozzarella on top of each chicken breast, slightly overlapping them. Sprinkle the remaining ½ cup of Parmesan cheese over everything.
Step 17: Bake for 15-18 minutes until the cheese is melted, bubbly, and starting to brown in spots. The sauce should be bubbling around the edges of the pan.
Step 18: Remove from the oven and let rest for 5 minutes before serving. Drizzle with olive oil and tear fresh basil leaves over the top for a restaurant-worthy presentation.
Chef’s Notes
Moisture Control: The secret to extra-crispy chicken parmigiana is keeping your chicken dry before breading and maintaining proper oil temperature throughout frying.
Cheese Selection: Fresh mozzarella melts beautifully but releases more liquid than low-moisture mozzarella. For maximum stretchiness without excess water, try a combination of both.
Sauce Temperature: Warm your marinara sauce slightly before adding it to the baking dish. Cold sauce will lower the oven temperature and increase cooking time.
Make-Ahead Magic: Bread the chicken up to 4 hours ahead and refrigerate uncovered. The coating will set even better, resulting in an exceptionally crispy crust when fried.
Nutrition Information (Per Serving)
Calories: 680 | Protein: 58g | Carbohydrates: 42g | Fat: 30g | Fiber: 3g | Sodium: 1,450mg
Delicious Variations to Try
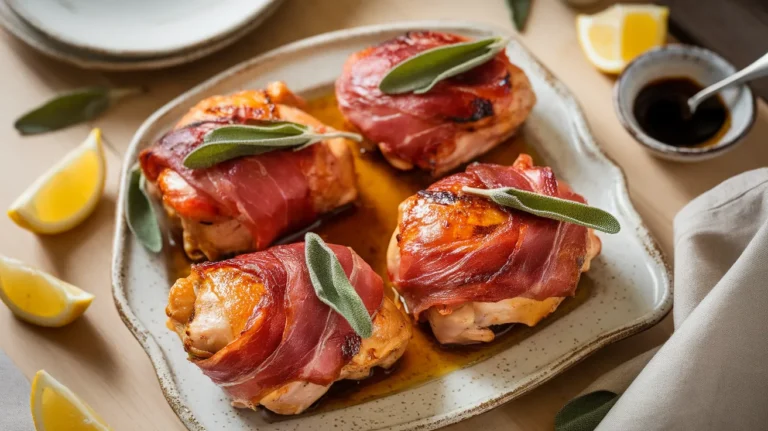
Prosciutto-Wrapped Chicken Parm: Before breading, wrap each chicken breast with 2 thin slices of prosciutto for an extra layer of Italian flavor and salty richness.
Eggplant & Chicken Stack: Layer breaded eggplant slices between the chicken and cheese for a heartier version that combines two Italian classics in one dish, similar to how you might prepare classic Italian chicken cutlets with vegetables.
Vodka Sauce Twist: Swap traditional marinara for creamy vodka sauce and add a handful of baby spinach under the cheese for a luxurious variation with added nutrients.
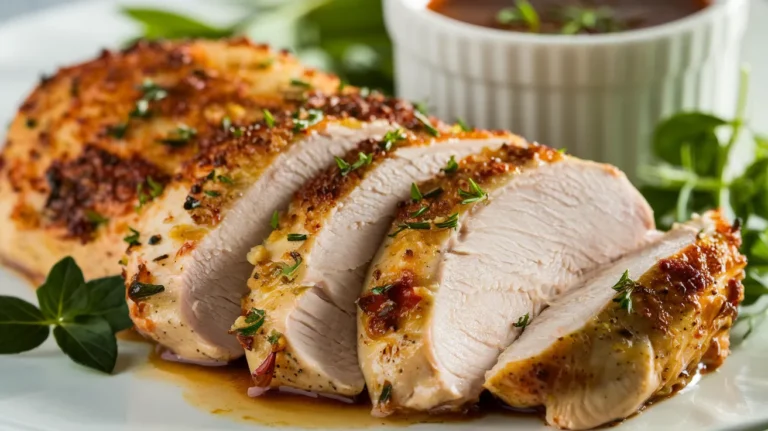
Crispy Chicken Milanese Parm: For an even lighter, crispier result, try using the pounding technique from chicken milanese to create ultra-thin cutlets that cook faster and get extra crunchy.
Storage & Reheating
Refrigeration: Store leftover chicken parmigiana in an airtight container for up to 3 days. Keep the sauce-covered chicken separate from any fresh basil garnish.
Freezing: Freeze assembled but unbaked chicken parmigiana for up to 2 months. Wrap individual portions tightly in plastic wrap, then aluminum foil. Bake from frozen at 375°F for 35-40 minutes.
Reheating: Reheat in a 350°F oven for 15-20 minutes until heated through and the cheese is bubbly again. Avoid microwaving, which makes the breading soggy and rubbery.
Breading Prep: Freeze breaded (but uncooked) chicken breasts on a baking sheet until solid, then transfer to freezer bags for up to 1 month. Fry directly from frozen, adding 2-3 minutes to cooking time.
Troubleshooting Common Problems
Problem: Breading Falls Off During Frying The coating likely didn’t adhere properly. Make sure your chicken is completely dry before breading, press the breadcrumbs firmly into the meat, let it rest before frying, and maintain oil temperature at 350°F. Too-cool oil causes breading to absorb grease and slide off.
Problem: Chicken Is Dry and Overcooked You probably cooked it too long or at too high a temperature. Remember, the chicken continues cooking in the oven after frying, so pull it from the oil when it just reaches 160°F—it’ll hit 165°F during baking. Using a meat thermometer eliminates all guesswork.
Problem: Cheese Won’t Melt Properly Your oven temperature might be too low, or you’re using cold cheese straight from the refrigerator. Let the mozzarella sit at room temperature for 20 minutes before using, and make sure your oven is fully preheated to 400°F before baking.
Problem: Bottom Gets Soggy Too much sauce or insufficient draining after frying causes this. Use just enough sauce to coat the bottom of the pan (about 1 cup), drain fried chicken thoroughly on paper towels, and avoid overcrowding the baking dish which traps steam.
Problem: Coating Burns Before Chicken Cooks Through Your oil is too hot. Reduce the heat to medium and let it stabilize at 350°F. If you don’t have a thermometer, drop a breadcrumb in—it should sizzle steadily but not turn dark brown within seconds.
Equipment Essentials
- Meat mallet or rolling pin
- Three shallow bowls for breading
- Large skillet (12-inch) with high sides
- Instant-read meat thermometer
- 9×13-inch baking dish
- Tongs (never forks)
- Paper towel-lined plates
- Parchment paper
Shopping List
Meat Counter:
- 4 large boneless, skinless chicken breasts (6-8 oz each)
- 12 oz fresh mozzarella cheese
Dairy Section:
- 3 large eggs
- Grated Parmesan cheese (1¼ cups total)
Pantry Aisle:
- All-purpose flour
- Italian breadcrumbs
- Garlic powder
- Vegetable oil
Produce:
- Fresh basil (1 bunch)
Canned Goods:
- Marinara sauce (24 oz jar or homemade)
Oils & Seasonings:
- Olive oil
- Salt and black pepper
Success Secrets From the Test Kitchen
1. Temperature Is Everything: Keep your frying oil at a steady 350°F for perfectly golden, crispy chicken that’s never greasy. Oil that’s too cool makes soggy breading; too hot burns the coating before the inside cooks.
2. Pound for Perfection: Even ½-inch thickness throughout each breast ensures every piece cooks at the same rate, preventing dry edges and raw centers.
3. Rest Between Steps: Let breaded chicken rest 5 minutes before frying and let cooked chicken parmigiana rest 5 minutes after baking. These pauses help everything set properly for the best texture.
4. Fresh Mozzarella Wins: Pre-shredded cheese contains anti-caking agents that prevent proper melting. Slice your own fresh mozzarella for that gorgeous stretchy, melty topping everyone loves.
5. Don’t Overcrowd: Fry only 2 pieces at a time to maintain oil temperature and give yourself room to flip without splashing. Patience here means perfect results every single time.