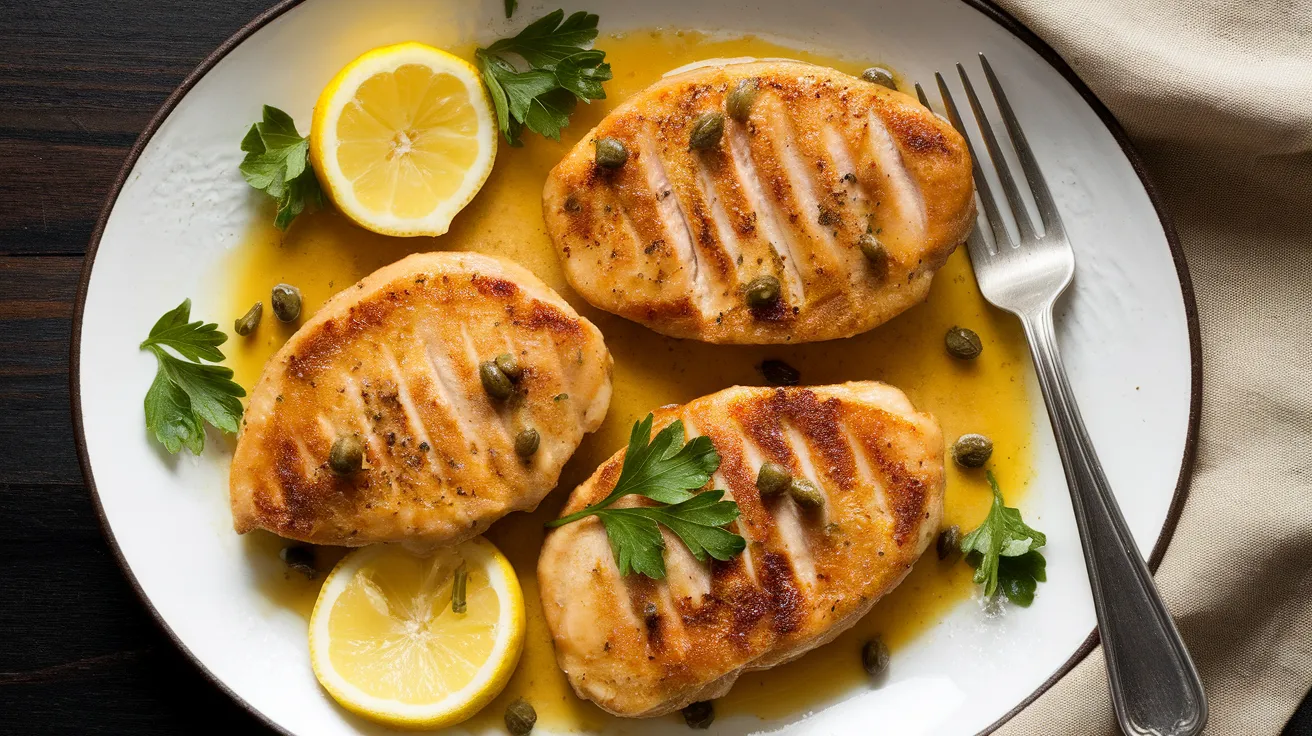
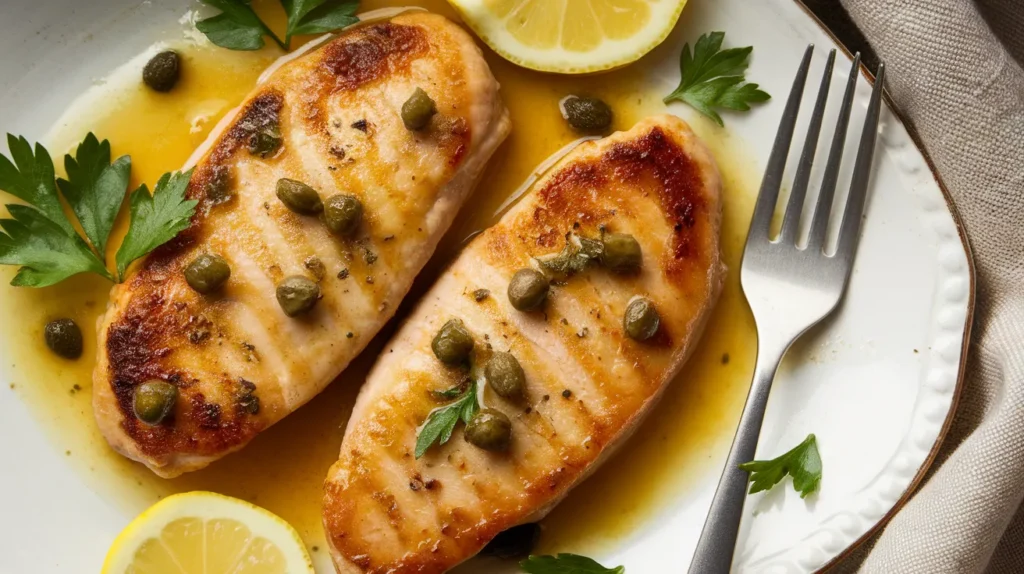
This bright, lemony chicken piccata brings restaurant flavors to your table in under 40 minutes. Tender chicken cutlets swim in a silky butter-caper sauce that’s tangy, savory, and downright addictive. Perfect for busy weeknights or impressing dinner guests, this chicken piccata delivers Italian elegance without the fuss.
SERVES: 4 | PREP: 15 MIN | COOK: 20 MIN | TOTAL: 35 MIN
What You’ll Need
For the Chicken:
| Ingredient | Amount |
|---|---|
| Boneless, skinless chicken breasts | 2 large (about 1.5 lbs) |
| All-purpose flour | ½ cup |
| Salt | 1 teaspoon |
| Black pepper | ½ teaspoon |
| Olive oil | 3 tablespoons |
| Butter | 2 tablespoons |
For the Piccata Sauce:
| Ingredient | Amount |
|---|---|
| Dry white wine | ½ cup |
| Fresh lemon juice | ⅓ cup (about 2 lemons) |
| Chicken broth | ¾ cup |
| Capers (drained) | 3 tablespoons |
| Butter (cold) | 4 tablespoons |
| Fresh parsley (chopped) | 2 tablespoons |
| Garlic (minced) | 2 cloves |
Step-by-Step Instructions
Phase 1: Preparing the Chicken (5 minutes)
Step 1: Place each chicken breast on a cutting board and slice horizontally through the middle to create two thin cutlets from each breast.
Why this matters: Thinner cutlets cook faster and more evenly, preventing dry chicken.
Step 2: Lay each cutlet between two sheets of plastic wrap or parchment paper.
Step 3: Using a meat mallet or heavy skillet, gently pound each piece until it’s about ¼-inch thick throughout.
Pro tip: Work from the center outward to avoid tearing the meat.
Step 4: Pat both sides of each cutlet completely dry with paper towels.
This step is crucial because moisture prevents proper browning and creates steam instead of a golden crust.
Phase 2: Setting Up Your Dredging Station (3 minutes)
Step 5: Mix the flour, salt, and pepper together in a shallow dish or plate.
Step 6: Arrange your workspace with the seasoned flour, dried chicken cutlets, and a clean plate for the dredged chicken.
Step 7: Dredge each cutlet in the flour mixture, coating both sides evenly, then shake off any excess flour.
Warning: Too much flour creates a gummy coating. A light, even dusting is perfect.
Phase 3: Cooking the Chicken (8 minutes)
Step 8: Heat 2 tablespoons of olive oil and 1 tablespoon of butter in a large skillet over medium-high heat until the butter stops foaming.
Temperature check: The pan is ready when a pinch of flour sizzles immediately upon contact.
Step 9: Carefully lay two cutlets in the pan without crowding them.
Step 10: Cook without moving for 3-4 minutes until the bottom is golden brown with crispy edges.
Visual cue: You should see golden-brown color creeping up the sides of the chicken.
Step 11: Flip the cutlets and cook another 3 minutes until the internal temperature reaches 165°F.
Step 12: Transfer the cooked chicken to a clean plate and tent loosely with foil.
Step 13: Add the remaining 1 tablespoon each of oil and butter to the pan, then repeat with the remaining two cutlets.
Safety tip: Don’t skip the resting step—it keeps the chicken juicy.
Phase 4: Building the Piccata Sauce (7 minutes)
Step 14: After removing all the chicken, add minced garlic to the same hot pan and cook for 30 seconds until fragrant.
Warning: Garlic burns quickly, so keep it moving in the pan.
Step 15: Pour in the white wine and use a wooden spoon to scrape up all the browned bits stuck to the bottom of the pan.
These bits are pure flavor gold—they’re what make restaurant sauces taste so good.
Step 16: Let the wine bubble and reduce by half, about 2-3 minutes.
Visual cue: The liquid should look slightly syrupy and coat the back of your spoon.
Step 17: Add the chicken broth and lemon juice, then bring to a gentle simmer.
Step 18: Stir in the capers and let everything simmer together for 2 minutes.
Step 19: Remove the pan from heat and add the cold butter one tablespoon at a time, swirling the pan between each addition until the sauce looks glossy and slightly thickened.
Temperature tip: Off heat is key here—too much heat will break the butter sauce.
Step 20: Return all the chicken cutlets to the pan, spooning sauce over the top, and let everything warm together for 1-2 minutes. Sprinkle with fresh parsley before serving.
Chef’s Notes
Lemon Balance: The brightness of chicken piccata comes from fresh lemon juice, but don’t go overboard. Too much makes it sour rather than tangy. Start with ⅓ cup and taste before adding more.
Wine Selection: Use a dry white wine you’d actually drink—Pinot Grigio or Sauvignon Blanc work beautifully. The wine’s flavor concentrates as it reduces, so skip the “cooking wine” from the grocery store.
Caper Quality: Capers packed in brine have better flavor than salt-packed ones for this chicken piccata recipe. Rinse them briefly if they seem overly salty, but you want that briny punch.
Butter Finish: Adding cold butter at the end creates that silky, restaurant-quality sauce texture. Room temperature butter won’t emulsify properly, so keep it refrigerated until the final step.
Nutrition Facts (Per Serving)
- Calories: 385
- Protein: 38g
- Carbohydrates: 14g
- Fat: 19g
Creative Variations
Mediterranean Chicken Piccata: Add ½ cup halved cherry tomatoes and 2 tablespoons sliced Kalamata olives to the sauce during the final simmer. The tomatoes burst and add sweet-tart balance. If you love bold Mediterranean flavors, try our chicken francese for another Italian-American classic.
Herb Garden Version: Replace half the parsley with fresh basil and add 1 teaspoon of fresh thyme to the sauce. The herbal notes complement the lemon beautifully and add complexity to your chicken piccata.
Artichoke Piccata: Stir in 1 cup of quartered marinated artichoke hearts (drained) when you add the capers. They soak up the lemony sauce and add meaty texture. This variation pairs wonderfully with the techniques you’ll find in our chicken marsala recipe.
Spicy Piccata: Add ½ teaspoon of red pepper flakes when you cook the garlic and finish with a drizzle of quality olive oil. The heat plays beautifully against the bright lemon and salty capers.
Storage & Reheating
Refrigerator: Store chicken and sauce together in an airtight container for up to 3 days. The flavors actually deepen overnight, making leftovers incredibly delicious.
Reheating: Warm gently in a covered skillet over medium-low heat with a splash of chicken broth. The low heat prevents the chicken from drying out and the extra liquid refreshes the sauce. Microwave reheating works in a pinch—use 50% power in 30-second intervals.
Freezing: This chicken piccata freezes reasonably well for up to 2 months, though the sauce may separate slightly. Thaw overnight in the fridge, then reheat with an extra tablespoon of butter to bring the sauce back together.
Make-Ahead Tip: Pound and flour the chicken cutlets up to 4 hours ahead. Keep them covered in the fridge on a plate, then bring to room temperature 15 minutes before cooking.
Troubleshooting Common Problems
Problem: Chicken is dry and tough The cutlets were likely too thick or overcooked. Use a meat thermometer and pull them off heat at exactly 165°F. Carryover cooking will finish the job while they rest. Also, pounding to an even ¼-inch thickness ensures they cook in the right amount of time.
Problem: Sauce is too thin and watery You didn’t reduce the wine enough before adding the broth, or you skipped the cold butter finish. Let the wine reduce by half until it looks syrupy. The butter emulsifies and thickens the sauce, so don’t skip this step.
Problem: Flour coating is gummy or falling off Too much moisture on the chicken before dredging causes this. Pat the cutlets bone-dry with paper towels, then dredge in a thin, even coating. Also make sure your pan is properly hot before adding the chicken.
Problem: Sauce tastes flat or bland Your pan probably wasn’t hot enough to create those flavorful browned bits, or you didn’t scrape them up properly. Also, cheap wine makes cheap-tasting sauce. Use fresh lemon juice, never bottled, and don’t skimp on the capers—they add essential briny depth.
Problem: Butter sauce broke and looks greasy The pan was too hot when you added the butter. Always remove from heat first, then swirl in cold butter gradually. If it breaks, add an ice cube and whisk vigorously—this can sometimes save it.
Equipment Essentials
- Large skillet (12-inch, preferably stainless steel or cast iron)
- Meat mallet or heavy skillet for pounding
- Plastic wrap or parchment paper
- Shallow dishes for flour dredging
- Tongs for flipping chicken
- Wooden spoon for deglazing
- Meat thermometer (digital instant-read recommended)
- Sharp knife for butterflying chicken
- Measuring cups and spoons
- Cutting board
Shopping List by Store Section
Meat Department:
- 2 large boneless, skinless chicken breasts (1.5 lbs total)
Produce:
- 2 fresh lemons
- 1 bunch fresh parsley
- 1 head garlic
Dairy:
- 6 tablespoons butter (¾ stick)
Pantry/Dry Goods:
- All-purpose flour
- Salt
- Black pepper
- Olive oil
Wine/Liquor Section:
- 1 small bottle dry white wine (Pinot Grigio or Sauvignon Blanc)
Canned/Jarred Goods:
- 1 small jar capers
- Chicken broth (or use homemade)
Success Secrets: 5 Expert Tips
1. Room Temperature Matters: Take your chicken out of the fridge 20 minutes before cooking. Cold chicken hits a hot pan and immediately drops the temperature, leading to steaming instead of searing. Room temperature chicken browns beautifully and cooks more evenly.
2. Don’t Crowd the Pan: Cook in batches if needed. Overlapping cutlets create steam, prevent browning, and result in rubbery chicken. Give each piece breathing room—at least half an inch between cutlets—for that perfect golden crust.
3. Fresh Lemon Juice Only: Bottled lemon juice tastes flat and artificial. Fresh lemons provide bright, complex citrus flavor that makes chicken piccata sing. Roll them firmly on the counter before juicing to get maximum juice from each lemon.
4. Save That Fond: Those browned bits stuck to your pan after cooking the chicken are called fond, and they’re liquid gold. The wine deglazing step dissolves them into the sauce, adding incredible depth. Never skip this or wash the pan between steps.
5. Serve Immediately: Chicken piccata tastes best straight from the pan while the sauce is glossy and the chicken is tender. The sauce thickens as it sits, and the chicken can get soggy. Have your sides ready and waiting so you can plate and serve right away.