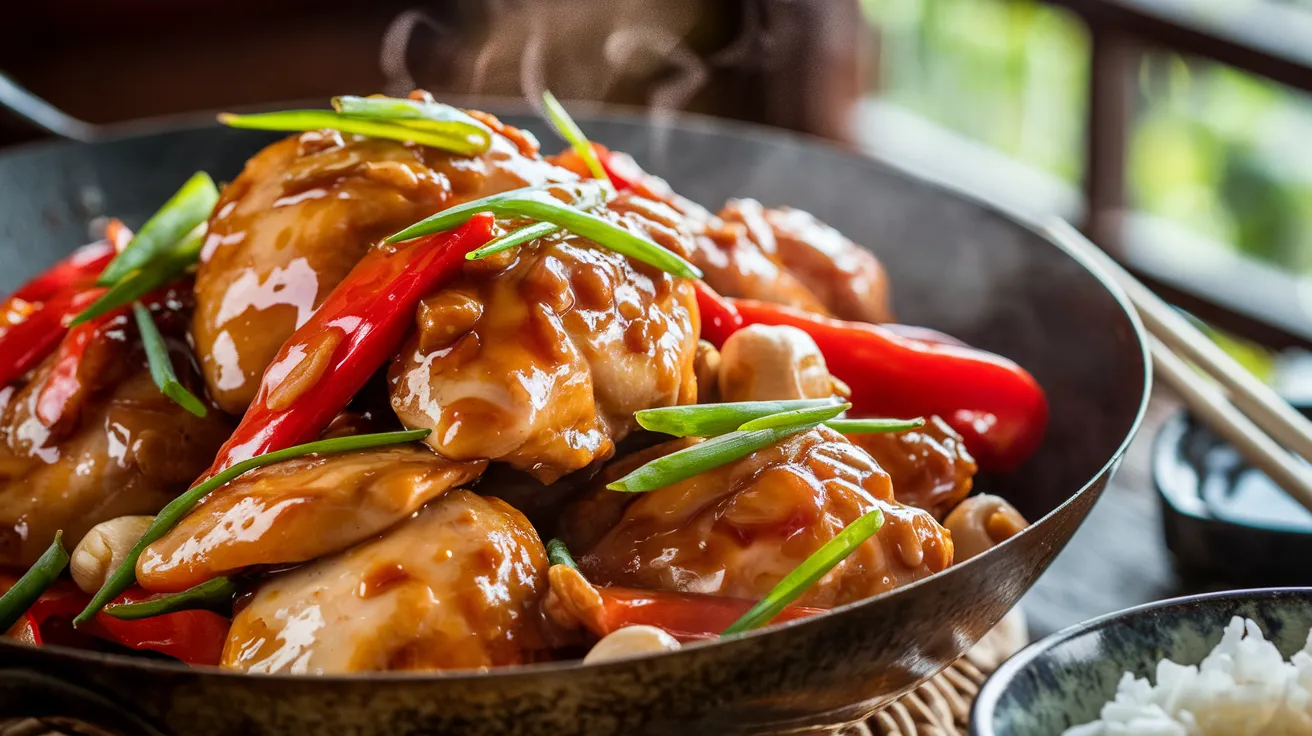
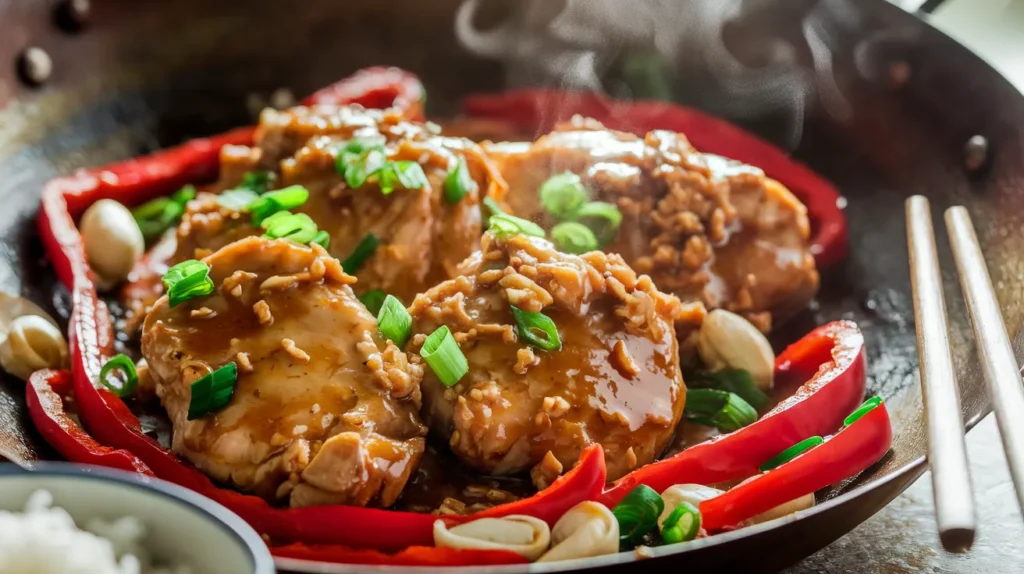
Crispy-tender chicken pieces swimming in a glossy, tangy garlic sauce that puts takeout to shame. This Chinese Chicken with Garlic Sauce comes together in just 20 minutes with a simple velveting technique that keeps every bite juicy and flavorful. The secret is cooking the garlic just long enough to release its sweetness without burning, then letting the cornstarch-thickened sauce coat everything in restaurant-quality perfection.
SERVES: 4 | PREP: 10 MIN | COOK: 10 MIN | TOTAL: 20 MIN
Ingredients for Chinese Chicken with Garlic Sauce
For the Chicken
| Ingredient | Amount | Notes |
|---|---|---|
| Boneless, skinless chicken breasts | 1½ pounds | Cut into 1-inch cubes |
| Cornstarch | 2 tablespoons | For velveting |
| Egg white | 1 large | For velveting |
| Salt | ¼ teaspoon | |
| White pepper | ¼ teaspoon | Black pepper works too |
For the Sauce
| Ingredient | Amount | Notes |
|---|---|---|
| Low-sodium soy sauce | 3 tablespoons | |
| Rice vinegar | 2 tablespoons | |
| Chicken broth | ¼ cup | |
| Brown sugar | 1 tablespoon | |
| Cornstarch | 1 tablespoon | To thicken |
| Chili garlic sauce | 1-2 teaspoons | Adjust for heat |
For the Stir-Fry
| Ingredient | Amount | Notes |
|---|---|---|
| Vegetable oil | 3 tablespoons | Divided |
| Garlic cloves | 6-8 cloves | Minced (2 tablespoons) |
| Fresh ginger | 1 tablespoon | Minced or grated |
| Red bell pepper | 1 medium | Cut into 1-inch pieces |
| Water chestnuts | 1 (8 oz) can | Drained and sliced |
| Green onions | 4 stalks | Cut into 1-inch pieces |
| Dried red chilies | 2-4 | Optional |
How to Make Chinese Chicken with Garlic Sauce
Phase 1: Prepare and Velvet the Chicken
Step 1: Cut the chicken. Pat 1½ pounds chicken breasts completely dry with paper towels. Cut into 1-inch cubes, making sure all pieces are roughly the same size for even cooking. Cutting against the grain gives you the most tender pieces.
Step 2: Make the velveting mixture. Separate 1 egg white into a medium bowl, discarding the yolk. Beat until slightly frothy, about 30 seconds. Add 2 tablespoons cornstarch, ¼ teaspoon salt, and ¼ teaspoon white pepper. Whisk for a full minute until completely smooth with no lumps.
Step 3: Coat the chicken. Add all chicken pieces to the velveting mixture. Use clean hands or a spatula to toss until every piece is thoroughly coated. Let sit for 10 minutes at room temperature while you prep everything else.
Phase 2: Prepare Sauce and Vegetables
Step 4: Mix the sauce. In a small bowl, whisk together 3 tablespoons soy sauce, 2 tablespoons rice vinegar, ¼ cup chicken broth, 1 tablespoon brown sugar, 1 tablespoon cornstarch, and 1-2 teaspoons chili garlic sauce. Whisk vigorously for 40-60 seconds until the cornstarch is completely dissolved and no lumps remain.
Step 5: Prep the aromatics. Mince 6-8 garlic cloves very finely (about 2 tablespoons total). Peel and mince or grate 1 tablespoon fresh ginger. Place both in a small bowl near your stove.
Step 6: Cut the vegetables. Cut 1 red bell pepper into 1-inch squares. Drain and slice 1 can water chestnuts. Cut 4 green onions into 1-inch pieces, keeping the white and green parts separate.
Phase 3: Stir-Fry the Chinese Chicken with Garlic Sauce
Step 7: Cook the chicken (first batch). Heat a wok or large skillet over high heat. Add 2 tablespoons vegetable oil and swirl to coat. When the oil starts to shimmer and barely smoke, add half the chicken in a single layer. Cook untouched for 2 minutes, flip each piece, then cook 2 more minutes until golden and cooked through. Transfer to a clean plate.
Step 8: Cook remaining chicken. Add ½ tablespoon oil if the pan looks dry. Cook the second batch of chicken for 1 minute 45 seconds per side. The pan is already hot, so the second batch cooks faster. Transfer to the plate with the first batch.
Step 9: Cook the aromatics. Add the remaining 1 tablespoon oil to the same pan. Wait 10 seconds, then add the minced garlic, ginger, and dried chilies if using. Stir constantly for 30 seconds until very fragrant but not browned. Stand back—this will release strong aromas.
Step 10: Stir-fry the vegetables. Add the bell peppers and stir-fry for 90 seconds until they start to soften but remain crisp. Add water chestnuts and the white parts of green onions. Stir-fry for another 60 seconds.
Step 11: Combine and create the sauce. Return all the cooked chicken to the pan along with any accumulated juices. Toss for 30 seconds to reheat. Push everything to the sides, creating a well in the center. Give your sauce mixture one more quick whisk, then pour it into the center. Stir constantly for 1-2 minutes until the sauce bubbles and thickens enough to coat the back of a spoon.
Step 12: Finish and serve. Remove from heat and toss in the green parts of green onions. Stir for 15 seconds until just wilted. Taste and adjust seasoning if needed. Serve immediately over steamed rice.
Chef’s Notes for Chinese Chicken with Garlic Sauce
The velveting makes all the difference. That 10-minute marinade with egg white and cornstarch creates a protective coating that keeps your Chinese Chicken with Garlic Sauce incredibly juicy even when cooked at high heat. Don’t skip this step.
Your pan must be screaming hot. When you add the chicken, it should sizzle immediately. If it doesn’t, your pan isn’t hot enough and the chicken will steam instead of sear.
Don’t crowd the pan. Cooking in two batches ensures proper browning. Overcrowding drops the pan temperature and creates soggy, steamed chicken instead of the crispy-tender texture you want.
Fresh garlic is non-negotiable. Jarred minced garlic won’t give you the same punchy, sweet flavor. Take the extra minute to mince fresh cloves—your Chinese Chicken with Garlic Sauce depends on it.
Nutrition Facts (Per Serving)
Serving size: ¼ of recipe (about 1 cup)
- Calories: 312
- Protein: 28g (56% DV)
- Carbohydrates: 18g (6% DV)
- Fat: 14g (18% DV)
- Fiber: 2g (8% DV)
- Sodium: 580mg (24% DV)
- Sugar: 8g
Variations for Chinese Chicken with Garlic Sauce
Protein swaps: Use chicken thighs for juicier, more forgiving meat. Shrimp works beautifully but only needs 1-2 minutes per side. For a vegetarian version, swap in extra-firm tofu pressed and cubed.
Different vegetables: Try broccoli florets (blanch first for 1 minute), snap peas, shiitake mushrooms, or thinly sliced carrots. Baby corn and bok choy add authentic Chinese restaurant flair.
Flavor variations: Stir in 1 tablespoon hoisin sauce for sweetness, add 1 teaspoon sesame oil at the end for nuttiness, or include 1 tablespoon oyster sauce for deeper umami. If you love bold flavors, try pairing this with my black pepper chicken with mushrooms for a complete Asian-inspired dinner spread.
Spice level adjustments: Double the chili garlic sauce for serious heat lovers. Add red pepper flakes or fresh Thai chilies for extra kick. For a milder version, skip the dried chilies and use only ½ teaspoon chili garlic sauce.
Storage & Reheating Chinese Chicken with Garlic Sauce
Refrigerator storage: Cool completely within 30 minutes, then transfer to an airtight container. Press the food down to minimize air space. Keeps for 3-4 days at 40°F or below.
Freezing: Not ideal because vegetables soften, but possible for up to 1 month in a freezer-safe container. Leave ½ inch space at the top for expansion.
Reheating on the stovetop: Heat a skillet over medium heat, add 1 tablespoon water or broth, then add leftovers. Stir constantly for 2-3 minutes until hot throughout. This method keeps the best texture.
Microwave method: Place in a microwave-safe container with 1 tablespoon water. Cover and heat on 70% power for 1 minute, stir, then continue in 30-second intervals until steaming hot (165°F internal temperature).
Troubleshooting Chinese Chicken with Garlic Sauce
Sauce too thin: Mix 1 teaspoon cornstarch with 1 tablespoon cold water and stir into the sauce. Cook for another minute until thickened. Always whisk your sauce thoroughly before adding to prevent this.
Sauce too thick or gloppy: Add 1-2 tablespoons chicken broth and stir until you reach the right consistency. Measure cornstarch carefully next time—too much creates gluey sauce.
Chicken sticking to the pan: Make sure your oil is properly heated before adding chicken, and don’t move the pieces for the first 2 minutes. If they stick, add 1 tablespoon oil around the pan edges to loosen them.
Garlic burning or bitter: Cook garlic for only 30 seconds and keep it moving constantly. If it starts browning too fast, immediately add your vegetables to cool the pan down.
Not spicy enough: Add more chili garlic sauce, red pepper flakes, or hot sauce at the end. Chili sauces vary wildly in heat between brands, so always taste yours before cooking.
Equipment Essentials
- Wok or large skillet (12-inch minimum)
- Sharp chef’s knife for cutting chicken and vegetables
- Cutting board (use separate boards for meat and vegetables)
- Small mixing bowls (at least 3) for sauce and prep
- Measuring spoons and cups
- Whisk for sauce mixing
- Wooden spoon or heat-resistant spatula
- Garlic press (optional but helpful)
Shopping List for Chinese Chicken with Garlic Sauce
Meat & Dairy
- 1½ pounds boneless, skinless chicken breasts
- 1 large egg
Produce
- 6-8 garlic cloves
- 1-inch piece fresh ginger
- 1 red bell pepper
- 4 green onions
- 2-4 dried red chilies (optional)
Pantry & Condiments
- Cornstarch
- Low-sodium soy sauce
- Rice vinegar
- Chicken broth
- Brown sugar
- Chili garlic sauce
- Vegetable oil
- Salt
- White pepper
Canned Goods
- 1 (8 oz) can water chestnuts
Success Secrets for Perfect Chinese Chicken with Garlic Sauce
1. Prep everything before you start cooking. Chinese stir-frying happens fast—once you start, there’s no time to chop vegetables or mix sauce. Have every ingredient measured, cut, and ready to go.
2. Use day-old refrigerated rice if serving with rice. Freshly cooked rice is too moist and clumps together. Day-old rice from the fridge has the perfect texture for Chinese dishes.
3. Don’t rinse your chicken after cutting. Just pat it dry with paper towels. Rinsing spreads bacteria around your sink and doesn’t make the chicken any safer.
4. Keep your wok moving during cooking. Constant motion prevents burning and ensures even cooking. Use a scooping motion to bring food from the bottom to the top.
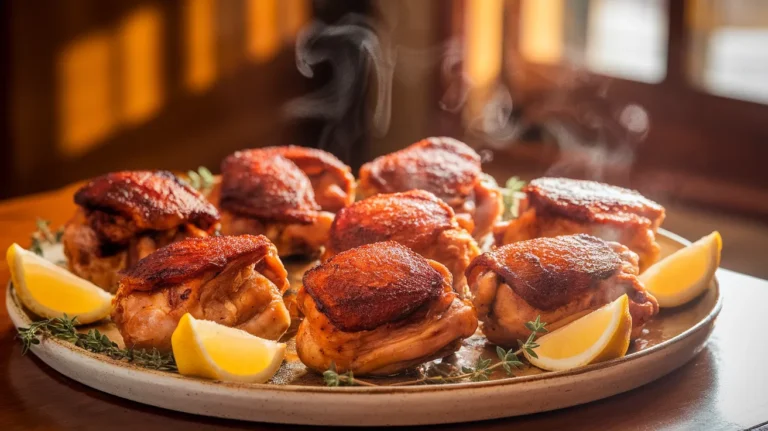
5. Serve this Chinese Chicken with Garlic Sauce immediately. The sauce is at its glossy best right after cooking, and the vegetables maintain their crisp-tender texture. If you’re looking for another quick chicken dish for busy weeknights, my baked chicken legs are equally foolproof and perfect for meal prep.