Key Takeaways:
- This homemade chili seasoning recipe uses just 8-10 simple pantry ingredients
- Perfect for beginners – no special equipment needed
- Makes exactly enough for a 4-person pot of hearty chili
- Stores for up to 6 months in an airtight container
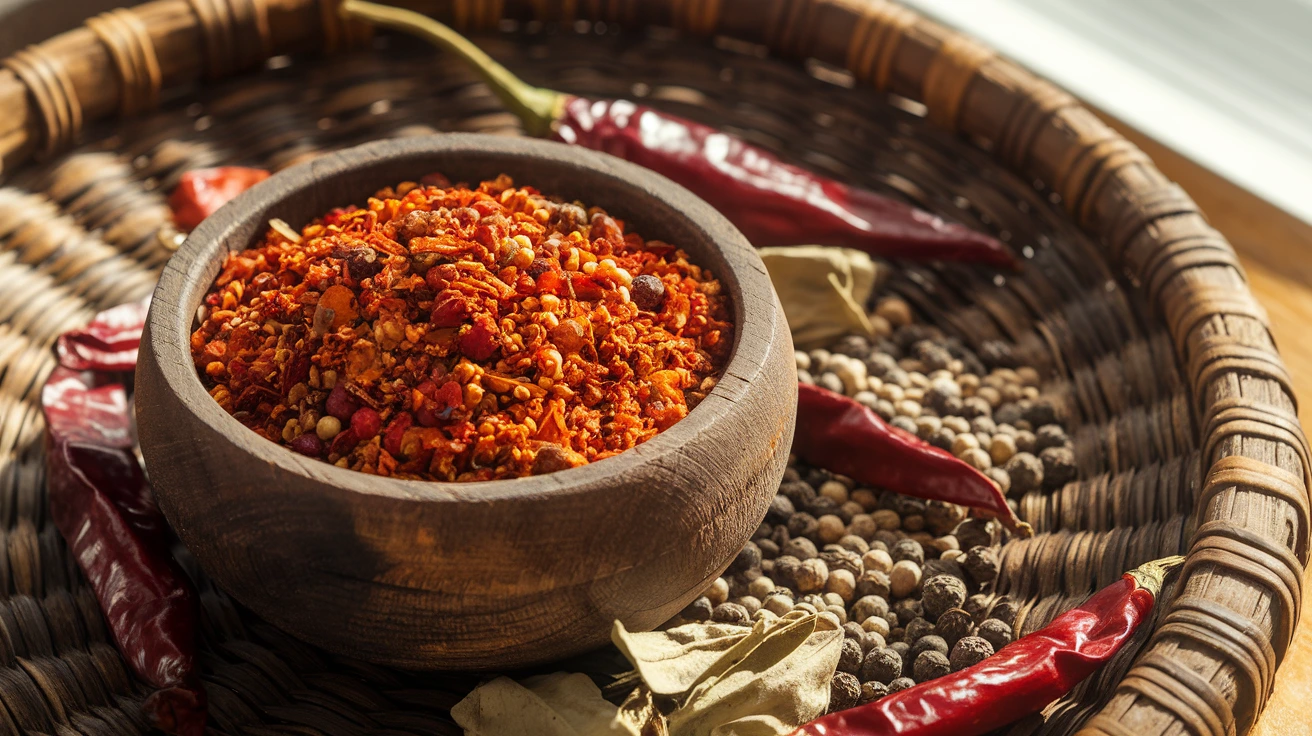
Why Your Chili Needs This Homemade Seasoning
Those store-bought packets just don’t cut it. Too salty, oddly sweet, or filled with ingredients you can’t pronounce.
This homemade chili seasoning recipe changes everything. In just 5 minutes, you’ll create the perfect spice blend that makes every pot of chili taste like it simmered all day. With simple pantry spices, you’ll craft a seasoning mix that puts those store packets to shame.
The best part? This recipe makes exactly enough for a 4-person pot of chili, with measurements anyone can follow – even first-time cooks.
Nutrition Facts: Homemade vs. Store-Bought
| Nutrient | Homemade Chili Seasoning | Store-Bought Packet |
|---|---|---|
| Calories | 56 kcal | 73 kcal |
| Sodium | 892mg (adjustable) | 1690mg |
| Sugar | 1g | 3g |
| Carbs | 11g | 16g |
| Allergens | None | May contain gluten |
| Cost | $0.87 per batch | $1.29 per packet |
Equipment & Ingredients For Your Chili Seasoning Recipe
Complete Ingredients List
| Ingredient | Amount | Function |
|---|---|---|
| Chili powder | 2 tablespoons | Base flavor |
| Ground cumin | 1 tablespoon | Earthy notes |
| Garlic powder | 2 teaspoons | Savory depth |
| Onion powder | 1½ teaspoons | Sweet undertones |
| Dried oregano | 1 teaspoon | Herbal complexity |
| Paprika | 2 teaspoons | Color and mild sweetness |
| Cayenne pepper | ¼-½ teaspoon | Heat (adjustable) |
| Ground black pepper | ½ teaspoon | Background warmth |
| Salt | 1½ teaspoons | Flavor enhancer |
| Cocoa powder (unsweetened) | ½ teaspoon | Richness (optional) |
| Brown sugar | 1 teaspoon | Balances acidity (optional) |
Kitchen Tools You’ll Need
| Tool | Purpose |
|---|---|
| Measuring spoons | Precise ingredient measurement |
| Small mixing bowl | Combining ingredients |
| Whisk or fork | Thorough blending |
| Airtight storage container | Long-term storage |
| Funnel (optional) | Clean transfer to storage jar |
| Label and marker | Dating your seasoning |
Ingredient Substitutions
- Lower sodium option: Reduce salt to ½ teaspoon or omit entirely
- No sugar version: Skip brown sugar or substitute monk fruit sweetener
- Extra spicy blend: Double cayenne or add ¼ teaspoon ground chipotle
- Nightshade-free alternative: Replace chili powder with 1 tablespoon cumin, 1 teaspoon garlic powder, and 1 teaspoon smoked paprika
- Out of cumin?: Use ground coriander instead
- No cocoa powder?: Simply leave it out (it adds depth but isn’t essential)
Super-Detailed Beginner’s Guide to Making Chili Seasoning
Preparation Phase (5 minutes)
Step 1: Set up your workspace
- Clear a clean counter space
- Wash your hands thoroughly with soap and water
- Locate all measuring spoons you’ll need (you’ll primarily use 1 tablespoon, 1 teaspoon, and ½ teaspoon)
- Place a small bowl in the center of your workspace
Step 2: Gather all ingredients
- Pull out all spices from your cabinet
- Check expiration dates (spices older than 1 year may have weaker flavor)
- Arrange spices in order of use according to the recipe list
- If any spices are clumped, gently tap the container to loosen before opening
Step 3: Prepare your storage container
- Select an airtight container with enough capacity (at least 4-5 tablespoons volume)
- Wash container thoroughly if it’s not new and dry completely
- Have a funnel ready if available (or create one from paper or aluminum foil)
- Prepare a label and marker for dating your chili seasoning recipe
Assembly Steps (10 minutes)
Step 4: Measure primary spices
- Start with a completely dry measuring spoon
- Measure 2 tablespoons of chili powder by filling the tablespoon slightly heaped, then leveling off with the back of a knife
- Pour measured chili powder into your mixing bowl
- Using the same process, measure 1 tablespoon ground cumin and add to bowl
- Next, measure 2 teaspoons garlic powder and add to bowl
Step 5: Add secondary spices
- Measure 1½ teaspoons onion powder (fill 1 teaspoon, then add a half teaspoon)
- Add measured onion powder to the bowl
- Measure 1 teaspoon dried oregano (crush slightly between fingers as you add it to release oils)
- Measure 2 teaspoons paprika and add to bowl
Step 6: Add heat and seasoning elements
- For mild chili: measure ¼ teaspoon cayenne pepper
- For medium heat: measure ½ teaspoon cayenne pepper
- For spicy chili: measure ¾ teaspoon cayenne pepper
- Add measured cayenne to bowl
- Measure ½ teaspoon black pepper and add to bowl
- Measure 1½ teaspoons salt and add to bowl
Step 7: Include optional depth enhancers (if using)
- Measure ½ teaspoon unsweetened cocoa powder and add to bowl
- Measure 1 teaspoon brown sugar (break up any hard lumps first)
- Add measured brown sugar to bowl
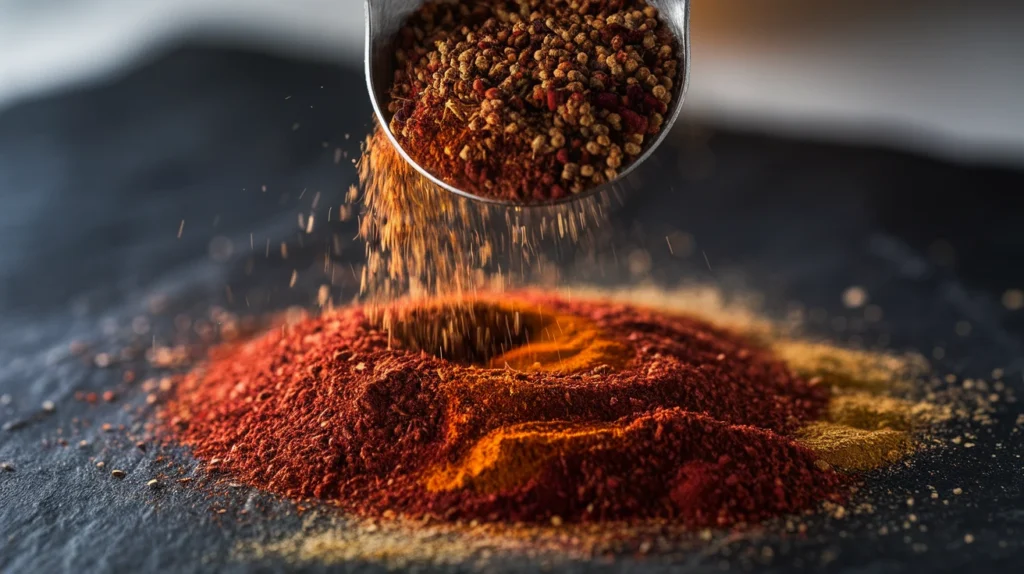
Step 8: Mix thoroughly
- Using a whisk or fork, mix all spices together with circular motions
- Continue mixing for 30-45 seconds (longer than you think necessary)
- Pay special attention to breaking up any clumps of brown sugar or cocoa
- Mix until the color appears completely uniform throughout
- Tap whisk or fork gently on bowl edge to remove any clinging spices
Storage Steps (5 minutes)
Step 9: Transfer to storage container
- Position funnel in the mouth of your storage container (if using)
- Slowly pour spice mixture through funnel or directly into container
- Use a clean, dry spoon to help guide spices if needed
- Tap the side of the bowl gently to help move stubborn spices
- If any spices spill, use a clean, dry cloth to wipe up (avoid water)
Step 10: Seal and label container
- Close container tightly, ensuring a good seal
- Write “Homemade Chili Seasoning” on your label
- Add today’s date and “Best by” date (6 months from now)
- Attach label to container
- Wipe container exterior with dry cloth if needed
Step 11: Store properly
- Place container in cool, dry place away from direct sunlight
- Ideal storage: pantry or spice cabinet away from stove or dishwasher
- Do not refrigerate (moisture can cause clumping)
Using Your Chili Seasoning Recipe (30+ minutes cooking time)
Step 12: Prepare your chili base
- Heat large pot over medium-high heat
- Add 1 tablespoon oil (optional)
- Add 1-1.5 pounds ground meat (beef, turkey, or plant-based alternative)
- Brown meat thoroughly, breaking into small pieces (5-7 minutes)
- Drain excess fat if needed
Step 13: Add your homemade chili seasoning
- Add entire batch of this chili seasoning recipe (about 4 tablespoons)
- Stir continuously for 30 seconds to coat meat and toast spices
- If spices start to stick, add 2 tablespoons water immediately
Step 14: Build your chili
- Add 1-2 tablespoons tomato paste (optional but recommended)
- Stir to combine with seasoned meat
- Add 14.5 oz can diced tomatoes with liquid
- Add 15 oz can beans (kidney, black, pinto, or combination), drained and rinsed
- Add 1-2 cups liquid (beef broth, chicken broth, water, or beer)
- Stir to combine all ingredients
Step 15: Simmer and serve
- Bring to gentle boil, then reduce heat to low
- Simmer uncovered for at least 30 minutes (or up to 2 hours for deeper flavor)
- Stir occasionally to prevent sticking
- Taste and adjust seasoning if needed
- Serve with your favorite toppings (cheese, sour cream, green onions)
Troubleshooting Your Chili Seasoning Recipe
Common Problems and Easy Fixes
Problem: My seasoning tastes too salty
- Immediate fix: Add an extra can of unsalted diced tomatoes to your chili
- Future batches: Reduce salt amount by half
- Prevention tip: Start with half the salt, then add more to taste
Problem: My chili isn’t spicy enough
- Immediate fix: Add a pinch of cayenne or dash of hot sauce directly to cooking chili
- Future batches: Double the cayenne pepper amount
- Prevention tip: Make two versions – one mild, one spicy
Problem: My seasoning is clumping during storage
- Immediate fix: Break up clumps with fork and return to dry container
- Future batches: Add 1 teaspoon cornstarch to mix as an anti-caking agent
- Prevention tip: Store with a few grains of raw rice to absorb moisture
Problem: My chili has a bitter aftertaste
- Likely cause: Old or low-quality chili powder
- Immediate fix: Add 1 teaspoon sugar to cooking chili to balance bitterness
- Future batches: Replace your chili powder with a fresh, quality brand
- Prevention tip: Date your spices when you open them and replace annually
Problem: My seasoning burns when added to the pot
- Immediate fix: Add ¼ cup water or broth immediately
- Future technique: Mix seasoning with ¼ cup water to create a slurry before adding
- Prevention tip: Lower heat when adding dry spices to pot
Creative Variations of Your Chili Seasoning Recipe
Regional Flavor Profiles
Tex-Mex Style Chili Seasoning
- Add 1 teaspoon smoked paprika
- Add ½ teaspoon ground coriander
- Works perfectly in white chicken chili made in the slow cooker
Cincinnati-Style Chili Seasoning
- Add 1 teaspoon ground cinnamon
- Add ¼ teaspoon ground allspice
- Add ⅛ teaspoon ground cloves
- Great served over spaghetti with cheese
Vegetarian-Focused Chili Seasoning
- Increase garlic powder to 1 tablespoon
- Add ½ teaspoon smoked salt
- Add ¼ teaspoon liquid smoke
- Perfect for bean-only chili recipes
Kid-Friendly Chili Seasoning
- Omit cayenne completely
- Double the brown sugar to 2 teaspoons
- Reduce black pepper to ¼ teaspoon
- Pair with mild sweet chili sauce as a dipper for chips
Storage & Shelf Life
Your homemade chili seasoning recipe creates a shelf-stable mix that:
- Maintains peak flavor for 6 months in an airtight container
- Remains safe to use for up to 1 year (with gradual flavor decline)
- Should be stored away from heat sources and direct sunlight
- Should never be stored in the refrigerator (moisture causes clumping)
Pro tip: If making large batches, consider vacuum-sealing portions you won’t use within 3 months, or storing in the freezer for extended freshness.
Safety Notes & Important Tips
Safety Considerations
- Always wash hands thoroughly before handling spices to prevent contamination
- People with nightshade sensitivities should avoid chili powder and paprika
- Label your container clearly to avoid confusion with other spice blends
- If making for someone with allergies, use dedicated measuring spoons
- Keep away from children who might mistake it for something else
Expert Tips for Perfect Chili Seasoning
- Toast your spices: For extra flavor depth, toast whole spices in a dry pan for 30 seconds before grinding
- Grind fresh: Using whole cumin seeds, freshly ground, provides much stronger flavor
- Batch preparation: Triple or quadruple this recipe to save time on future chili nights
- Perfect pairing: Try adding a tablespoon of Heinz Thai chili sauce to your finished chili for a unique twist
- Heat management: Remember that cayenne provides most of the heat, so adjust just this single ingredient rather than changing the entire recipe
- Quick flavor test: Before making a full batch, mix a pinch with a spoonful of warm water to taste your blend
Make-Ahead and Gift Ideas
This chili seasoning recipe is perfect for preparing in advance:
- Make multiple batches at once and store in sealed containers
- One batch perfectly seasons a standard 4-person pot of chili (approximately 1-1.5 pounds of meat plus beans)
For gift-giving, package in small mason jars with handwritten labels showing:
- Complete ingredients list (helpful for those with allergies)
- “Makes one pot of chili – serves 4”
- “Add to 1-1.5 pounds browned meat plus tomatoes and beans”
- “Best if used by” date (6 months from creation)
Final Thoughts on Your Homemade Chili Seasoning
This chili seasoning recipe puts you in complete control of your chili’s flavor profile. By making it yourself, you’re not just saving money—you’re crafting a signature blend that can become your secret kitchen weapon.
Remember that chili powder itself (a pre-mixed spice blend) can vary by brand, so expect slight flavor differences between batches. The best approach? Make notes about what you love, then adjust future batches to perfection.
With this simple recipe in your cooking arsenal, you’ll never reach for those store-bought packets again. You’ve unlocked the secret to perfect chili, every time.