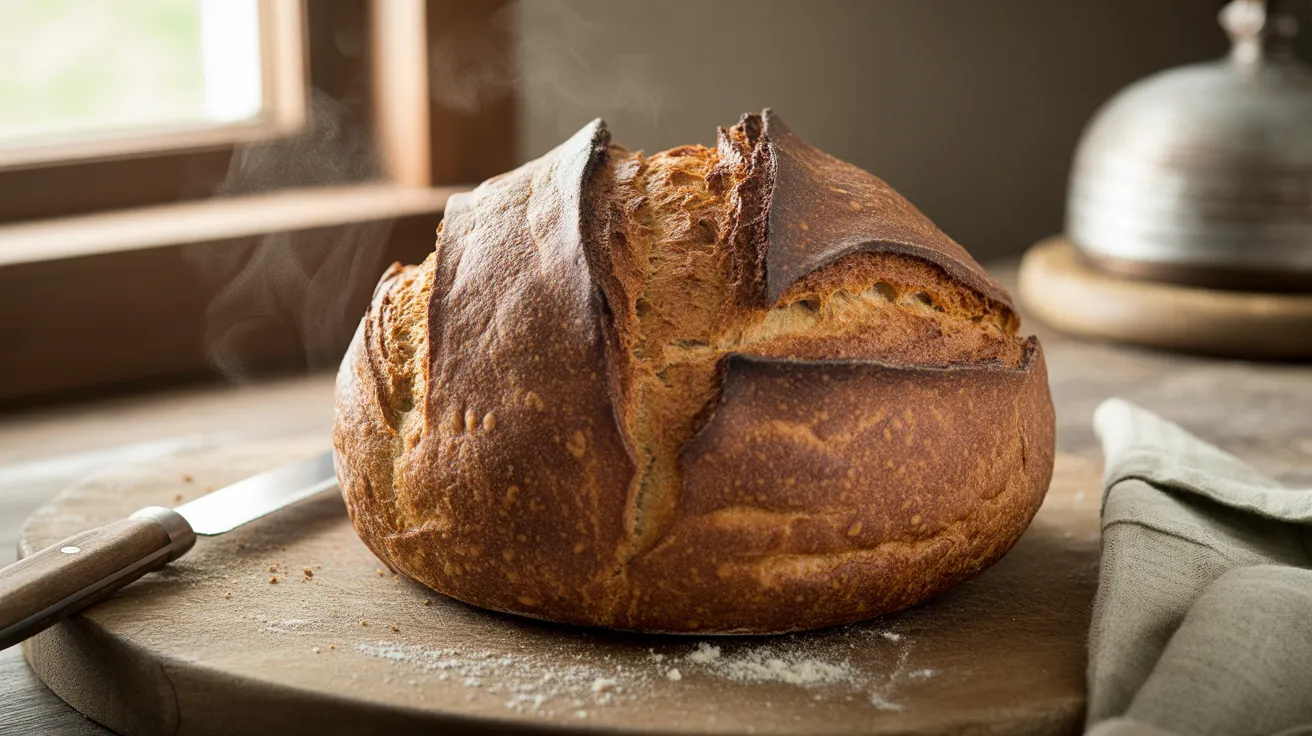
There’s nothing quite like pulling a golden classic artisan boule from your oven, its crackling crust singing as it cools on the counter. This European-style round loaf delivers that perfect contrast between a crispy, blistered exterior and a soft, chewy crumb full of irregular holes. Making a classic artisan boule at home is easier than you think, requiring just four simple ingredients and a bit of patience while the dough develops its signature flavor and texture.
SERVES: 4 | PREP: 20 MIN | COOK: 45 MIN | TOTAL: 16-24 HRS (including rise time)
Ingredients
For the Dough
| Ingredient | Amount | Notes |
|---|---|---|
| Bread flour | 500g (4 cups) | High protein content essential |
| Warm water | 350ml (1½ cups) | 90-95°F |
| Active dry yeast | 2 tsp | Or 1½ tsp instant yeast |
| Fine sea salt | 2 tsp | Don’t skip this |
For Baking
| Ingredient | Amount | Purpose |
|---|---|---|
| Cornmeal | 2 tbsp | Prevents sticking |
| All-purpose flour | For dusting | Shaping and scoring |
Step-by-Step Instructions
Phase 1: Mixing the Dough (5 minutes)
Step 1: Pour the warm water into a large mixing bowl and sprinkle the yeast over the surface. Let it sit for 5 minutes until you see foam forming on top.
This foam tells you the yeast is alive and ready to work. If nothing happens after 5 minutes, your yeast might be dead or your water was too hot.
Step 2: Add the bread flour and salt to the yeast mixture. Use a wooden spoon or your hands to mix everything together until no dry flour remains visible.
The dough will look shaggy and rough at this point. That’s exactly what you want. Don’t worry about making it smooth yet.
Step 3: Cover the bowl with plastic wrap or a damp kitchen towel. Place it somewhere warm in your kitchen, away from drafts.
Room temperature (68-72°F) is perfect. The yeast needs warmth to activate and start creating those air bubbles that give bread its structure.
Phase 2: First Rise and Folding (12-18 hours)
Step 4: Let the dough rest for 30 minutes, then perform your first fold. Wet your hands, grab one side of the dough, stretch it up, and fold it over to the center.
Rotate the bowl 90 degrees and repeat this stretching and folding motion four times total. This builds gluten strength without kneading.
Step 5: Cover the bowl again and let the dough rise at room temperature for 12-18 hours. The longer rise develops more complex flavors.
You’ll know it’s ready when the dough has doubled in size and the surface is covered with tiny bubbles. The dough should look puffy and smell slightly tangy.
Phase 3: Shaping the Boule (10 minutes)
Step 6: Dust your work surface generously with all-purpose flour. Turn the dough out onto the floured surface using a plastic bowl scraper.
The dough will be very sticky and wet. Don’t add too much extra flour or you’ll make the bread dense.
Step 7: Gently press the dough into a rough rectangle about 1 inch thick. Fold the top third down toward the center, then fold the bottom third up over that.
This creates layers that help develop the bread’s internal structure. Think of it like folding a business letter.
Step 8: Turn the dough 90 degrees and repeat the folding process. Now fold the left side to the center, then the right side over that.
These folds trap air inside the dough and create tension on the surface, which helps the bread hold its round shape.
Step 9: Flip the dough over so the smooth side faces up. Cup your hands around the dough and use a circular motion to drag it across the counter toward you.
This creates surface tension. You’ll see the top becoming tighter and rounder. Do this 4-5 times until you have a nice round ball with a taut surface.
Step 10: Line a bowl or basket with a clean kitchen towel and dust it heavily with flour. Place your shaped boule seam-side up in the bowl.
The seam side goes up because you’ll flip it over before baking. The flour prevents sticking during the final rise.
Phase 4: Final Rise (1-2 hours)
Step 11: Cover the bowl with the towel or plastic wrap. Let the classic artisan boule rise for 1-2 hours at room temperature.
The dough should look puffy and when you gently poke it with a floured finger, the indent should slowly spring back halfway. If it springs back completely, it needs more time.
Step 12: About 45 minutes before baking, place your Dutch oven (with the lid on) in the oven and preheat to 450°F.
The super-hot Dutch oven creates steam that helps develop that crackling crust bakeries are known for.
Phase 5: Scoring and Baking (45 minutes)
Step 13: Sprinkle cornmeal on a piece of parchment paper. Carefully flip your risen boule onto the parchment, seam-side down.
If the dough deflates slightly, don’t panic. It will puff back up in the hot oven.
Step 14: Use a sharp knife, razor blade, or bread lame to score the top of the loaf. Make one deep slash (about ½ inch deep) across the center, or create a cross pattern.
Scoring controls where the bread expands in the oven. Without it, the crust can tear randomly in weak spots.
Step 15: Carefully remove the blazing hot Dutch oven from your oven using oven mitts. Remove the lid and set it aside.
Work quickly but carefully here. The Dutch oven will be around 450°F and can cause serious burns.
Step 16: Grab the edges of the parchment paper and lower the boule into the Dutch oven. Put the lid back on immediately.
The parchment makes transferring easy and prevents you from deflating the dough by handling it too much.
Step 17: Bake covered for 30 minutes. The lid traps steam which keeps the crust soft initially, allowing maximum oven spring.
Don’t peek during this time. Opening the oven releases the steam you’re trying to trap.
Step 18: Remove the lid carefully (watch for the rush of steam). Continue baking uncovered for 15-20 minutes until the crust is deep golden brown.
The internal temperature should reach 200-210°F when you insert an instant-read thermometer into the bottom of the loaf.
Step 19: Use the parchment paper to lift the bread out of the Dutch oven. Transfer it to a wire cooling rack.
The bottom should sound hollow when you tap it. If it sounds dull or thudding, give it another 5 minutes in the oven directly on the rack.
Step 20: Let the classic artisan boule cool for at least 1 hour before slicing. I know this is torture, but cutting too early releases steam and makes the interior gummy.
You’ll hear the crust crackling as it cools. That’s the sound of success.
Chef’s Notes
Flour Selection Matters: Bread flour has 12-14% protein, which creates the gluten network that gives this classic artisan boule its chewy texture and open crumb. All-purpose flour only has 10-12% protein and won’t give you the same results.
Water Temperature is Critical: Water between 90-95°F activates yeast perfectly. Too hot (over 120°F) kills the yeast. Too cold (under 80°F) and the yeast won’t wake up properly.
The Long Rise is Non-Negotiable: That 12-18 hour first rise isn’t just about convenience. The extended fermentation develops complex flavors and breaks down gluten, making the bread easier to digest.
Steam Creates Crust: Professional bakeries inject steam into their ovens. The Dutch oven method replicates this at home, trapping moisture around the bread during the first half of baking to create that signature crackling crust.
Nutrition Information (Per Serving)
- Calories: 280
- Protein: 10g
- Carbohydrates: 56g
- Fat: 1g
- Fiber: 2g
- Sodium: 390mg
Variations to Try
Whole Wheat Artisan Boule
Replace 200g of the bread flour with whole wheat flour for a nuttier flavor and denser crumb. Add an extra 25ml water since whole wheat absorbs more liquid. The bread will be slightly less airy but more nutritious and filling.
Herb and Garlic Boule
Add 3 tbsp chopped fresh rosemary, 4 minced garlic cloves, and 1 tsp cracked black pepper to the dough during the initial mixing. This savory variation pairs beautifully with roasted meats, just like the bold flavors in my doner kebab halal cart lamb over rice.
Seeded Crust Boule
Before the final rise, brush the shaped boule with water and roll it in a mixture of sesame seeds, poppy seeds, and flax seeds. The seeds toast during baking, adding crunch and visual appeal to your finished loaf.
Sourdough-Style Boule
For a tangier flavor profile similar to my sourdough sandwich loaf, replace 100ml of the water with 100ml of active sourdough starter. Reduce the commercial yeast to 1 tsp and expect a slightly longer rise time.
Storage and Reheating
Room Temperature Storage: Keep your cooled classic artisan boule in a paper bag or bread box for 2-3 days. Never store in plastic, which makes the crust soft and chewy instead of crispy.
Freezing Instructions: Slice the completely cooled bread and freeze slices in a freezer bag with parchment paper between each piece. Frozen slices last 3 months and can be toasted straight from frozen.
Reviving Day-Old Bread: Preheat your oven to 350°F. Spritz the entire loaf lightly with water and bake for 10 minutes. The crust will crisp back up beautifully.
Stale Bread Uses: Don’t toss bread that’s past its prime. Turn it into breadcrumbs, croutons, or French toast. Stale bread actually makes better French toast because it absorbs the egg mixture without falling apart.
Troubleshooting Common Problems
Problem 1: Dense, Heavy Bread with No Holes
Solution: Your dough likely didn’t rise long enough, or you added too much flour during shaping. The dough should double in size and feel puffy, not tight. During shaping, use the minimum flour needed to prevent sticking. Also check that your yeast was fresh and foamy after activation.
Problem 2: Flat Loaf That Spread Instead of Rising Up
Solution: You didn’t create enough surface tension when shaping the boule. Practice the cupping and dragging motion to tighten the outer skin. Also, make sure your final rise wasn’t too long—overproofed dough loses its structure and can’t hold its shape in the oven.
Problem 3: Crust is Pale and Soft, Not Golden and Crispy
Solution: Your oven wasn’t hot enough, or you removed the Dutch oven lid too early. Always preheat the Dutch oven for a full 45 minutes at 450°F. Keep the lid on for the full 30 minutes of covered baking to trap steam and develop color.
Problem 4: Bread Has a Sour or Alcohol Smell
Solution: The dough overfermented, meaning it rose too long or in too warm a location. If your kitchen is above 75°F, reduce the rise time or do the long rise in the refrigerator. The dough should smell yeasty and slightly tangy, but never boozy or nail-polish-like.
Problem 5: Bottom of Bread is Burned While Top is Perfect
Solution: Your oven’s bottom element is too hot. Place a baking sheet on the rack below the Dutch oven to shield the bread from direct bottom heat. You can also reduce the temperature to 425°F and bake a few minutes longer.
Equipment Essentials

- Dutch oven (5-7 quart): Cast iron or enameled cast iron with a tight-fitting lid
- Digital kitchen scale: Measuring flour by weight is much more accurate than cups
- Large mixing bowl: Glass or plastic, at least 4-quart capacity
- Instant-read thermometer: For checking both water temperature and bread doneness
- Bench scraper: Makes handling sticky dough so much easier
- Sharp knife or bread lame: For scoring the loaf before baking
- Wire cooling rack: Allows air circulation around the cooling bread
- Kitchen towels: For covering dough during rises
- Parchment paper: Prevents sticking and makes transfer easy
- Oven mitts: Heavy-duty ones for handling the extremely hot Dutch oven
Shopping List
Baking Aisle
- Bread flour (500g bag)
- All-purpose flour (for dusting)
- Active dry yeast (one jar)
- Cornmeal (small container)
Spice/Salt Aisle
- Fine sea salt
Baking Supplies
- Parchment paper
Success Secrets
1. Use a Kitchen Scale: Measuring 500g of flour by weight instead of cups gives you consistent results every single time. A cup of flour can vary by 30g depending on how you scoop it, which dramatically affects your dough’s hydration.
2. Don’t Skip the Waiting: That hour of cooling time after baking isn’t optional. Cutting into hot bread releases steam that’s still cooking the interior. Give it the full hour for the perfect texture.
3. Practice Your Shaping: Your first boule might not be perfectly round, and that’s okay. The shaping technique takes practice. Even if it looks wonky, it will still taste incredible.
4. Trust the Process: Resist the urge to add more yeast to speed things up. The long, slow rise is what creates the flavor and texture that makes a classic artisan boule special.
5. Invest in a Dutch Oven: While you can bake bread on a baking stone with a pan of water for steam, nothing replicates professional bakery results at home like a Dutch oven. It’s the single most important tool for crusty bread.


