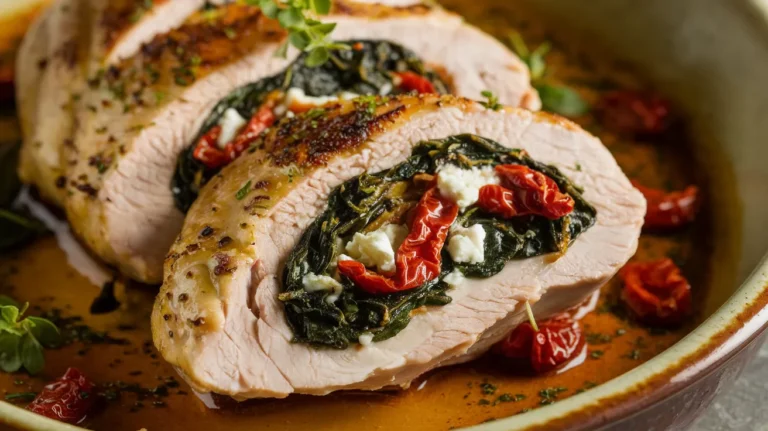
Crispy, golden classic Italian chicken cutlets bring restaurant-quality flavor straight to your dinner table—these tender, perfectly breaded cutlets feature a delicate herb-infused coating that stays incredibly crunchy while keeping the chicken juicy inside, making them an instant family favorite that’s surprisingly simple to master at home.
SERVES: 4 | PREP: 15 MIN | COOK: 15 MIN | TOTAL: 30 MIN
Ingredients You’ll Need
For the Chicken
| Ingredient | Amount |
|---|---|
| Boneless, skinless chicken breasts | 2 large (about 1.5 lbs) |
| Salt | 1 teaspoon |
| Black pepper | ½ teaspoon |
For the Breading Station
| Ingredient | Amount |
|---|---|
| All-purpose flour | ¾ cup |
| Large eggs | 3 |
| Whole milk | 2 tablespoons |
| Italian breadcrumbs | 1½ cups |
| Grated Parmesan cheese | ½ cup |
| Dried oregano | 1 teaspoon |
| Garlic powder | 1 teaspoon |
| Dried basil | ½ teaspoon |
For Cooking
| Ingredient | Amount |
|---|---|
| Olive oil | ¼ cup |
| Vegetable oil | ¼ cup |
| Fresh lemon wedges | For serving |
| Fresh parsley | For garnish |
How to Make Classic Italian Chicken Cutlets
Phase 1: Preparing the Chicken (5 minutes)
Step 1: Place one chicken breast on your cutting board and hold your palm flat on top. Using a sharp knife held parallel to the board, carefully slice through the middle of the breast horizontally to create two thinner pieces. Repeat with the second breast—you’ll have 4 cutlets total.
Why this matters: Thinner cutlets cook faster and more evenly, preventing dry, overcooked chicken.
Step 2: Place each cutlet between two sheets of plastic wrap or parchment paper. Using a meat mallet or rolling pin, gently pound from the center outward until each piece is about ¼-inch thick and even throughout.
The goal is uniform thickness so every part cooks at the same rate—no thick centers or thin edges.
Step 3: Pat the cutlets completely dry with paper towels, then season both sides with salt and pepper. Let them sit at room temperature for 5 minutes while you set up your breading station.
Dry chicken = better breading adhesion. Room temperature chicken = more even cooking.
Phase 2: Setting Up Your Breading Station (3 minutes)
Step 4: Arrange three shallow dishes or pie plates in a row on your counter. In the first dish, add the flour. In the second, whisk together eggs and milk until completely smooth—no streaks of egg white should be visible.
Step 5: In the third dish, combine Italian breadcrumbs, Parmesan cheese, oregano, garlic powder, and basil. Mix thoroughly with a fork until the cheese and herbs are evenly distributed throughout.
This herb-cheese mixture is what makes these classic Italian chicken cutlets authentically flavorful.
Step 6: Set up a clean plate or wire rack at the end of your breading station for the finished cutlets. Keep one hand designated for wet ingredients and one for dry—this prevents clumpy “club hand” and keeps your breading smooth.
Phase 3: Breading the Cutlets (5 minutes)
Step 7: Take your first cutlet and dredge it completely in flour, shaking off any excess until just a light coating remains. The flour creates a dry surface for the egg to grab onto.
Step 8: Dip the floured cutlet into the egg mixture, making sure every surface is coated. Let excess egg drip back into the bowl for 2-3 seconds—too much egg makes soggy breading.
Step 9: Press the cutlet firmly into the breadcrumb mixture, then flip and press again. Use your dry hand to pat the breadcrumbs onto the chicken, ensuring complete coverage with no bare spots showing through.
Firm pressure is key—this helps the coating stick during cooking and creates that satisfying crunch.
Step 10: Transfer the breaded cutlet to your prepared plate. Repeat steps 7-9 with remaining cutlets, then let them rest for 5 minutes.
This resting time allows the breading to “set” and bond with the chicken, reducing the chance it falls off during cooking.
Phase 4: Pan-Frying to Golden Perfection (12 minutes)
Step 11: Heat olive oil and vegetable oil together in a large skillet over medium-high heat until the oil reaches 350°F. Test by dropping in a breadcrumb—it should sizzle immediately and turn golden within 30 seconds.
The oil combination gives you the best of both worlds: olive oil for flavor, vegetable oil for high-heat stability.
Step 12: Carefully place 2 cutlets in the hot oil, laying them away from you to prevent splashing. Don’t overcrowd—they need space to cook evenly and stay crispy.
Step 13: Cook undisturbed for 3-4 minutes until the bottom is deep golden brown. You’ll see the edges start to turn golden and the breading will look set and crispy.
Resist the urge to move them! Leaving them alone creates that perfect crust.
Step 14: Flip each cutlet using tongs and cook for another 3-4 minutes on the second side. The cutlet should feel firm when pressed and the internal temperature should reach 165°F.
Step 15: Transfer cooked cutlets to a paper towel-lined plate and immediately sprinkle with a tiny pinch of salt while they’re hot. Repeat the cooking process with remaining cutlets, adding more oil if the pan looks dry.
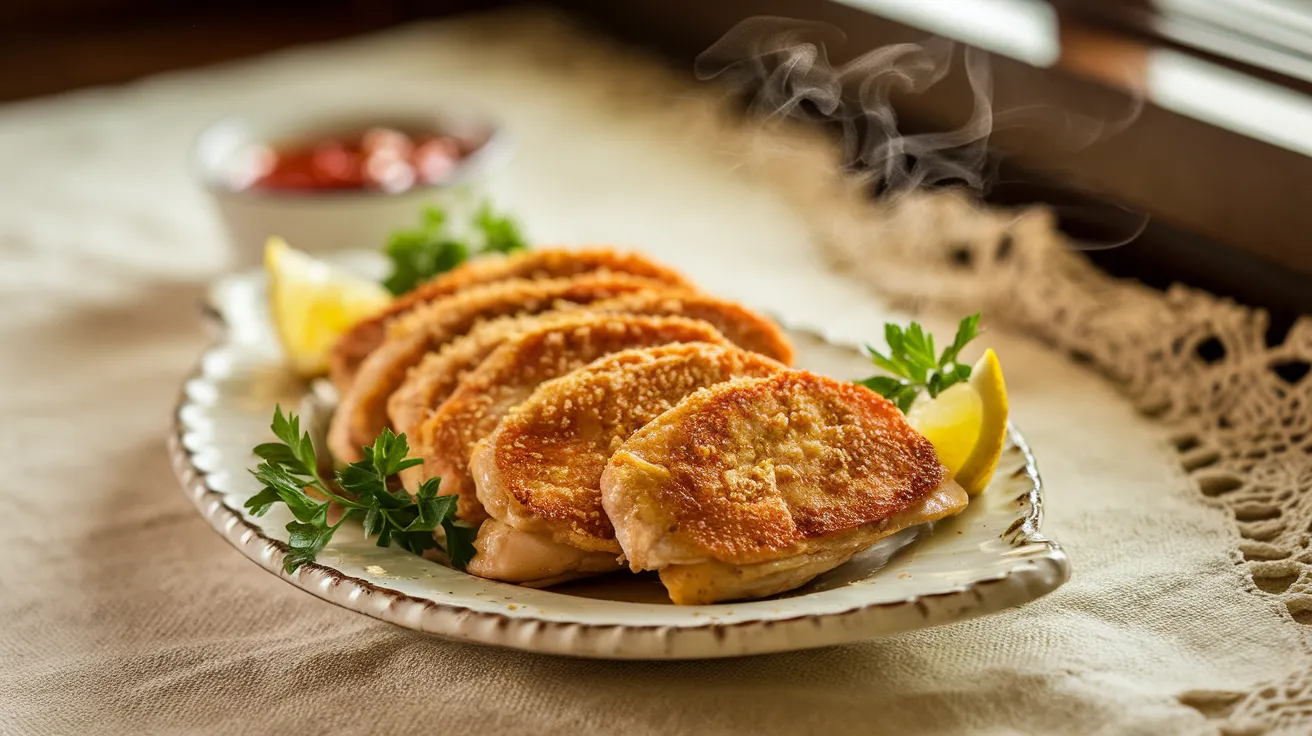
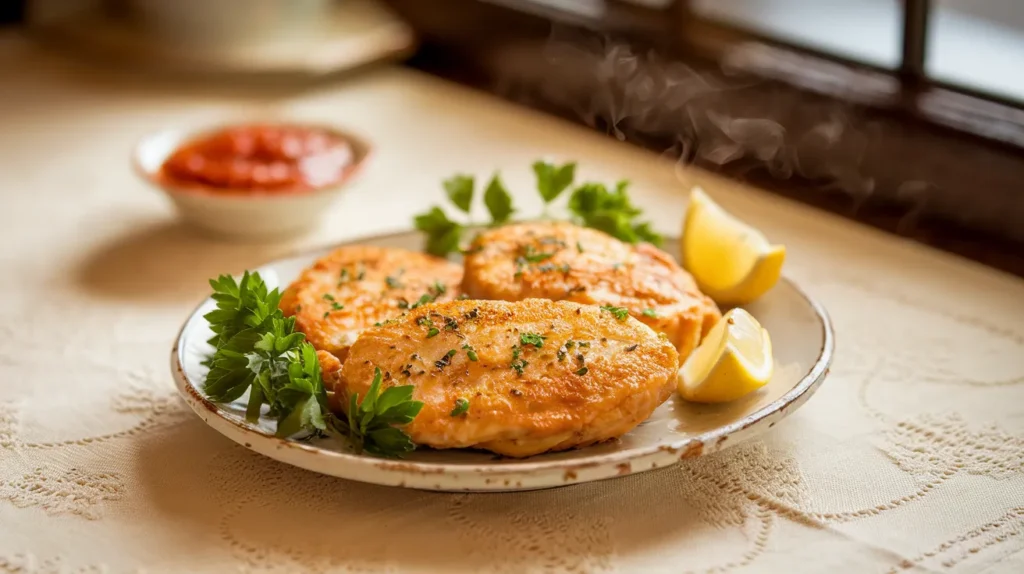
Step 16: Serve immediately with fresh lemon wedges and a sprinkle of chopped parsley.
The lemon’s acidity cuts through the richness and brightens every bite!
Chef’s Notes
Thickness Consistency: The secret to perfect classic Italian chicken cutlets lies in even pounding—use a gentle touch and work from the center outward to avoid tearing the meat.
Oil Temperature Control: If your oil gets too hot, reduce the heat slightly between batches. Smoking oil means burned breading and raw centers.
Make-Ahead Magic: Bread the cutlets up to 4 hours ahead and refrigerate uncovered—this actually helps the coating stick even better when you cook them.
Leftover Perfection: These cutlets are fantastic sliced over salads the next day or tucked into sandwiches—they stay surprisingly crispy even when cold.
Nutrition Information (Per Serving)
Calories: 425 | Protein: 42g | Carbs: 28g | Fat: 16g
Delicious Variations to Try
Lemon-Herb Cutlets: Add 2 tablespoons of fresh lemon zest and 3 tablespoons of minced fresh parsley to your breadcrumb mixture for bright, fresh flavor that pairs beautifully with pasta dishes.
Spicy Italian Style: Mix ½ teaspoon of red pepper flakes and 1 teaspoon of smoked paprika into the breadcrumbs for a kick of heat—perfect if you love bold flavors like our Thai Coconut Curry Chicken.
Parmesan-Crusted Supreme: Double the Parmesan cheese to 1 cup and add ¼ cup of finely grated Romano for an extra-cheesy, umami-rich coating that rivals any Italian restaurant.
Cutlet Parmigiana: Top the cooked cutlets with marinara sauce and mozzarella, then broil for 2 minutes—similar to our popular Chicken Parmigiana but with an even crispier base.
Storage & Reheating
Refrigerator: Store cooled cutlets in an airtight container with parchment paper between layers for up to 3 days.
Freezing: Wrap individual cutlets tightly in plastic wrap, then place in a freezer bag for up to 2 months. Freeze them after breading but before cooking for best results—cook from frozen, adding 3-4 minutes to the cooking time.
Reheating for Crispiness: Never microwave! Instead, reheat in a 375°F oven on a wire rack for 8-10 minutes until warmed through and crispy again.
Room Temperature: Don’t leave cooked cutlets at room temperature for more than 2 hours to ensure food safety.
Troubleshooting Common Problems
Problem: Breading Falls Off During Cooking Solution: Make sure chicken is completely dry before breading, press breadcrumbs firmly, and let breaded cutlets rest 5-10 minutes before cooking. Also ensure your oil is hot enough—cold oil makes soggy, sliding breading.
Problem: Chicken Is Dry and Overcooked Solution: Your cutlets are too thick. Pound them thinner (¼-inch maximum) and reduce cooking time. Use a meat thermometer—pull them at exactly 165°F.
Problem: Breading Burns Before Chicken Cooks Through Solution: Your oil is too hot. Reduce heat to medium and test with a breadcrumb—it should gently sizzle, not violently bubble. You can also finish thicker pieces in a 350°F oven.
Problem: Coating Is Soggy Instead of Crispy Solution: You’re overcrowding the pan or your oil temperature dropped. Cook only 2 cutlets at a time and let oil reheat between batches. Also check that you’re using enough oil—it should come halfway up the cutlet.
Problem: Uneven Browning Solution: Your pan isn’t level or your cutlets aren’t the same thickness. Pound them evenly and rotate the pan halfway through cooking if your stovetop has hot spots.
Equipment Essentials
- Sharp chef’s knife (for butterflying chicken)
- Meat mallet or rolling pin (for pounding)
- 3 shallow dishes or pie plates (for breading station)
- Large skillet (at least 12-inch for cooking 2 cutlets)
- Instant-read thermometer (for checking doneness)
- Tongs (for flipping)
- Wire rack or paper towels (for draining)
- Plastic wrap or parchment paper (for pounding)
Shopping List
Meat Department
- 2 large boneless, skinless chicken breasts (1.5 lbs)
Dairy Section
- Large eggs (3)
- Whole milk (2 tablespoons)
- Parmesan cheese, grated (½ cup)
Pantry/Baking Aisle
- All-purpose flour (¾ cup)
- Italian breadcrumbs (1½ cups)
- Dried oregano (1 teaspoon)
- Garlic powder (1 teaspoon)
- Dried basil (½ teaspoon)
- Salt and black pepper
Oils & Condiments
- Olive oil (¼ cup)
- Vegetable oil (¼ cup)
Produce
- Fresh lemons (for serving)
- Fresh parsley (for garnish)
Success Secrets
1. Temperature is Everything: Let chicken sit at room temperature for 15 minutes before cooking—cold chicken straight from the fridge won’t cook evenly and causes the breading to burn before the inside is done.
2. The Double-Dip Trick: For extra-thick, restaurant-style breading, dip cutlets in egg, breadcrumbs, then back in egg and breadcrumbs again. It takes more time but creates an incredibly crunchy coating.
3. Fresh Breadcrumbs Win: While Italian breadcrumbs work great, making your own from day-old bread pulsed in a food processor creates incomparable texture and flavor.
4. Oil Depth Matters: Maintain ¼-inch of oil in your pan—too little and the bottom burns while the top stays pale, too much and you’re basically deep-frying instead of pan-frying.
5. The Resting Rule: Let cooked classic Italian chicken cutlets rest on a wire rack for 2-3 minutes before serving. This lets the breading fully crisp up and the juices redistribute for maximum tenderness.
Now you’re ready to create restaurant-worthy classic Italian chicken cutlets right in your own kitchen—crispy, juicy, and absolutely delicious every single time!