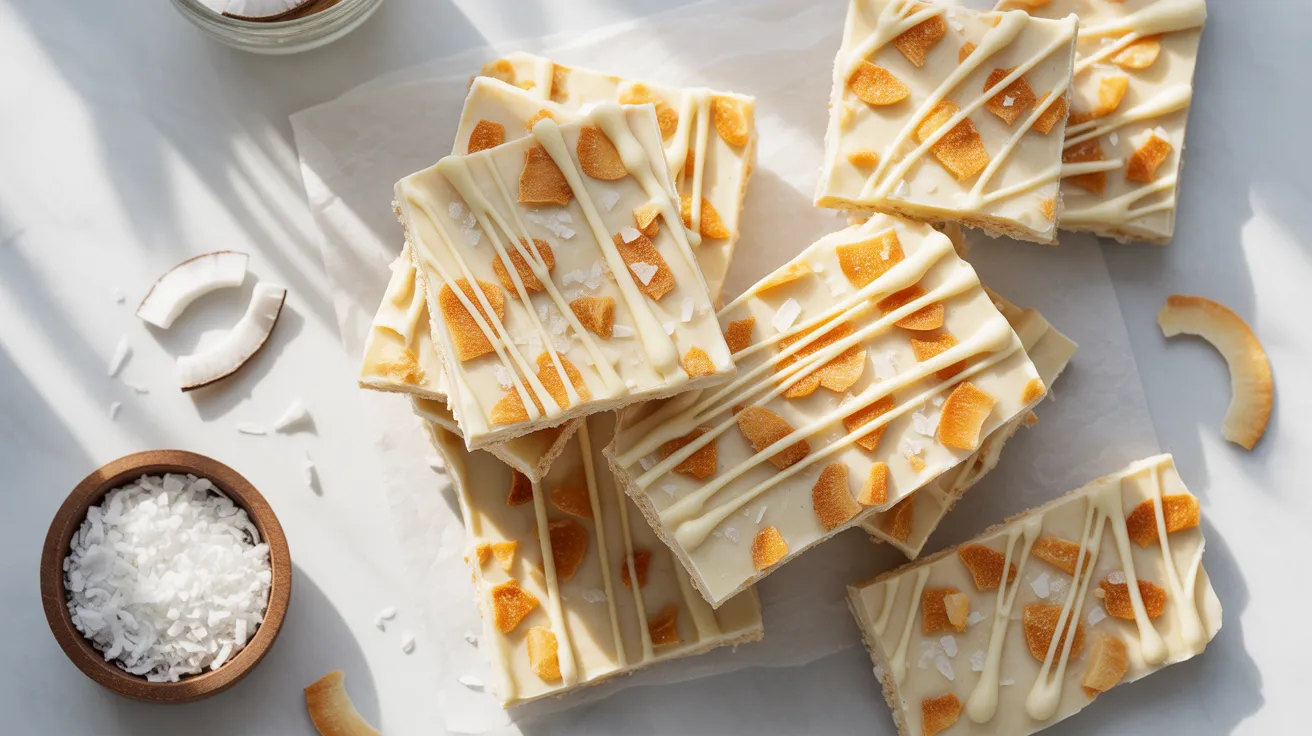
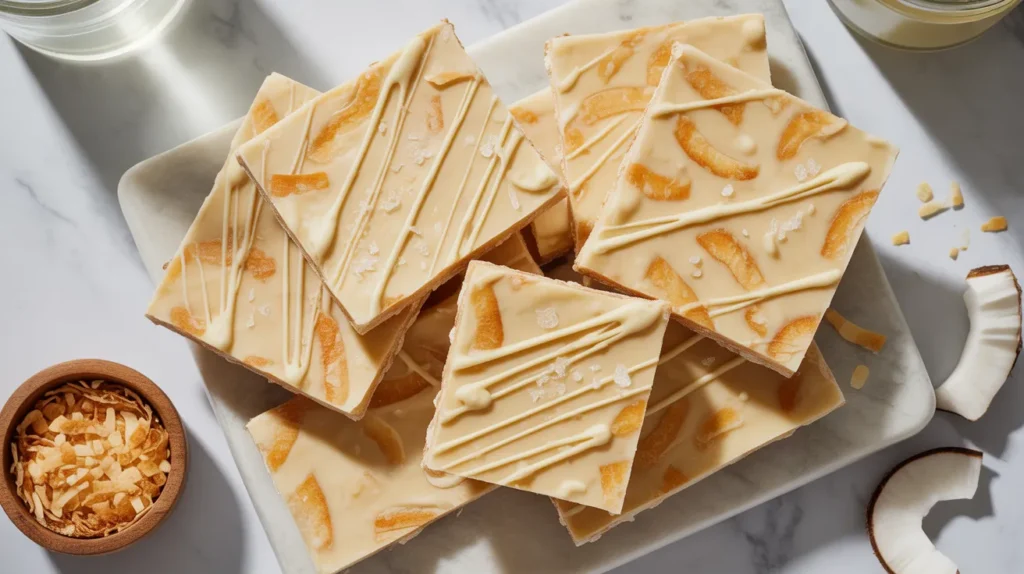
This coconut cream bark combines creamy white chocolate with toasted coconut flakes for a tropical candy that melts in your mouth. You’ll love how easy this coconut cream bark recipe is to make, and your friends will think you spent hours creating these sweet, crunchy clusters perfect for holiday gifting or everyday snacking.
SERVES: 4 | PREP: 15 MIN | COOK: 5 MIN | TOTAL: 2 HR 20 MIN (including setting time)
Ingredients
| Base Ingredients | Amount |
|---|---|
| White chocolate chips | 2 cups |
| Coconut oil | 2 tablespoons |
| Sweetened shredded coconut | 1 cup |
| Unsweetened coconut flakes | 1/2 cup |
| Toppings | Amount |
|---|---|
| Toasted coconut chips | 1/3 cup |
| White chocolate drizzle | 1/4 cup chips |
| Sea salt flakes | 1/4 teaspoon |
| Optional Mix-ins | Amount |
|---|---|
| Macadamia nuts, chopped | 1/3 cup |
| Dried pineapple, diced | 1/4 cup |
Step-by-Step Instructions
Phase 1: Preparing Your Workspace (5 minutes)
Step 1: Line a 9×13-inch baking sheet with parchment paper, making sure the paper extends over the edges by about 2 inches on each side. This overhang acts as handles for easy removal later, and the parchment prevents sticking better than wax paper, which can melt under chocolate.
Step 2: Toast your 1 cup sweetened shredded coconut and 1/2 cup unsweetened coconut flakes in a dry skillet over medium heat for 3-4 minutes, stirring constantly with a wooden spoon. The coconut should turn golden brown and smell nutty, but watch carefully because it burns quickly once it starts browning.
Step 3: Spread the toasted coconut on a plate to cool completely, about 5 minutes. Hot coconut will melt your chocolate and create an oily mess instead of crispy clusters.
Phase 2: Melting the Chocolate Base (8 minutes)
Step 4: Pour 2 cups white chocolate chips into a microwave-safe glass bowl. Glass distributes heat more evenly than plastic, reducing the risk of scorching your chocolate.
Step 5: Add 2 tablespoons coconut oil to the white chocolate chips. The coconut oil helps thin the chocolate for easier spreading and adds extra coconut flavor to your bark.
Step 6: Microwave on 50% power for 30-second intervals, stirring thoroughly between each interval with a rubber spatula. The chocolate will take 2-3 minutes total and should be completely smooth with no lumps remaining. Never microwave at full power, as white chocolate burns faster than dark chocolate.
Step 7: Test the temperature by touching a drop to your lower lip. It should feel warm but not hot, around 90-95°F. If it’s too hot, let it cool for 2 minutes before proceeding, or your toppings will sink instead of staying on top.
Phase 3: Building Your Coconut Cream Bark (5 minutes)
Step 8: Pour the melted white chocolate mixture onto your prepared baking sheet. Use an offset spatula to spread it into an even layer about 1/4-inch thick, leaving a 1-inch border around the edges. Thicker bark takes longer to set, while thinner bark breaks too easily.
Step 9: Immediately sprinkle your cooled toasted coconut mixture evenly over the chocolate surface. Press it down gently with the back of a spoon so the coconut embeds slightly into the chocolate, which prevents pieces from falling off when you break the bark later.
Step 10: Scatter 1/3 cup toasted coconut chips across the surface for added crunch and visual appeal. These larger chips create texture contrast against the shredded coconut.
Step 11: If using optional macadamia nuts or dried pineapple, sprinkle them now while the chocolate is still wet. The nuts add richness similar to macadamia white chocolate bark with cranberries, while pineapple brings tropical sweetness.
Phase 4: Adding Final Touches (3 minutes)
Step 12: Melt your reserved 1/4 cup white chocolate chips in the microwave for 20-30 seconds at 50% power. Transfer the melted chocolate to a small zip-top bag, snip off a tiny corner, and drizzle thin lines across the bark in a zigzag pattern.
Step 13: Lightly sprinkle 1/4 teaspoon sea salt flakes over the entire surface. The salt balances the sweetness and makes the coconut flavor pop, just like salt enhances caramel.
Phase 5: Setting and Finishing (2 hours)
Step 14: Refrigerate the coconut cream bark uncovered for 2 hours until completely firm. Don’t cover it during this time, as condensation can create water droplets that make the chocolate look dull.
Step 15: Lift the bark from the pan using the parchment paper handles. Place it on a cutting board and use a sharp knife to score lines where you want to break it, then snap along the lines to create rustic pieces.
Step 16: Store your finished coconut cream bark in an airtight container with parchment paper between layers to prevent sticking. It stays fresh at room temperature for 1 week or refrigerated for 3 weeks.
Chef’s Notes
Temperature Control: White chocolate is finicky and seizes easily when overheated. Always melt at 50% power and stir frequently to distribute heat evenly throughout the mixture.
Toasting Coconut: The difference between raw and toasted coconut in this recipe is like night and day. Toasting releases coconut oils and creates depth of flavor that raw coconut simply can’t match.
Thickness Matters: Aim for 1/4-inch thickness when spreading your chocolate base. This creates bark that’s sturdy enough to handle but still breaks with a satisfying snap when you bite through the layers.
Setting Time: Room temperature setting takes 4-6 hours, while refrigeration cuts this to 2 hours. Never freeze chocolate bark, as it can develop a white “bloom” when it returns to room temperature.
Nutrition Information (Per Serving)
- Calories: 485
- Protein: 4g
- Carbohydrates: 48g
- Fat: 32g
- Fiber: 3g
- Sugar: 42g
Variations to Try
Tropical Paradise Bark: Add 1/4 cup chopped dried mango and 2 tablespoons macadamia nuts for a Hawaiian-inspired treat that brings sunshine to winter days.
Dark Chocolate Coconut Bark: Swap white chocolate for dark chocolate chips and reduce coconut oil to 1 tablespoon. The bitter chocolate balances the sweet coconut beautifully.
Cookie Coconut Bark: Crumble 4 coconut cookies over the chocolate layer for texture similar to milk and cookies candy bark, creating nostalgic flavors with tropical twist.
Almond Joy Bark: Add 1/2 cup chopped almonds and 1/4 cup mini chocolate chips before the chocolate sets, recreating the famous candy bar in homemade form.
Storage & Reheating
Room Temperature Storage: Keep your coconut cream bark in an airtight container lined with parchment paper for up to 1 week. Store in a cool, dry place away from direct sunlight, which can melt the chocolate and create an oily surface.
Refrigerator Storage: Layer pieces between parchment paper sheets in an airtight container for up to 3 weeks. Bring to room temperature 15 minutes before serving for the best flavor and texture.
Freezer Storage: Wrap individual pieces in plastic wrap, then place in a freezer bag for up to 3 months. Thaw in the refrigerator overnight, then bring to room temperature before eating to prevent condensation.
Gifting Tip: Package bark in clear cellophane bags tied with ribbon, or layer in decorative tins with parchment paper between pieces. The bark ships well and makes impressive homemade gifts that look bakery-quality.
Troubleshooting Common Problems
Problem: Chocolate seized and turned grainy
Solution: Even a single drop of water causes white chocolate to seize. Start fresh with dry bowls and utensils. If you catch it early, whisk in 1 teaspoon coconut oil per cup of chocolate to smooth it out.
Problem: Coconut toppings fell off when breaking bark
Solution: You added toppings to chocolate that was too cool and already setting. Next time, work faster in Phase 3 and press toppings firmly into the warm chocolate with the back of a spoon.
Problem: Bark developed white streaks or spots
Solution: This “bloom” happens when chocolate experiences temperature fluctuations. It’s safe to eat but looks unappealing. Prevent it by storing bark at consistent temperatures and never freezing.
Problem: Bark is too thick and hard to bite through
Solution: You spread the chocolate more than 1/4-inch thick. Use a bench scraper to spread chocolate thinner next time, or warm thick bark for 5 seconds in the microwave before serving.
Problem: Chocolate tastes waxy or artificial
Solution: Low-quality white chocolate contains more vegetable oil than cocoa butter. Invest in premium white chocolate chips from brands like Ghirardelli or Guittard for smooth, creamy results.
Equipment Essentials
- 9×13-inch rimmed baking sheet for containing the bark
- Parchment paper for easy removal and cleanup
- Microwave-safe glass bowl for even chocolate melting
- Rubber spatula for stirring and spreading chocolate
- Offset spatula for smoothing the bark surface
- Large skillet for toasting coconut
- Sharp chef’s knife for scoring and breaking bark
- Airtight container for proper storage
Shopping List
Baking Aisle
- White chocolate chips (2 1/4 cups total)
- Sweetened shredded coconut (1 cup)
- Unsweetened coconut flakes (1/2 cup)
- Toasted coconut chips (1/3 cup)
Oils & Condiments
- Coconut oil (2 tablespoons)
- Sea salt flakes (1/4 teaspoon)
Optional Add-ins (Baking or Snack Aisle)
- Macadamia nuts, chopped (1/3 cup)
- Dried pineapple, diced (1/4 cup)
Success Secrets
1. Quality Chocolate Matters: Premium white chocolate with 30% cocoa butter melts smoother and tastes creamier than cheap chips made with palm oil. Check ingredient lists and choose brands listing cocoa butter first.
2. Toast Fresh Coconut: Pre-toasted coconut from packages often tastes stale and lacks the nutty aroma that makes this coconut cream bark special. Toast your own for the best flavor payoff.
3. Work Quickly During Assembly: White chocolate sets faster than milk or dark chocolate. Have all your toppings measured and ready before you start melting chocolate, so you can work efficiently while it’s still spreadable.
4. Even Thickness Creates Even Breaking: Use an offset spatula to spread chocolate to uniform 1/4-inch thickness across the entire sheet. Uneven thickness creates pieces that break awkwardly with some too thick and others paper-thin.
5. Cool Completely Before Breaking: Rushing this step creates a sticky mess. Give your bark the full 2 hours in the refrigerator, then let it sit at room temperature for 5 minutes before breaking so it snaps cleanly instead of shattering.