This coffee bean bark combines rich chocolate with crunchy espresso beans to create an irresistible treat that’s perfect for coffee lovers. Made with just a few simple ingredients, this coffee bean bark delivers intense flavor and satisfying texture in every bite. Whether you’re hosting a dinner party or need a quick caffeine fix, this homemade coffee bean bark is sure to impress.
Recipe Information
SERVES: 4 | PREP: 15 MIN | COOK: 5 MIN | TOTAL: 2 HRS 20 MIN (including chilling time)
Ingredients
Chocolate Base
| Ingredient | Amount |
|---|---|
| Dark chocolate (70% cocoa), chopped | 8 oz |
| White chocolate, chopped | 4 oz |
| Coconut oil | 1 tablespoon |
Coffee Elements
| Ingredient | Amount |
|---|---|
| Whole espresso beans | 1/2 cup |
| Instant coffee powder | 1 teaspoon |
| Sea salt flakes | 1/4 teaspoon |
Optional Toppings
| Ingredient | Amount |
|---|---|
| Chopped almonds | 1/4 cup |
| Mini chocolate chips | 2 tablespoons |
Step-by-Step Instructions
Phase 1: Preparation (5 minutes)
Step 1: Line an 8×8 inch baking pan with parchment paper, leaving overhang for easy removal. This prevents the coffee bean bark from sticking and makes cleanup effortless.
Step 2: Roughly chop the espresso beans using a sharp knife. You want pieces that are broken but not powdered – this creates the perfect crunch without being too hard on your teeth.
Step 3: Set up a double boiler by placing a heatproof bowl over simmering water. Make sure the bottom of the bowl doesn’t touch the water, as direct contact can cause chocolate to seize.
Phase 2: Melting Chocolate (8 minutes)
Step 4: Add dark chocolate and coconut oil to the double boiler. The coconut oil helps create a glossy finish and prevents the chocolate from cracking when cooled.
Step 5: Stir constantly with a rubber spatula for 3-4 minutes until completely smooth. Remove from heat immediately once melted – overheating can cause the chocolate to become grainy.
Step 6: Quickly stir in the instant coffee powder. This intensifies the coffee flavor and creates a beautiful mocha base for your coffee bean bark.
Phase 3: Creating the Base Layer (3 minutes)
Step 7: Pour the melted dark chocolate mixture into your prepared pan. Use an offset spatula to spread it evenly to all corners – aim for about 1/4 inch thickness.
Step 8: Tap the pan gently on the counter 3-4 times to release air bubbles. This step ensures a smooth, professional-looking surface.
Step 9: Sprinkle half of the chopped espresso beans over the warm chocolate, pressing them lightly into the surface so they adhere properly.
Phase 4: White Chocolate Layer (5 minutes)
Step 10: Clean your double boiler setup and melt the white chocolate using the same method. White chocolate melts faster than dark, so watch carefully to prevent burning.
Step 11: Let the white chocolate cool for 2 minutes before using. This prevents it from melting the dark chocolate layer underneath.
Step 12: Drizzle the white chocolate over the dark layer in a zigzag pattern. Use a toothpick to create swirls for an artistic marble effect.
Phase 5: Final Assembly (2 minutes)
Step 13: Immediately sprinkle the remaining chopped espresso beans, almonds, and mini chocolate chips over the surface while the white chocolate is still warm.
Step 14: Add a pinch of sea salt flakes across the entire surface. The salt enhances both the chocolate and coffee flavors while adding textural interest.
Step 15: Gently press all toppings into the surface using clean hands or the back of a spoon to ensure they stick when the bark hardens.
Phase 6: Setting (2+ hours)
Step 16: Refrigerate the coffee bean bark for at least 2 hours until completely firm. Don’t rush this step – properly set bark will break cleanly and have better texture.
Step 17: Remove from pan using parchment paper overhang. Place on cutting board and use a sharp knife to cut into irregular pieces for a rustic, artisanal look.
Chef’s Notes
Perfect Chocolate Selection: Choose high-quality chocolate with at least 70% cocoa content for the best coffee bean bark results. The higher cocoa percentage complements the espresso beans beautifully.
Temperature Control: Keep your melted chocolate between 86-90°F when working with it. Use a candy thermometer for precision – this prevents blooming and ensures glossy results.
Bean Preparation: Lightly crush espresso beans instead of leaving them whole for easier eating, especially for those with sensitive teeth.
Storage Success: Store your finished coffee bean bark in airtight containers between layers of parchment paper to prevent pieces from sticking together.
Nutrition Information (Per Serving)
- Calories: 285
- Protein: 4g
- Carbohydrates: 28g
- Fat: 18g
- Fiber: 3g
- Caffeine: 35mg
Creative Variations
Mocha Almond Bark: Replace half the espresso beans with toasted almonds and add 1 teaspoon of almond extract to the dark chocolate. This creates a sophisticated flavor similar to our popular chocolate bacon bark but with coffee twist.
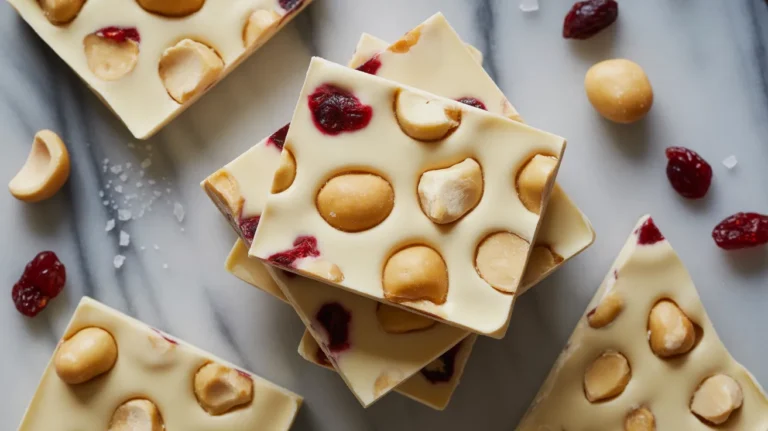
Coconut Coffee Bark: Substitute white chocolate with coconut-flavored chocolate and add toasted coconut flakes. This tropical variation reminds us of our lime in the coconut almond bark with caffeinated benefits.
Spiced Coffee Bean Bark: Add 1/4 teaspoon each of cinnamon and cayenne pepper to the dark chocolate for a Mexican-inspired coffee bean bark with warming spices.
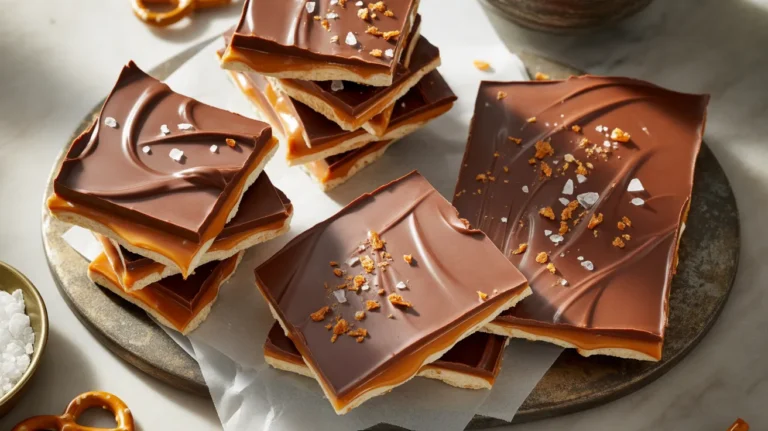
Caramel Coffee Bark: Drizzle cooled caramel sauce between the chocolate layers and add crushed toffee pieces for an indulgent coffeehouse-style treat.

Storage & Reheating
Short-term Storage: Keep coffee bean bark in an airtight container at room temperature for up to 1 week. Layer pieces between parchment paper to prevent sticking.
Long-term Storage: Freeze individual pieces wrapped in plastic wrap for up to 3 months. Thaw at room temperature for 10 minutes before serving.
Temperature Considerations: Avoid storing in warm areas as chocolate can develop white bloom spots, which while harmless, affect appearance.
Gift Packaging: Wrap pieces in cellophane bags tied with ribbon for perfect coffee-lover gifts that stay fresh for days.
Troubleshooting Common Problems
Problem 1: Chocolate Seized (Became Thick and Lumpy) Solution: Add 1 teaspoon of coconut oil or butter and whisk vigorously. Prevention: Keep all utensils completely dry and avoid getting water in chocolate.
Problem 2: White Chocolate Won’t Swirl Properly Solution: The white chocolate was too hot. Let it cool for 3-4 minutes next time before drizzling over dark chocolate base.
Problem 3: Espresso Beans Keep Falling Off Solution: Press beans into chocolate while still warm and slightly soft. Crushed beans adhere better than whole ones.
Problem 4: Coffee Bean Bark Cracked When Cutting Solution: Let bark come to room temperature for 5-10 minutes before cutting. Use a sharp knife and clean blade between cuts.
Problem 5: Not Enough Coffee Flavor Solution: Increase instant coffee powder to 2 teaspoons or add 1 tablespoon of finely ground espresso to intensify the coffee taste in your bark.
Equipment Essentials
- 8×8 inch baking pan (metal or glass works well)
- Parchment paper (essential for easy removal)
- Double boiler or microwave-safe bowls
- Rubber spatula (heat-resistant)
- Offset spatula (for spreading)
- Sharp chef’s knife (for chopping beans and cutting bark)
- Measuring cups and spoons
- Cutting board (dedicated for chocolate work)
Shopping List by Store Section
Baking Aisle
- Dark chocolate (70% cocoa) – 8 oz
- White chocolate – 4 oz
- Instant coffee powder
- Mini chocolate chips (optional)
Refrigerated Section
- Coconut oil – 1 tablespoon
Coffee/Tea Section
- Whole espresso beans – 1/2 cup
Nuts/Snacks Section
- Chopped almonds – 1/4 cup (optional)
Spices/Seasonings
- Sea salt flakes – 1/4 teaspoon
Success Secrets
- Use a candy thermometer to monitor chocolate temperature – this prevents overheating and ensures smooth melting for perfect coffee bean bark every time.
- Work quickly once chocolate is melted – chocolate begins setting immediately, so have all your toppings measured and ready before you start the melting process.
- Chill your pan beforehand – a cold pan helps the first layer set faster, making it easier to add subsequent layers without mixing.
- Score before fully set – lightly mark cutting lines when bark is firm but not completely hard for cleaner breaks and more uniform pieces.
- Toast your espresso beans lightly – 2-3 minutes in a dry skillet enhances the coffee flavor and creates better aroma in your finished coffee bean bark.